
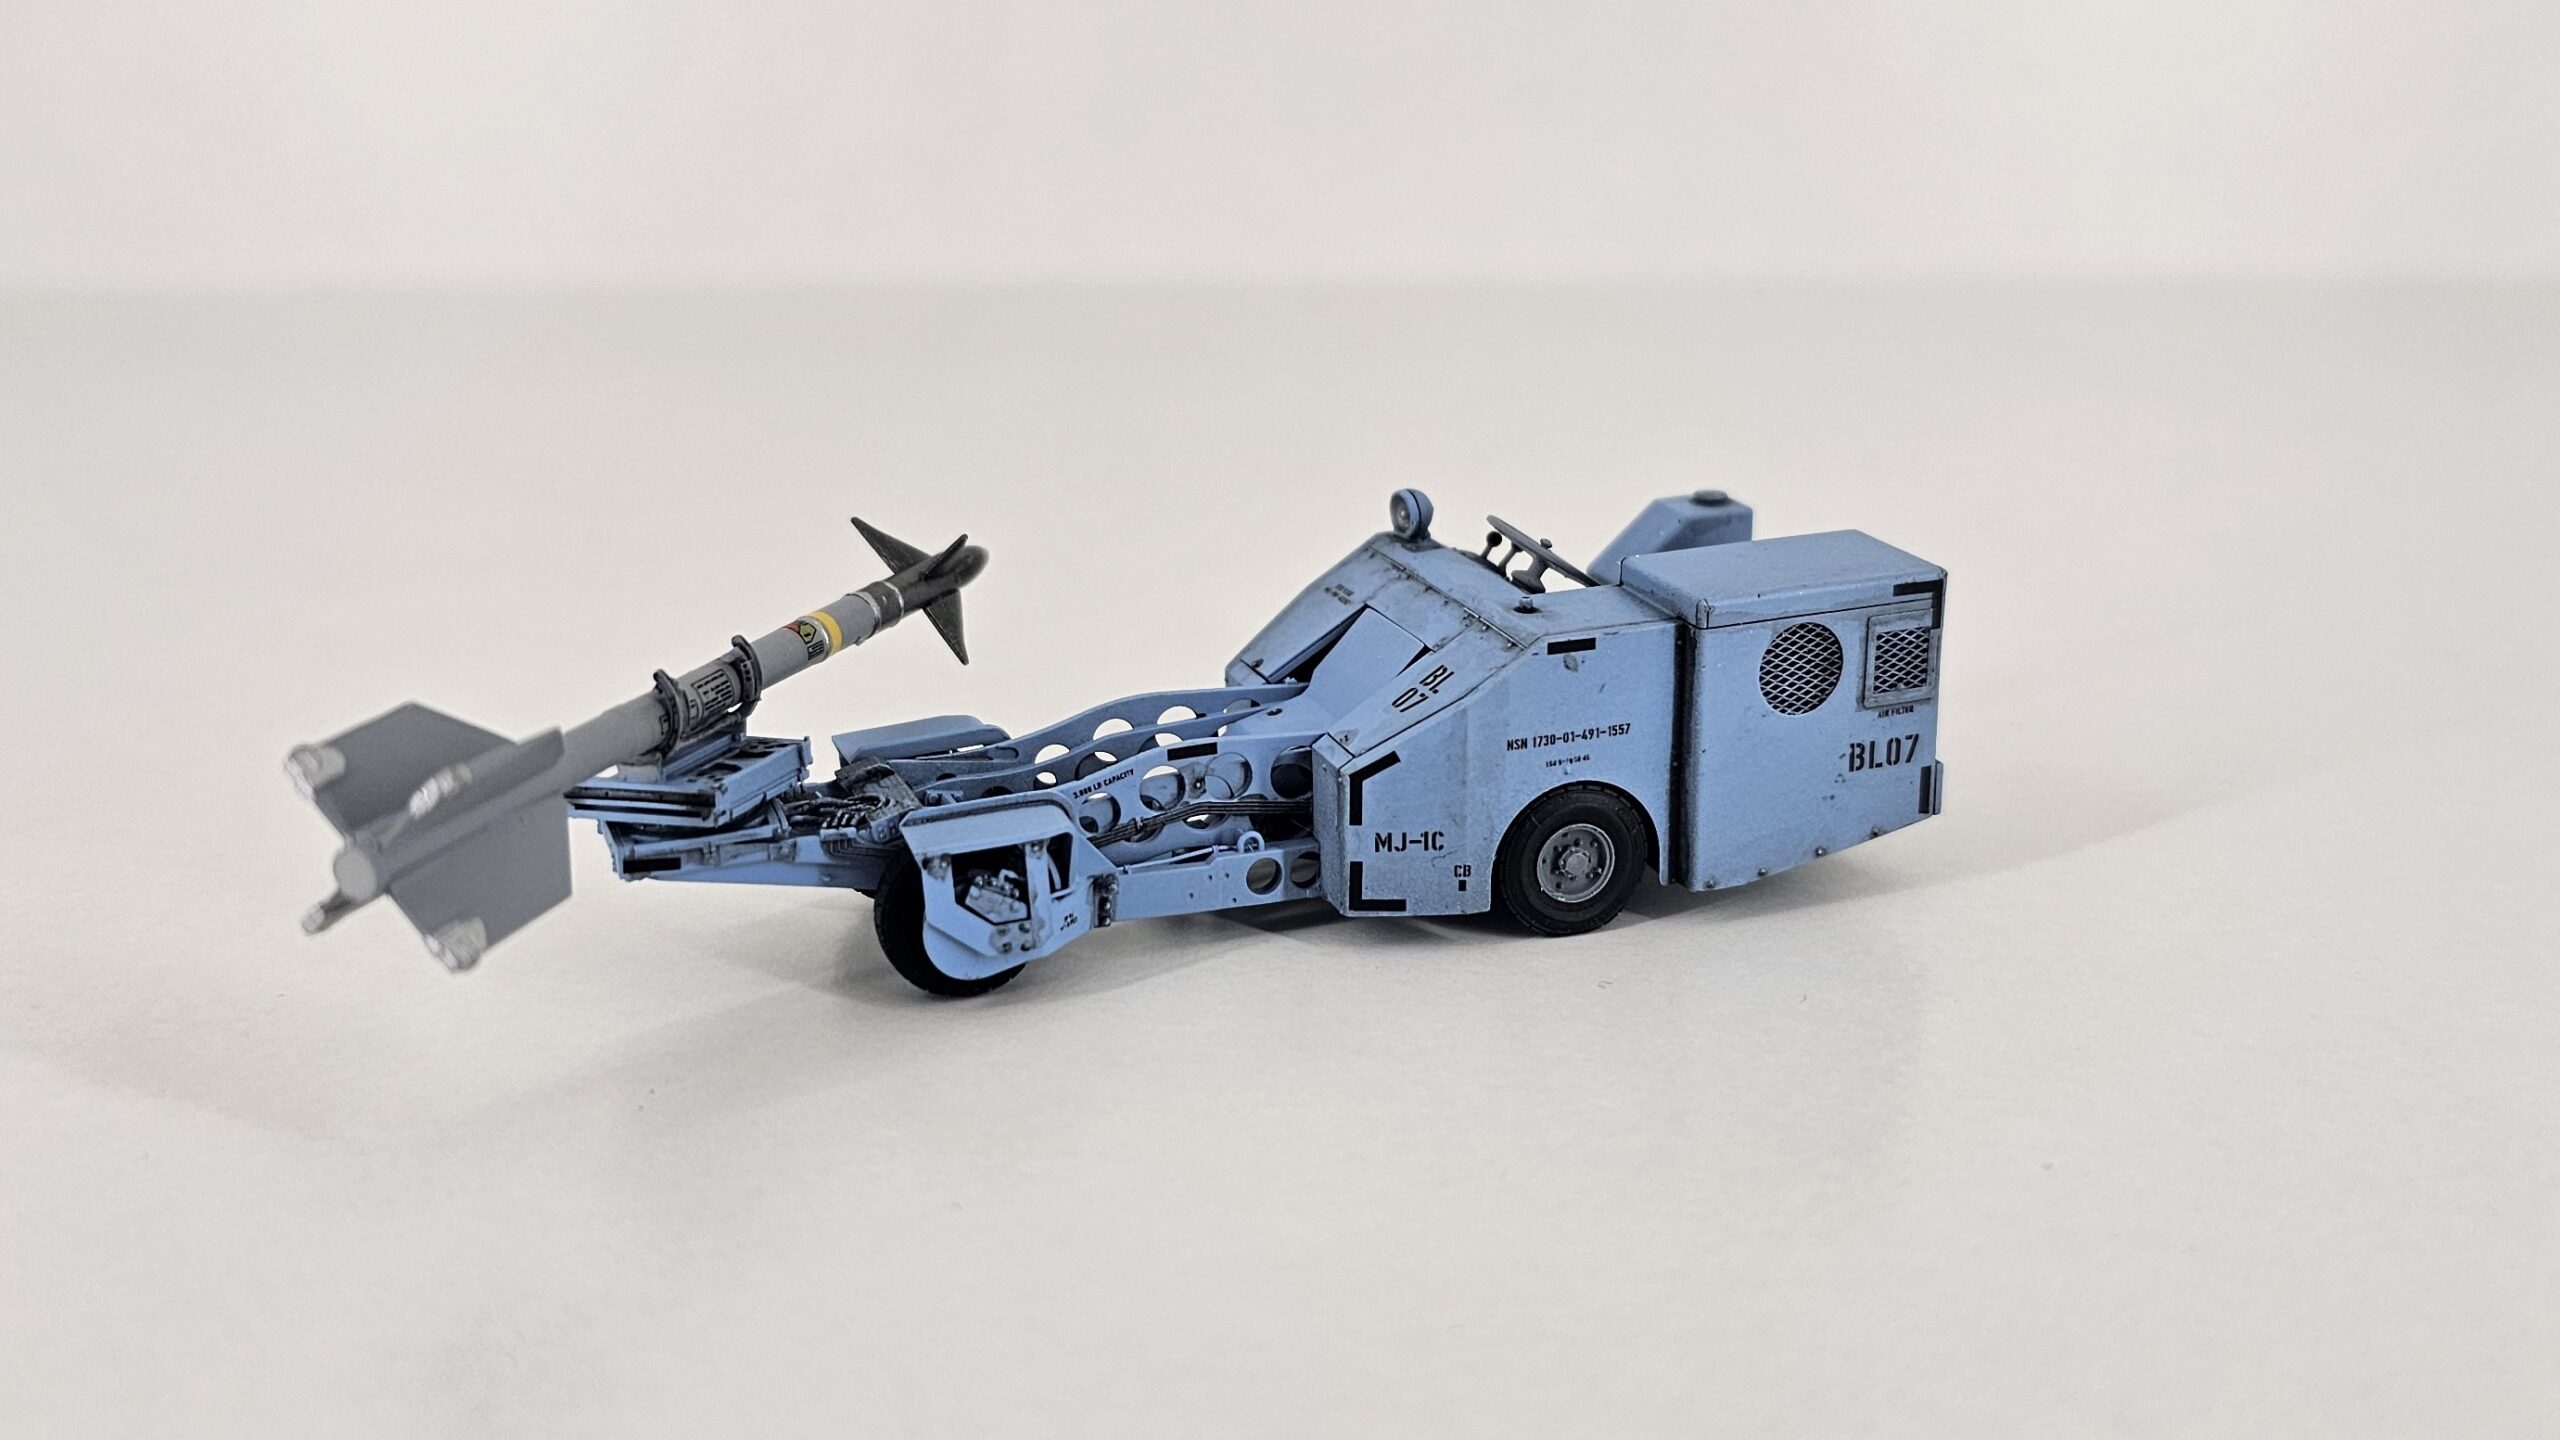
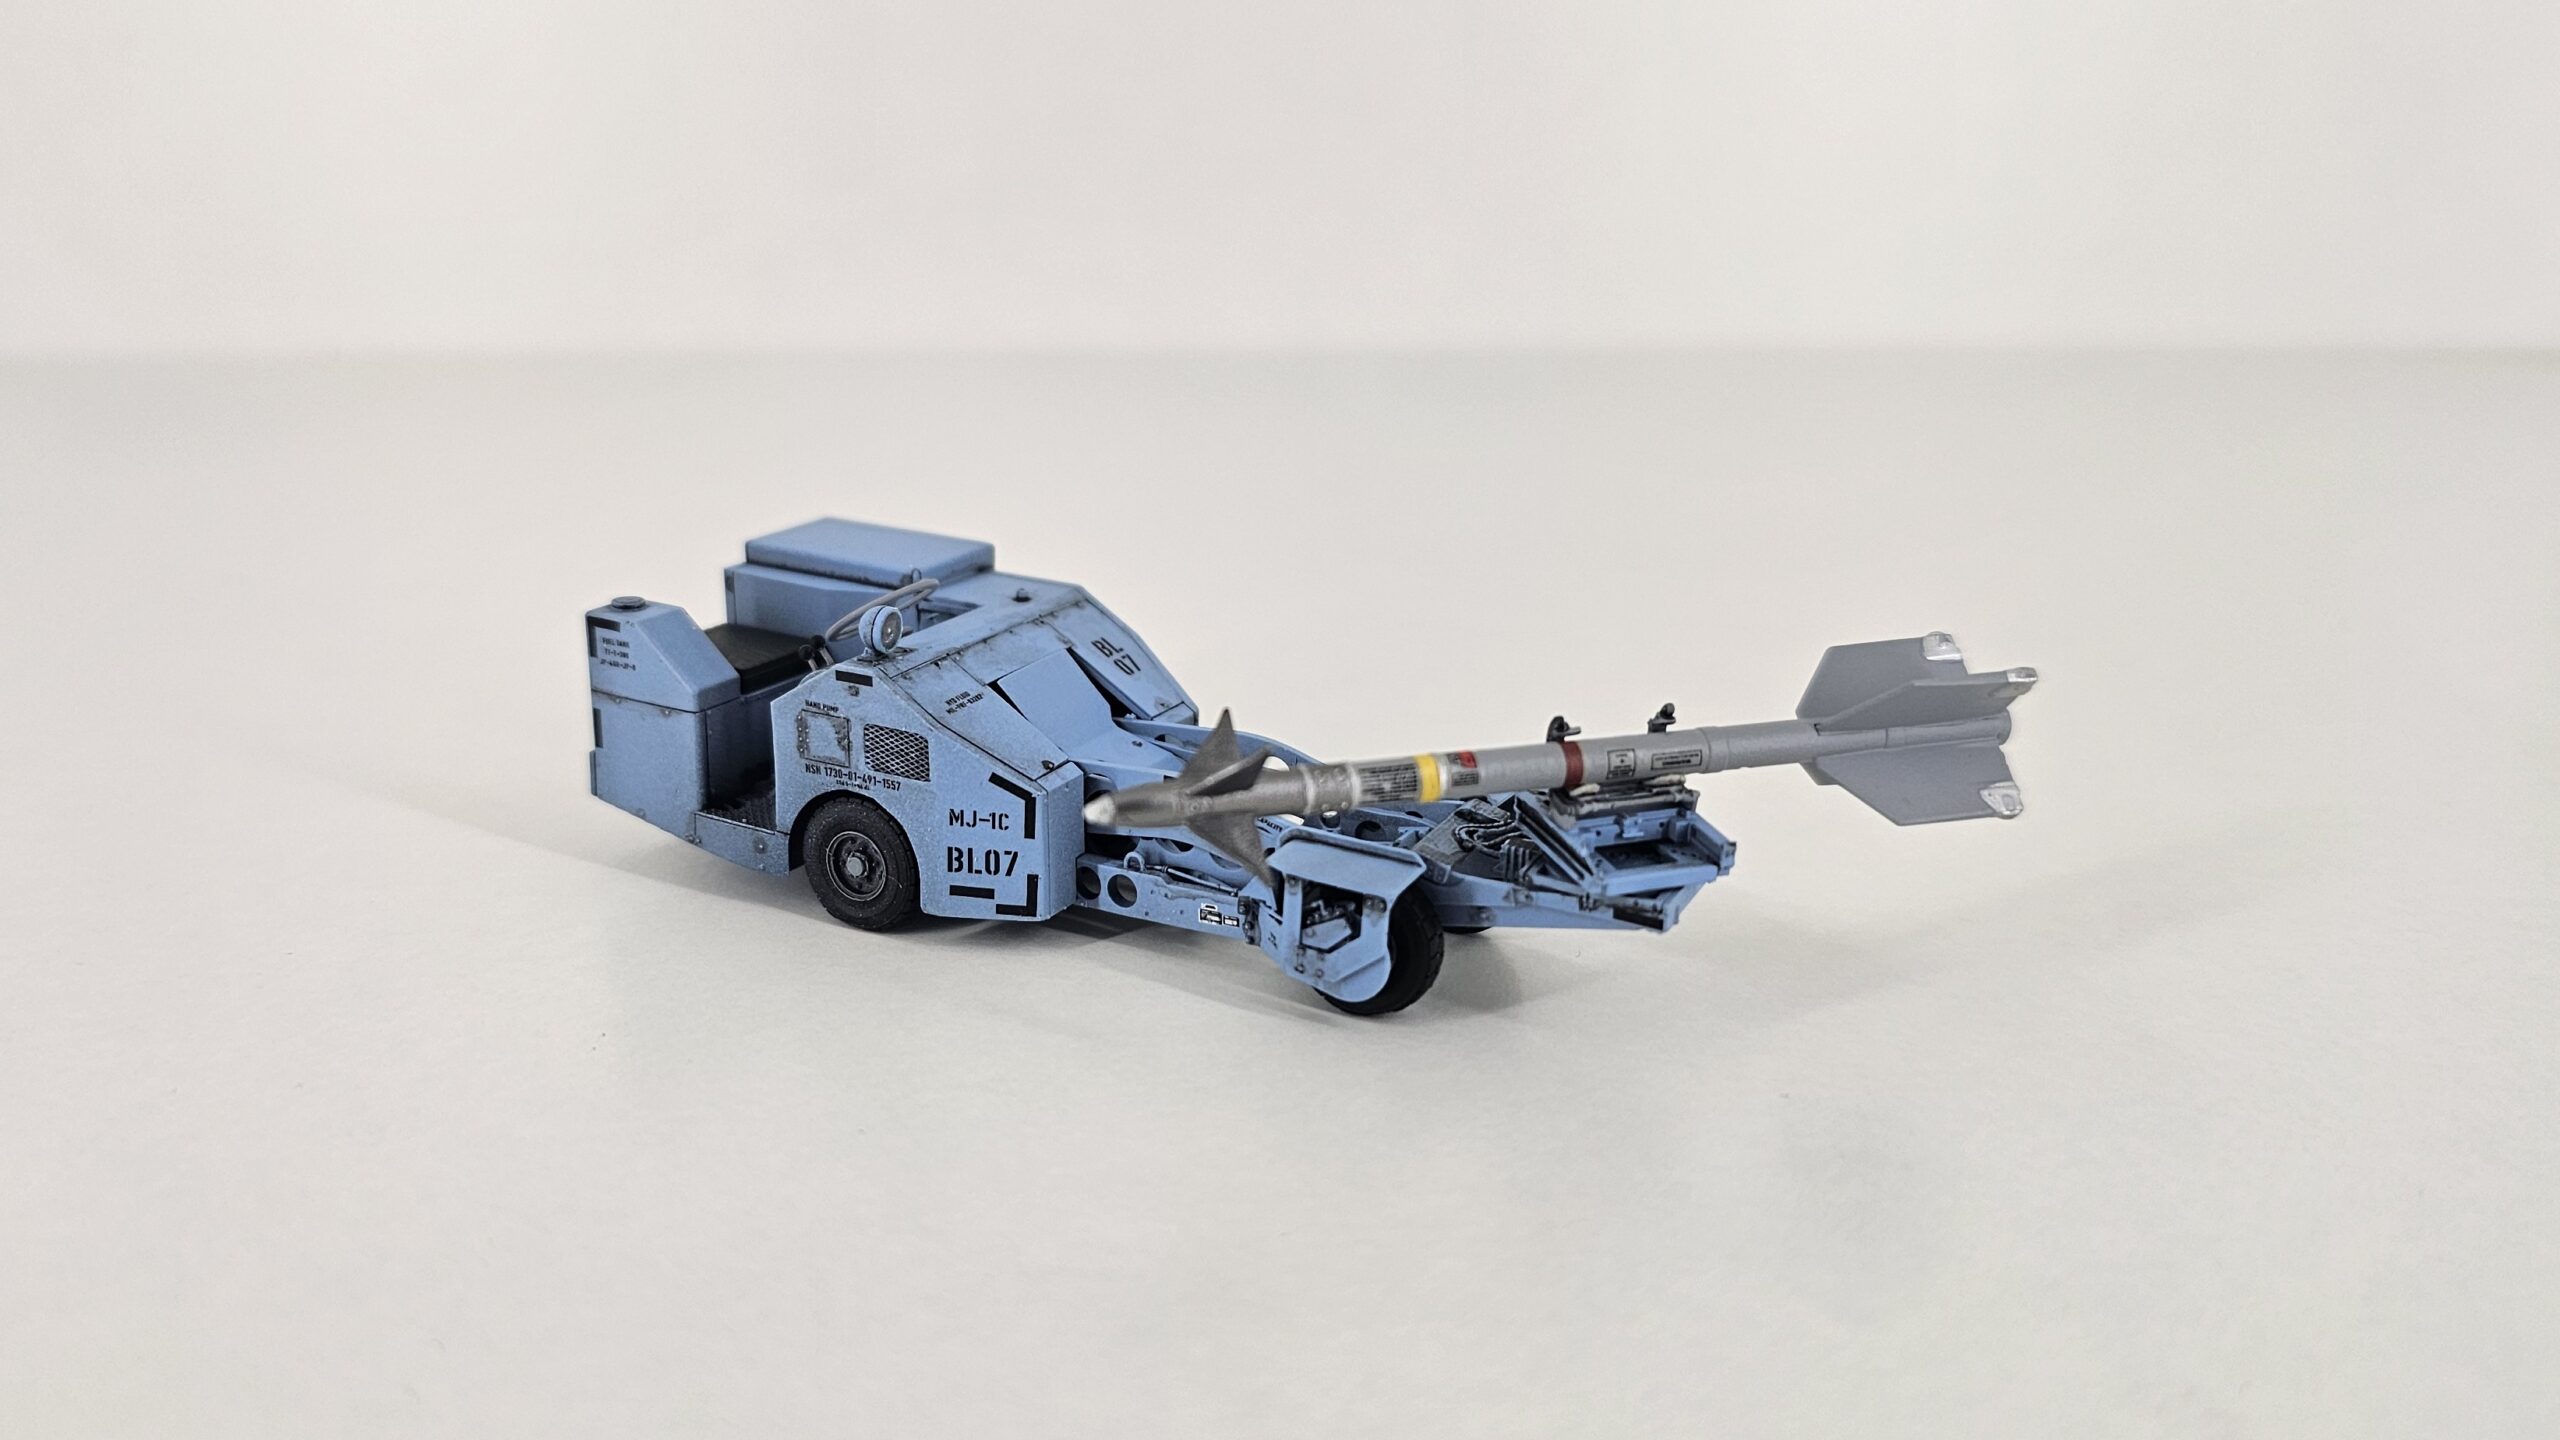
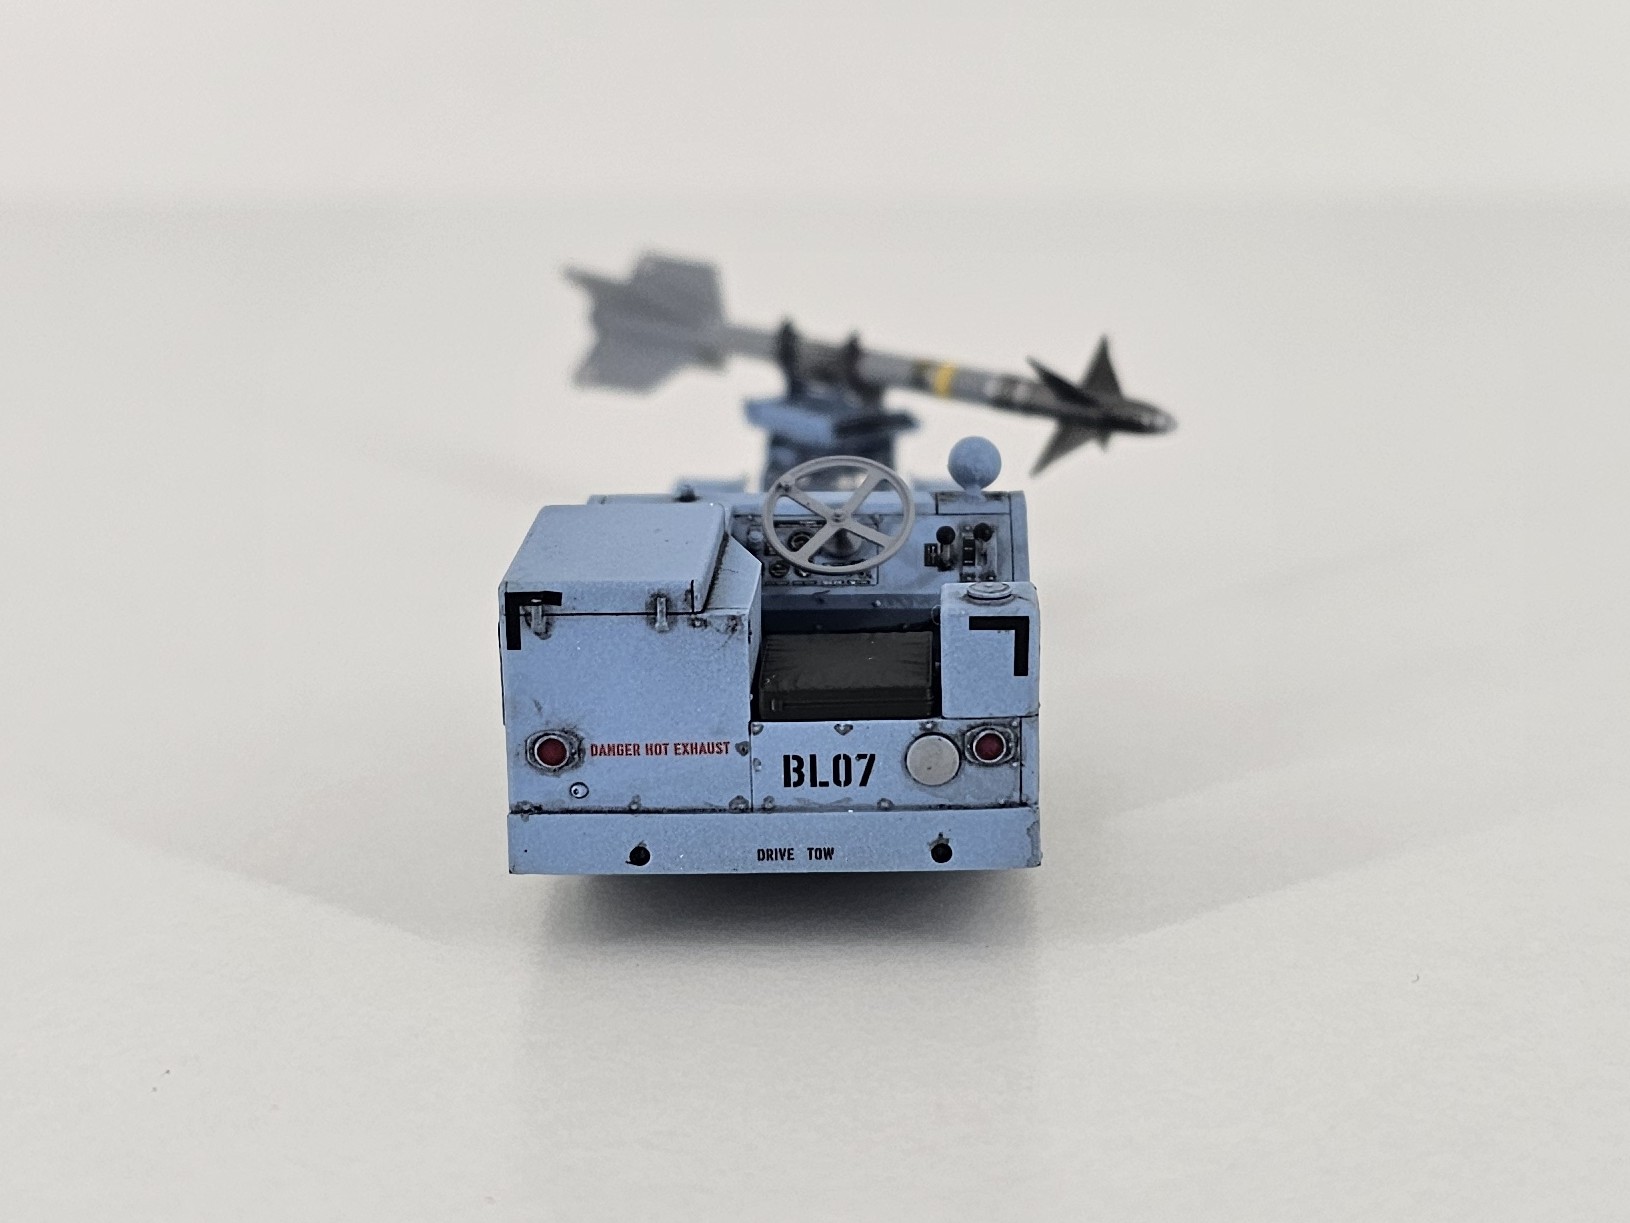
A 1/48 scale version of the F-16C Block 32 variant, one of the most successful aircraft in modern history, in service since 1984. The kit is by Tamiya and is considered (rightly so) one of the most complete and best-fitting 1/48 scale models. It comes complete with Quinta Studio 3D decals and an MJ-1C "Jammer" vehicle from RES/KIT.
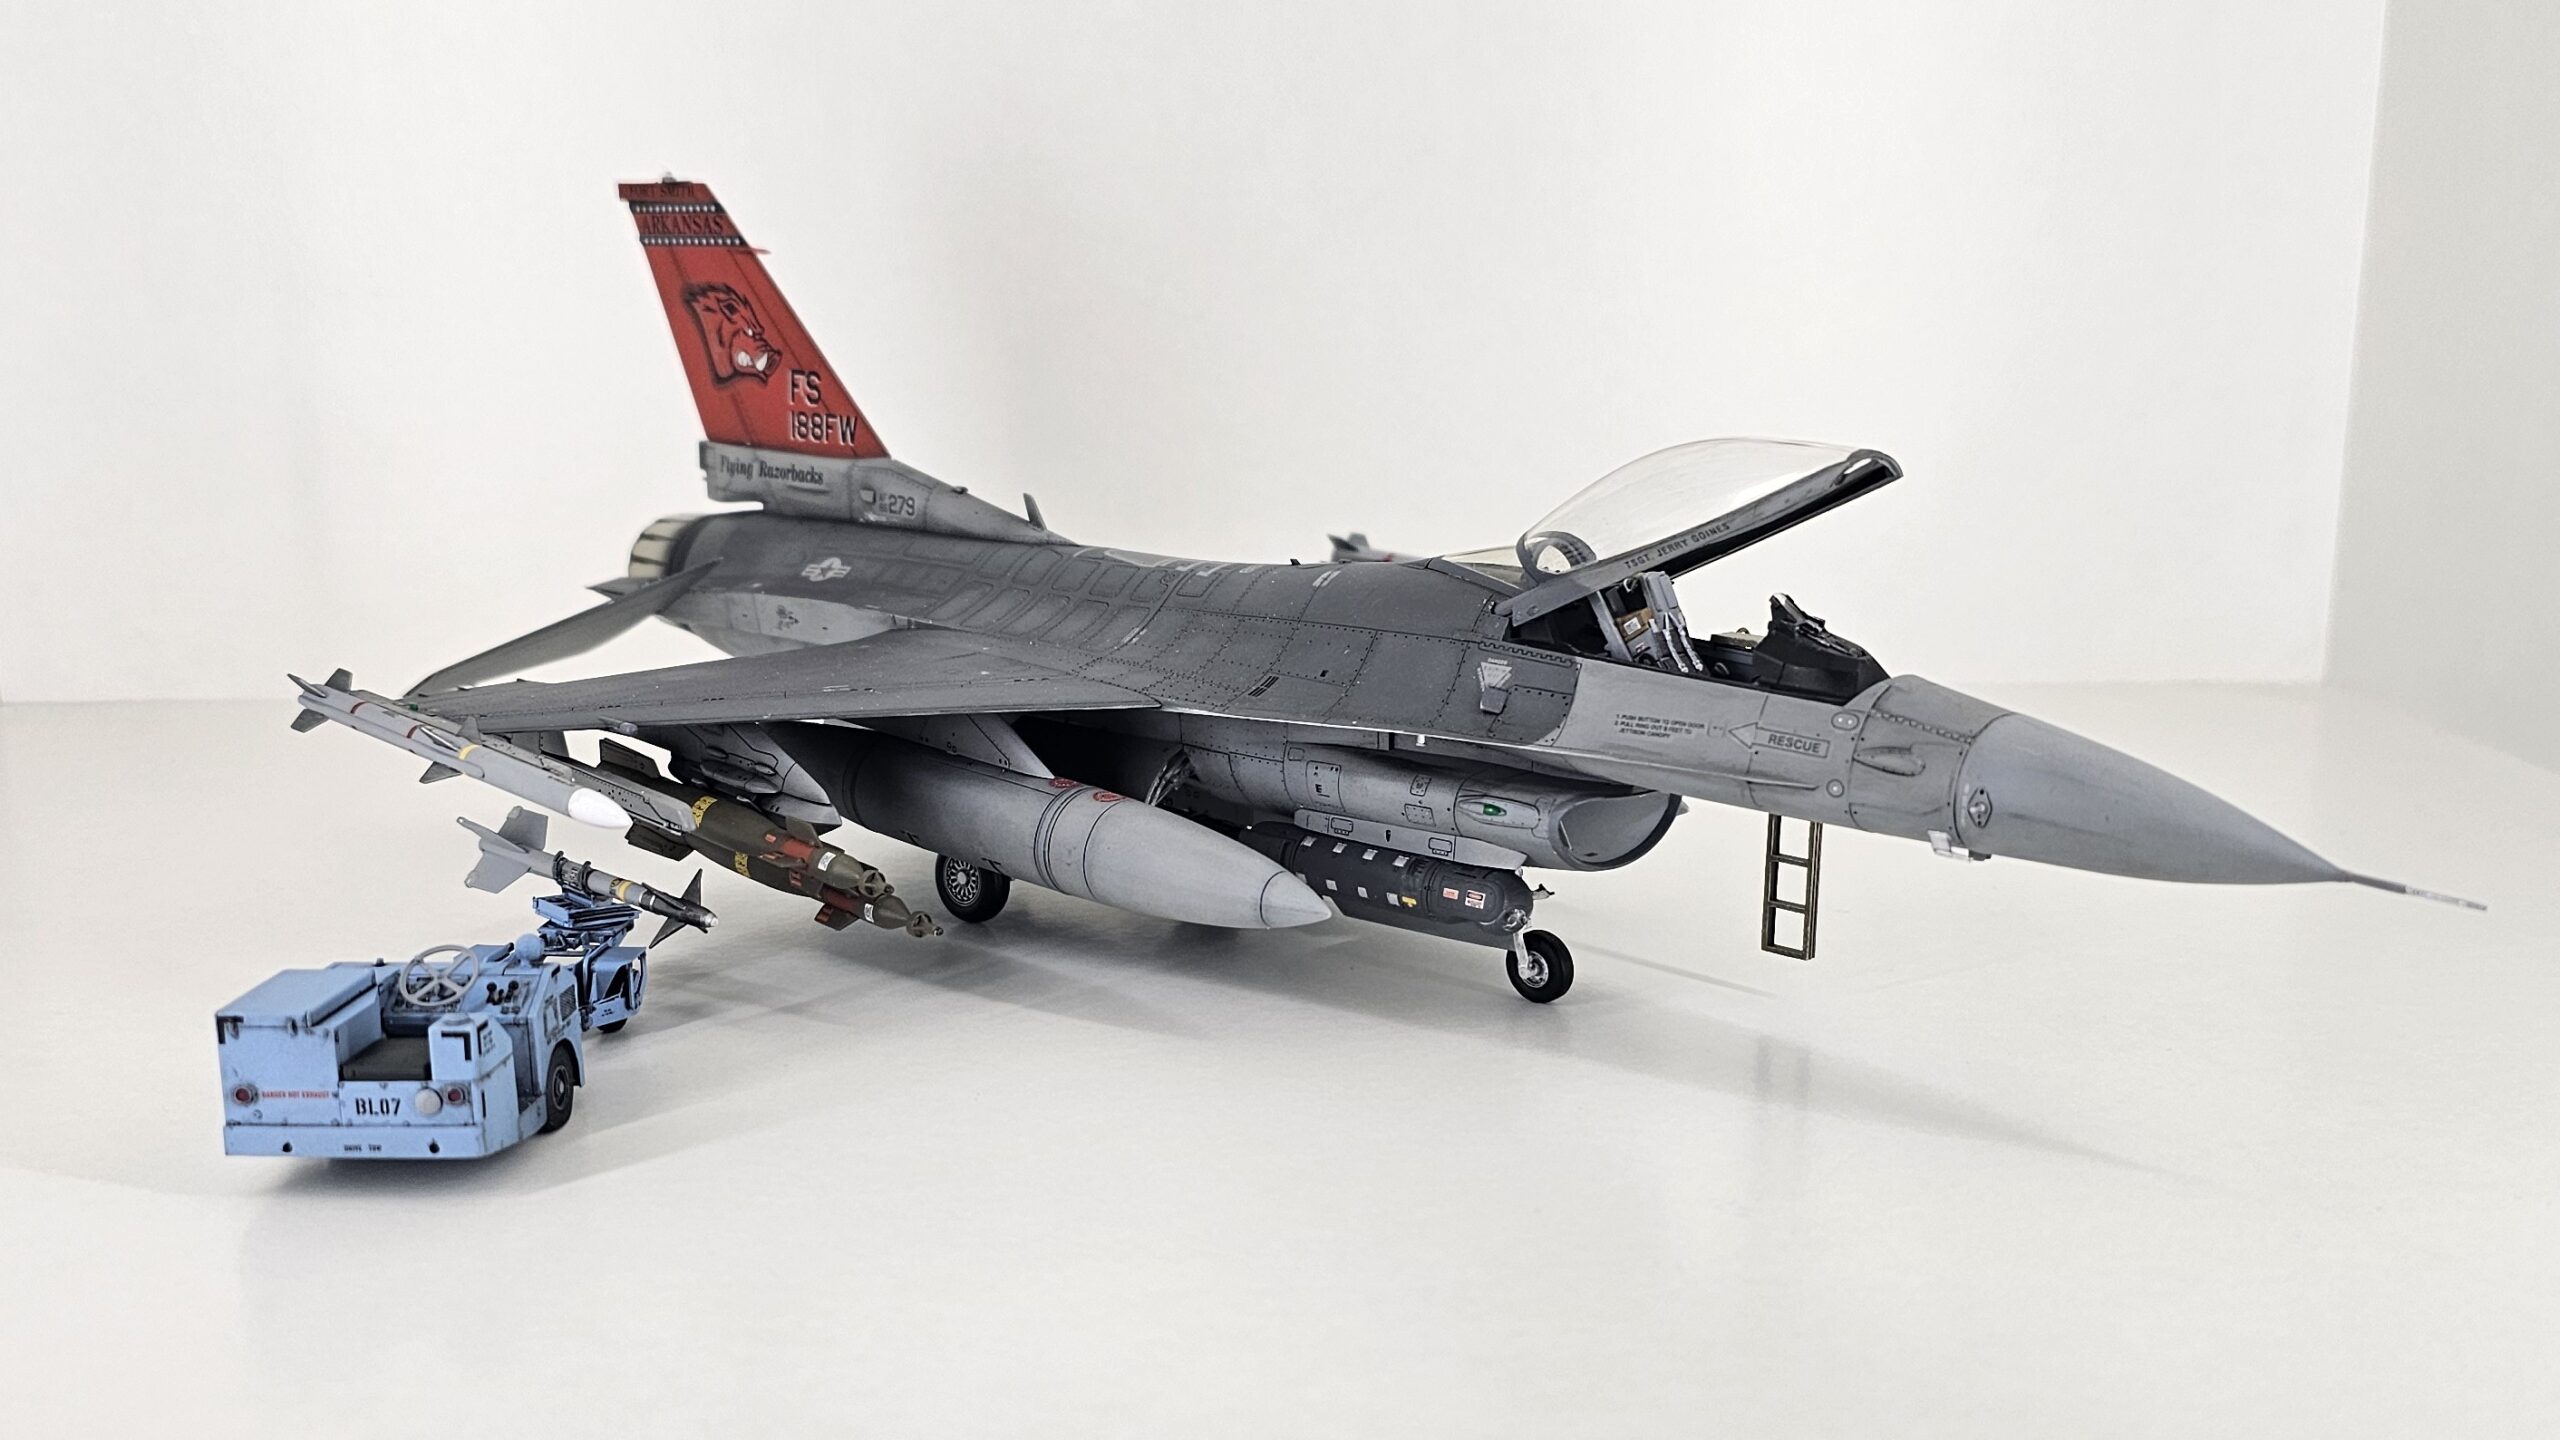
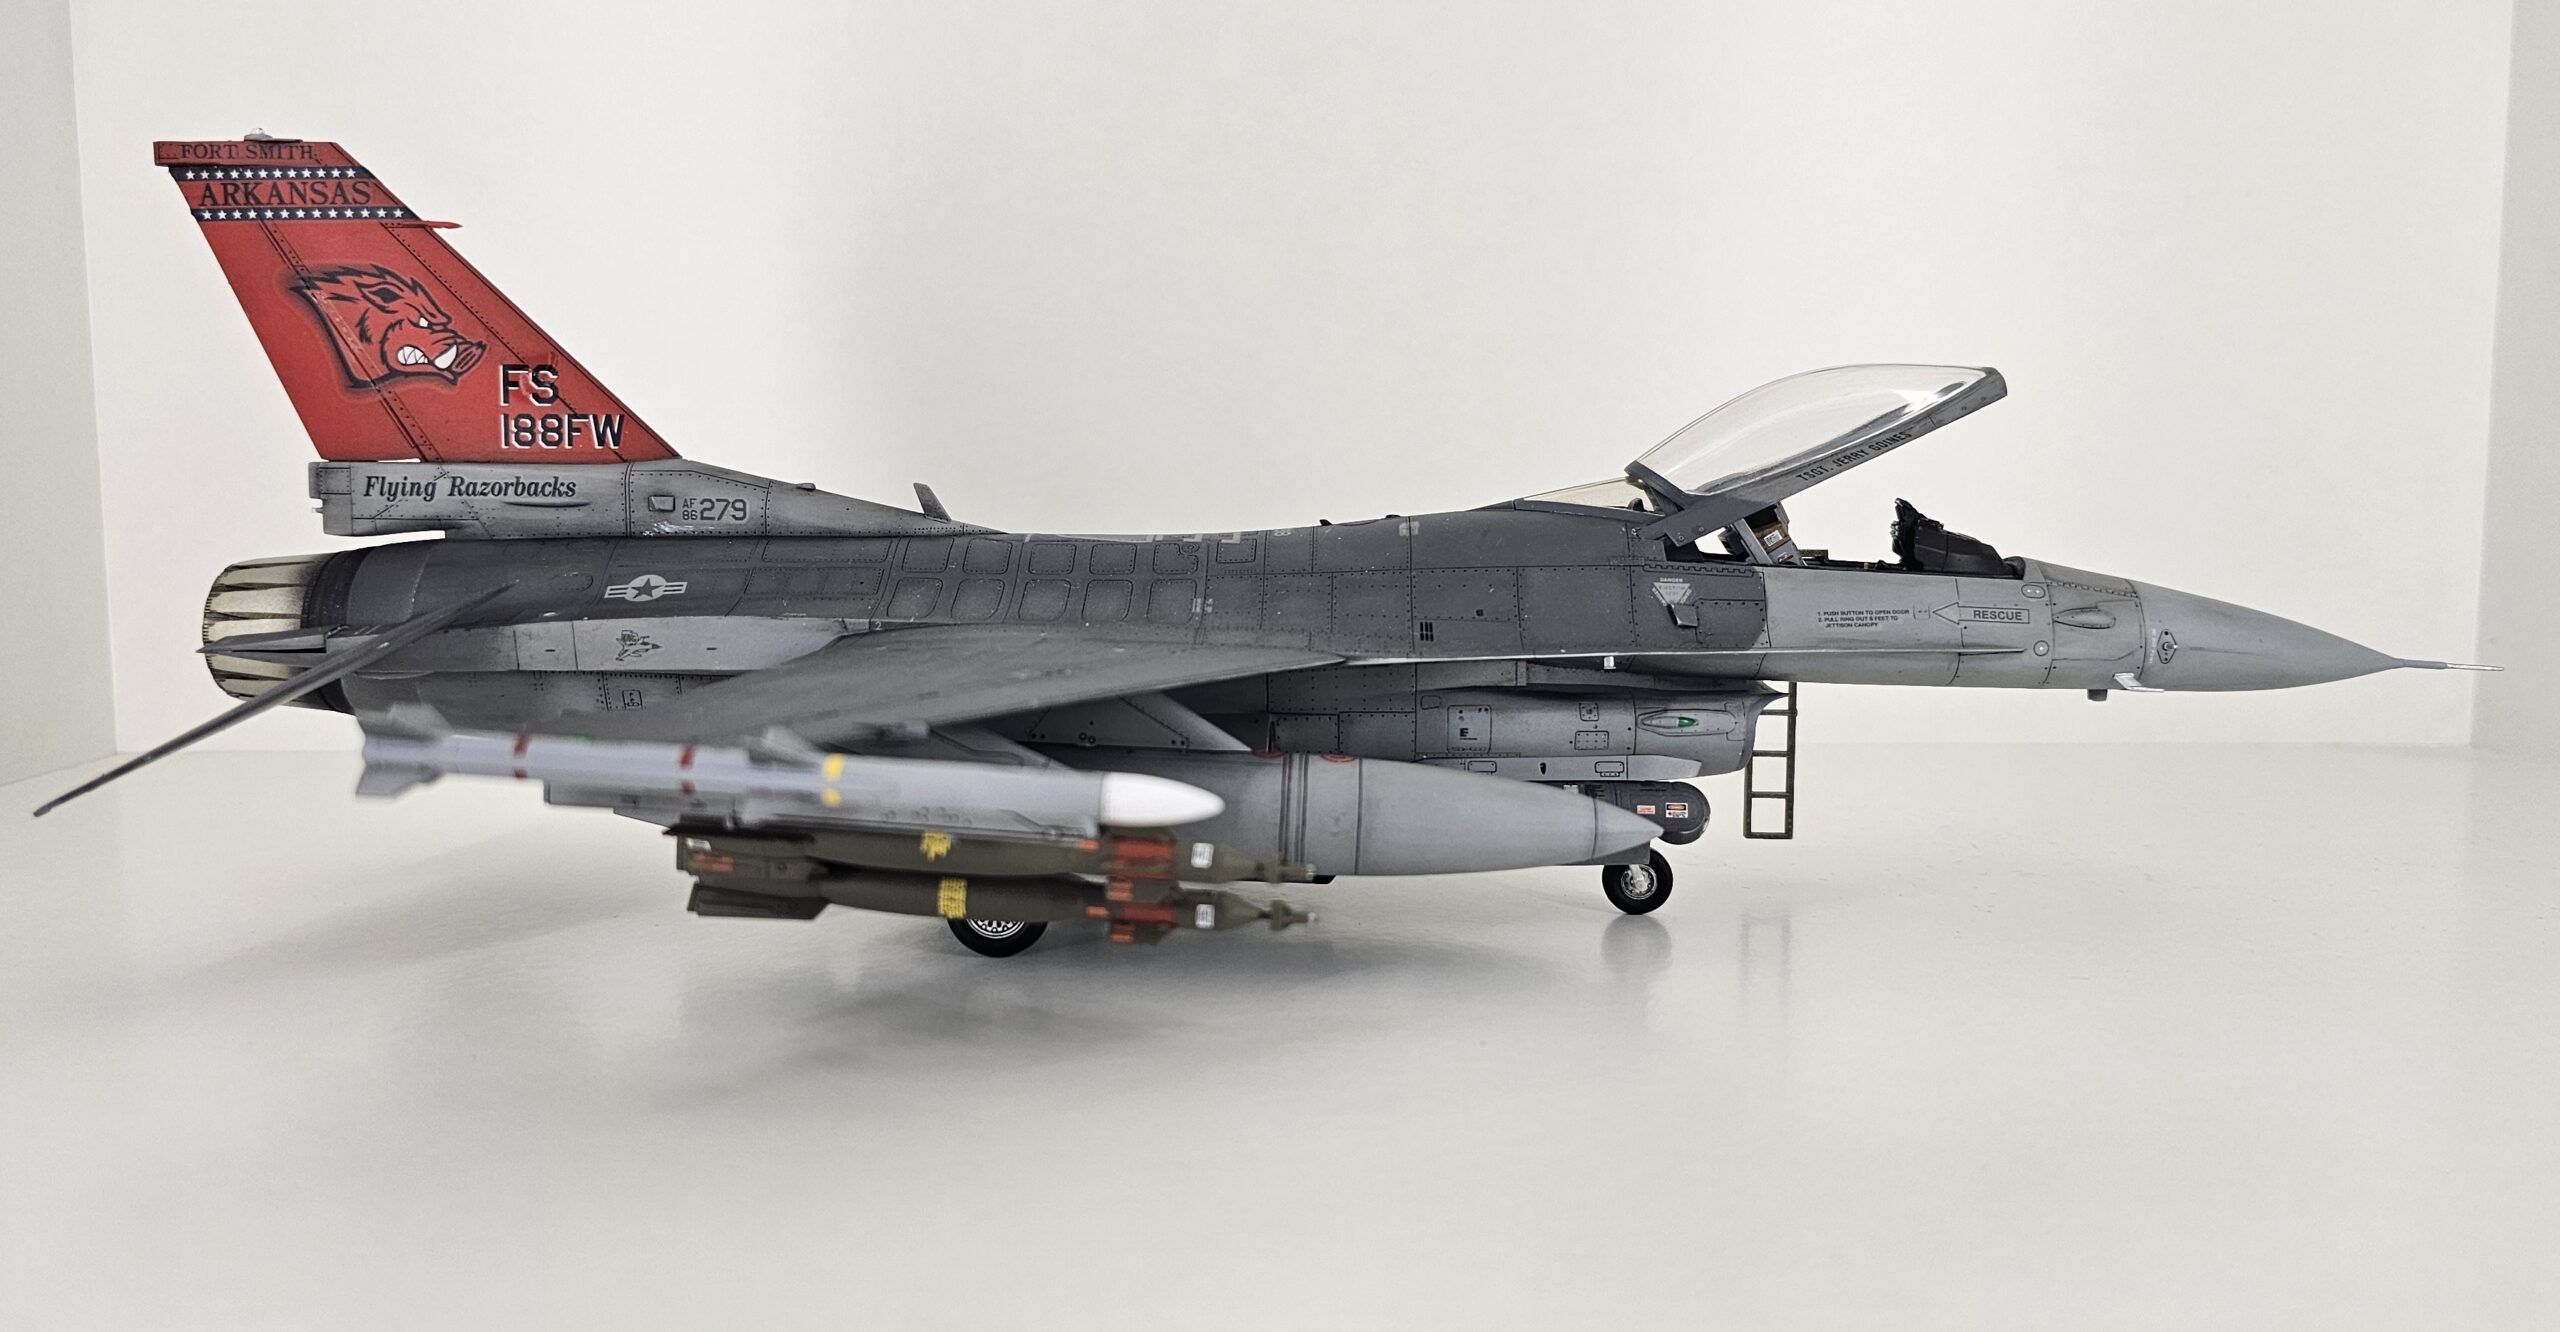
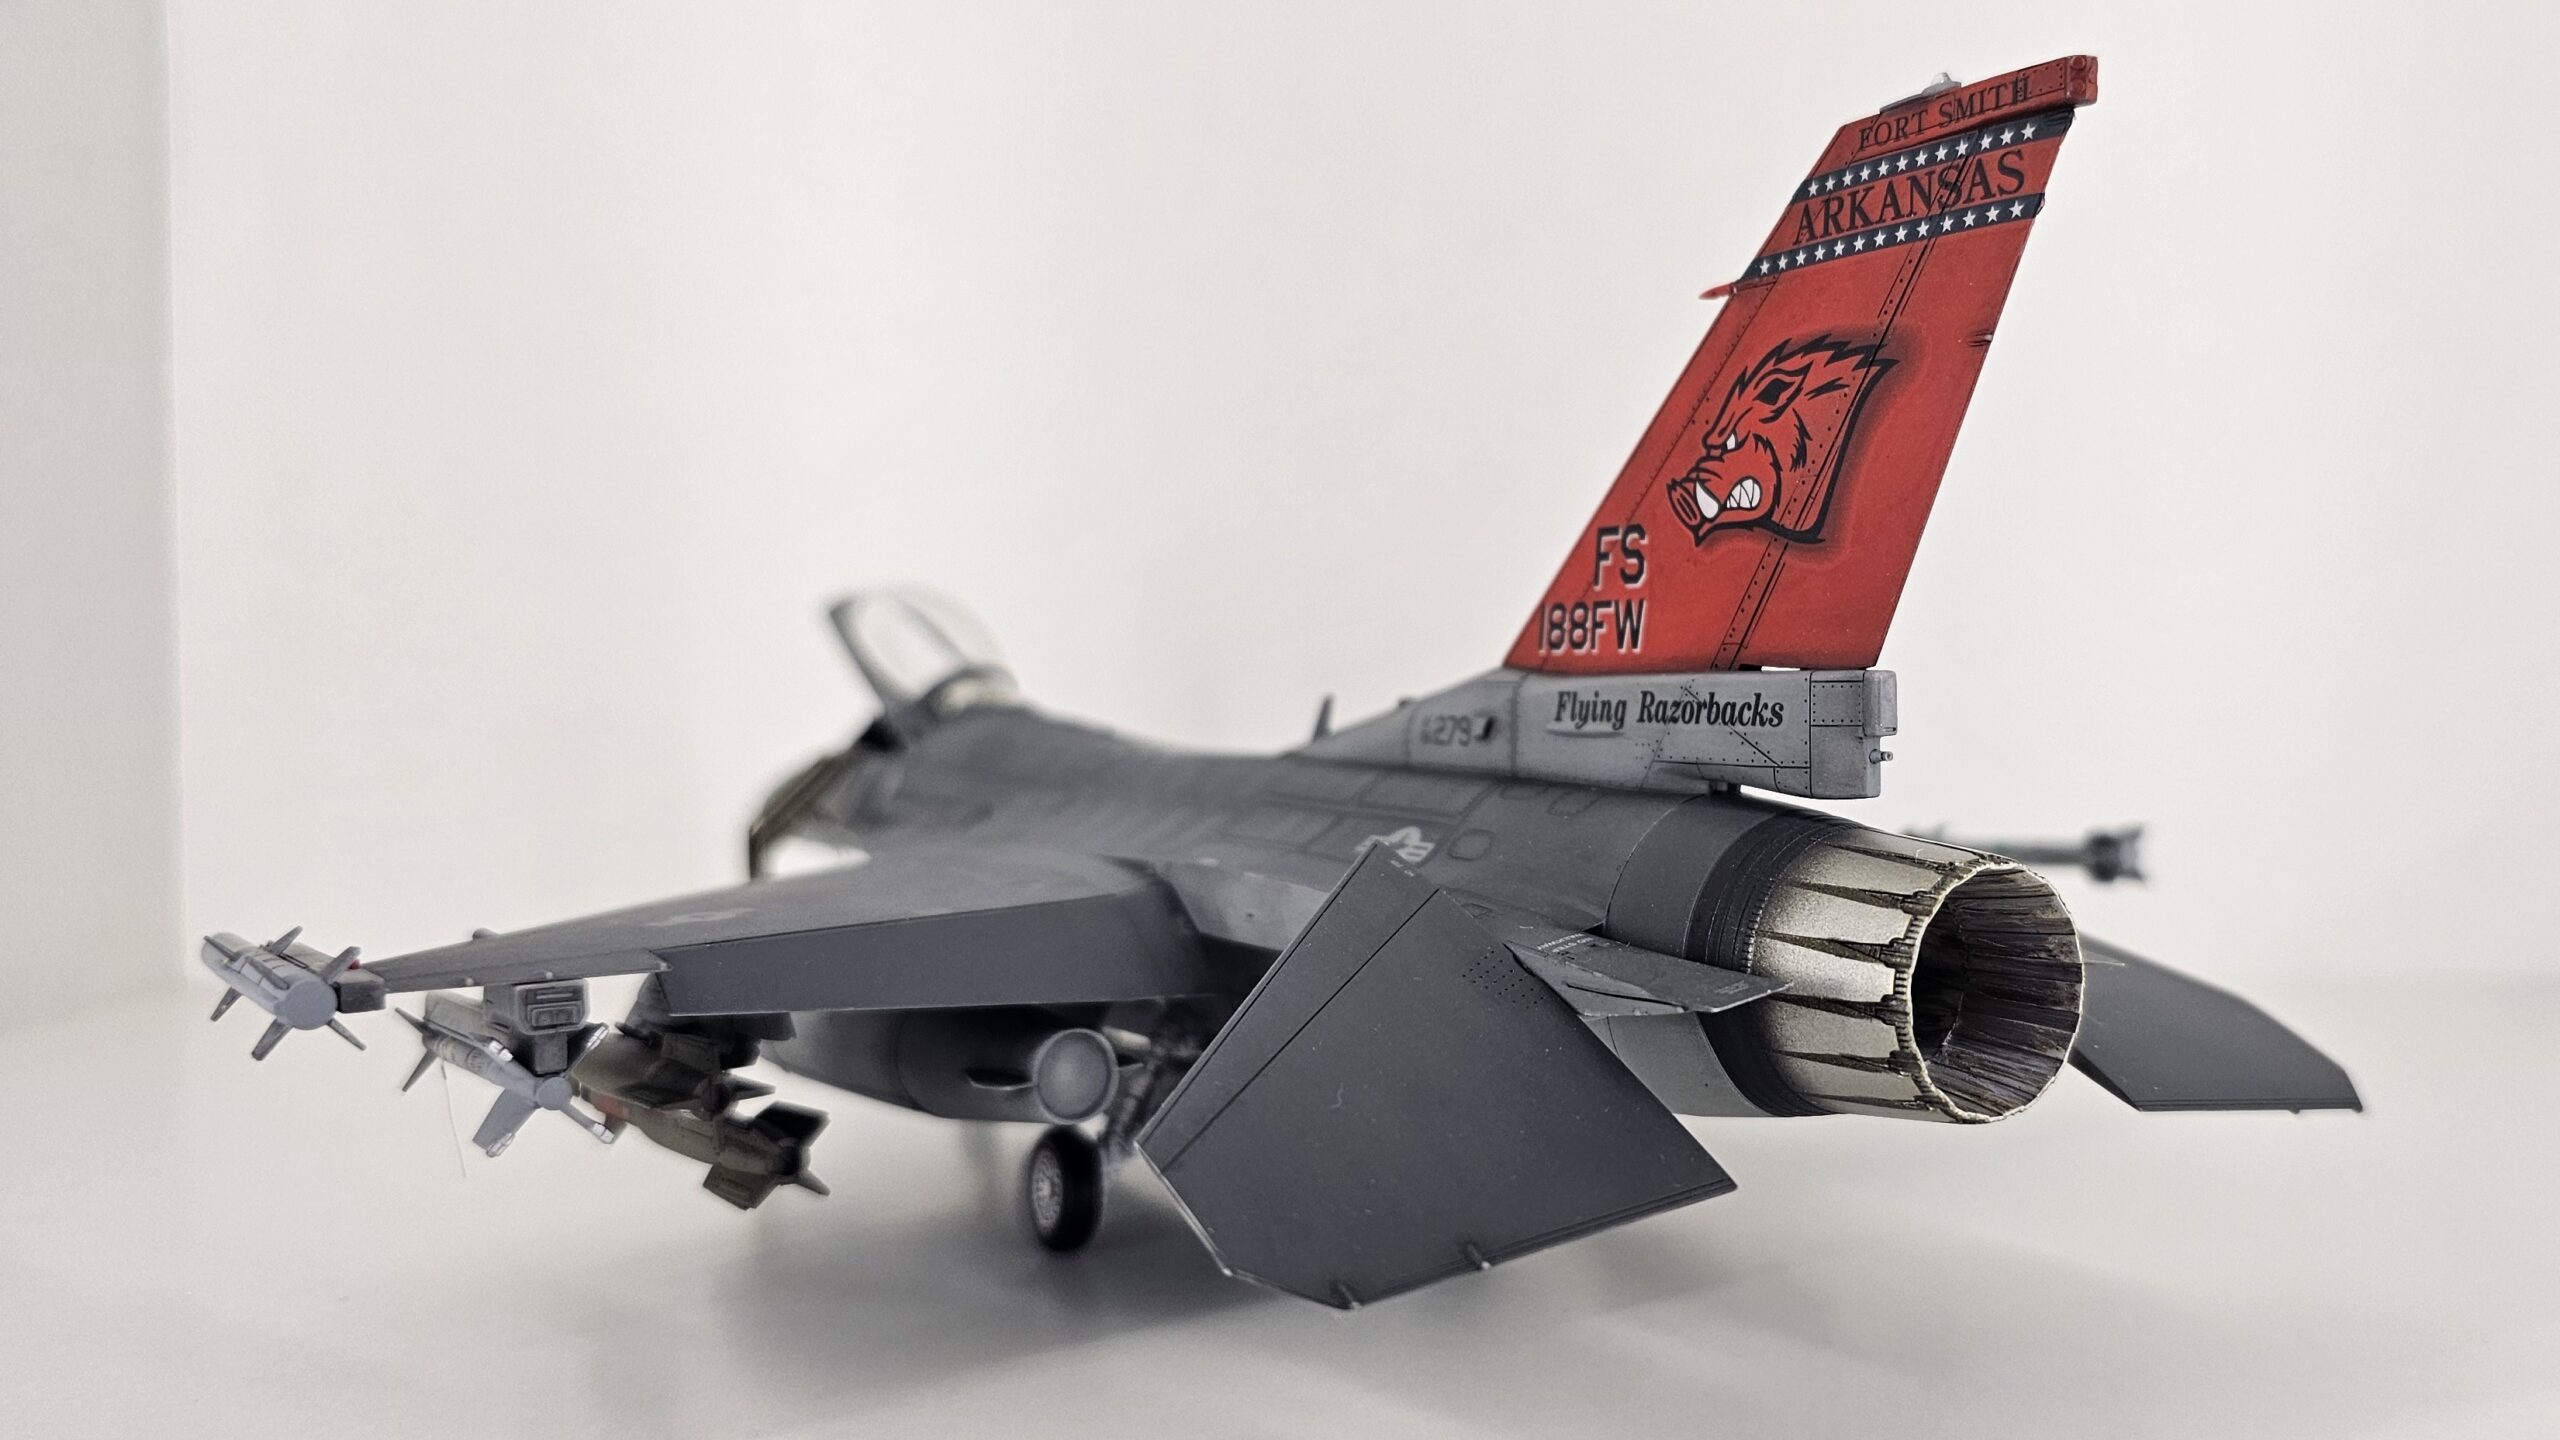
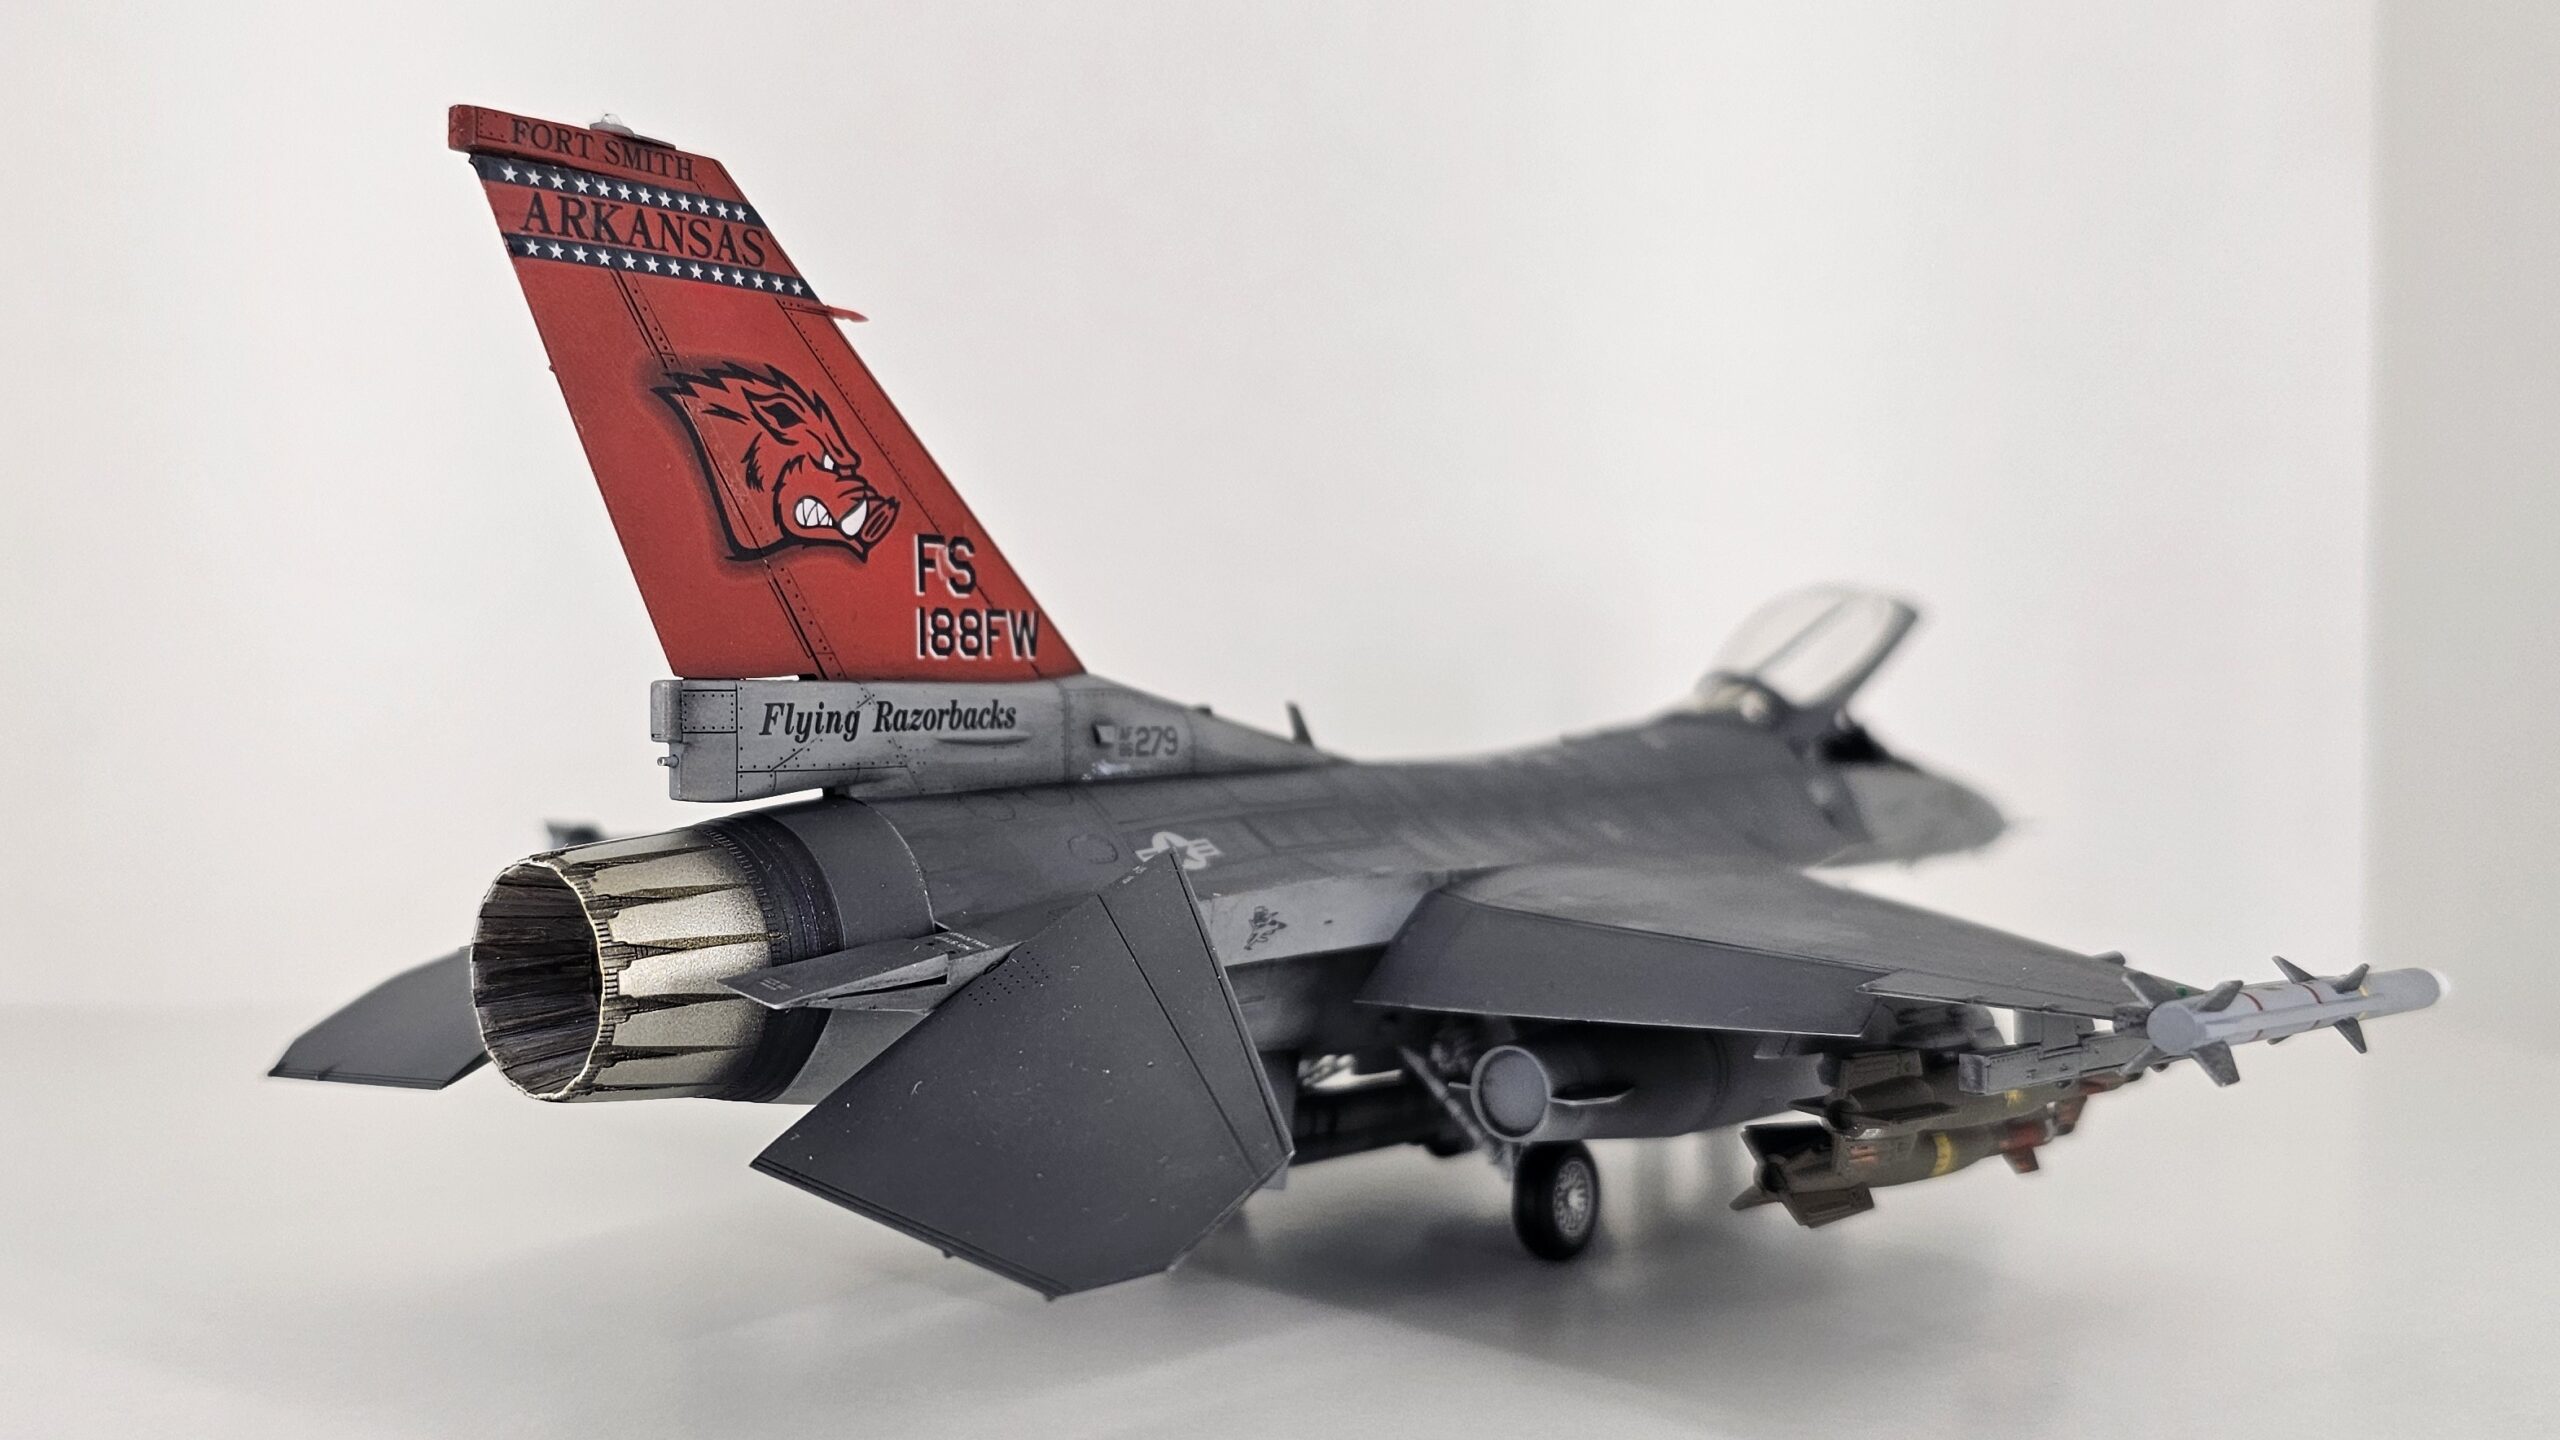
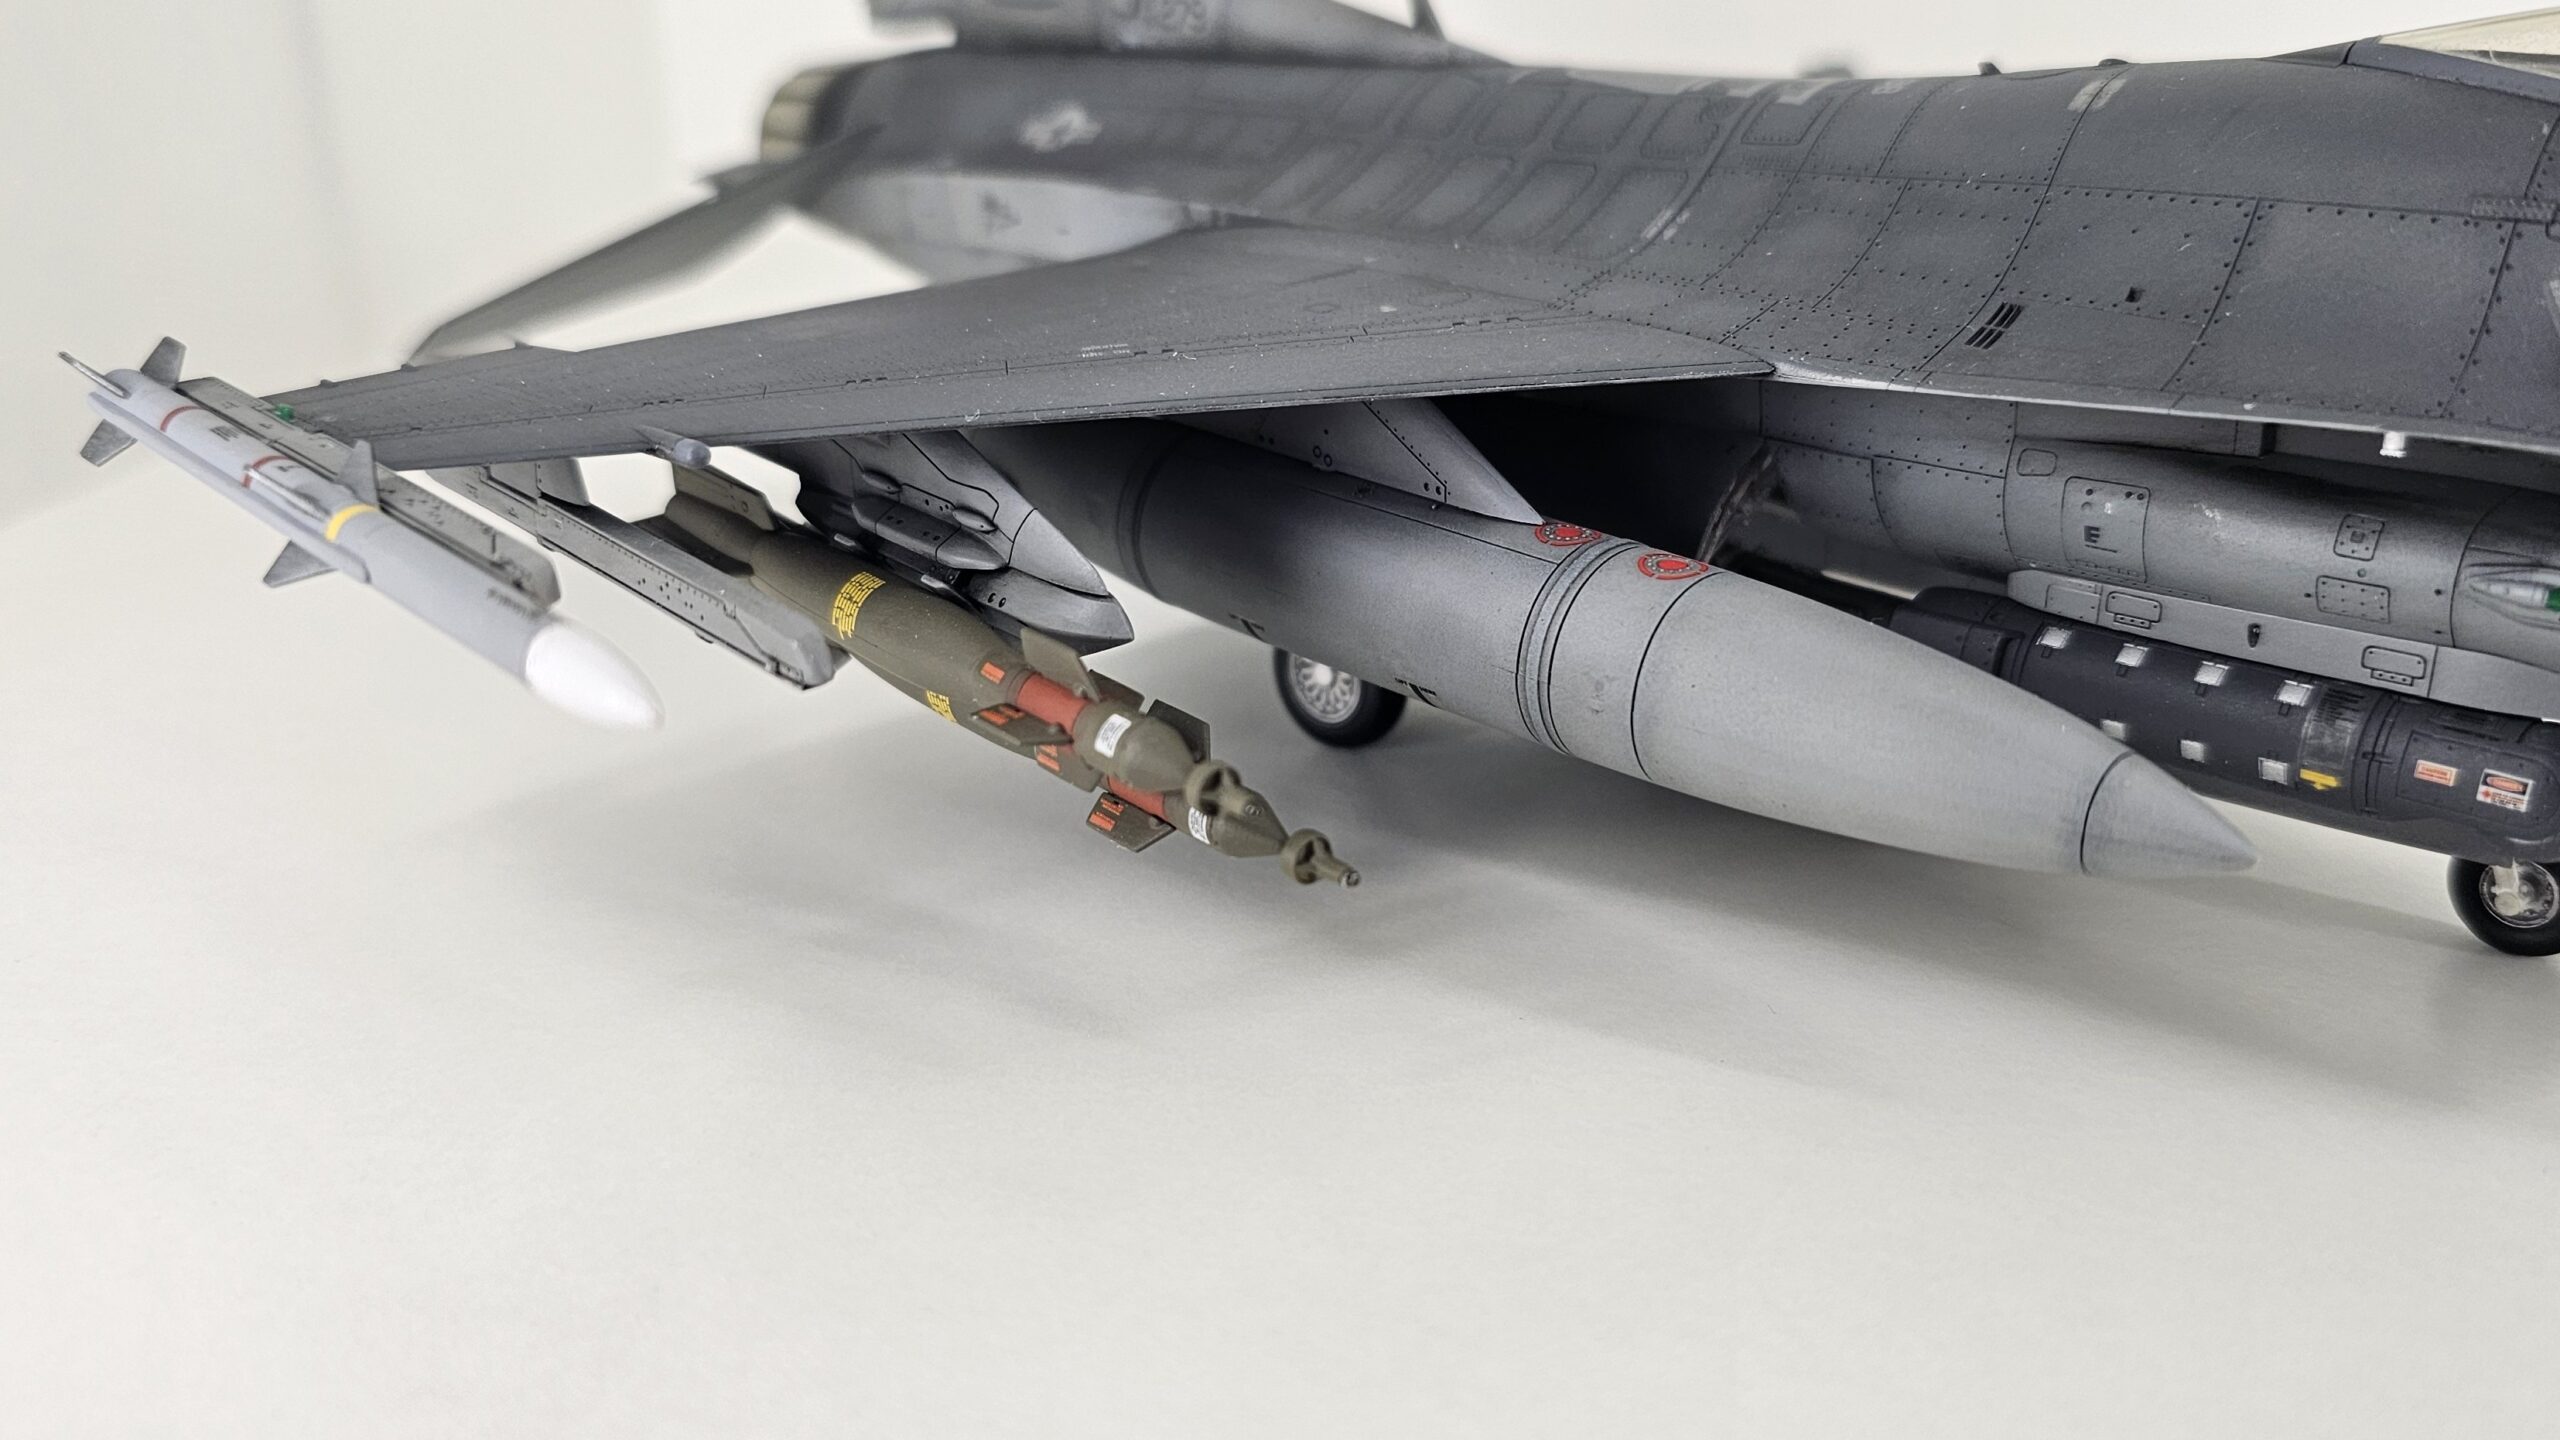
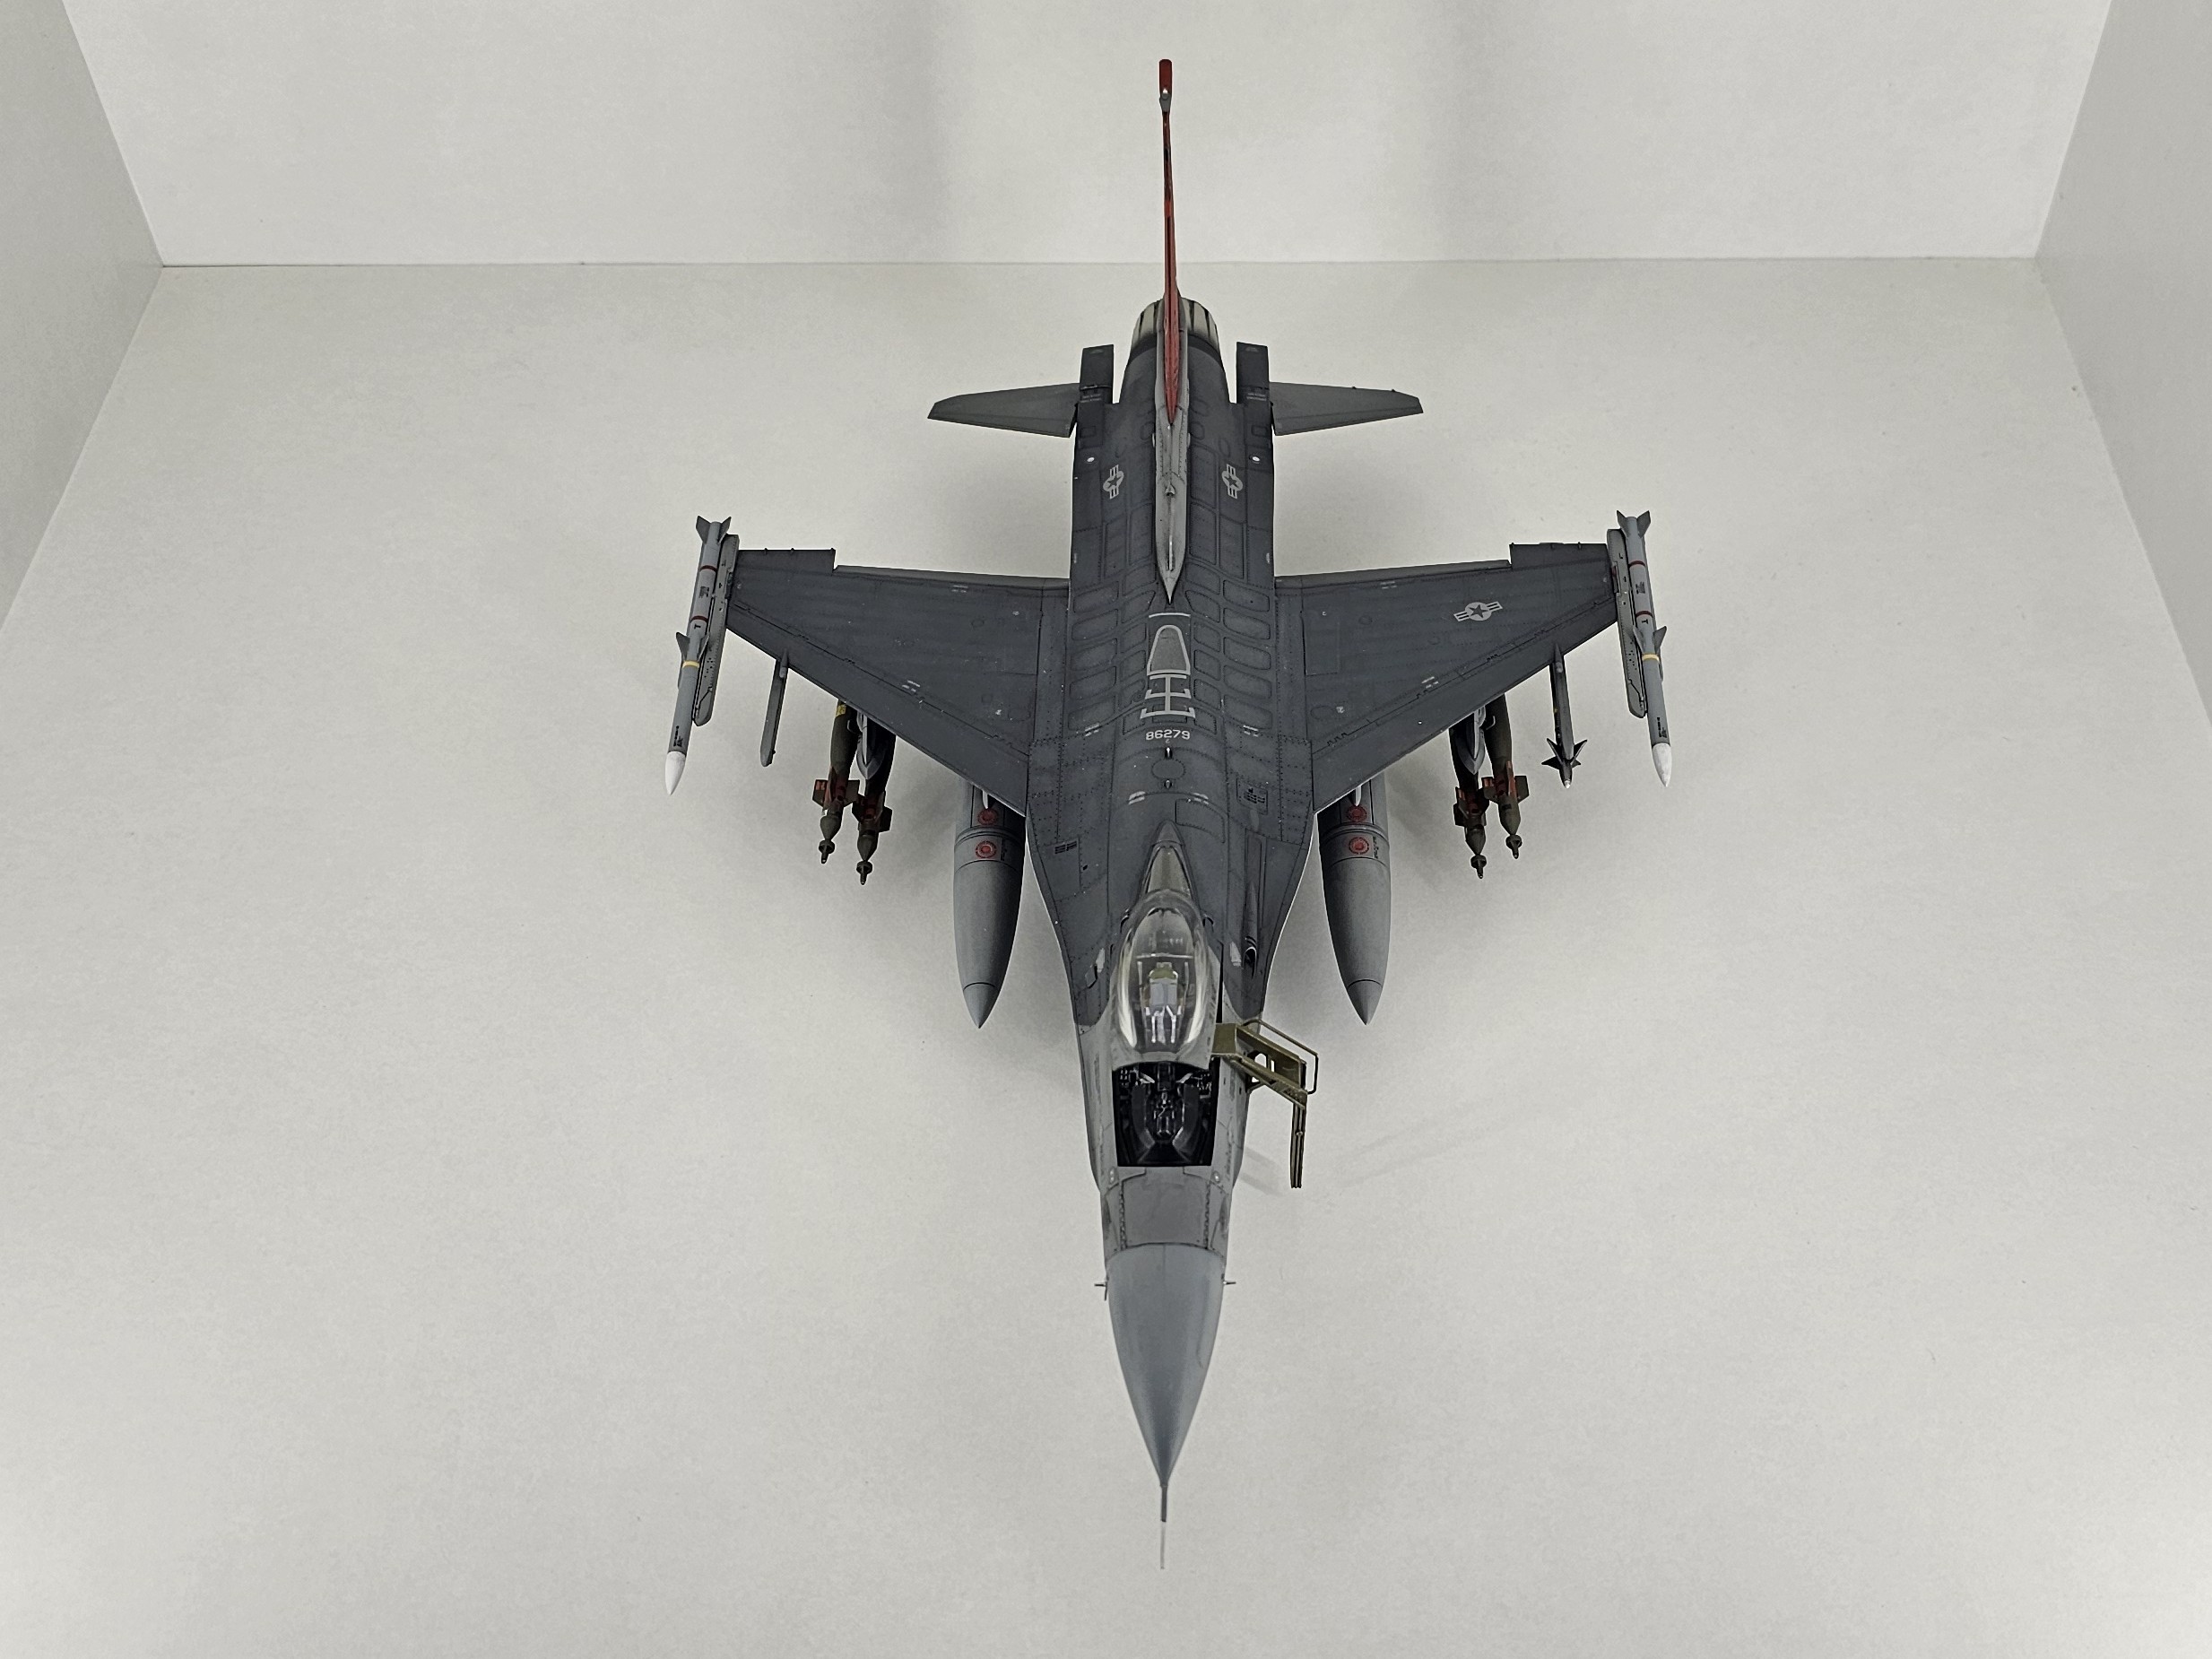
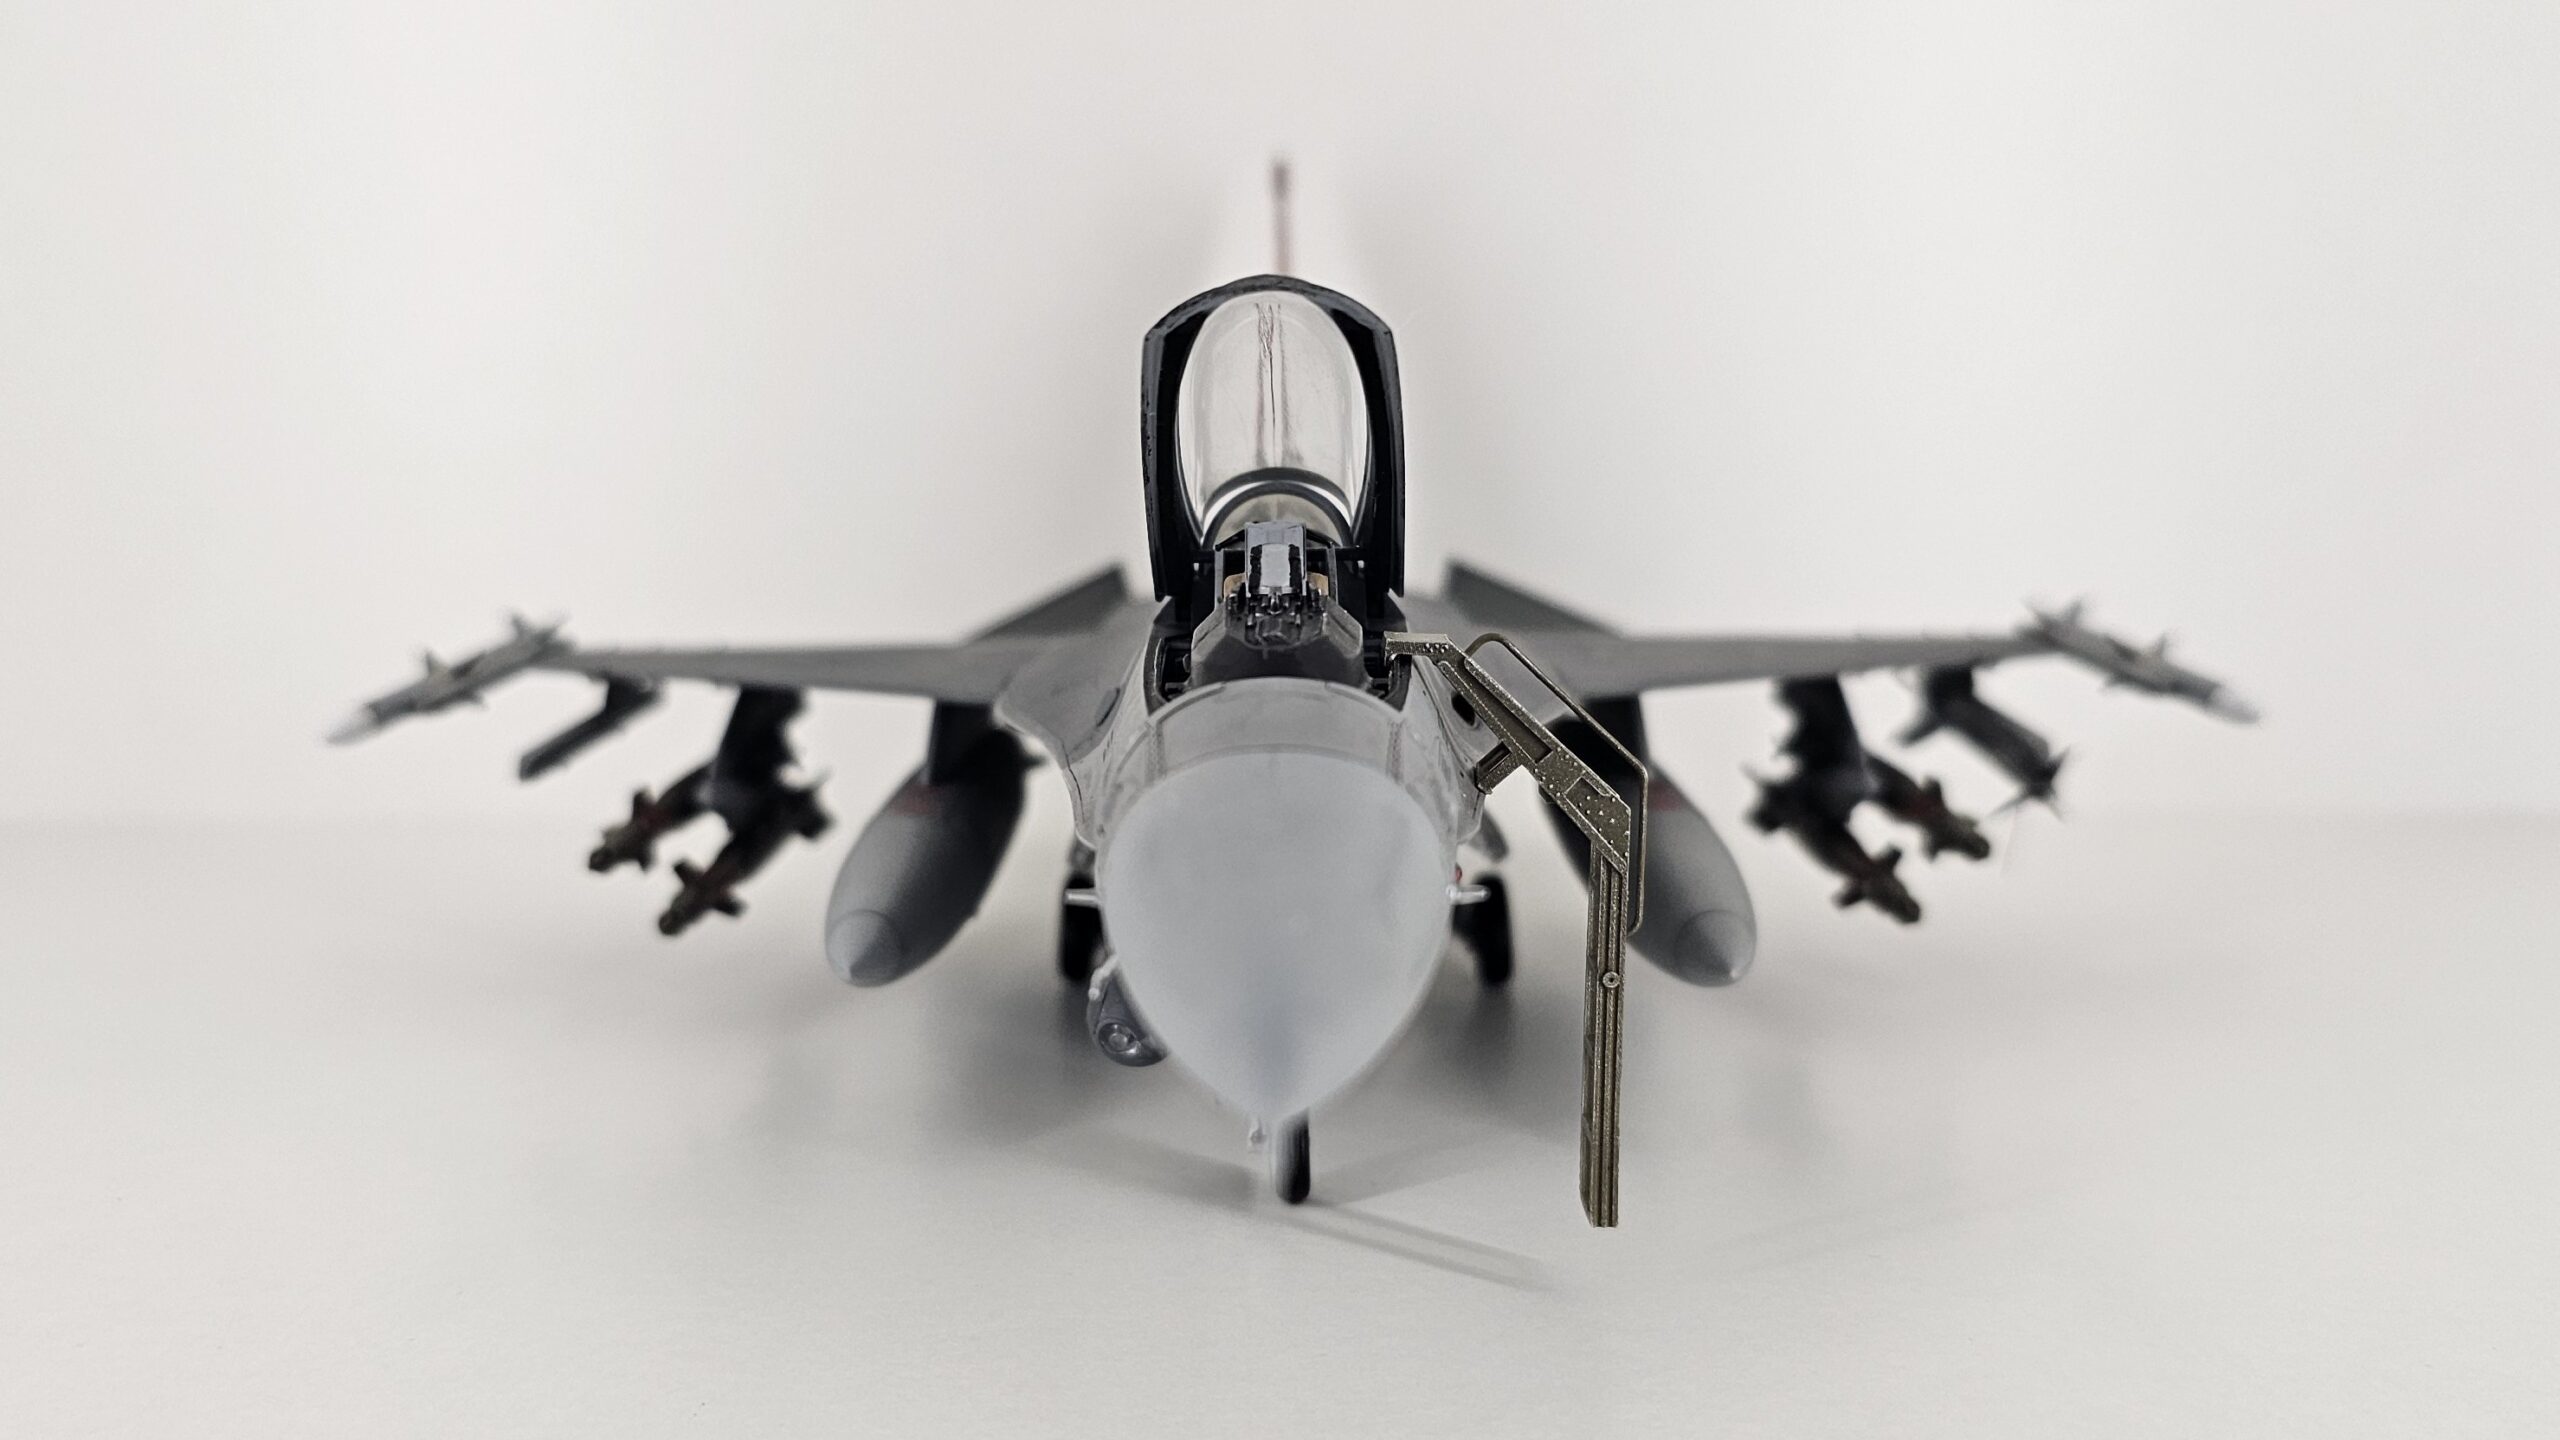

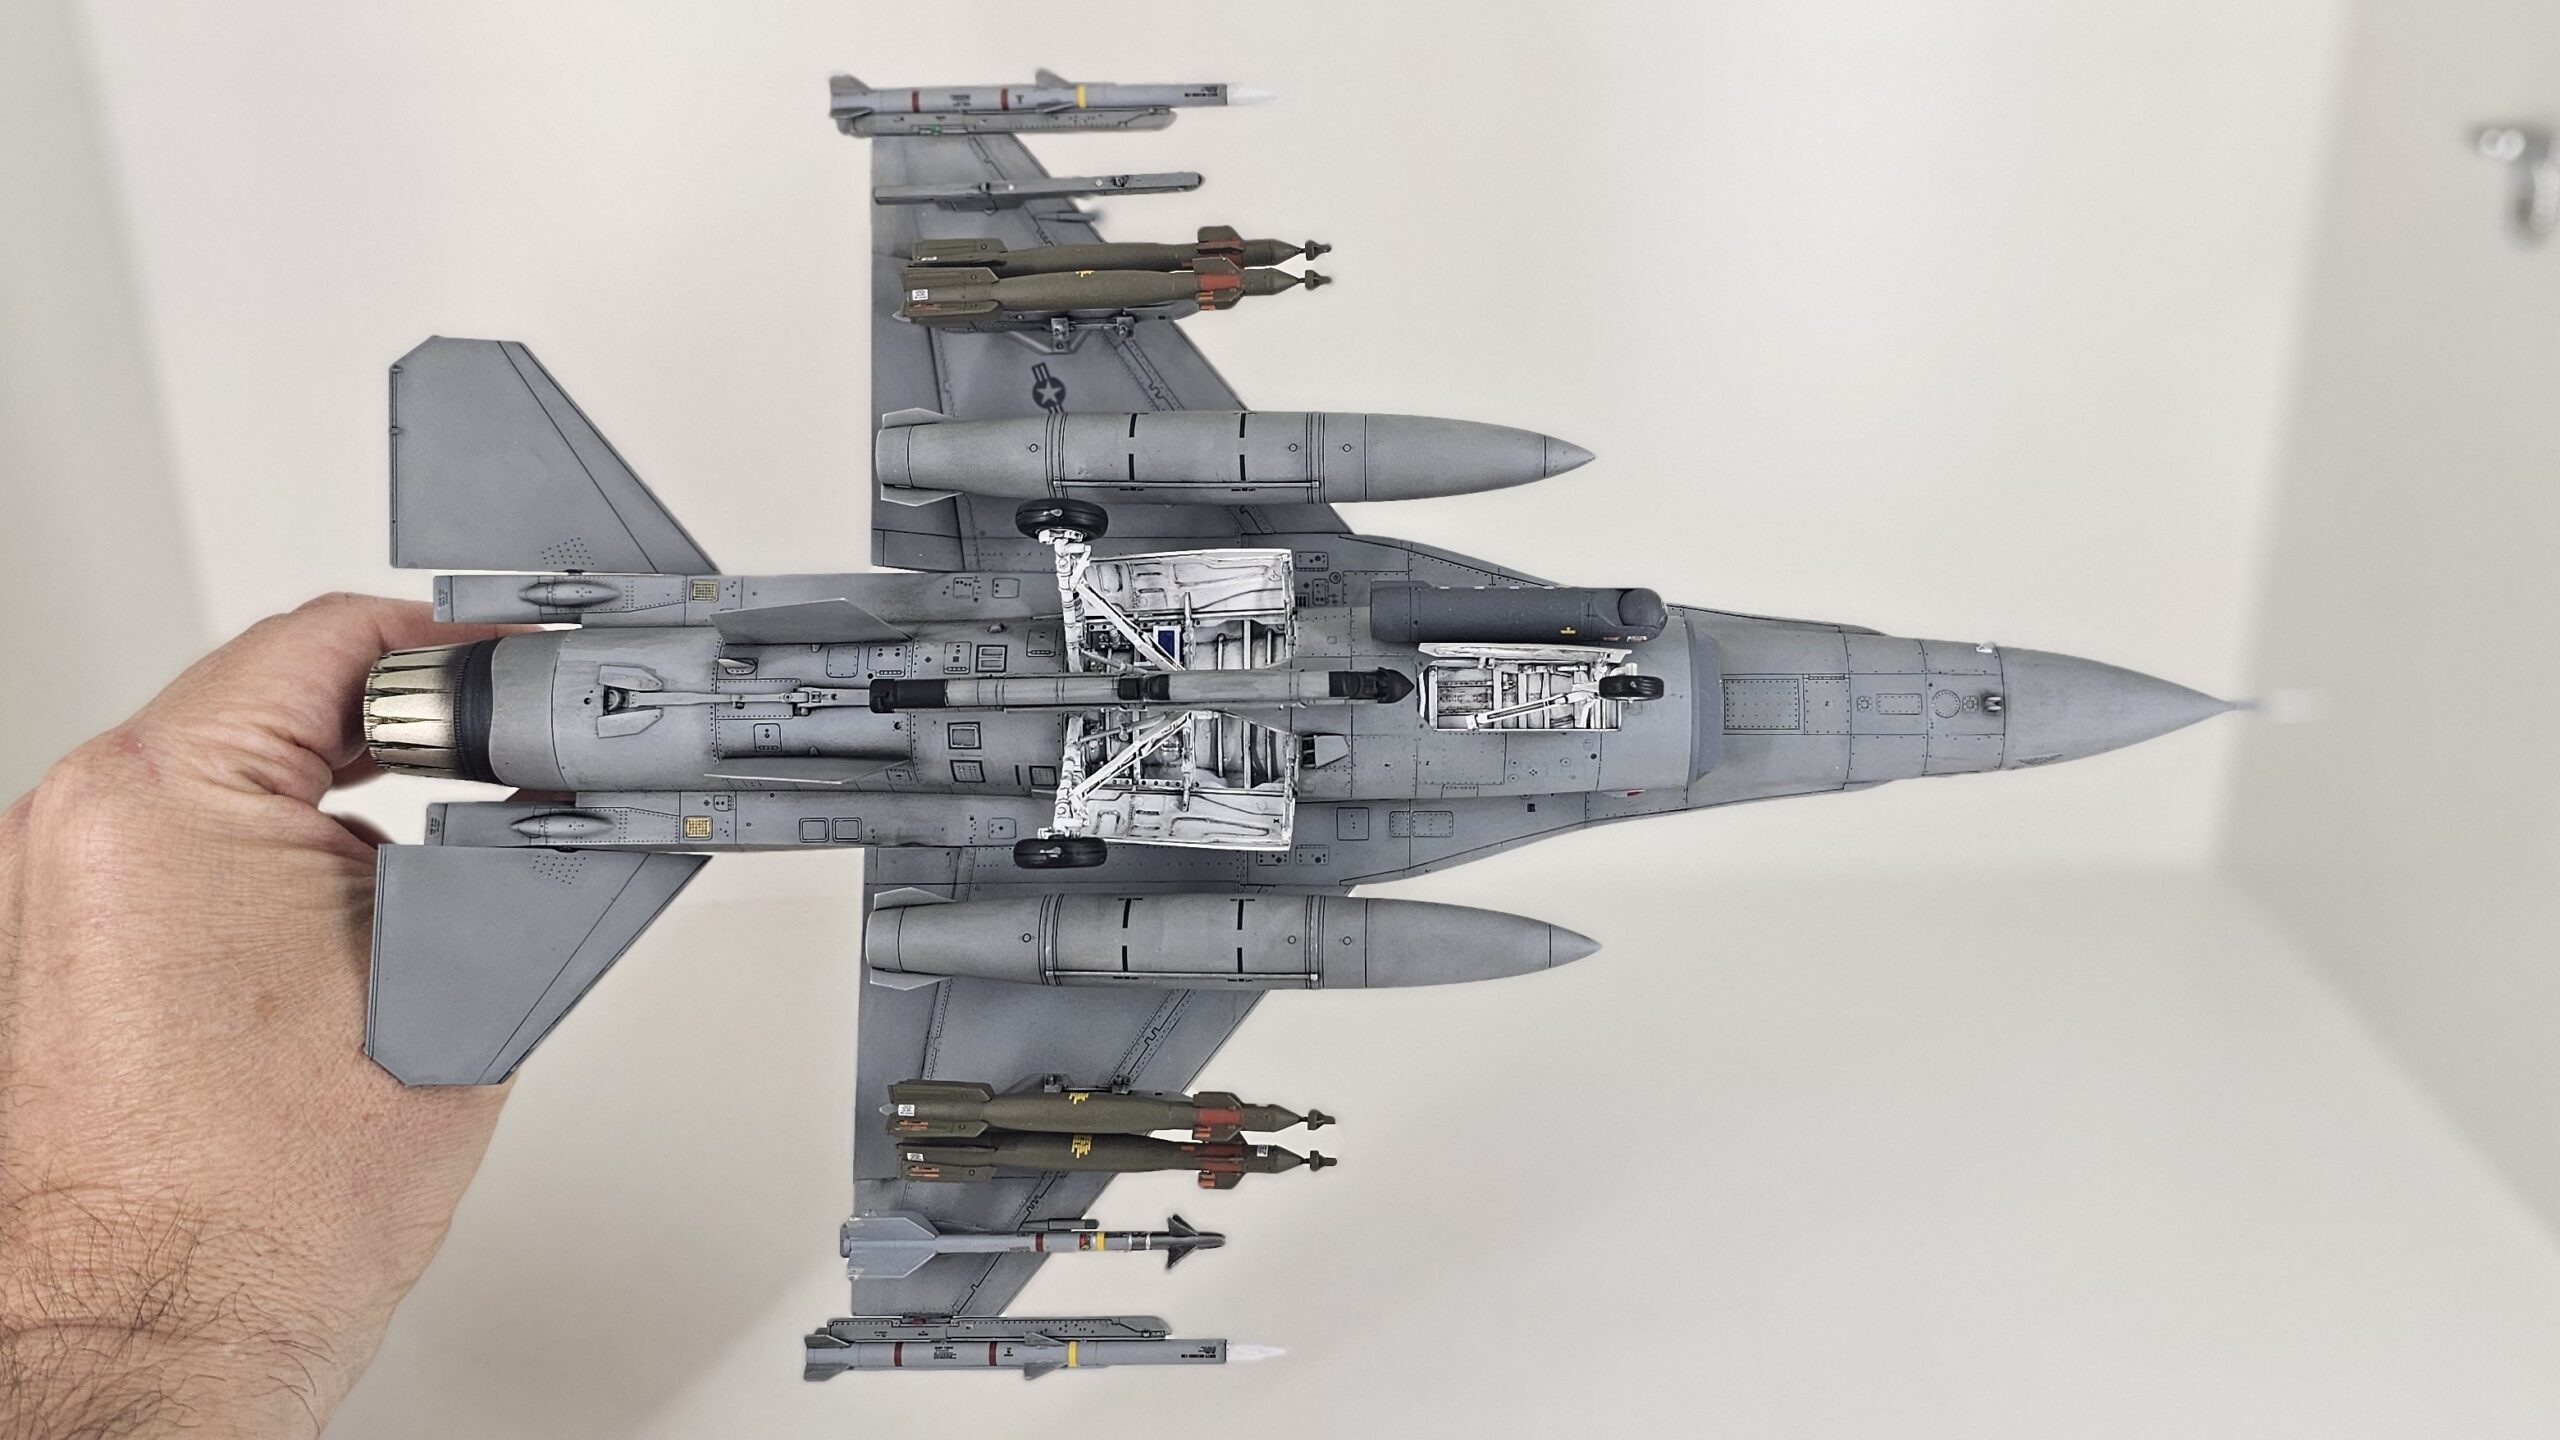
Images of the finished model
About this model
The first F-16C I built at 18 (it seems like only yesterday) was the Hasegawa version. Very decent, but certainly not on the level of this Tamiya version. In discussions about the best-engineered and best-fitting kits, this one is often mentioned as a benchmark. Generally speaking, I tend to agree with that assessment, although there are some aspects that could be considered "over-engineered." In particular, this kit allows you to remove the vertical stabilizer and armament for transport (or even to change the armament once the kit is finished), but the result isn't very good. Specifically, if you use the option to remove the vertical stabilizer, the reality is that there's a rather visible gap, since the stabilizer isn't completely attached to the fuselage.
In any case, the engineering of this kit is remarkable, and the result is impressive. To complete the model, I added the following:
- Quinta Studio 3D decals (cockpit and exterior)
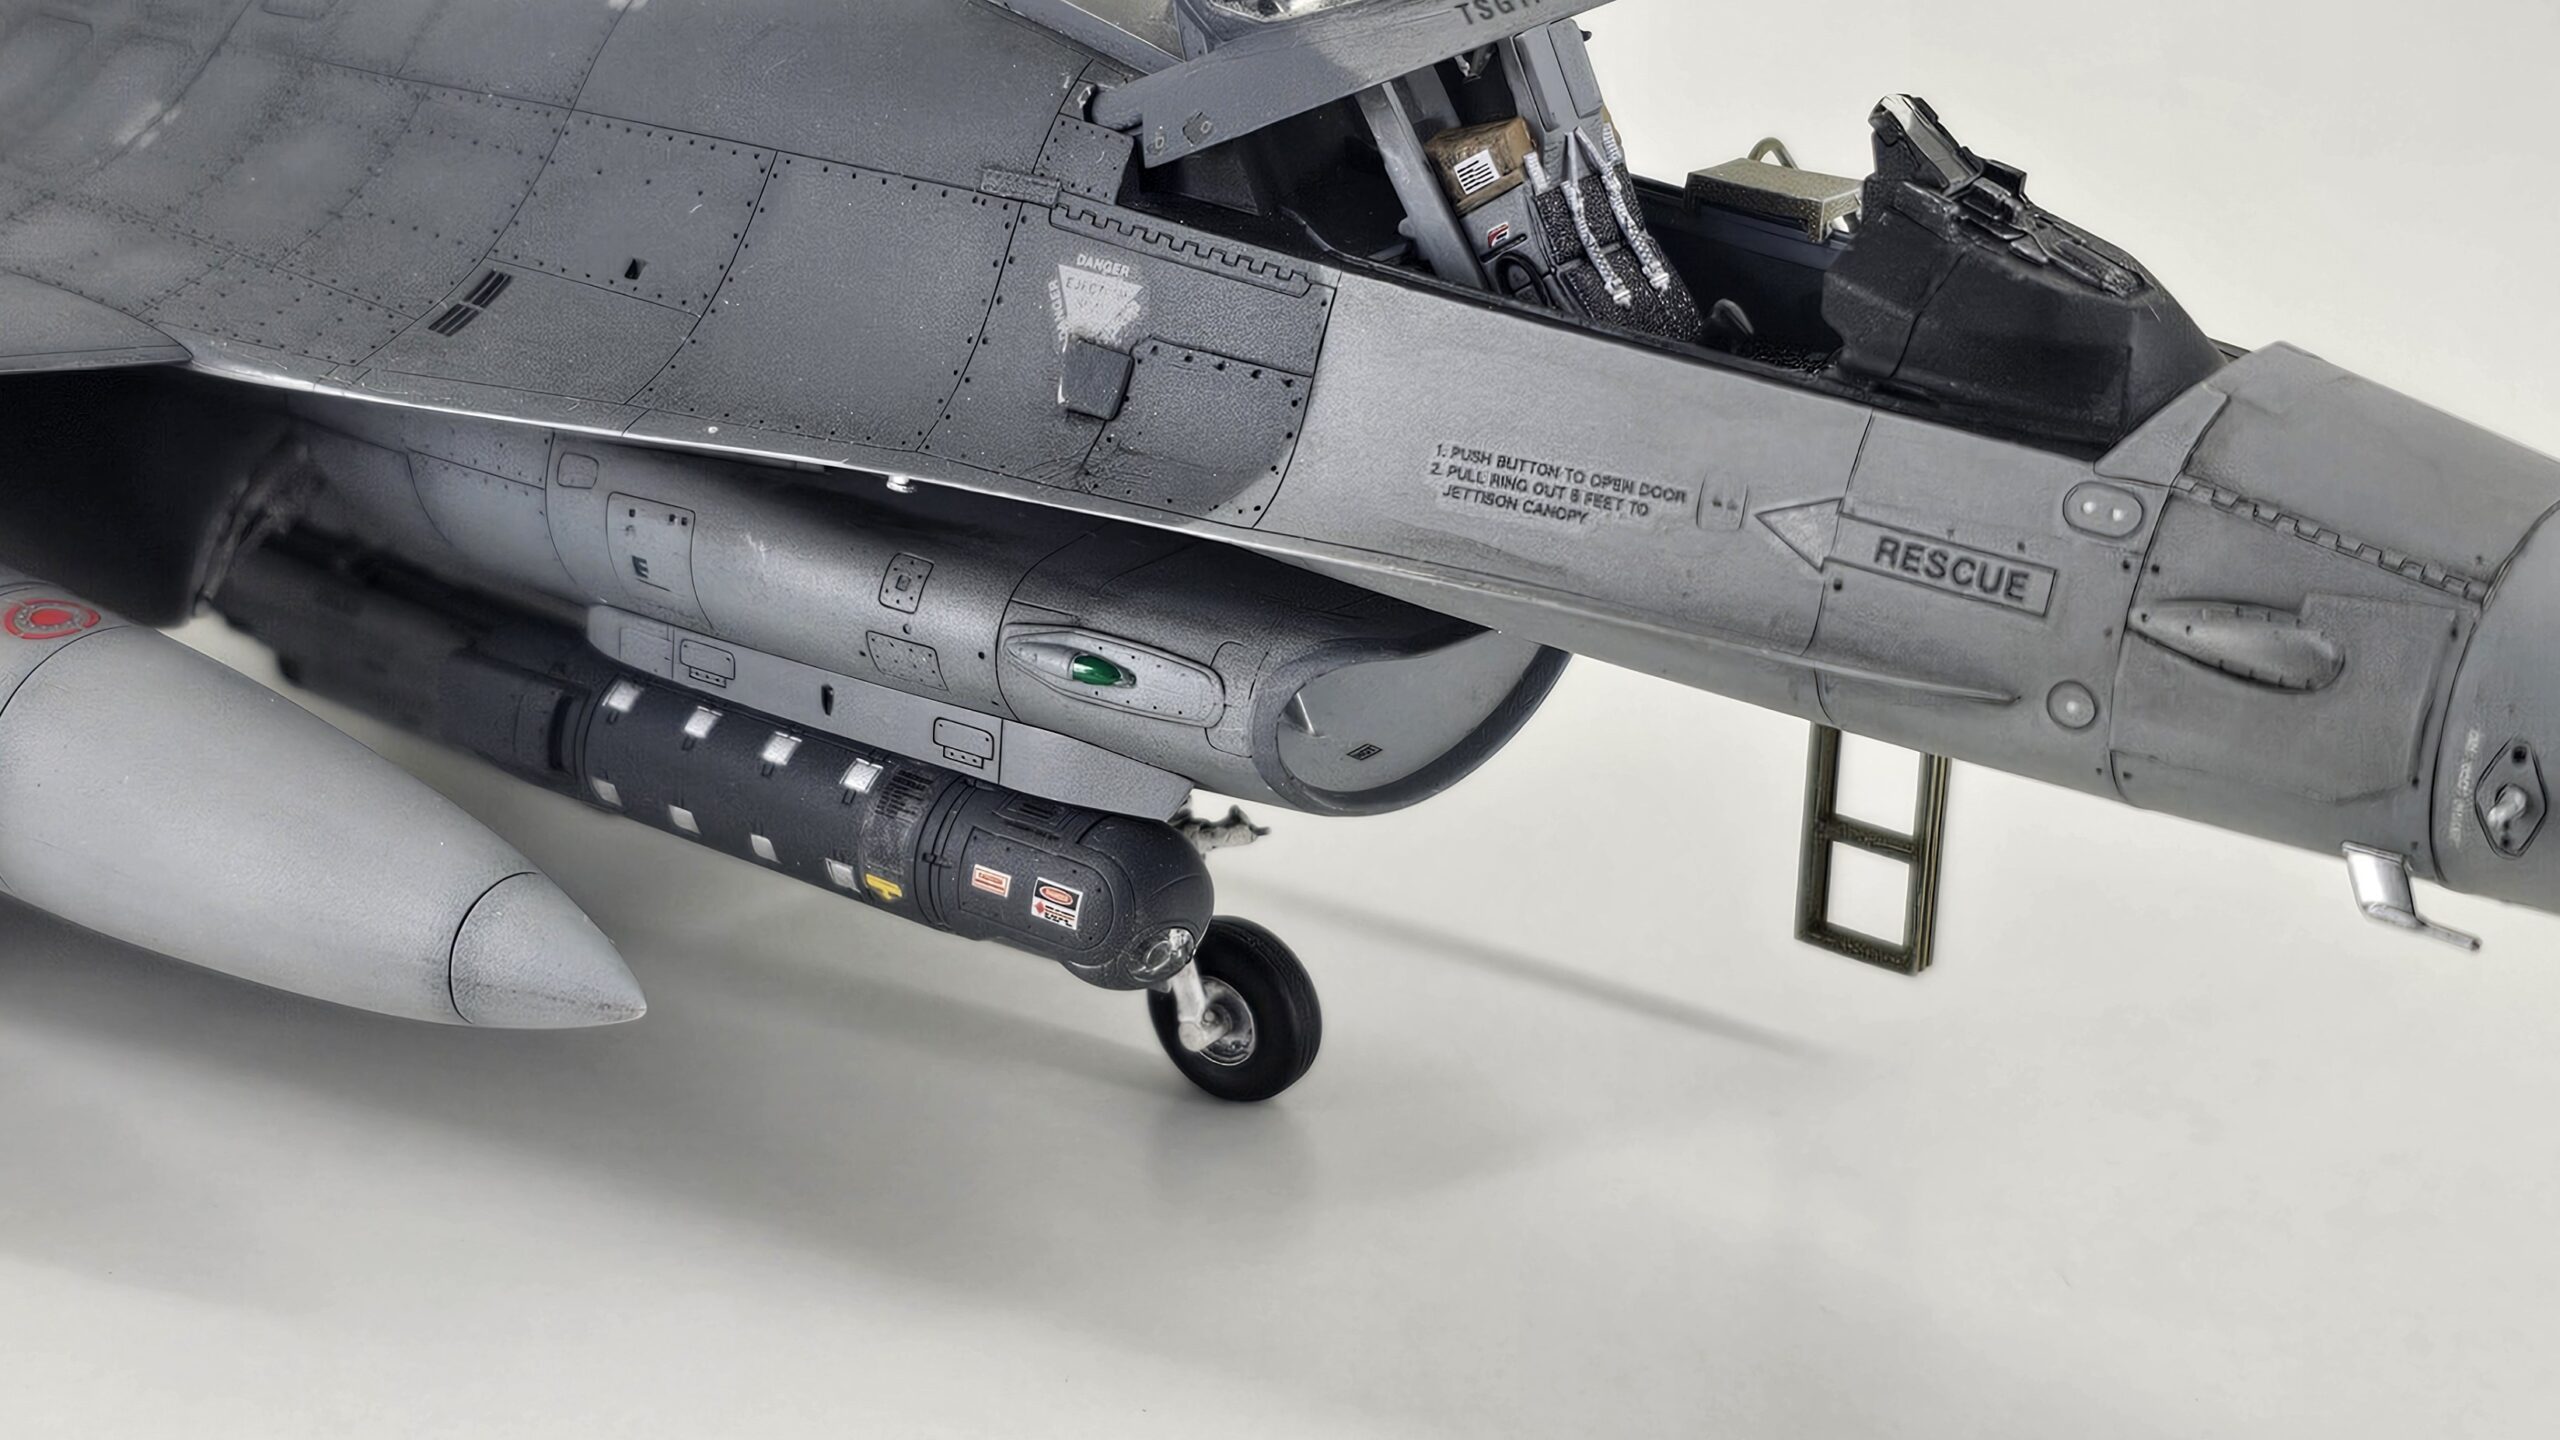
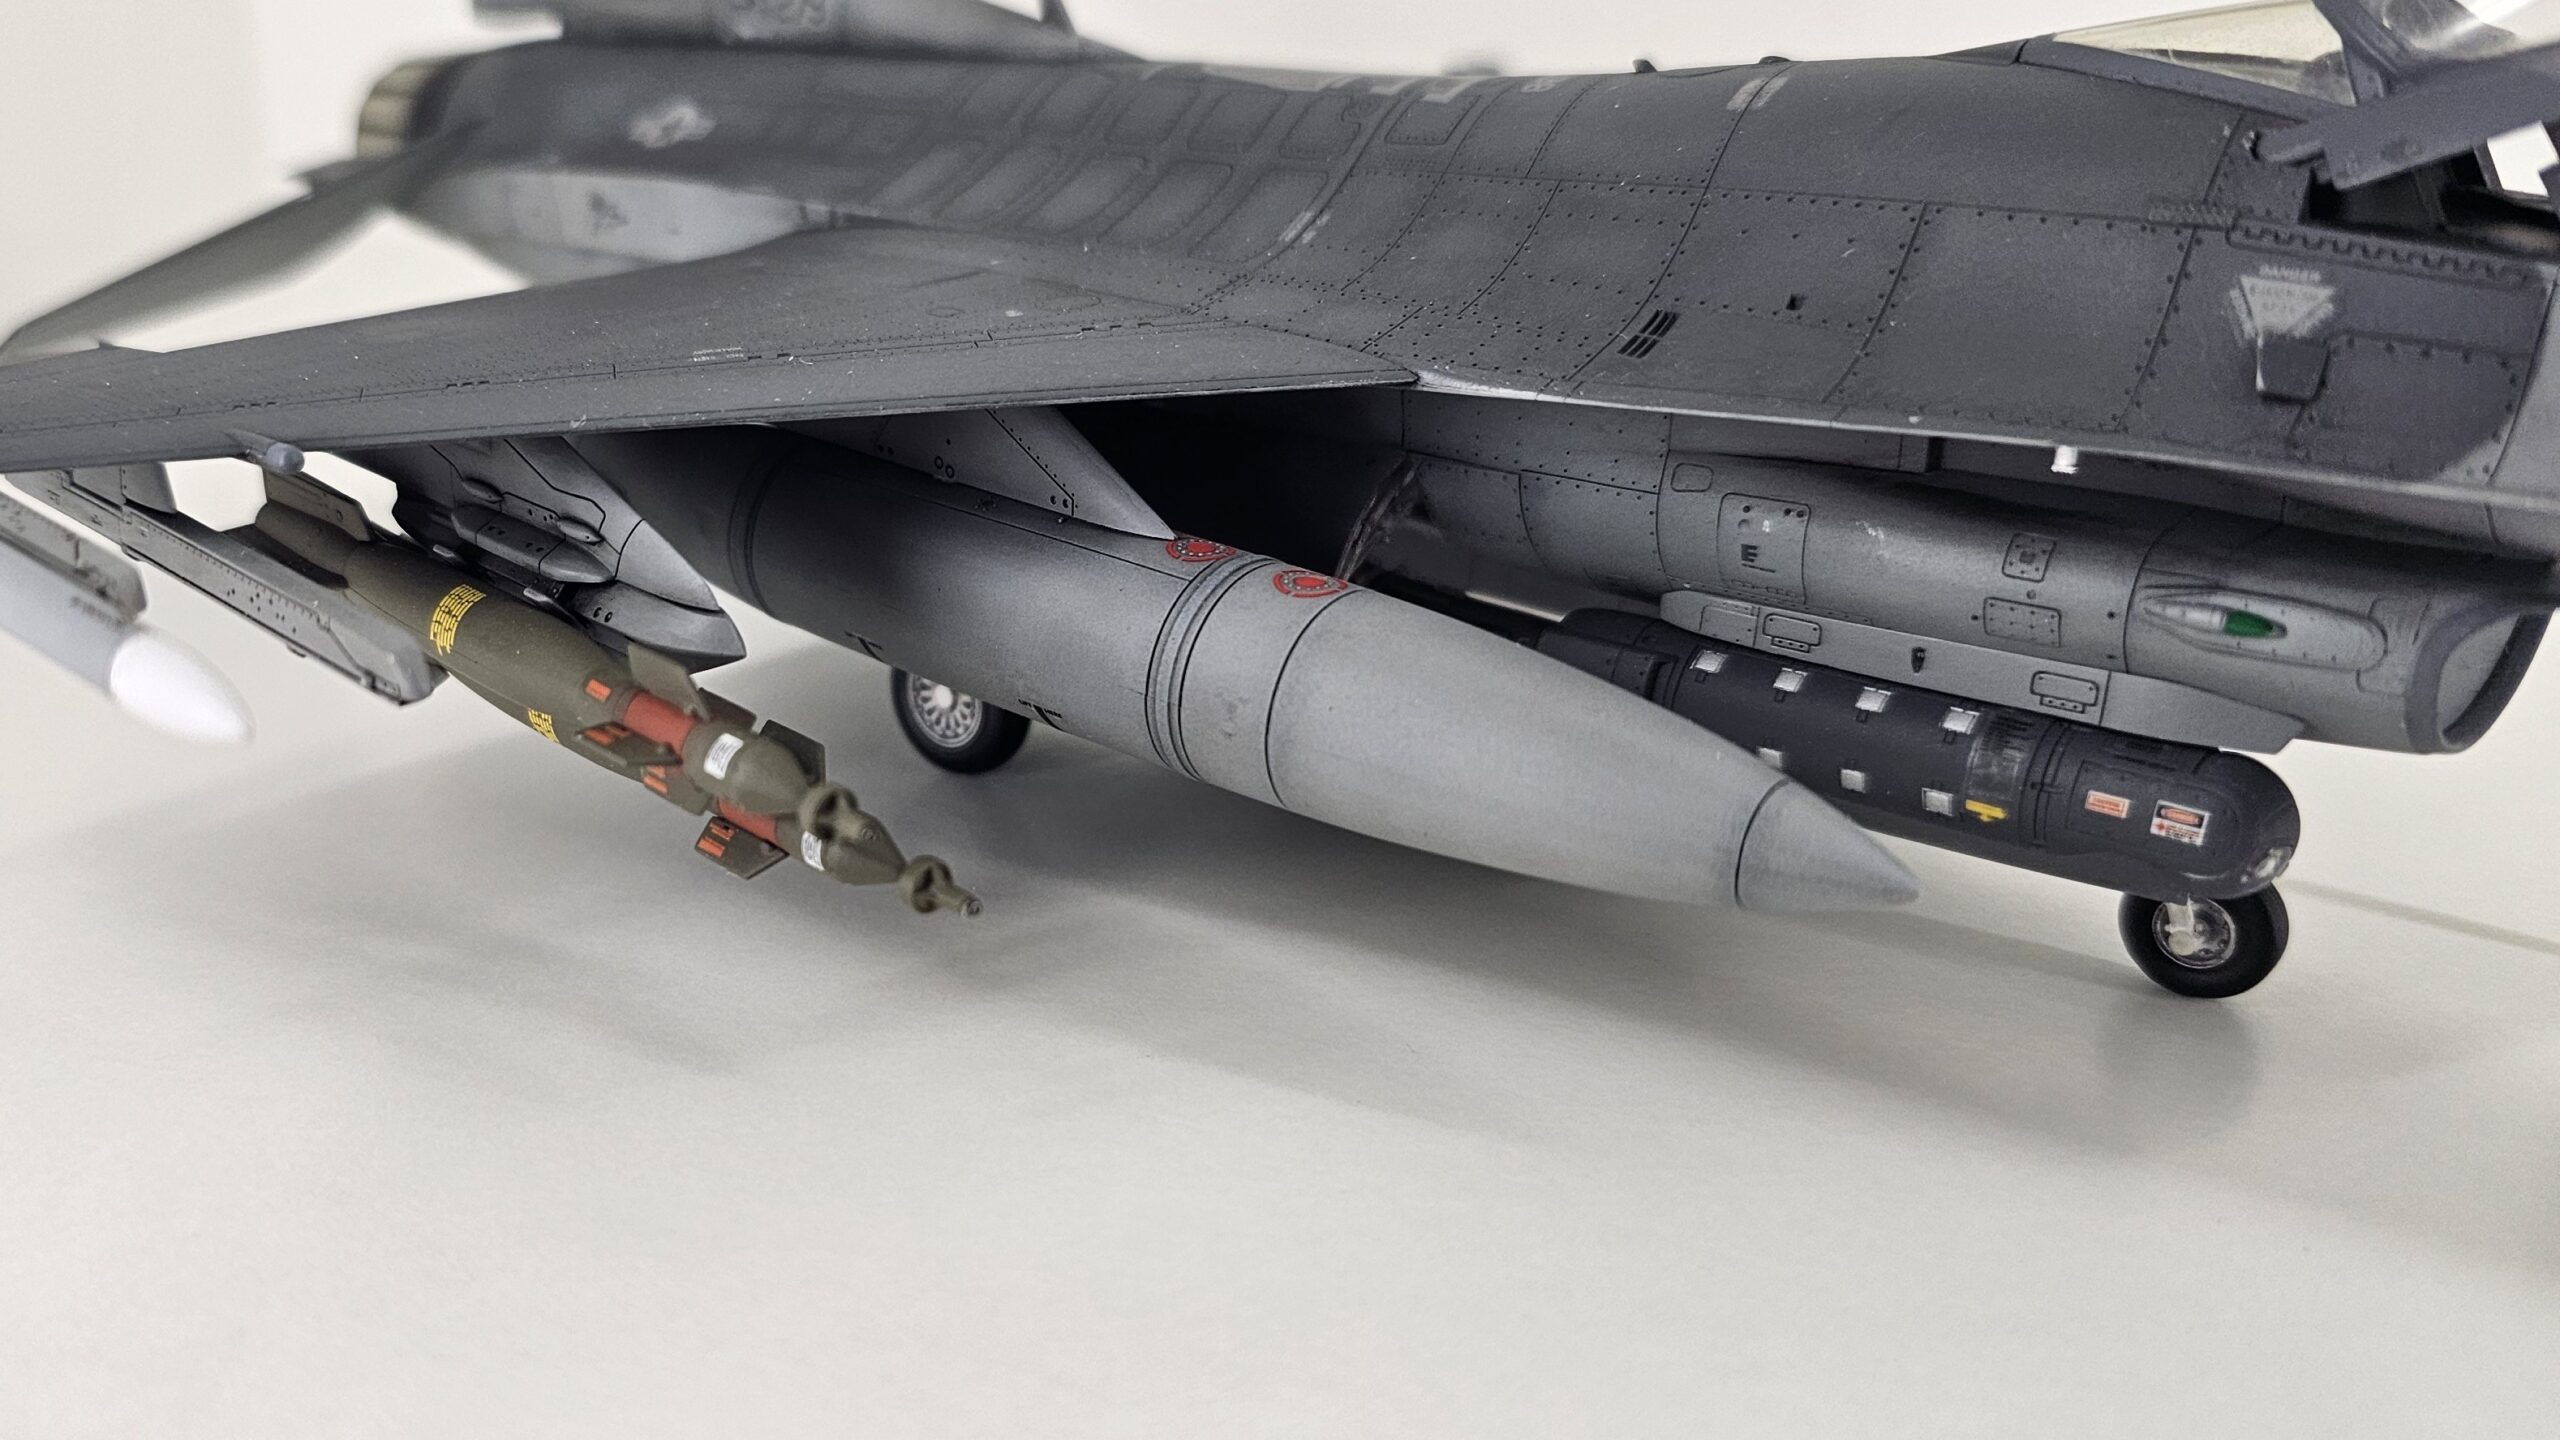
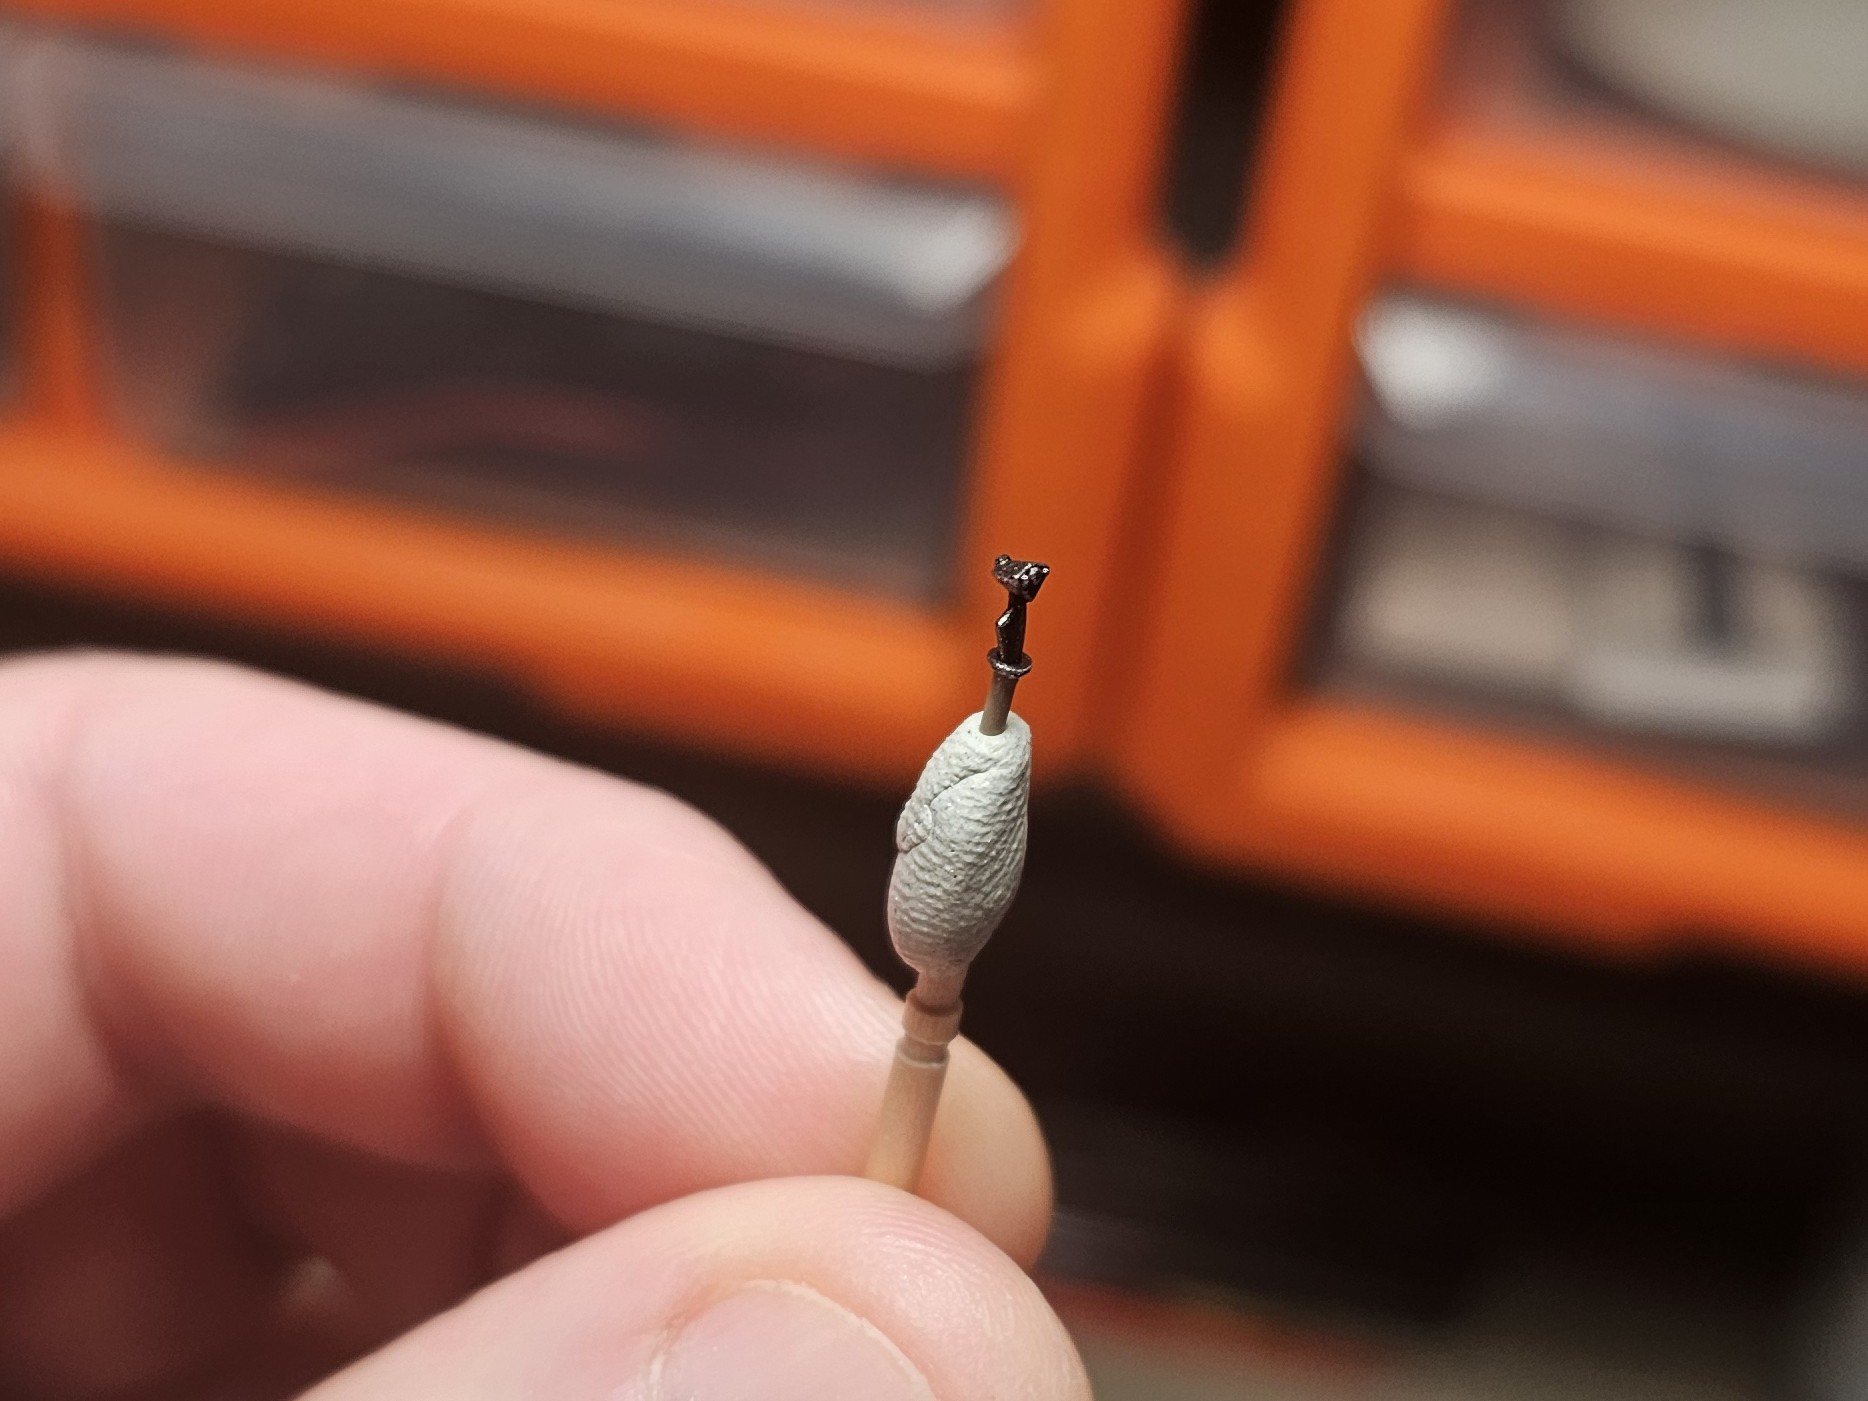
- I modified the SideWinder missiles by adding neodymium magnets so I could disassemble them.
- I added an MJ-1C “Jammer” car from RES/KIT
Although I often add 3D printed elements, in this case it wasn't really necessary. Who knows, maybe in the future?
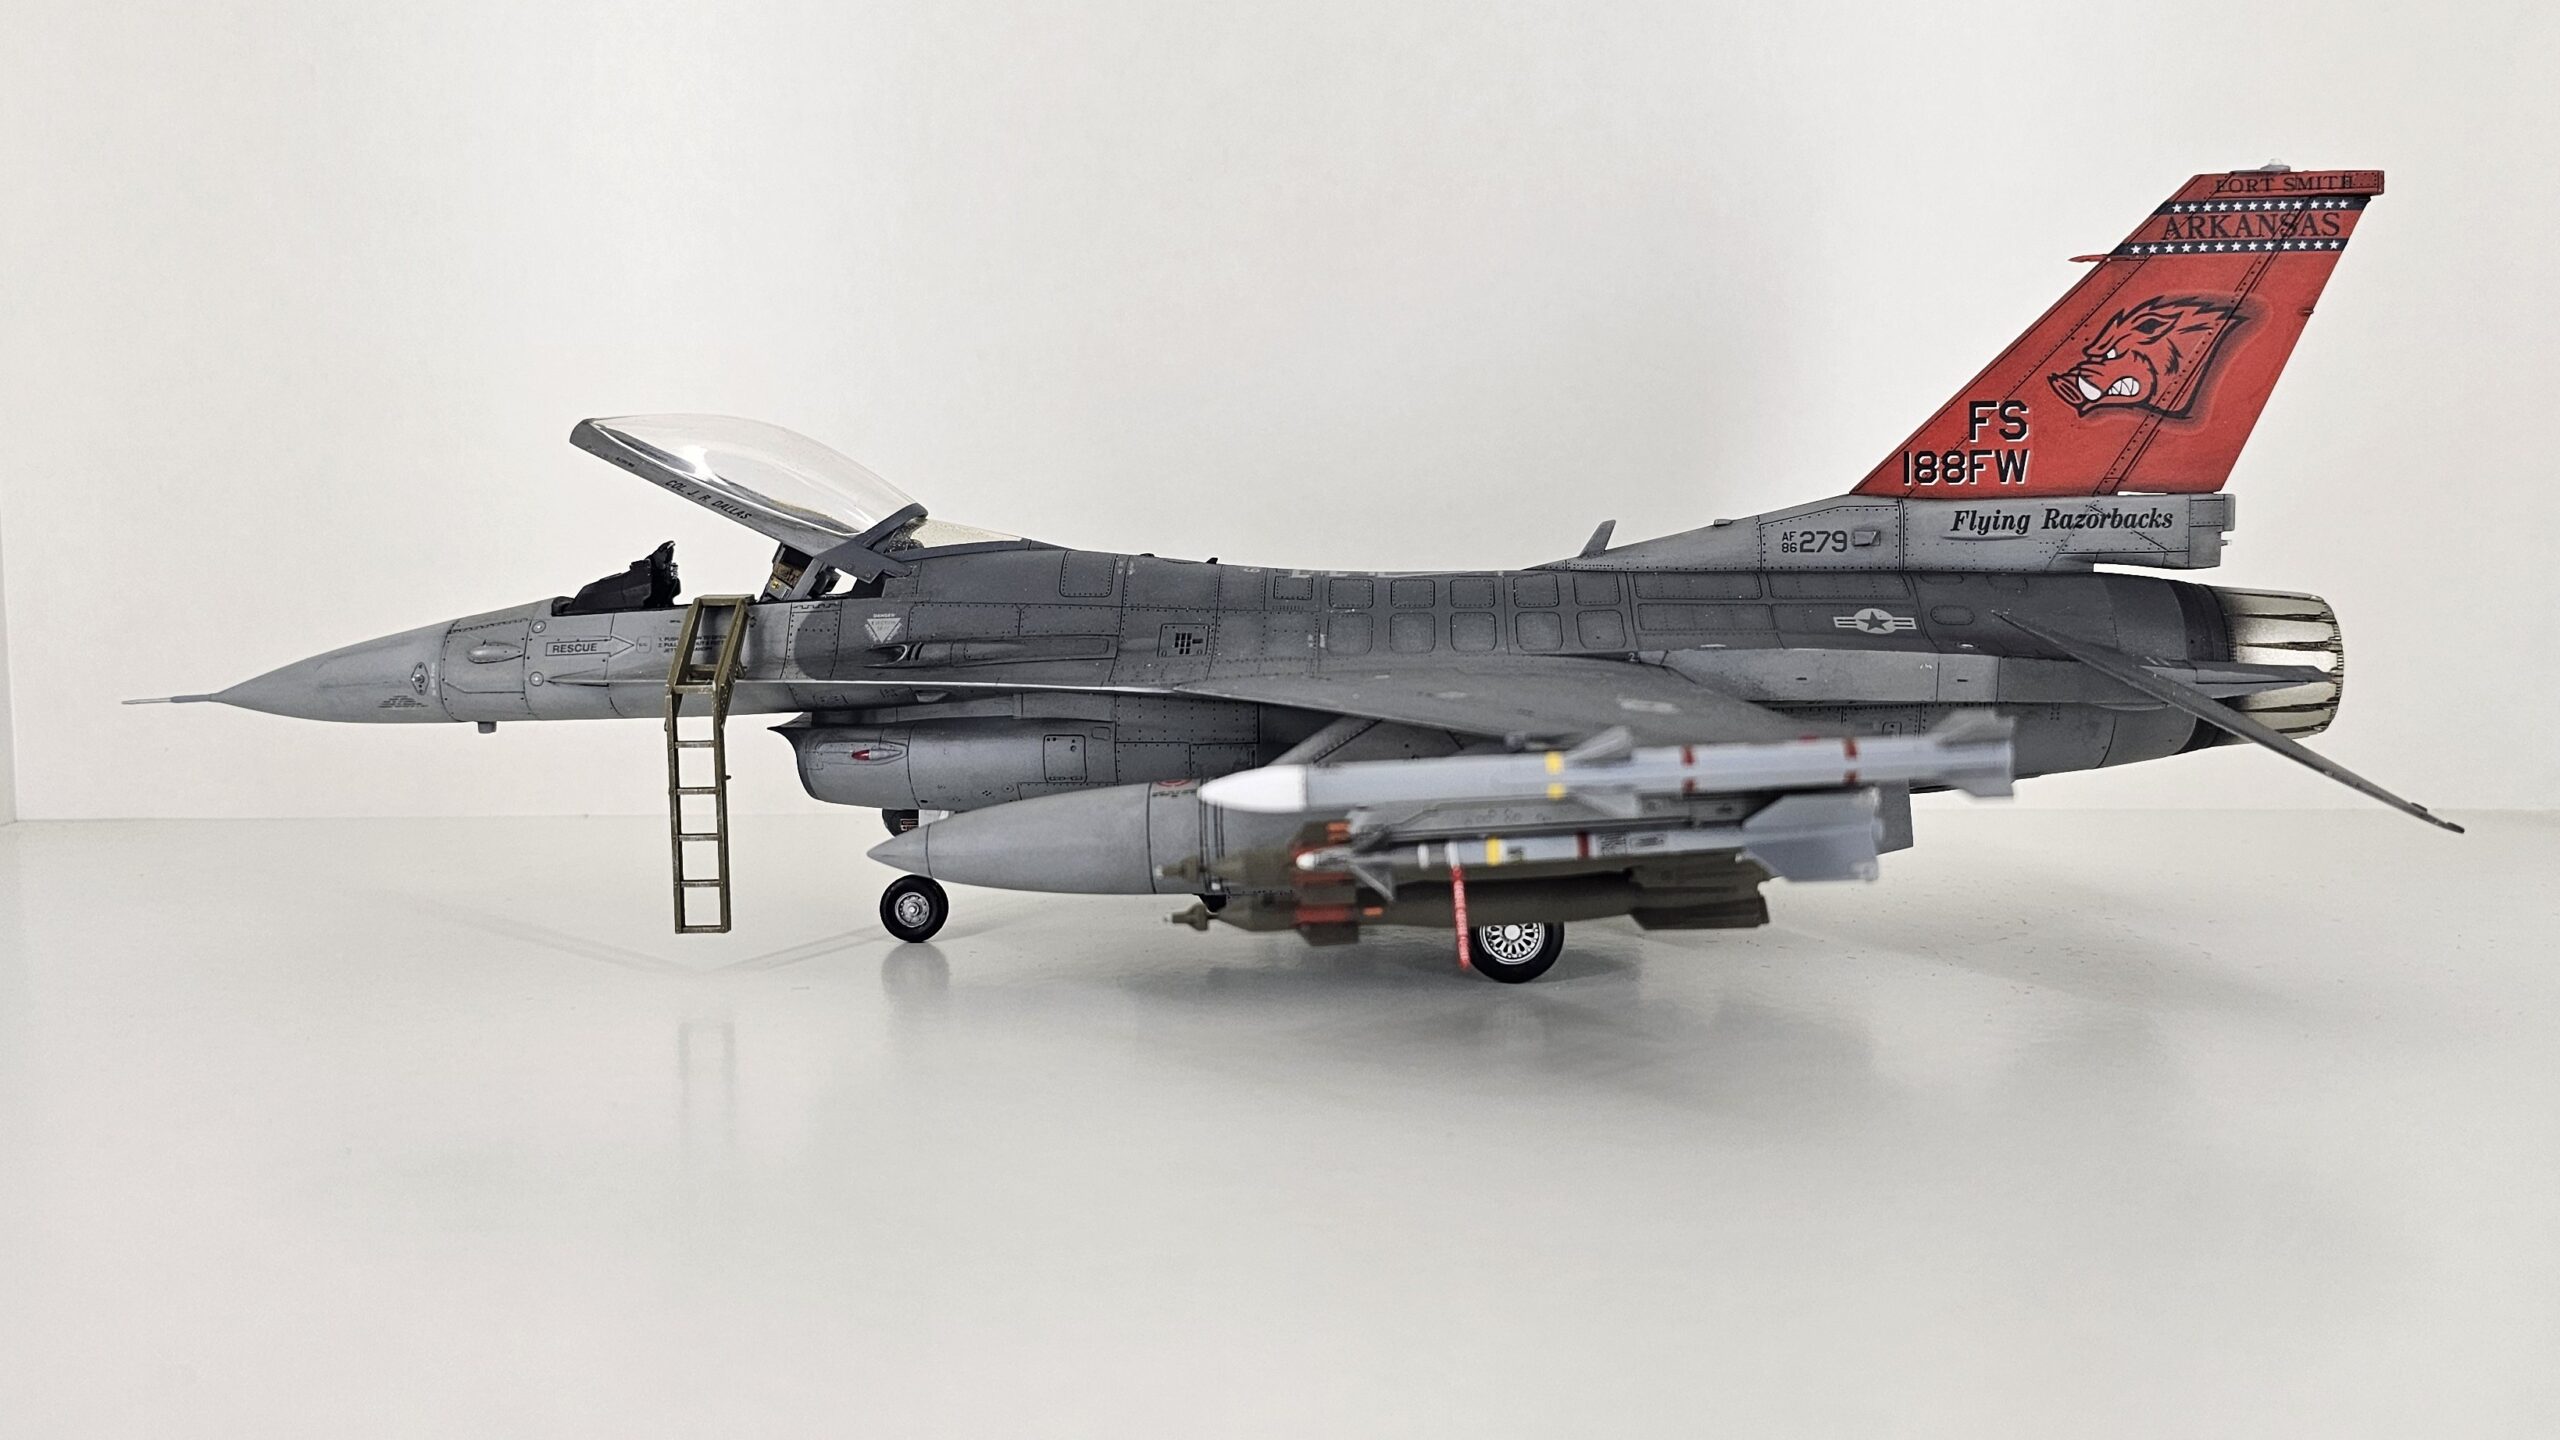
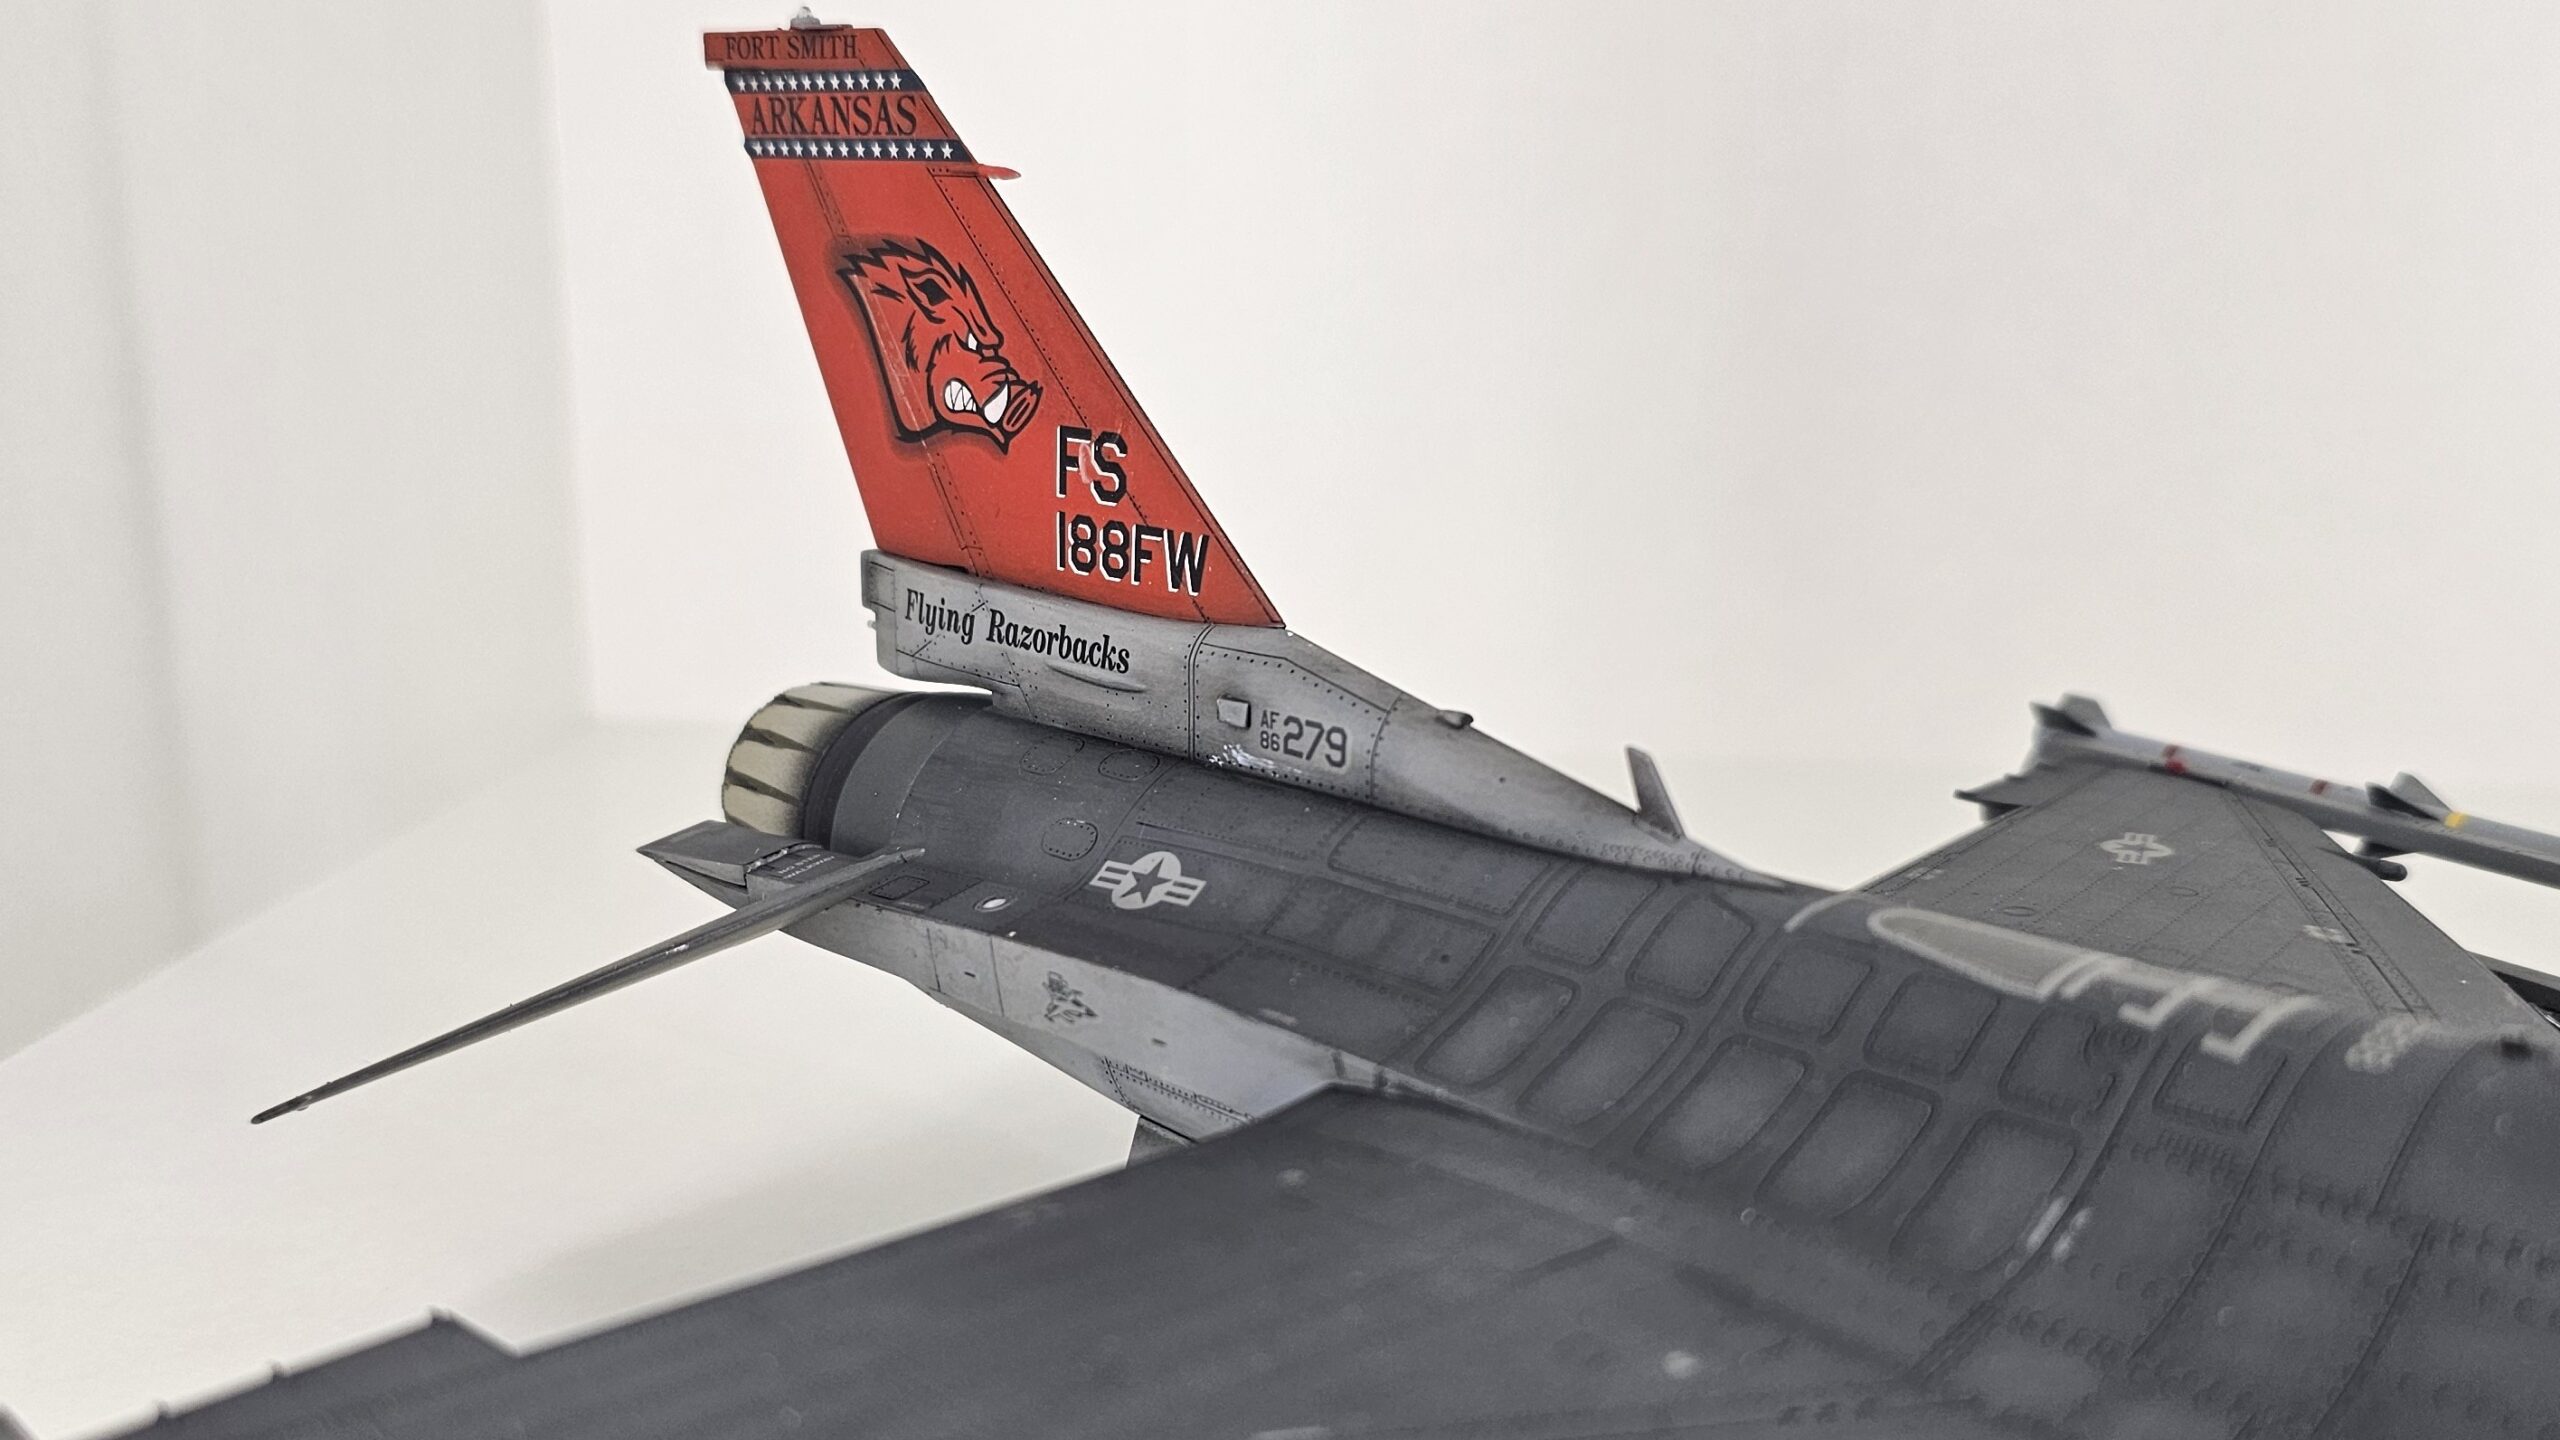
The chosen scheme was that of the “Razorbacks”, 188th FW, Arkansas Air National Guard. I chose it primarily for the color contrast of the vertical stabilizer, which is entirely red.
The kit
As I mentioned earlier, this kit is used as a benchmark for Tamiya's best engineering. This is especially noticeable in the fit, which is practically perfect. The kit includes everything needed for assembly without requiring aftermarket parts. However, in this case, I used Quinta Studio's 3D decals, both for the cockpit and for some external armor plates.
Build


Images of the construction process
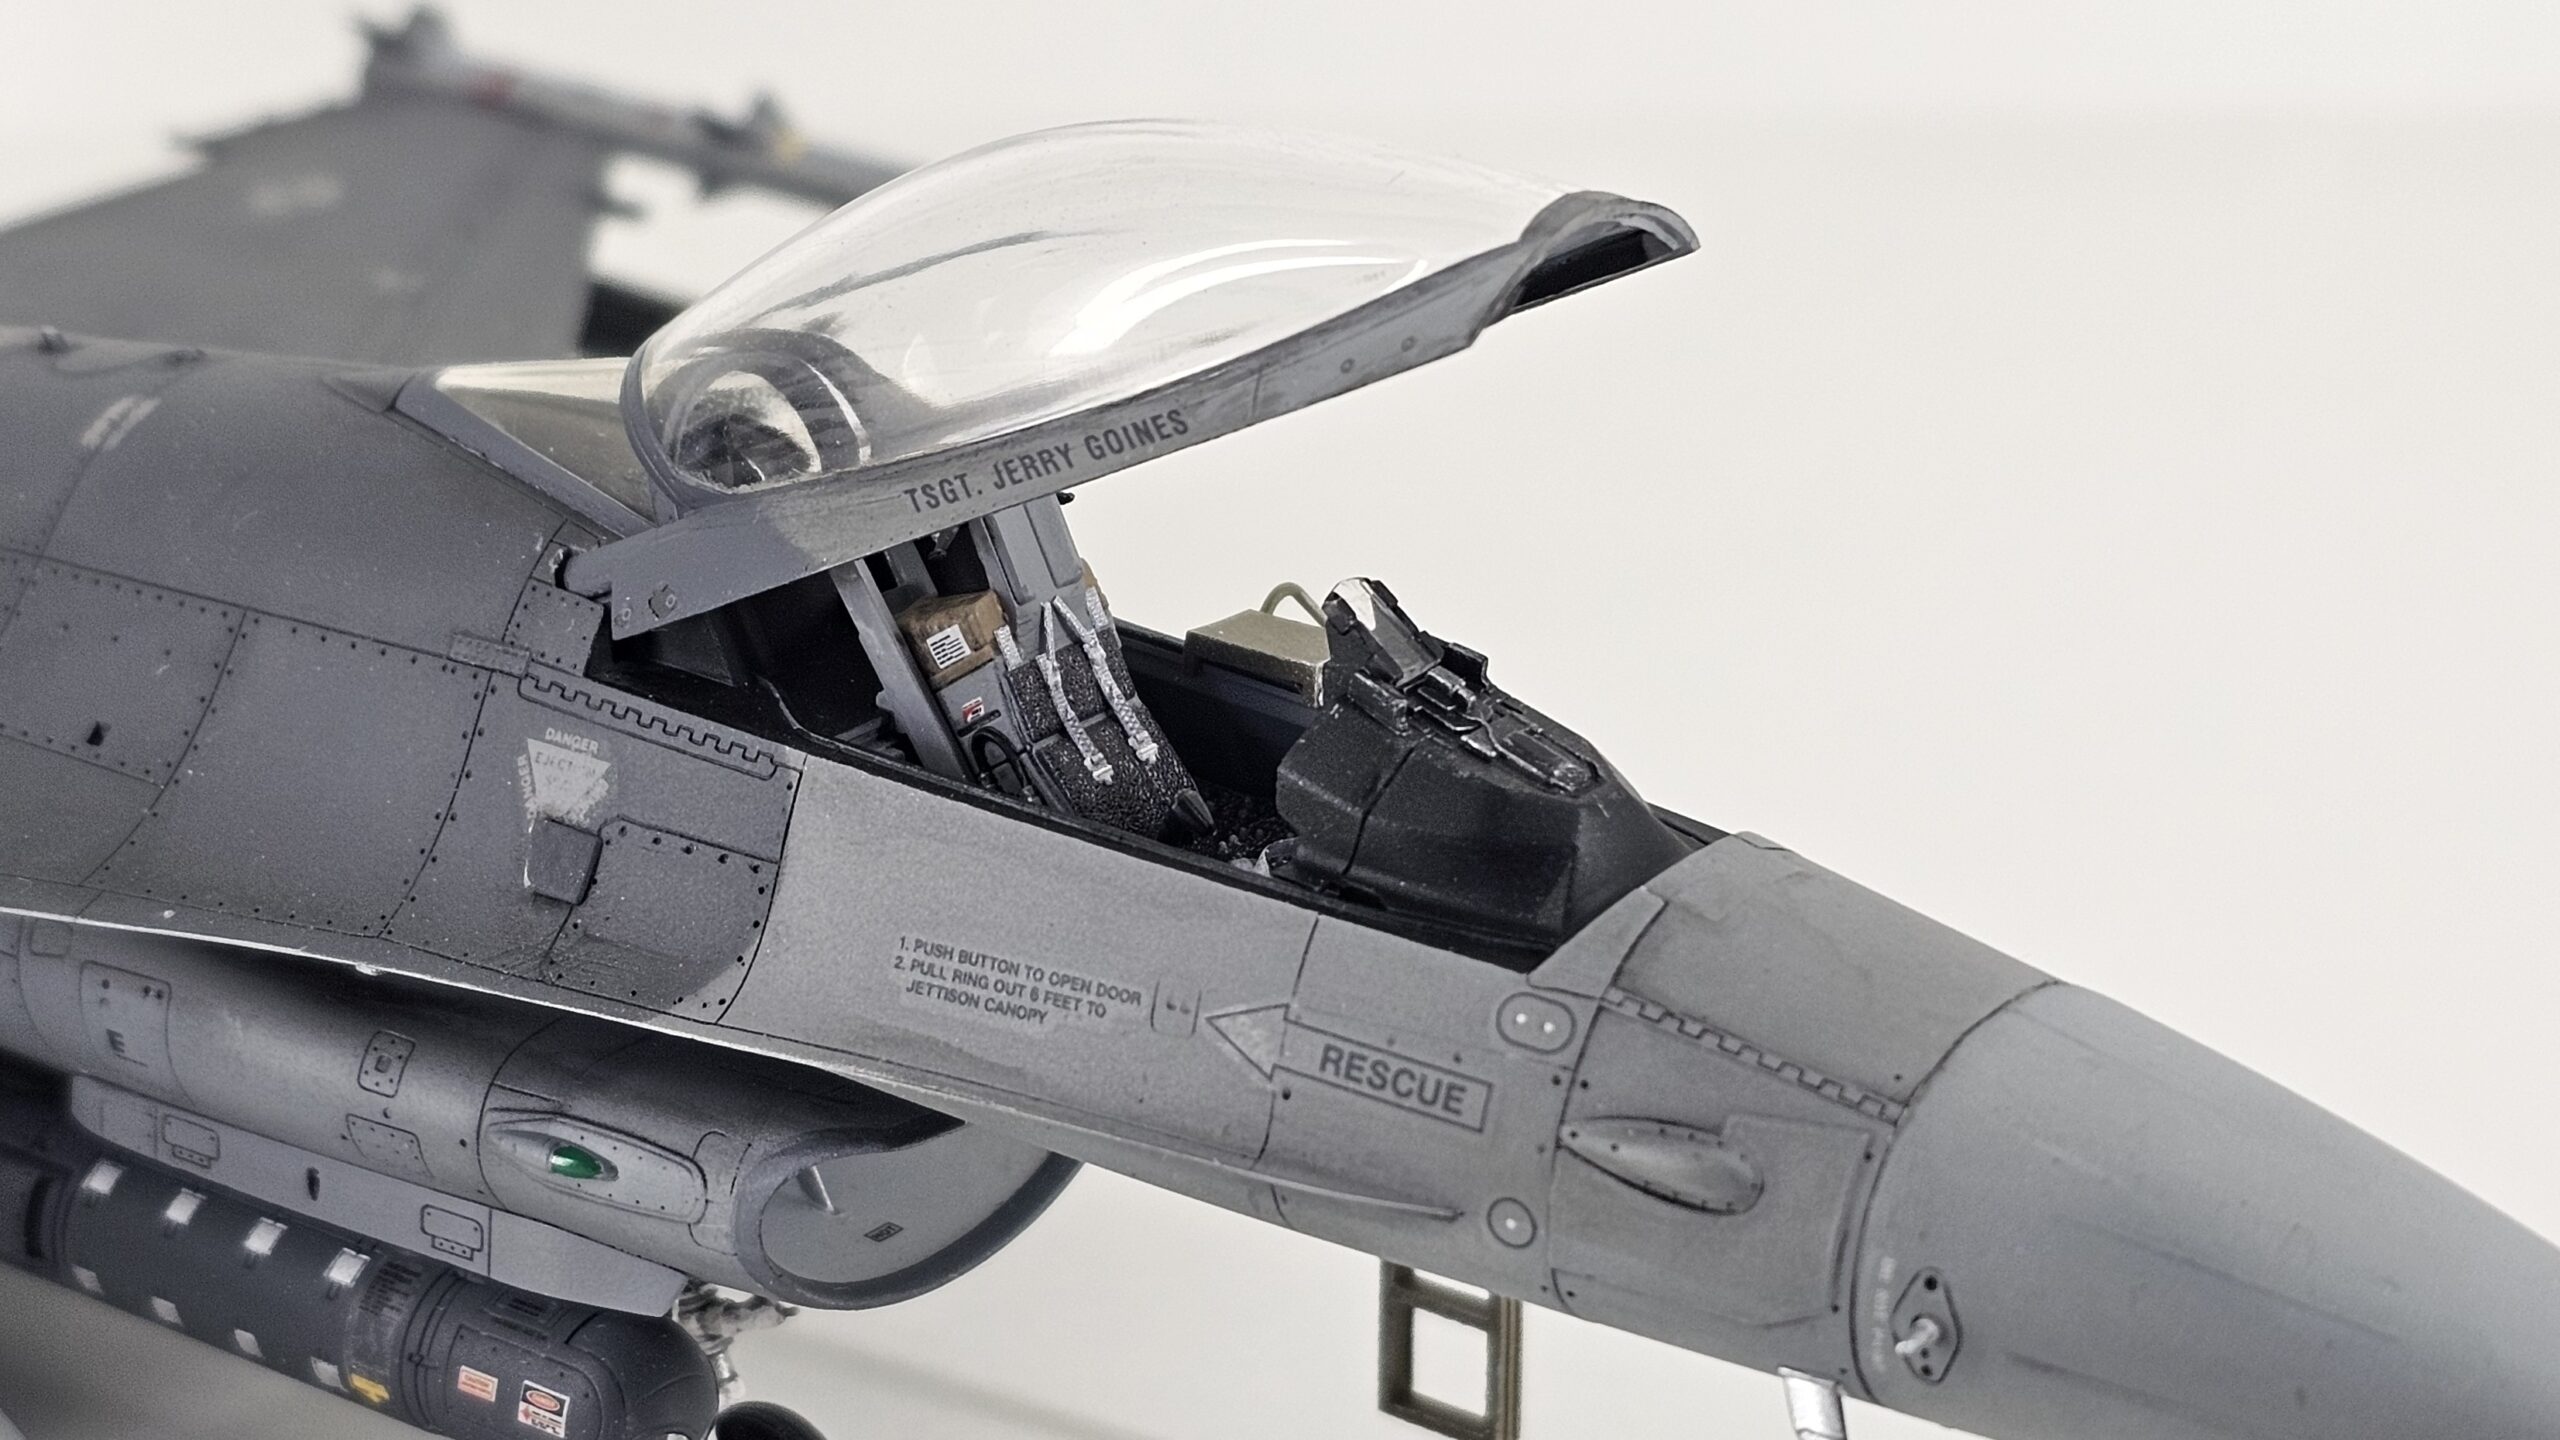
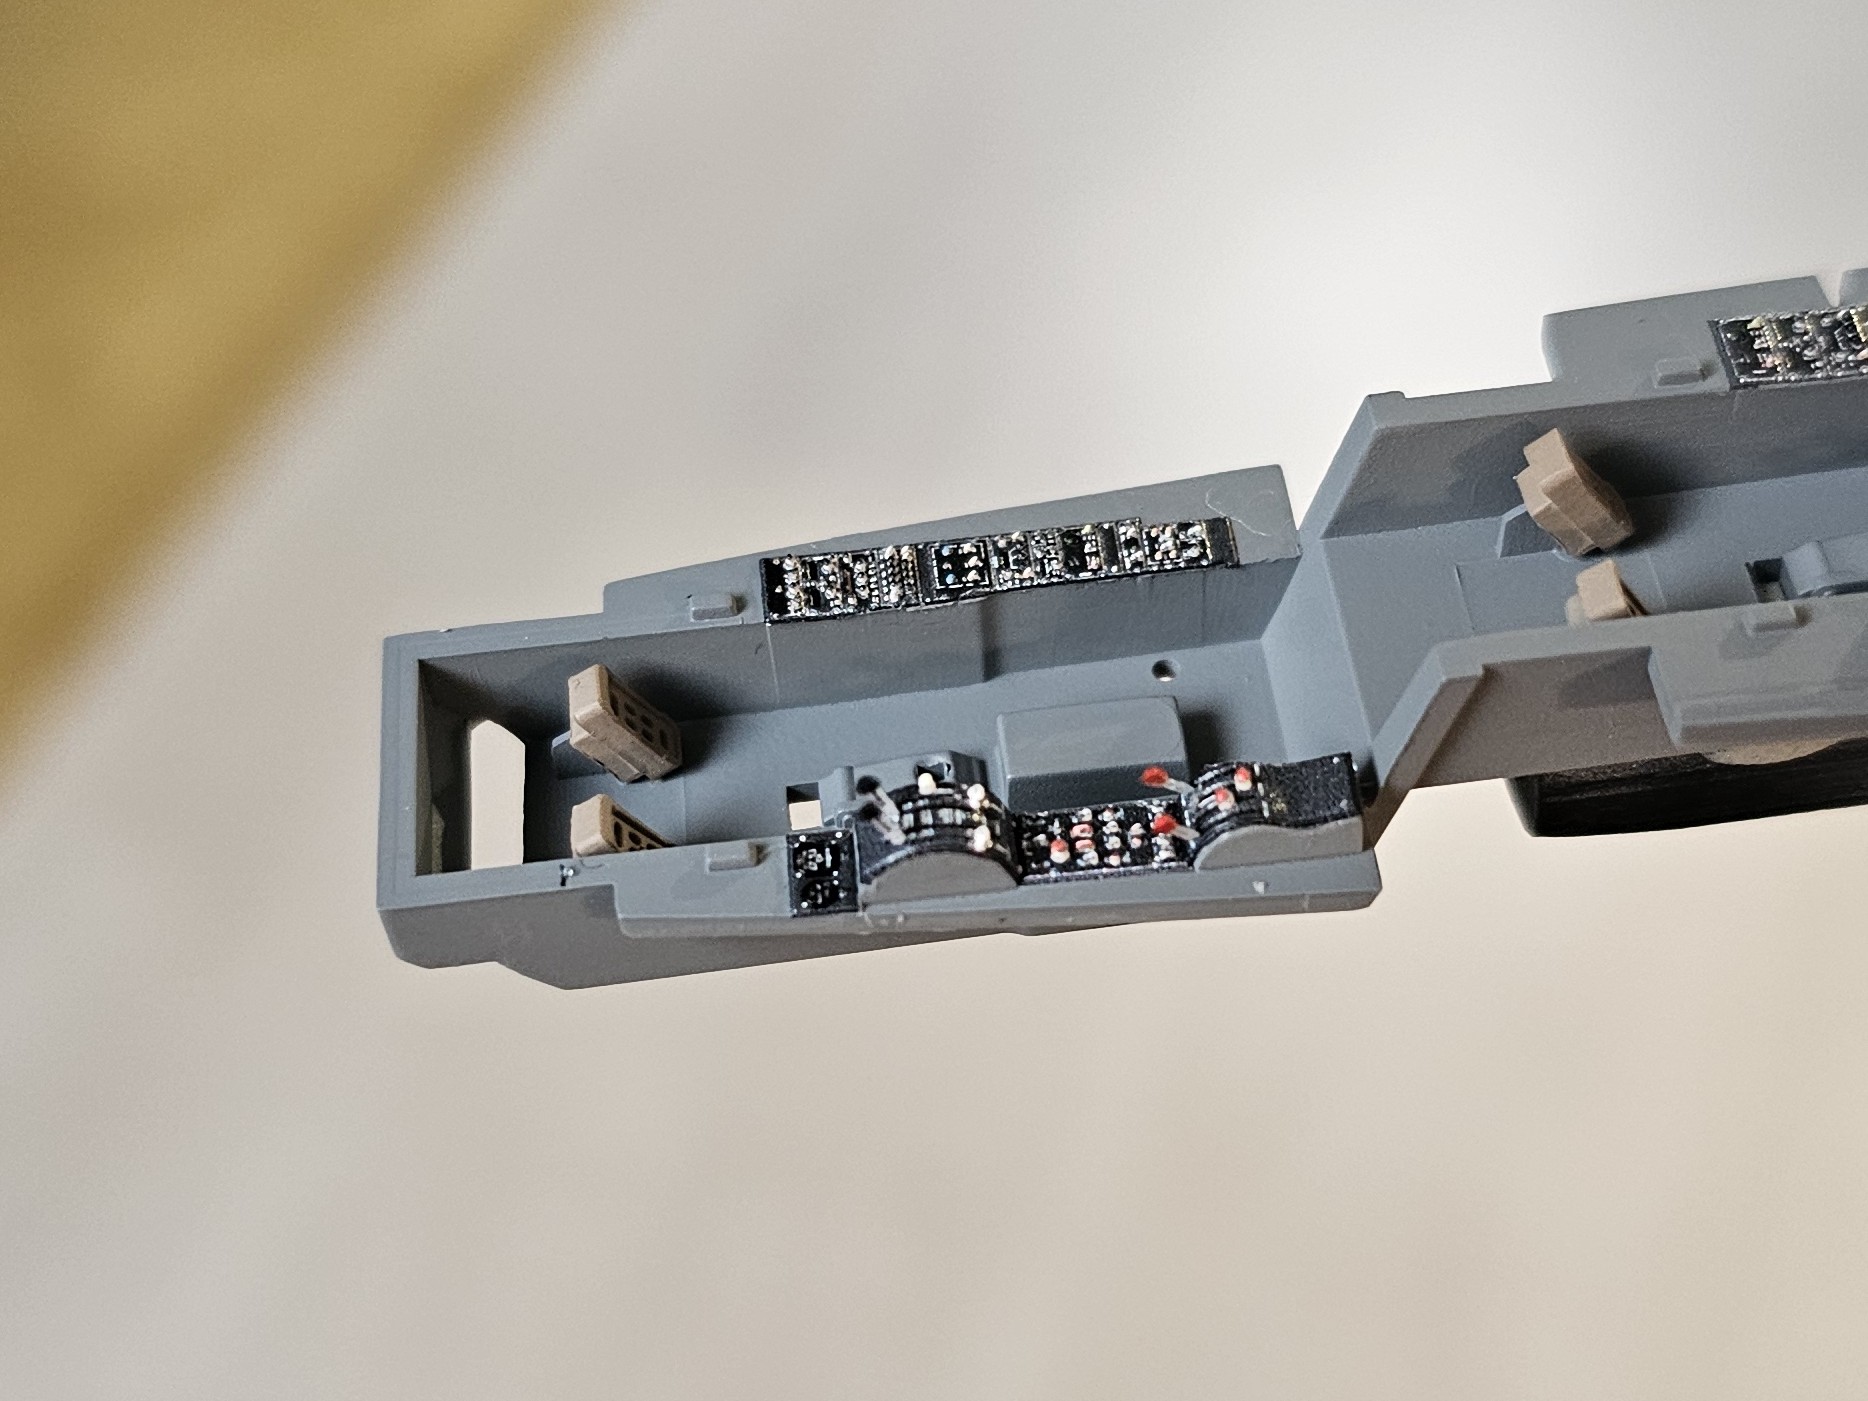
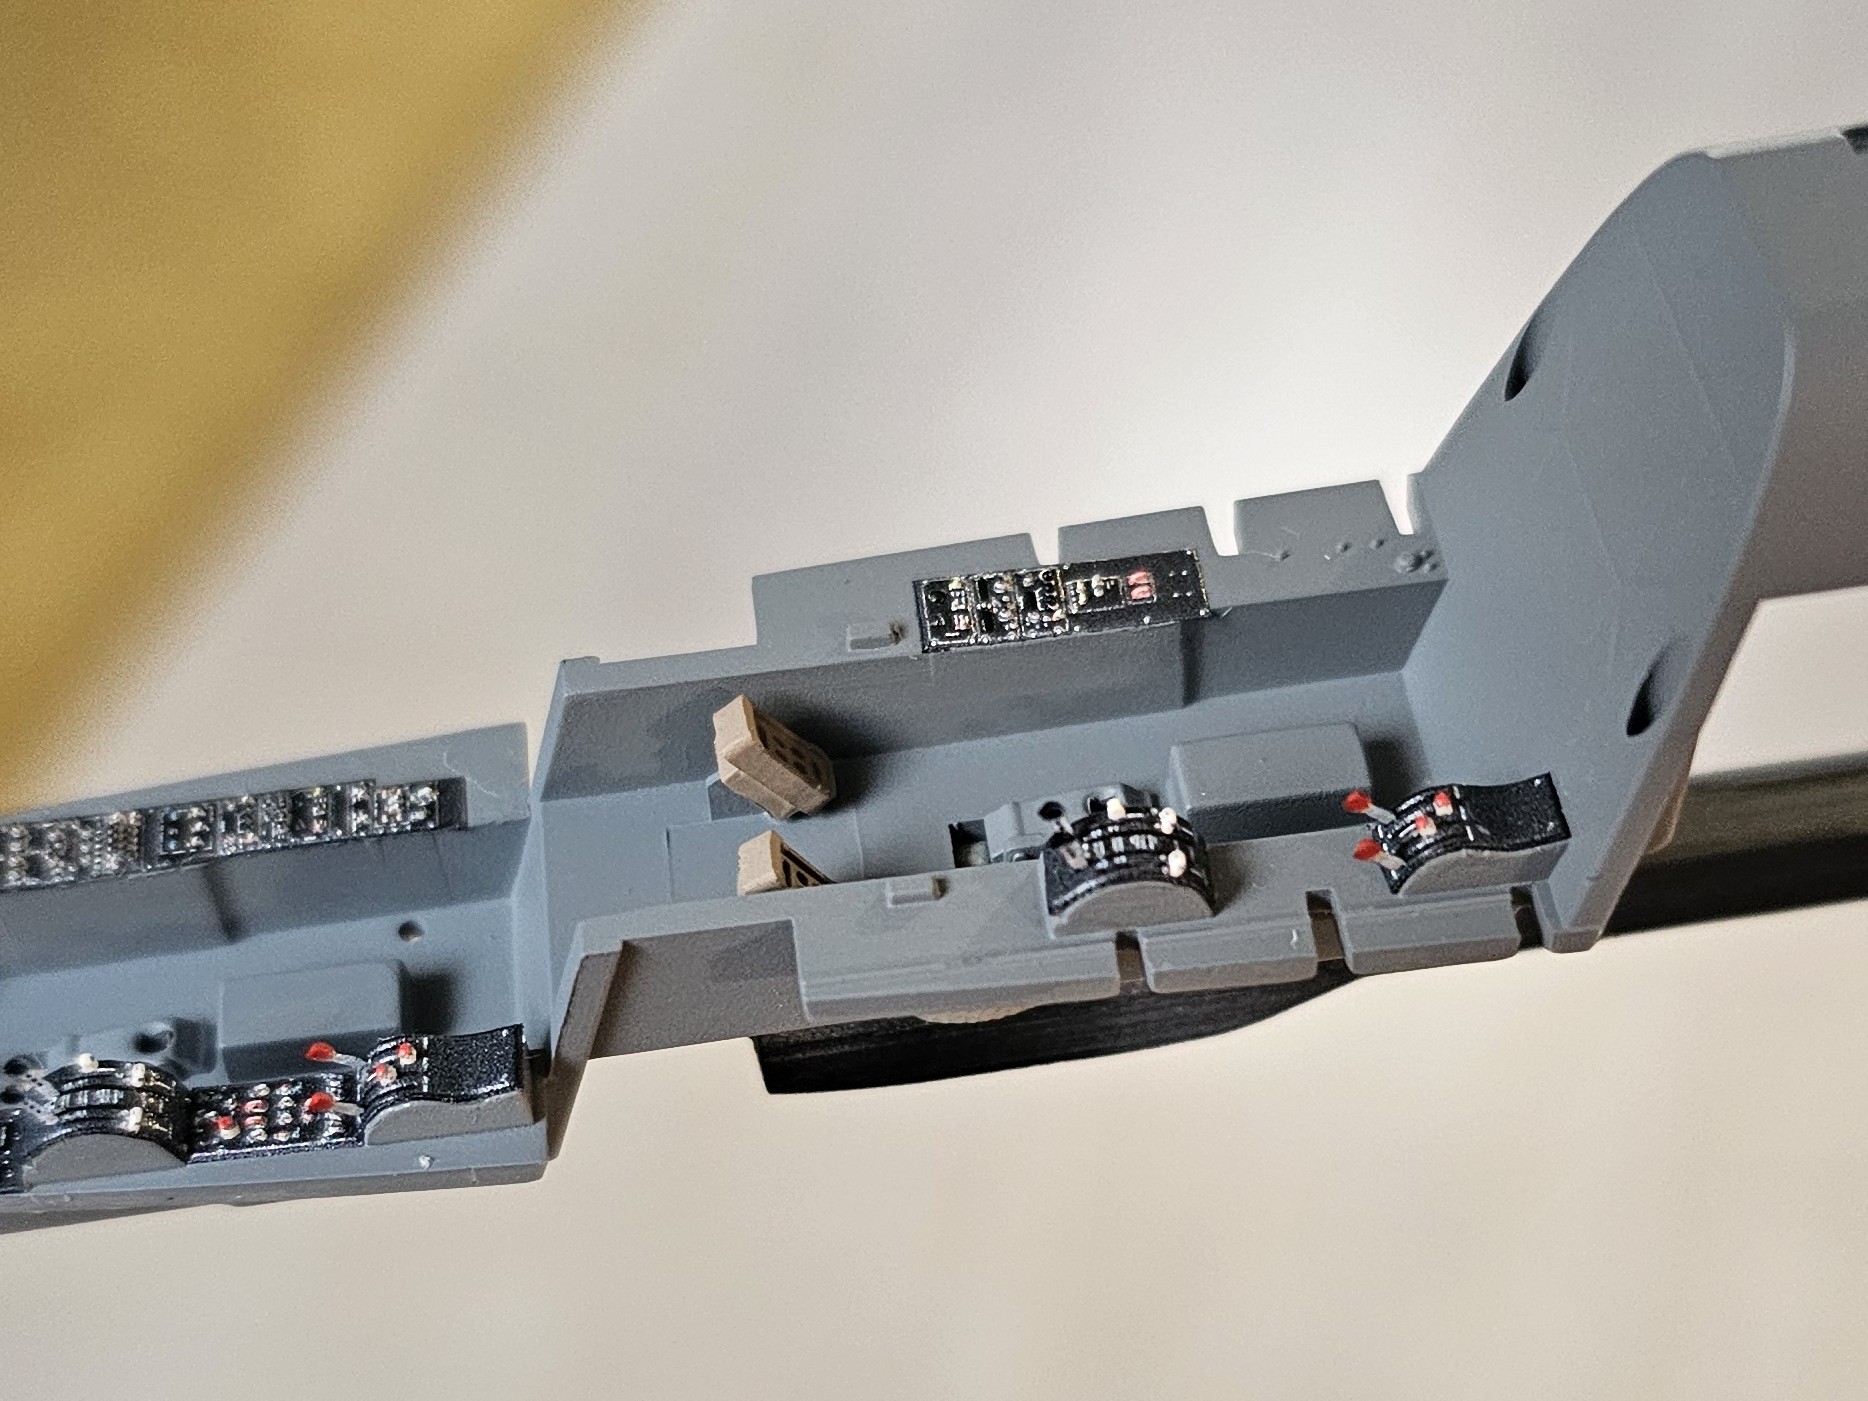
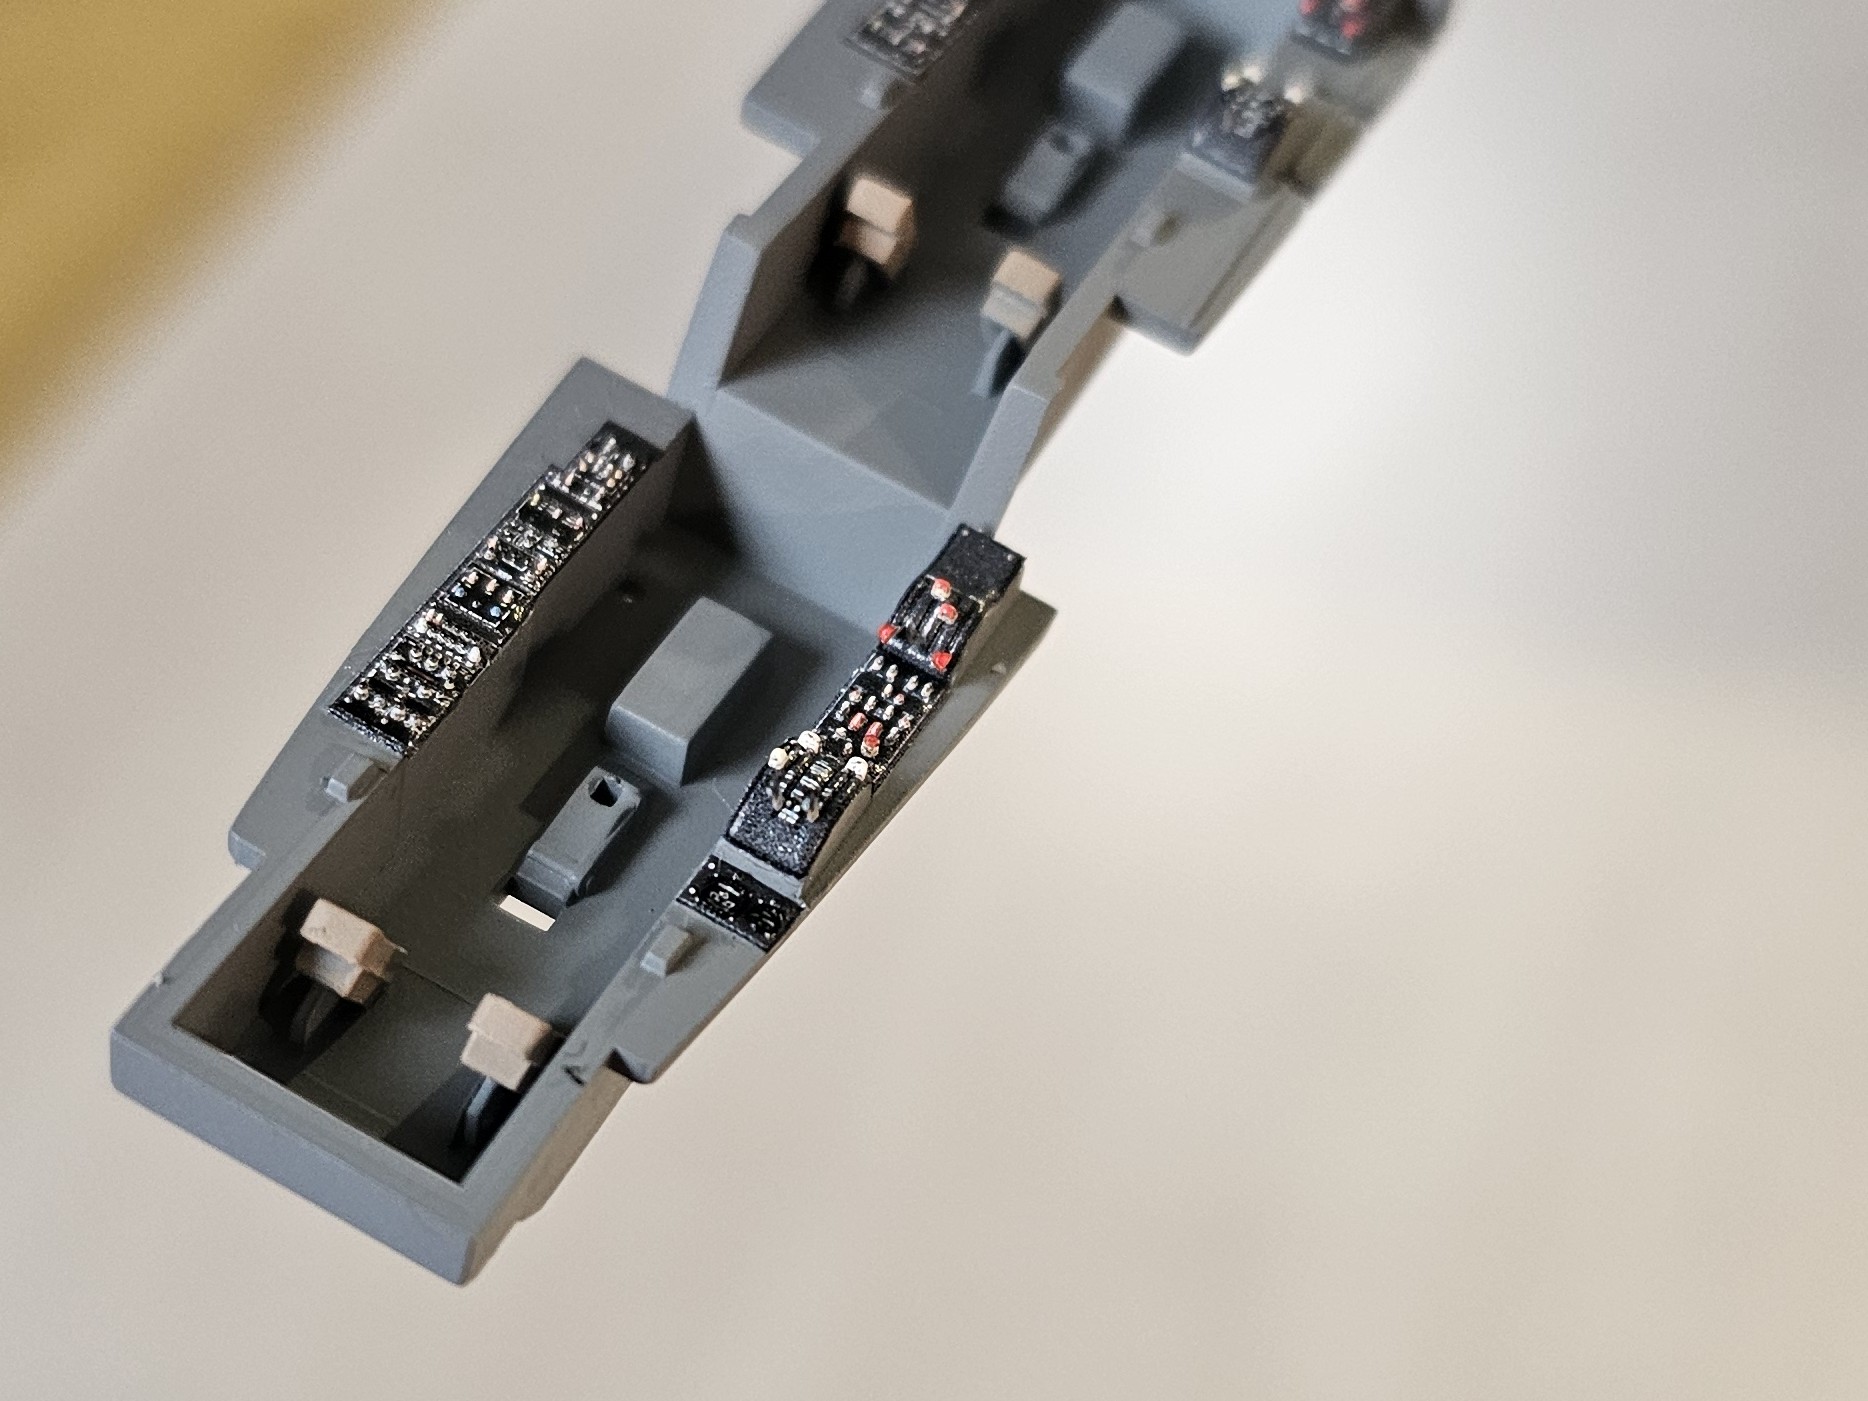
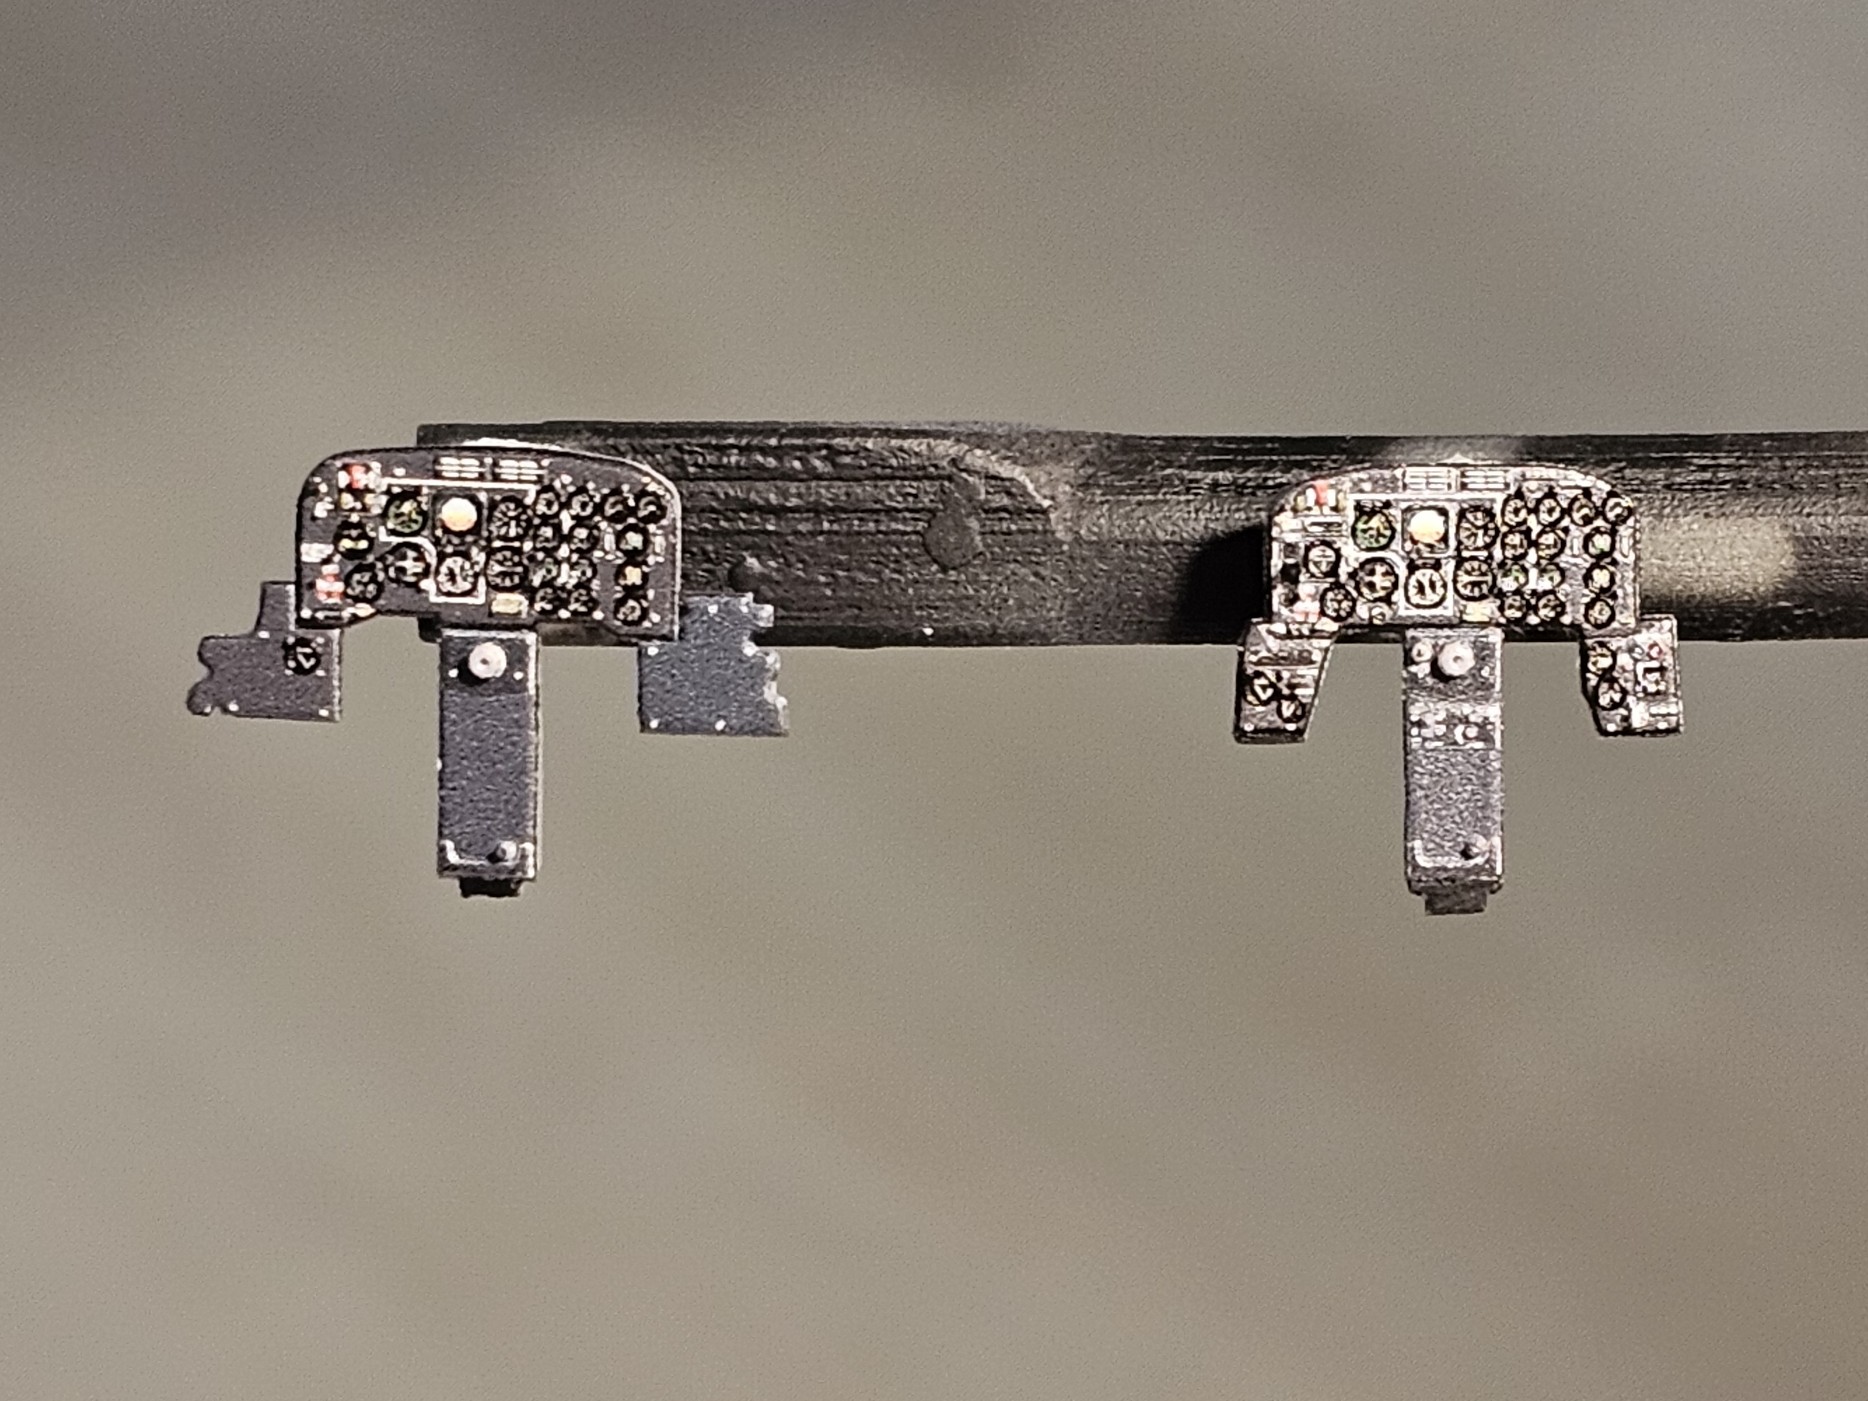
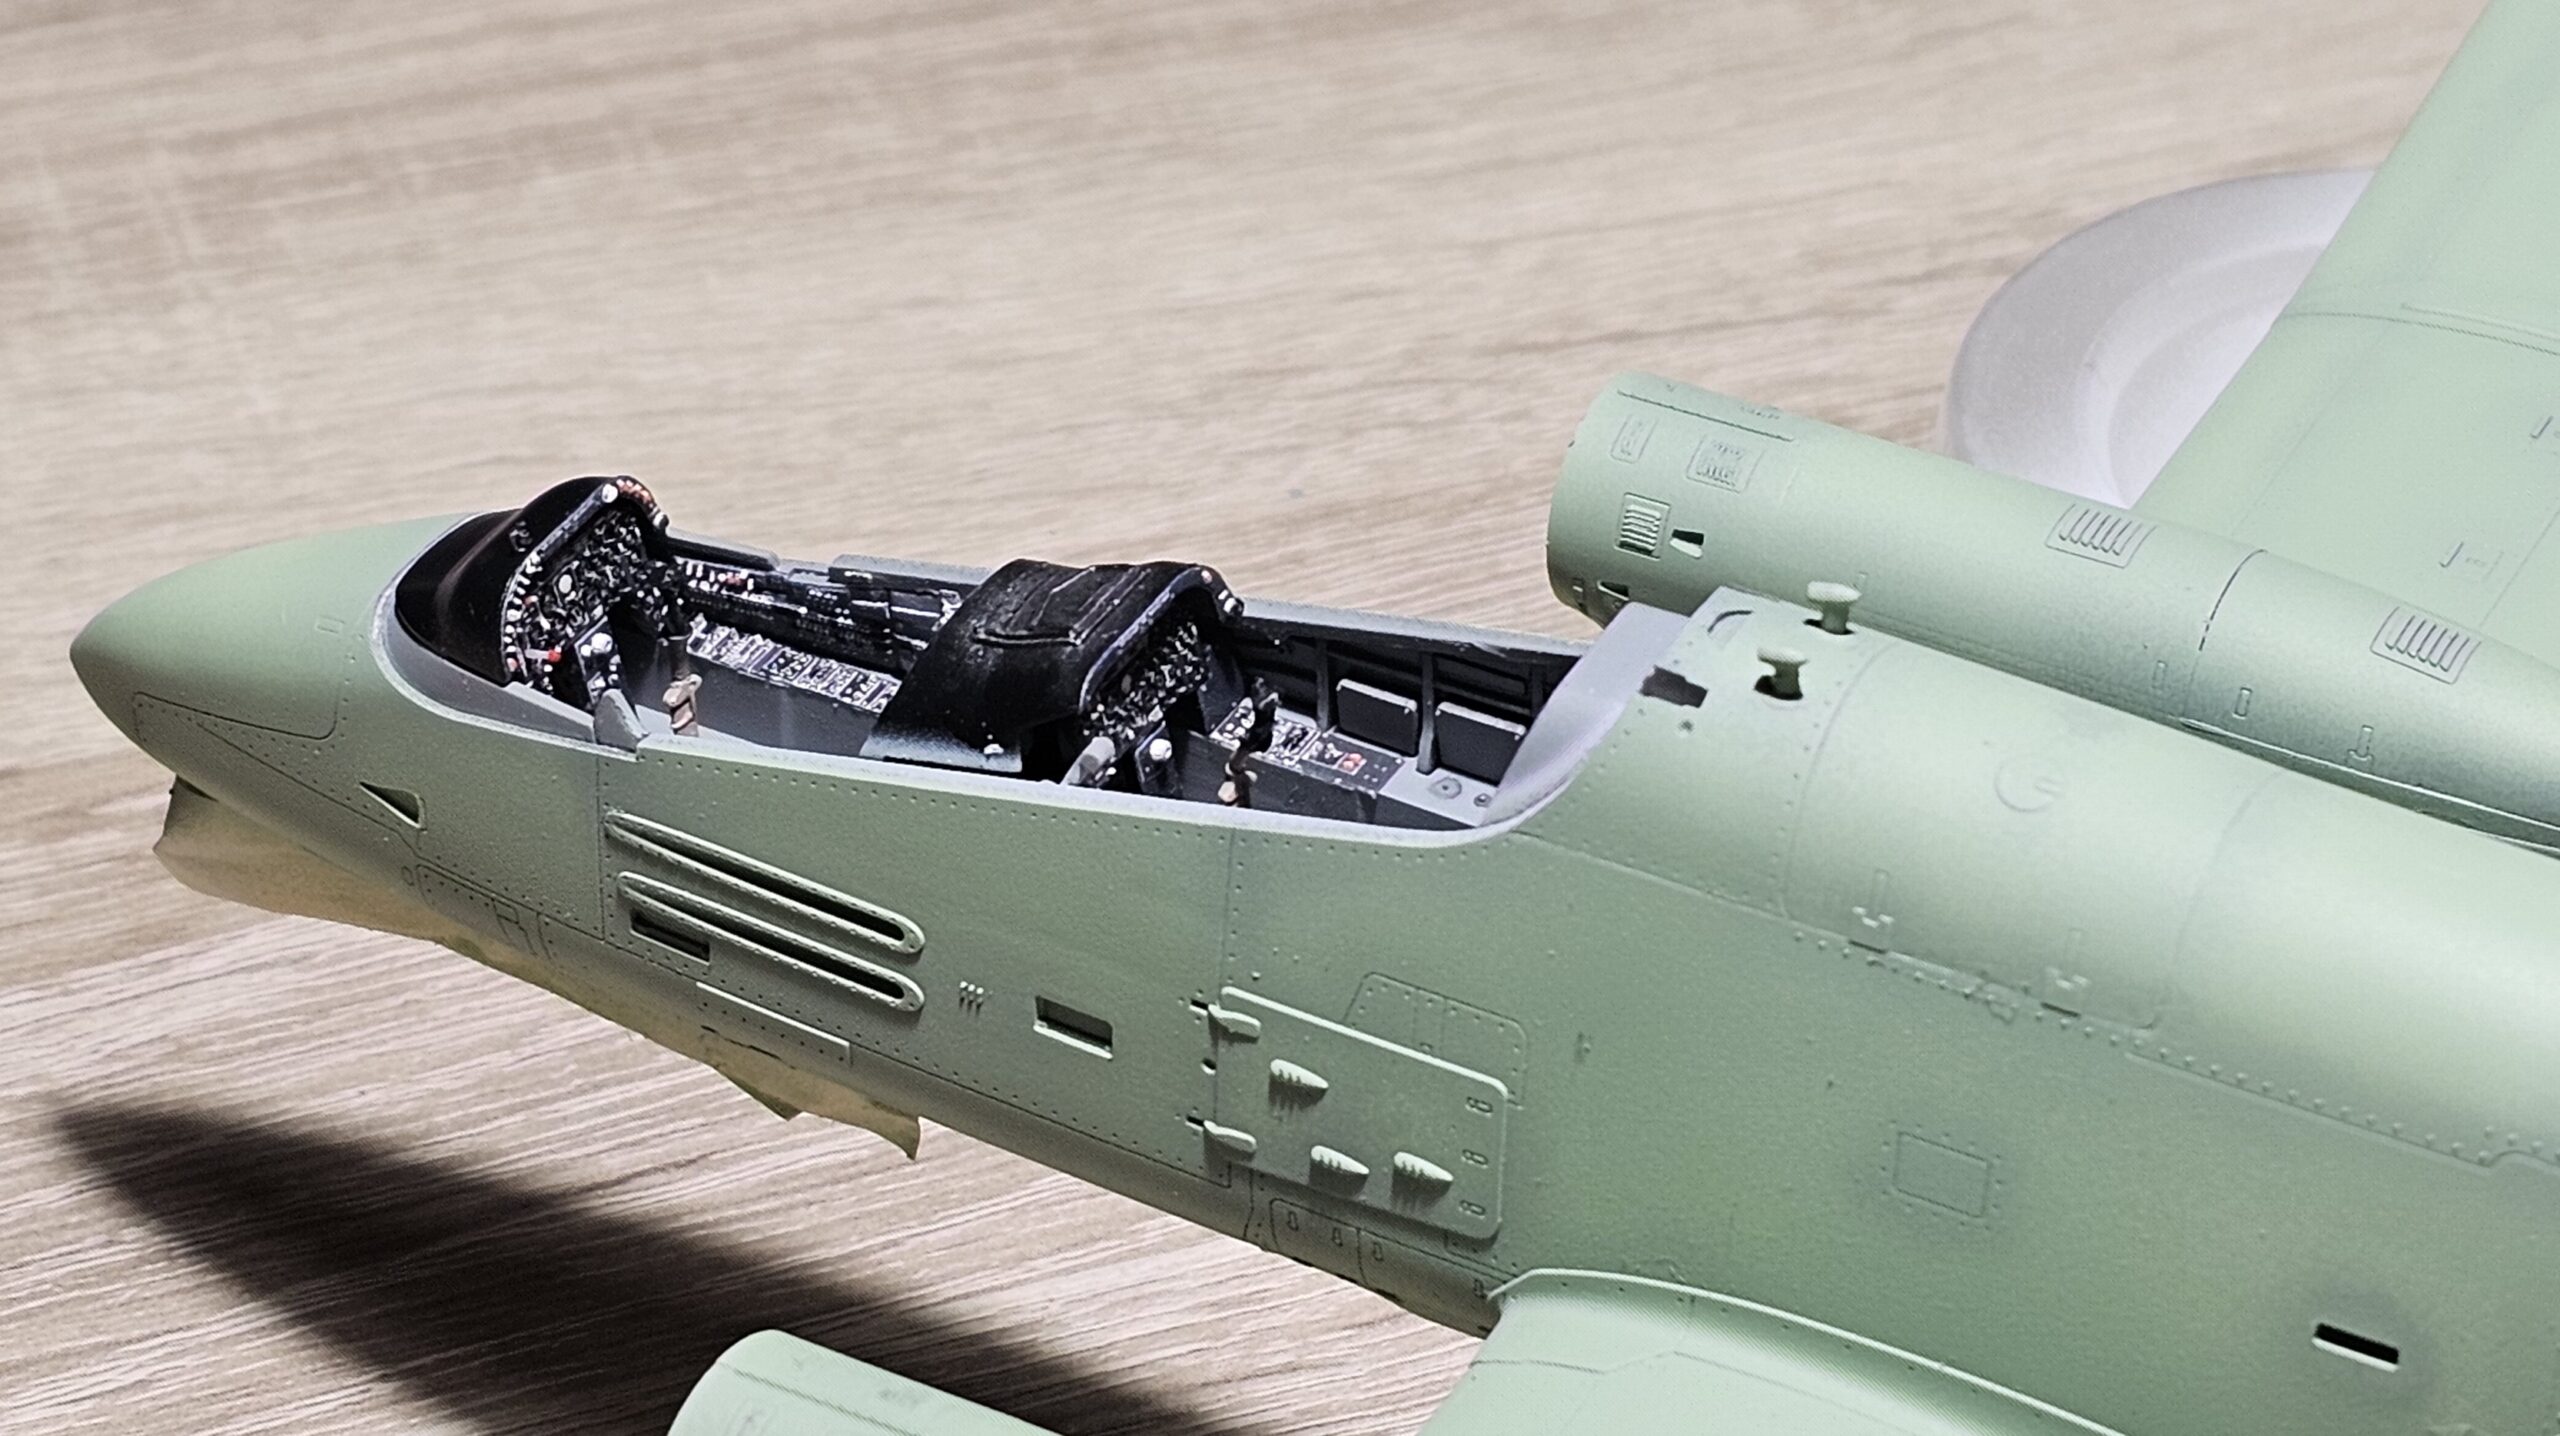
Cabin
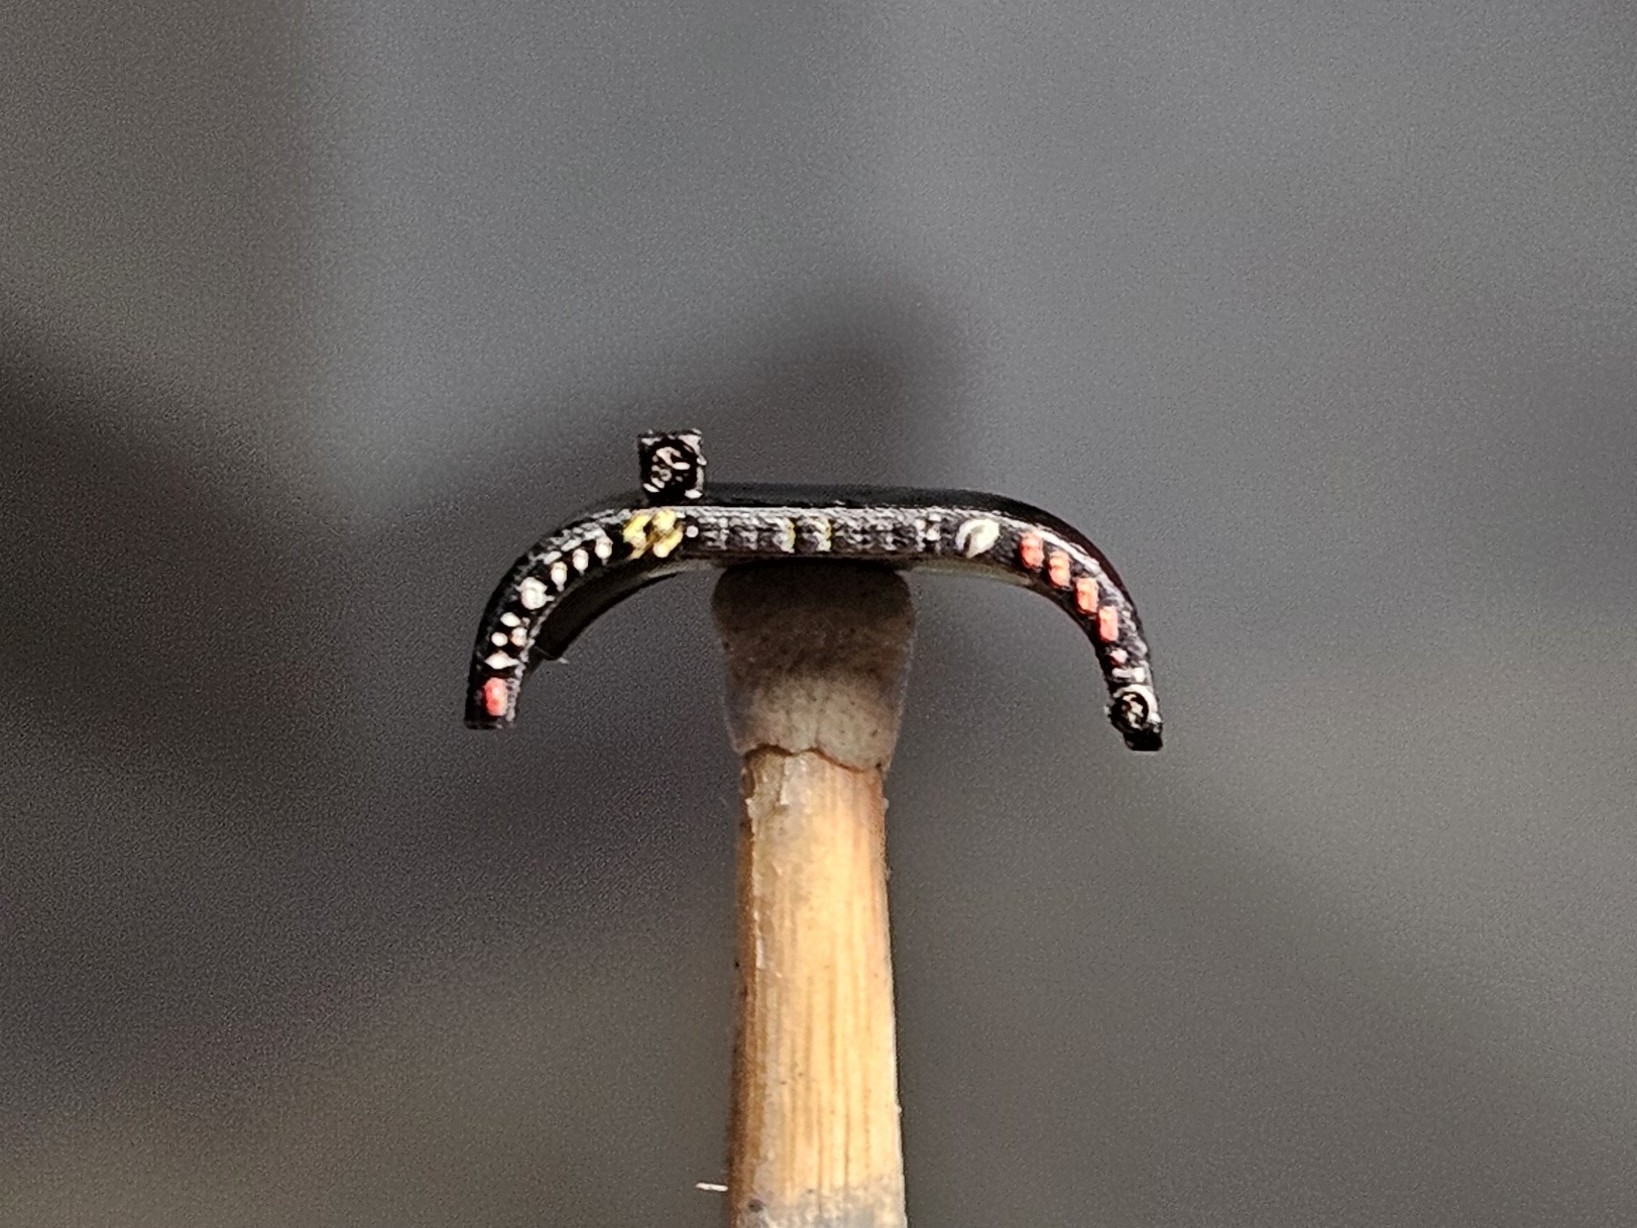
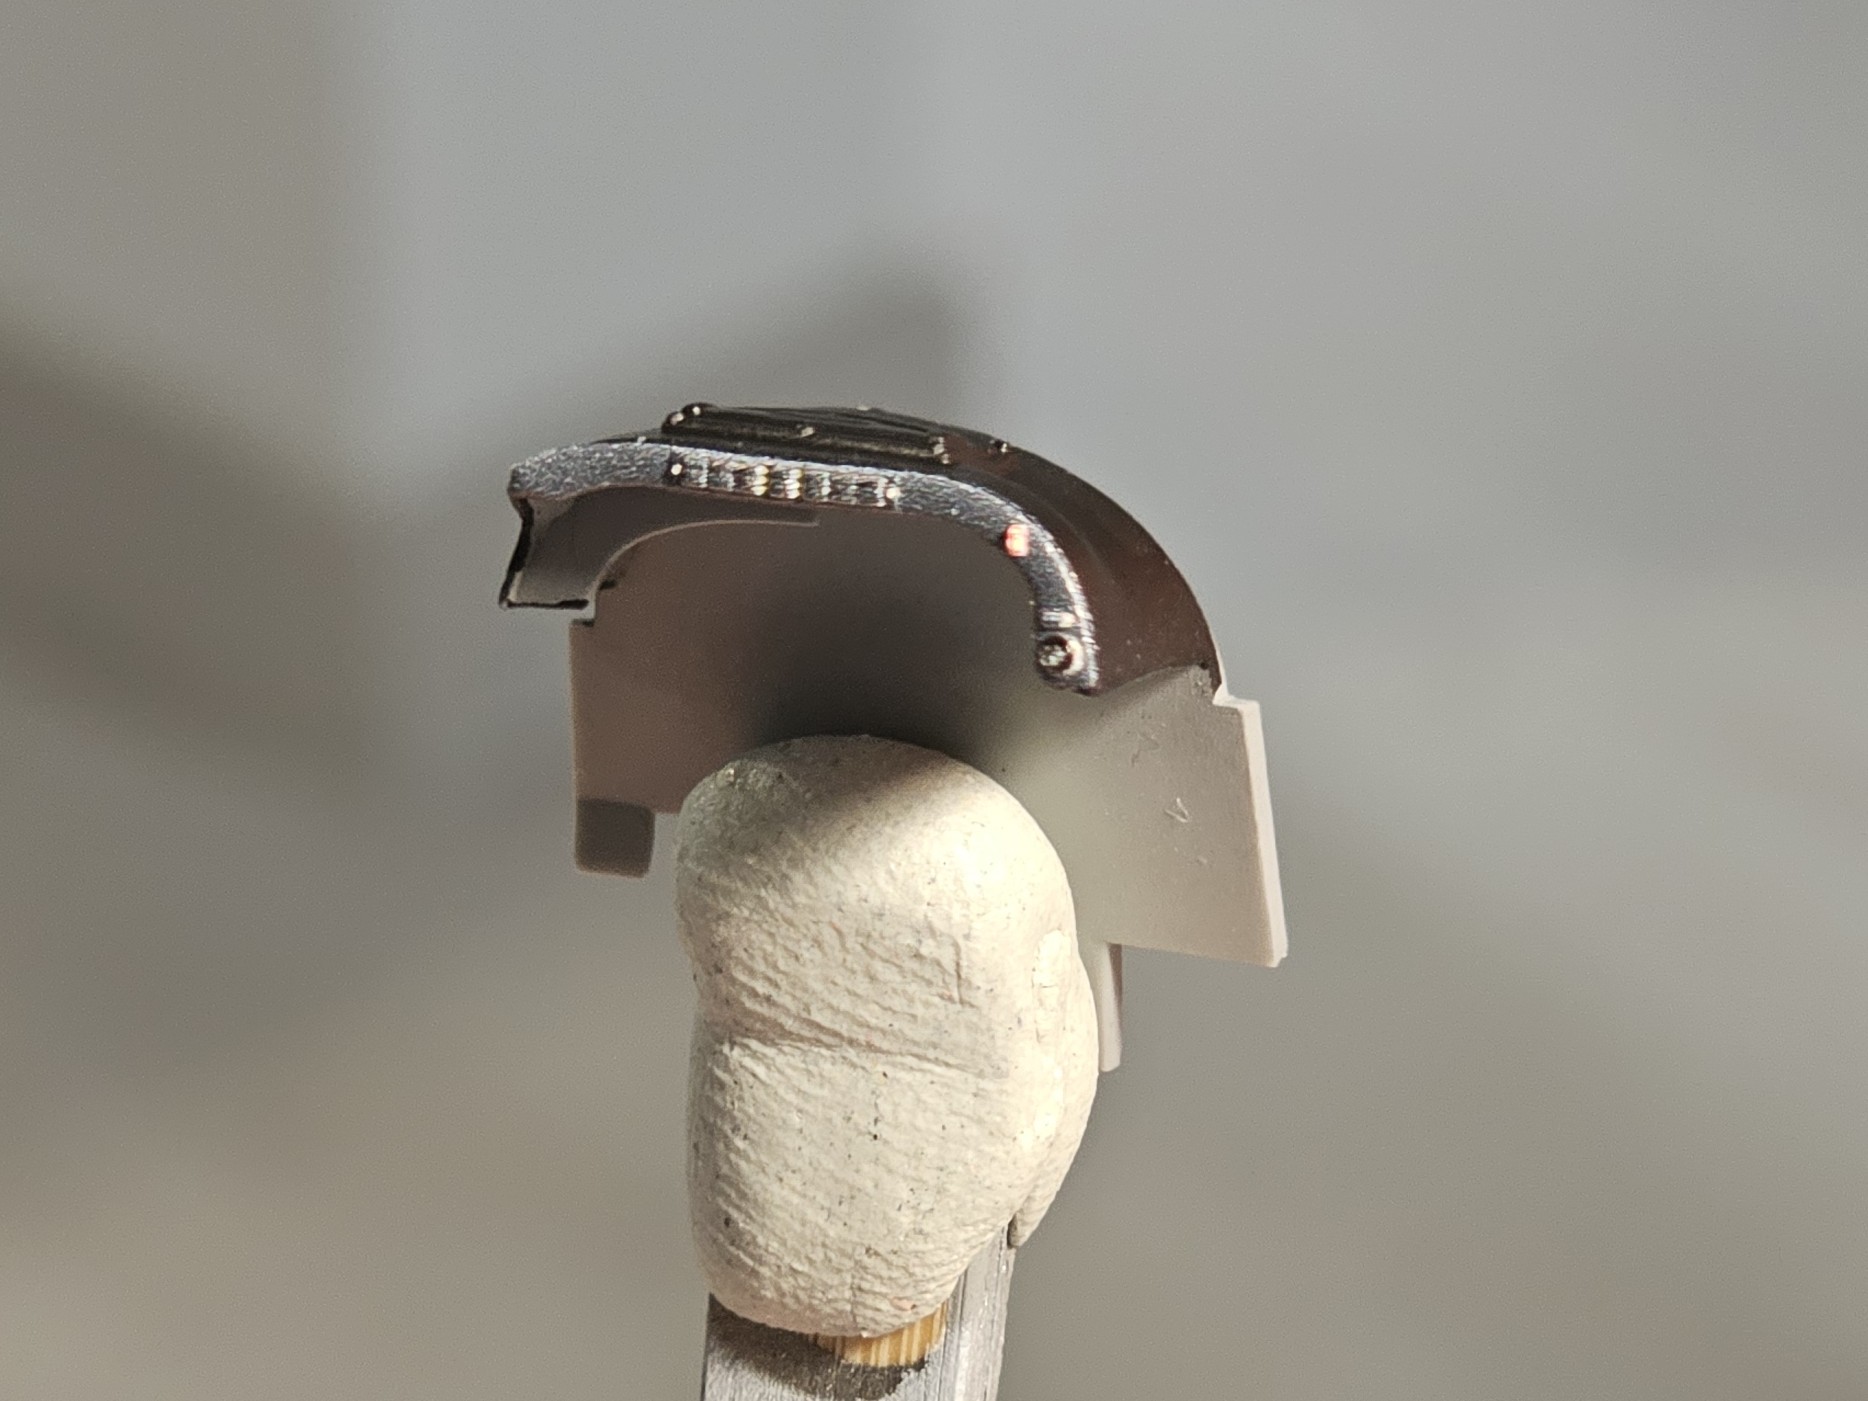
Like most kits, this one starts with assembling the cockpit, which in this case involves removing the raised trim from all the panels so you can apply Quinta Studio's 3D decals. The assembly is relatively straightforward and without any problems. I usually leave installing the seats until the last minute, and this was no exception, so I just put them in place and left the rest for later. For some reason, I lost one of the control sticks, so I designed a new one and 3D printed it. It wasn't too much work, and the level of detail is slightly better than the original stick.
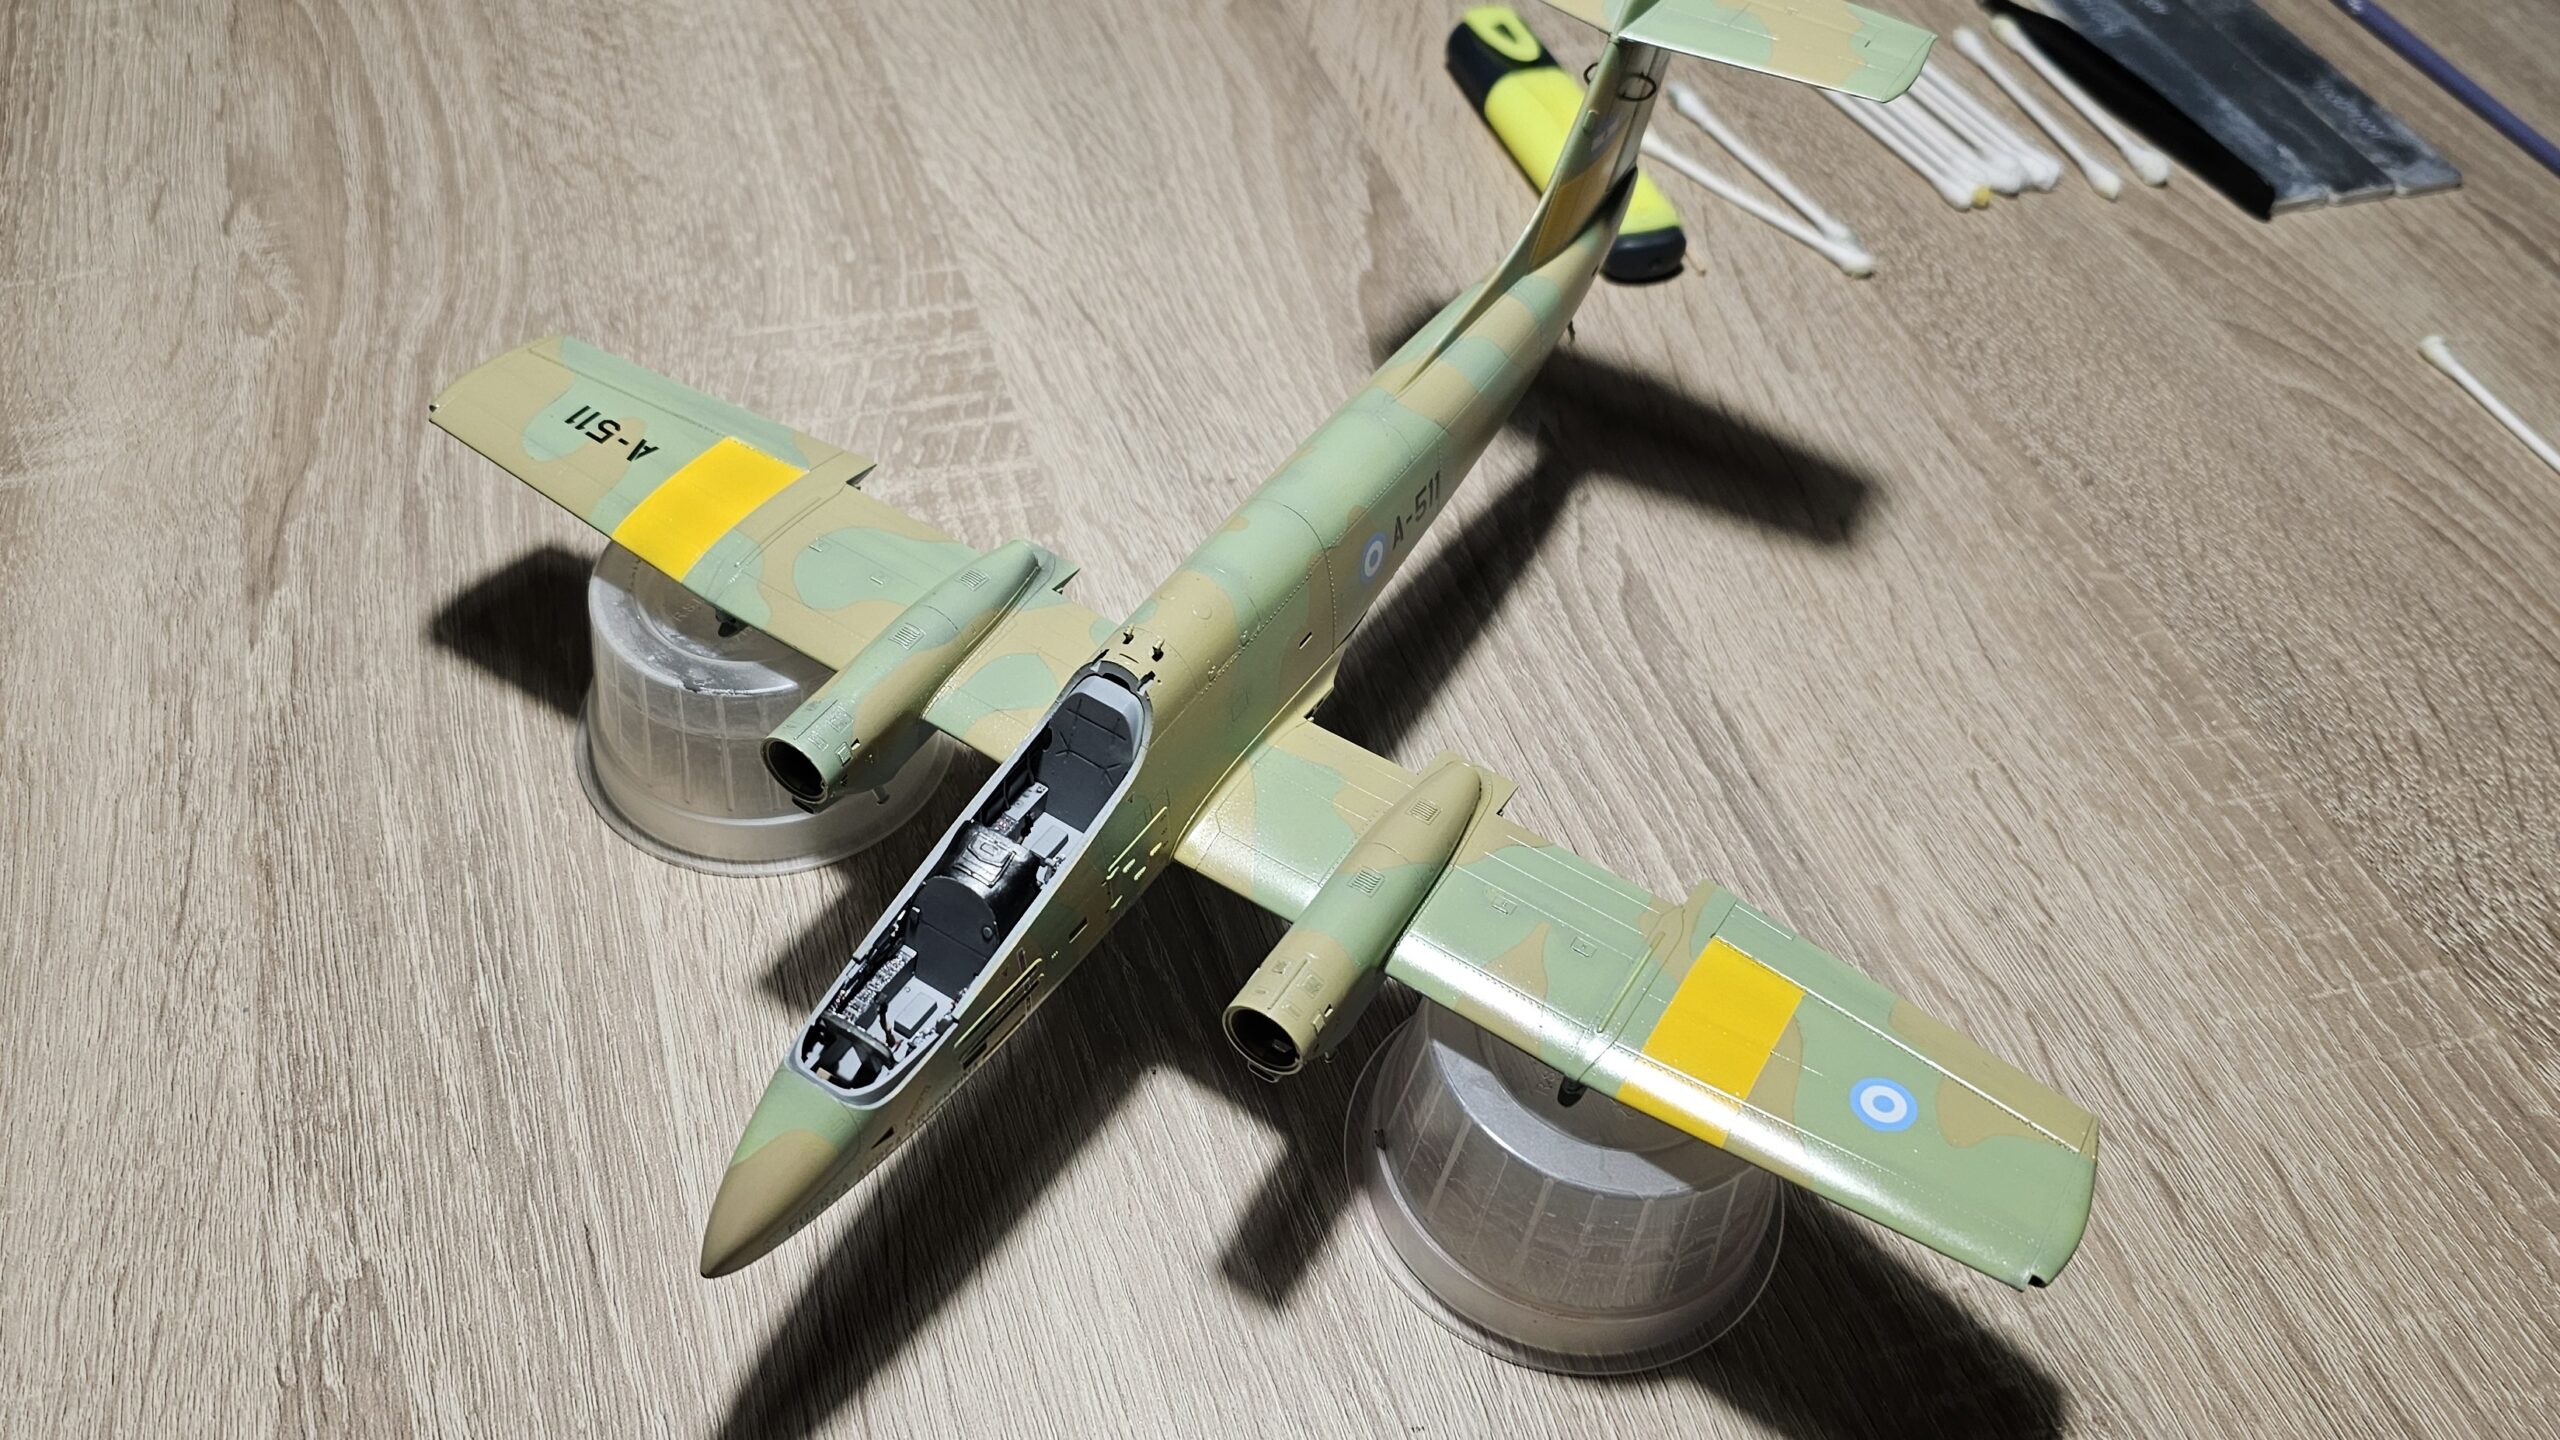
Fuselage and wings
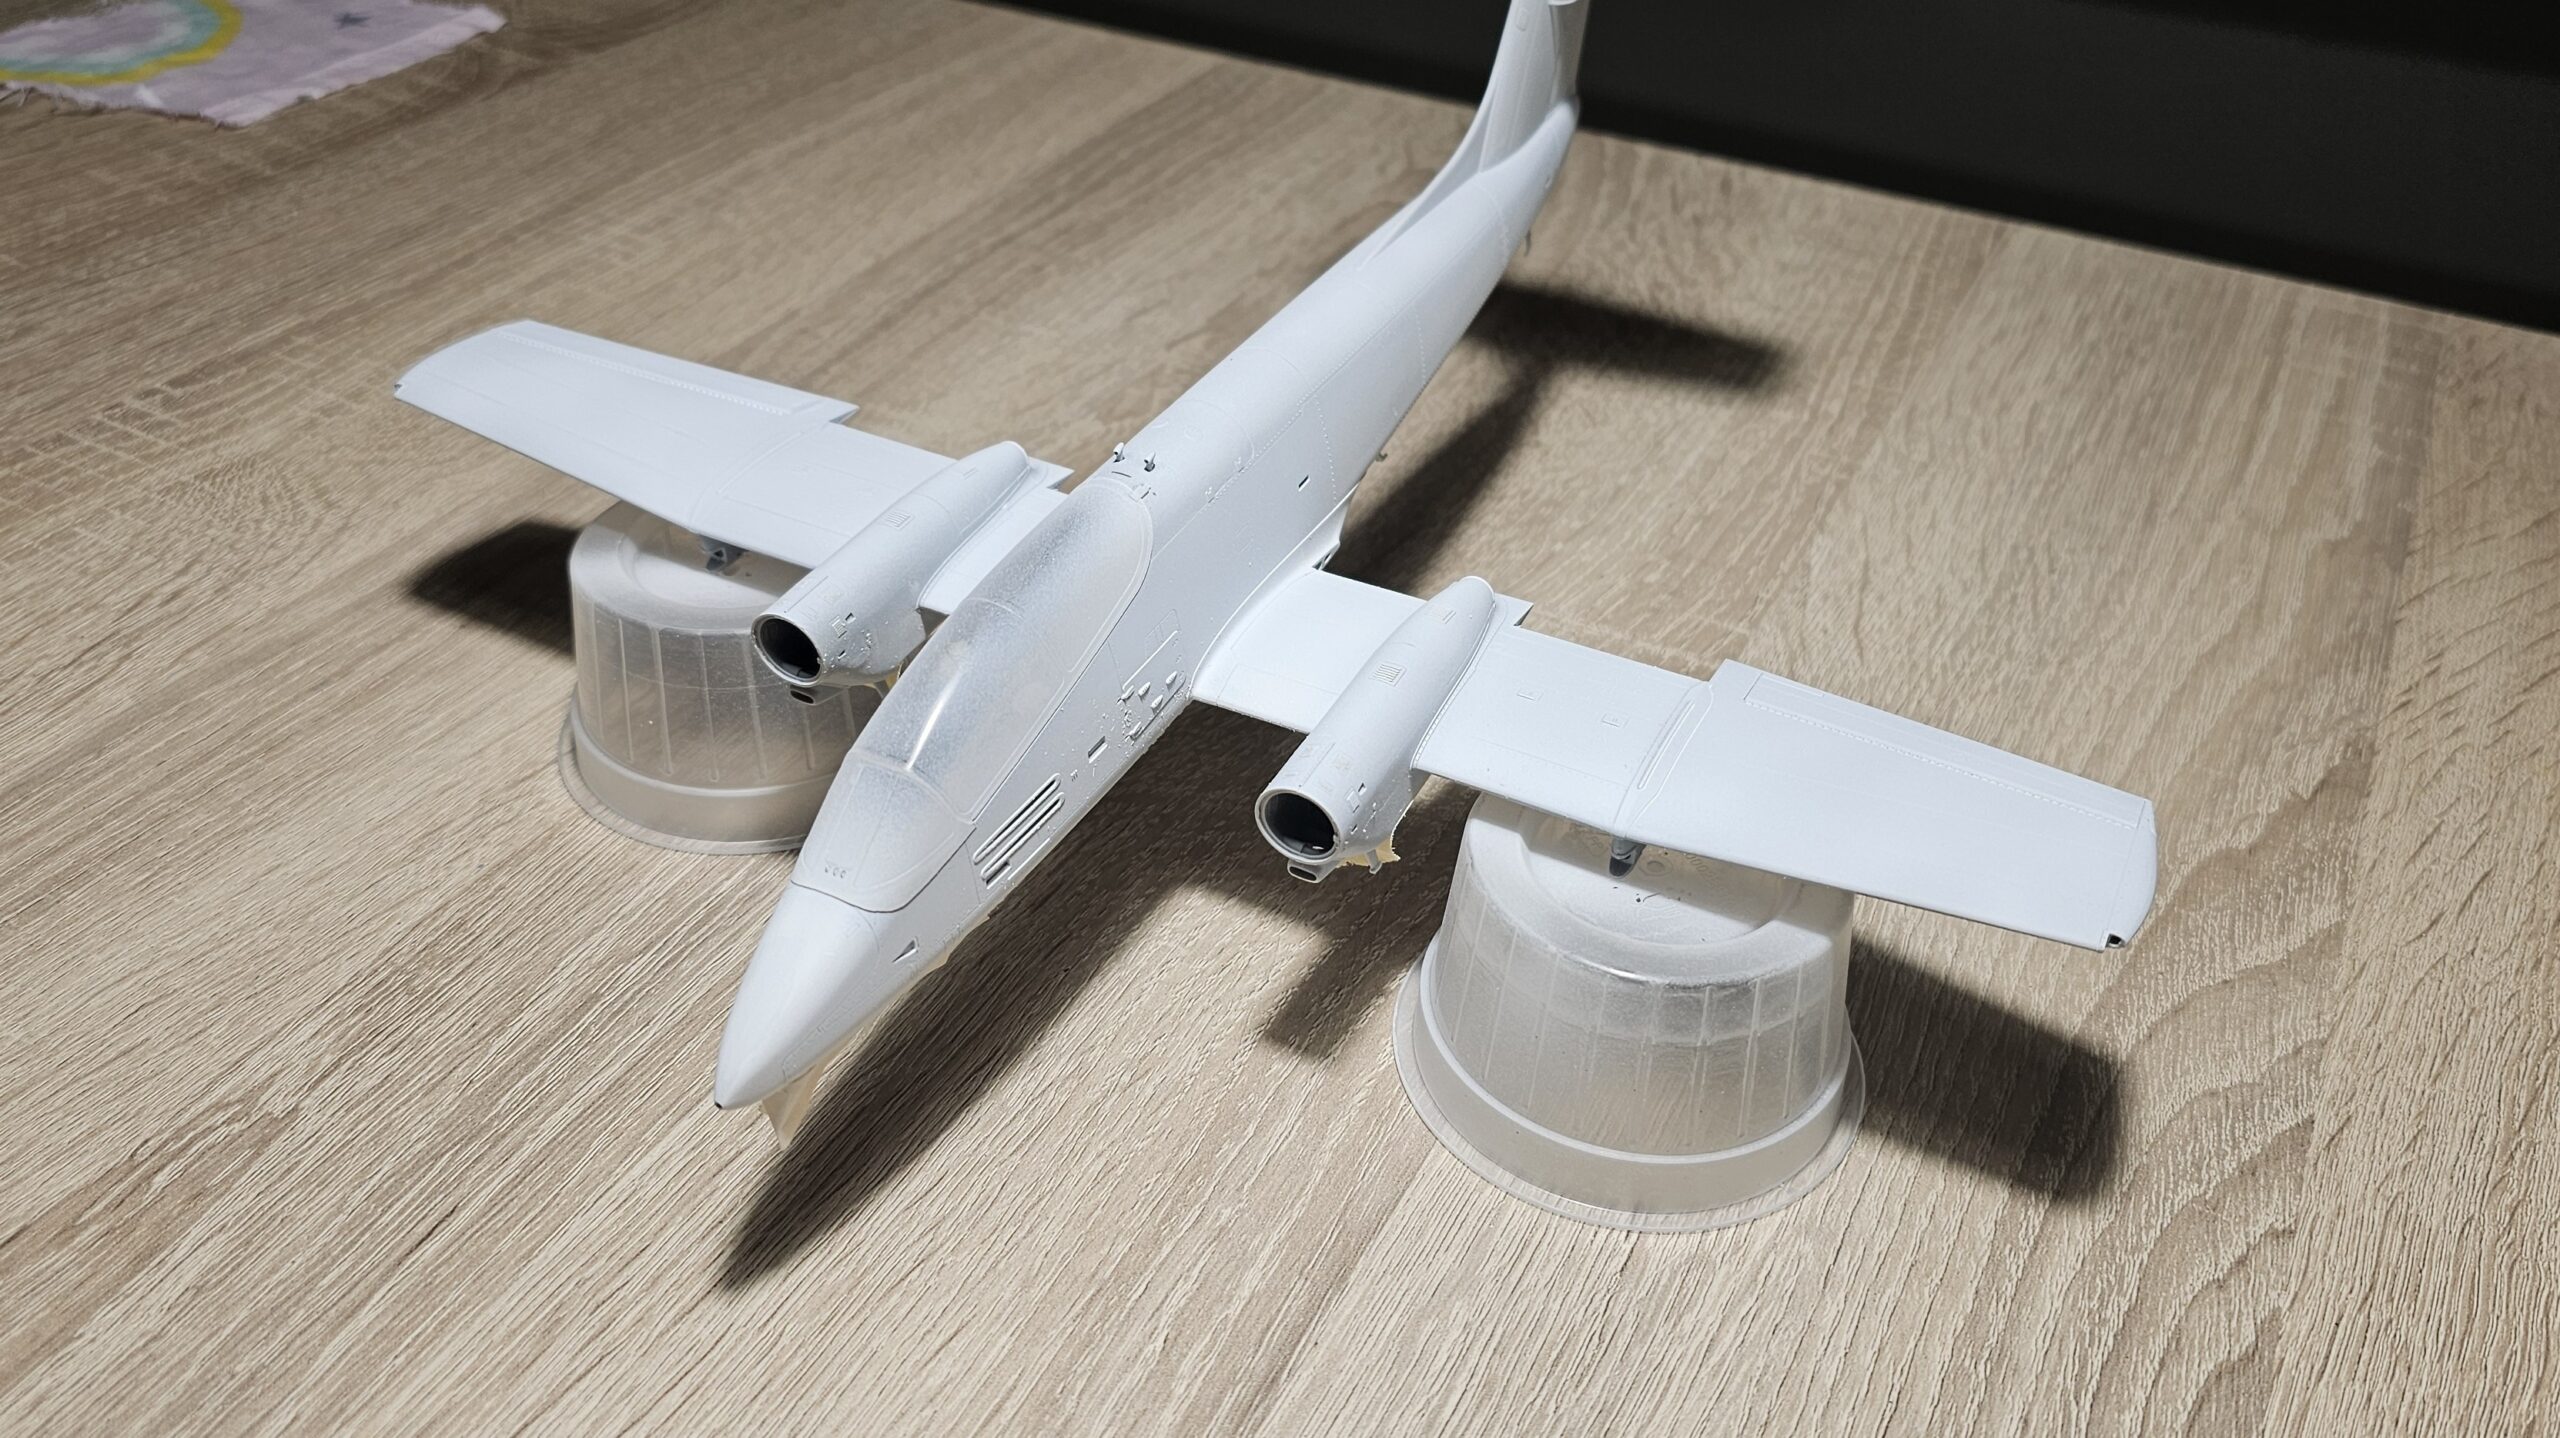
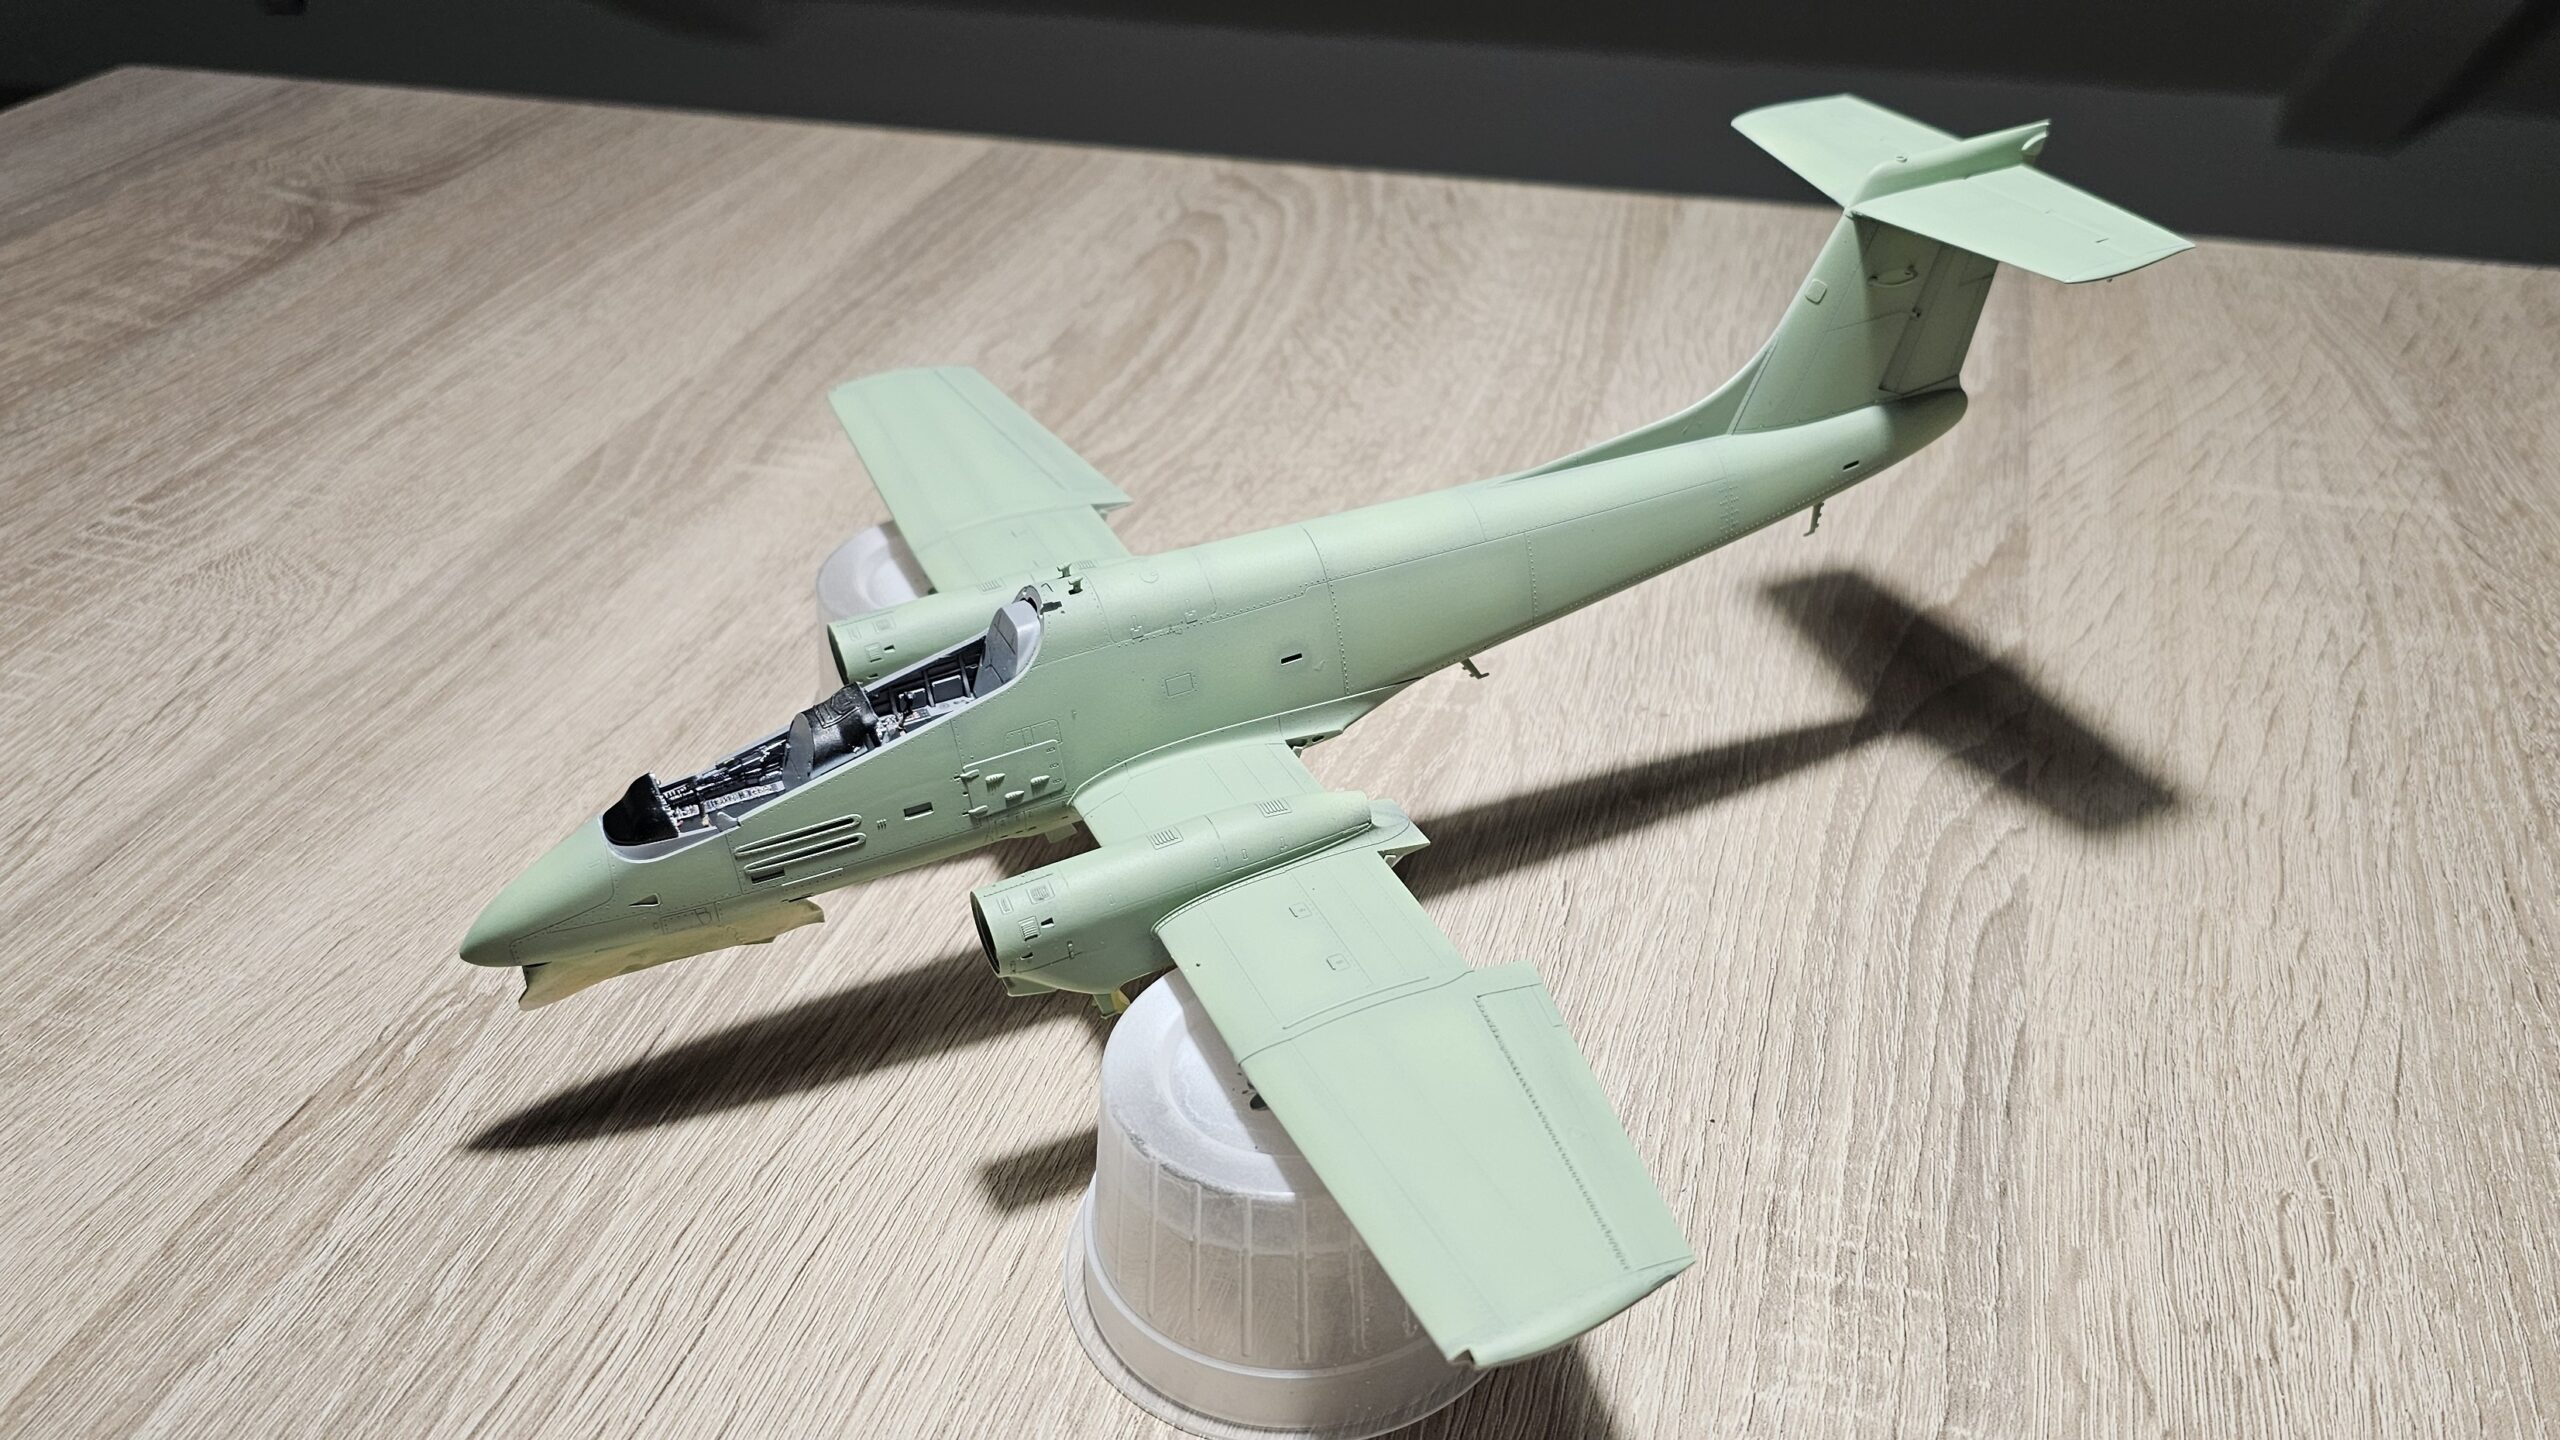
Once the cockpit was completed, the nose wheel well was built, which was a simple process, and then the two fuselage halves could be joined. The fit was really good, requiring practically no filler.
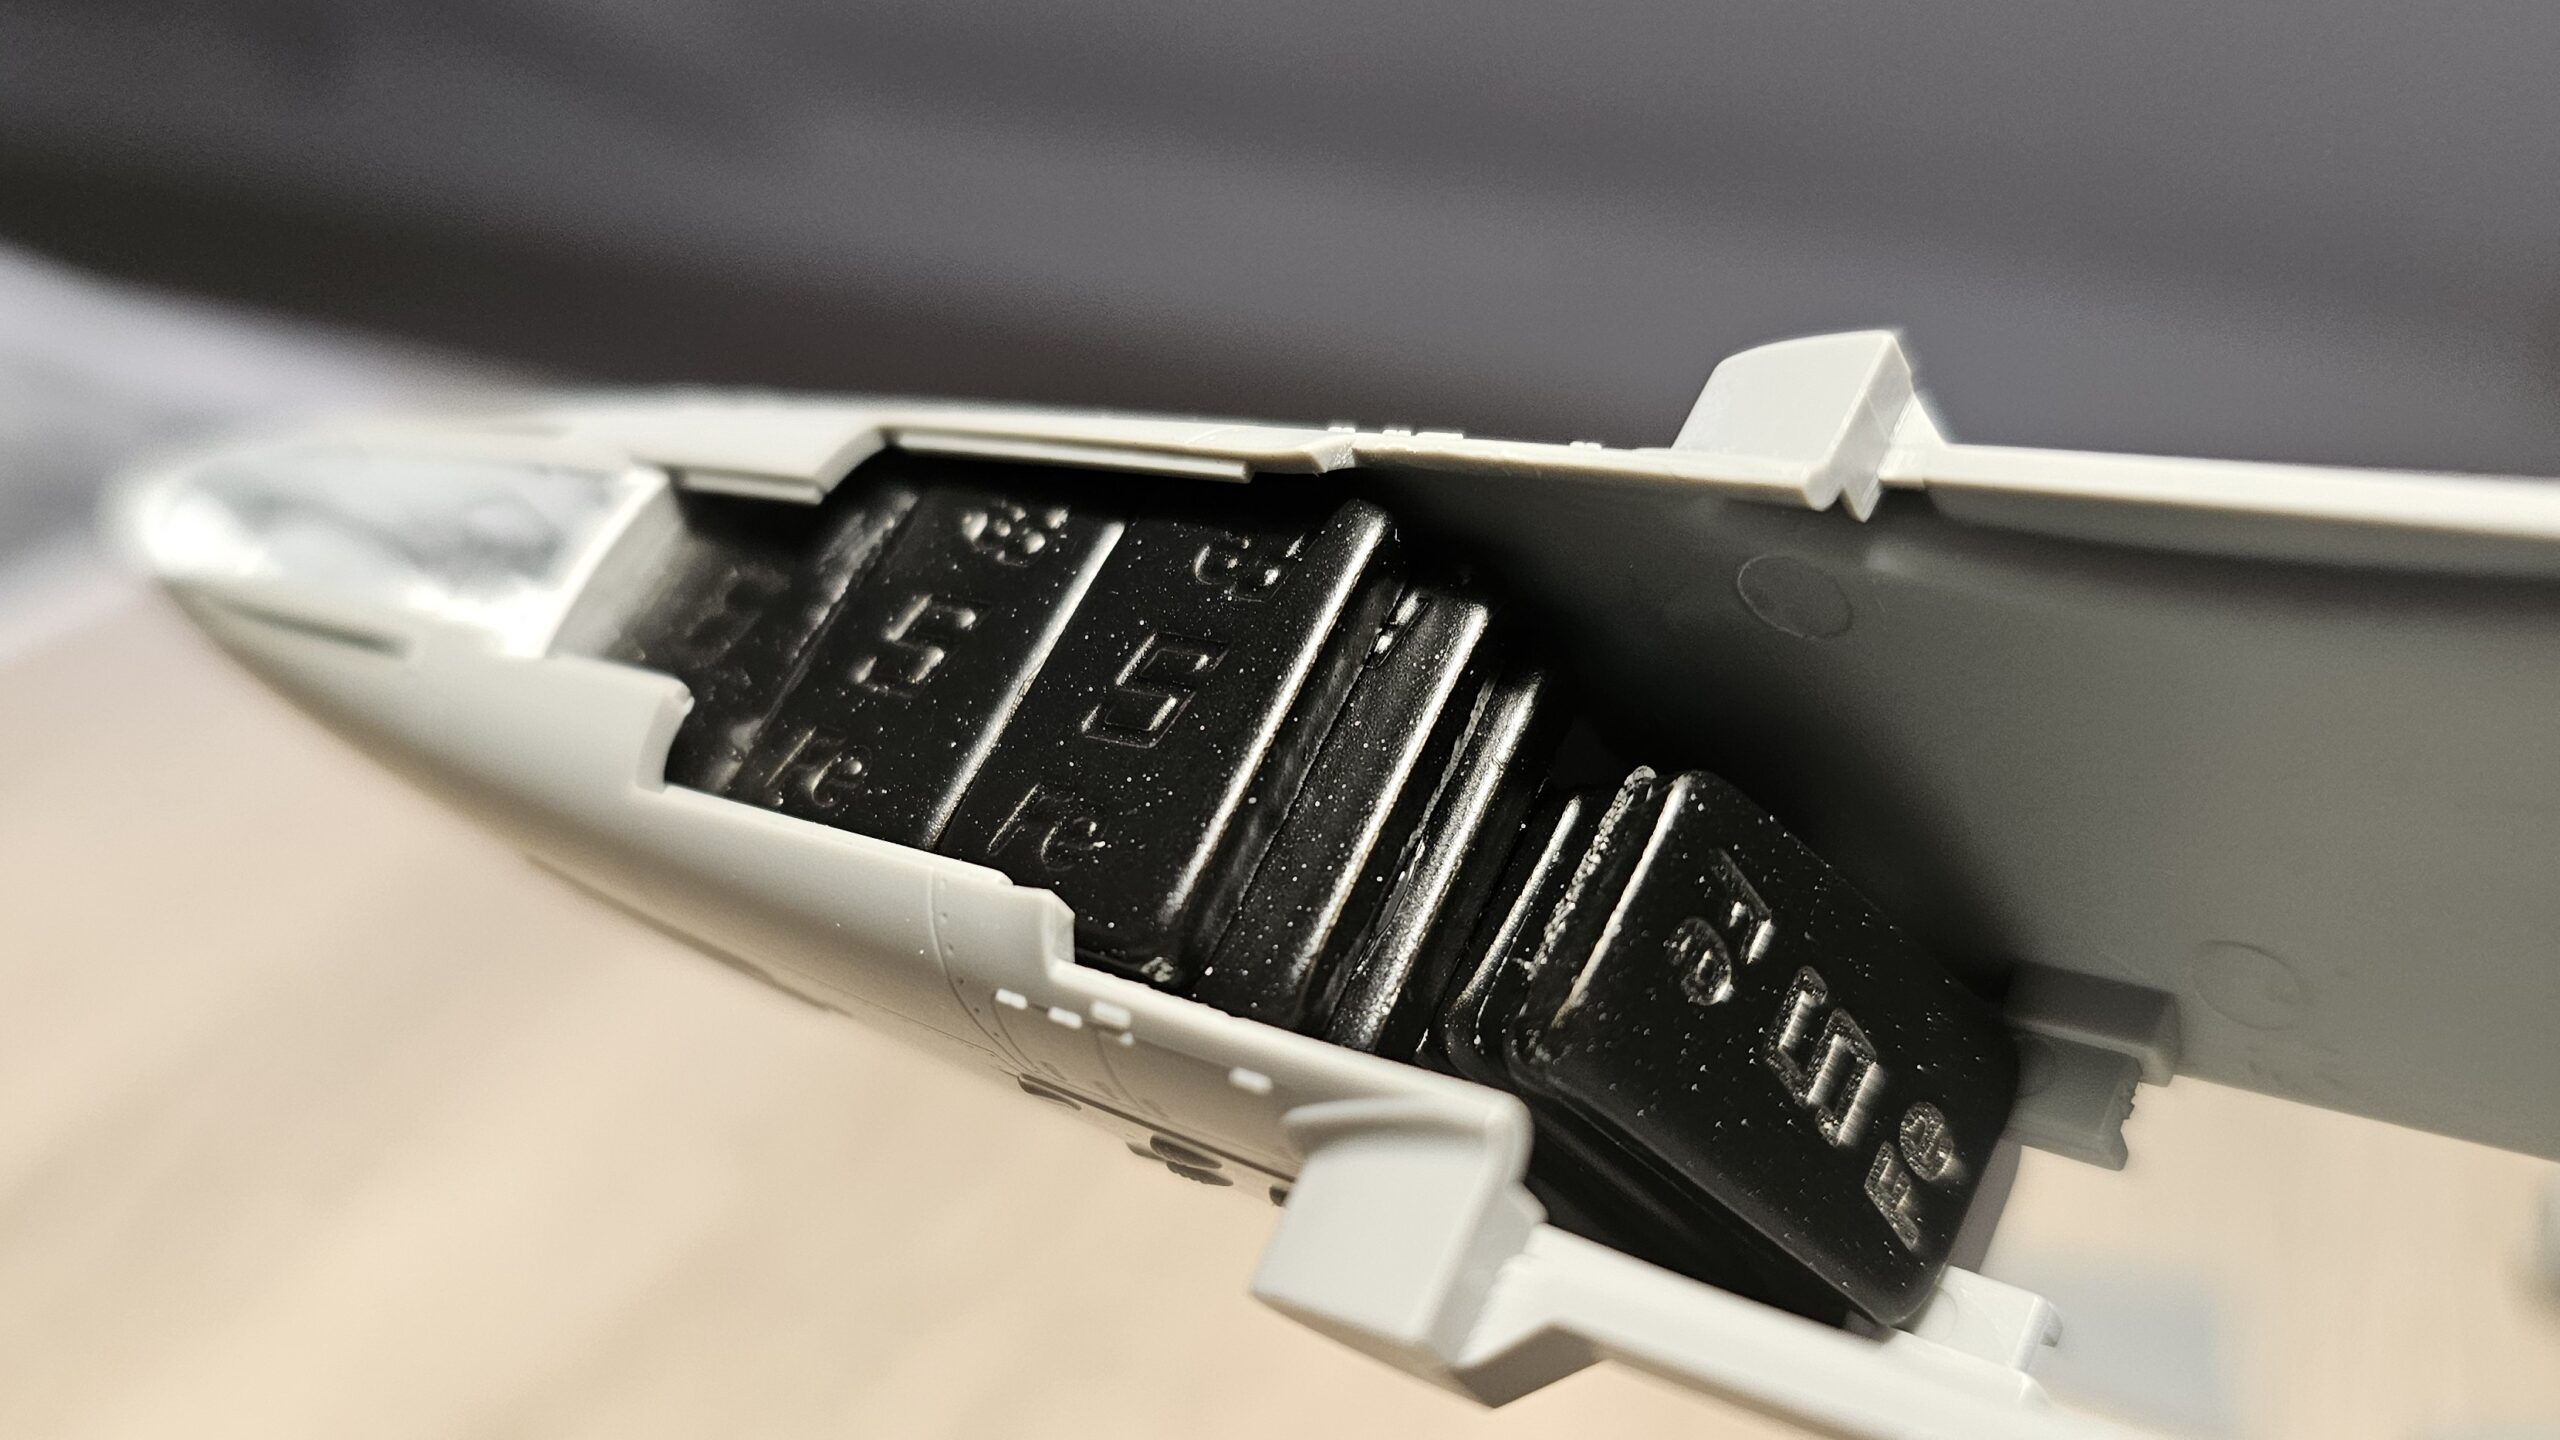
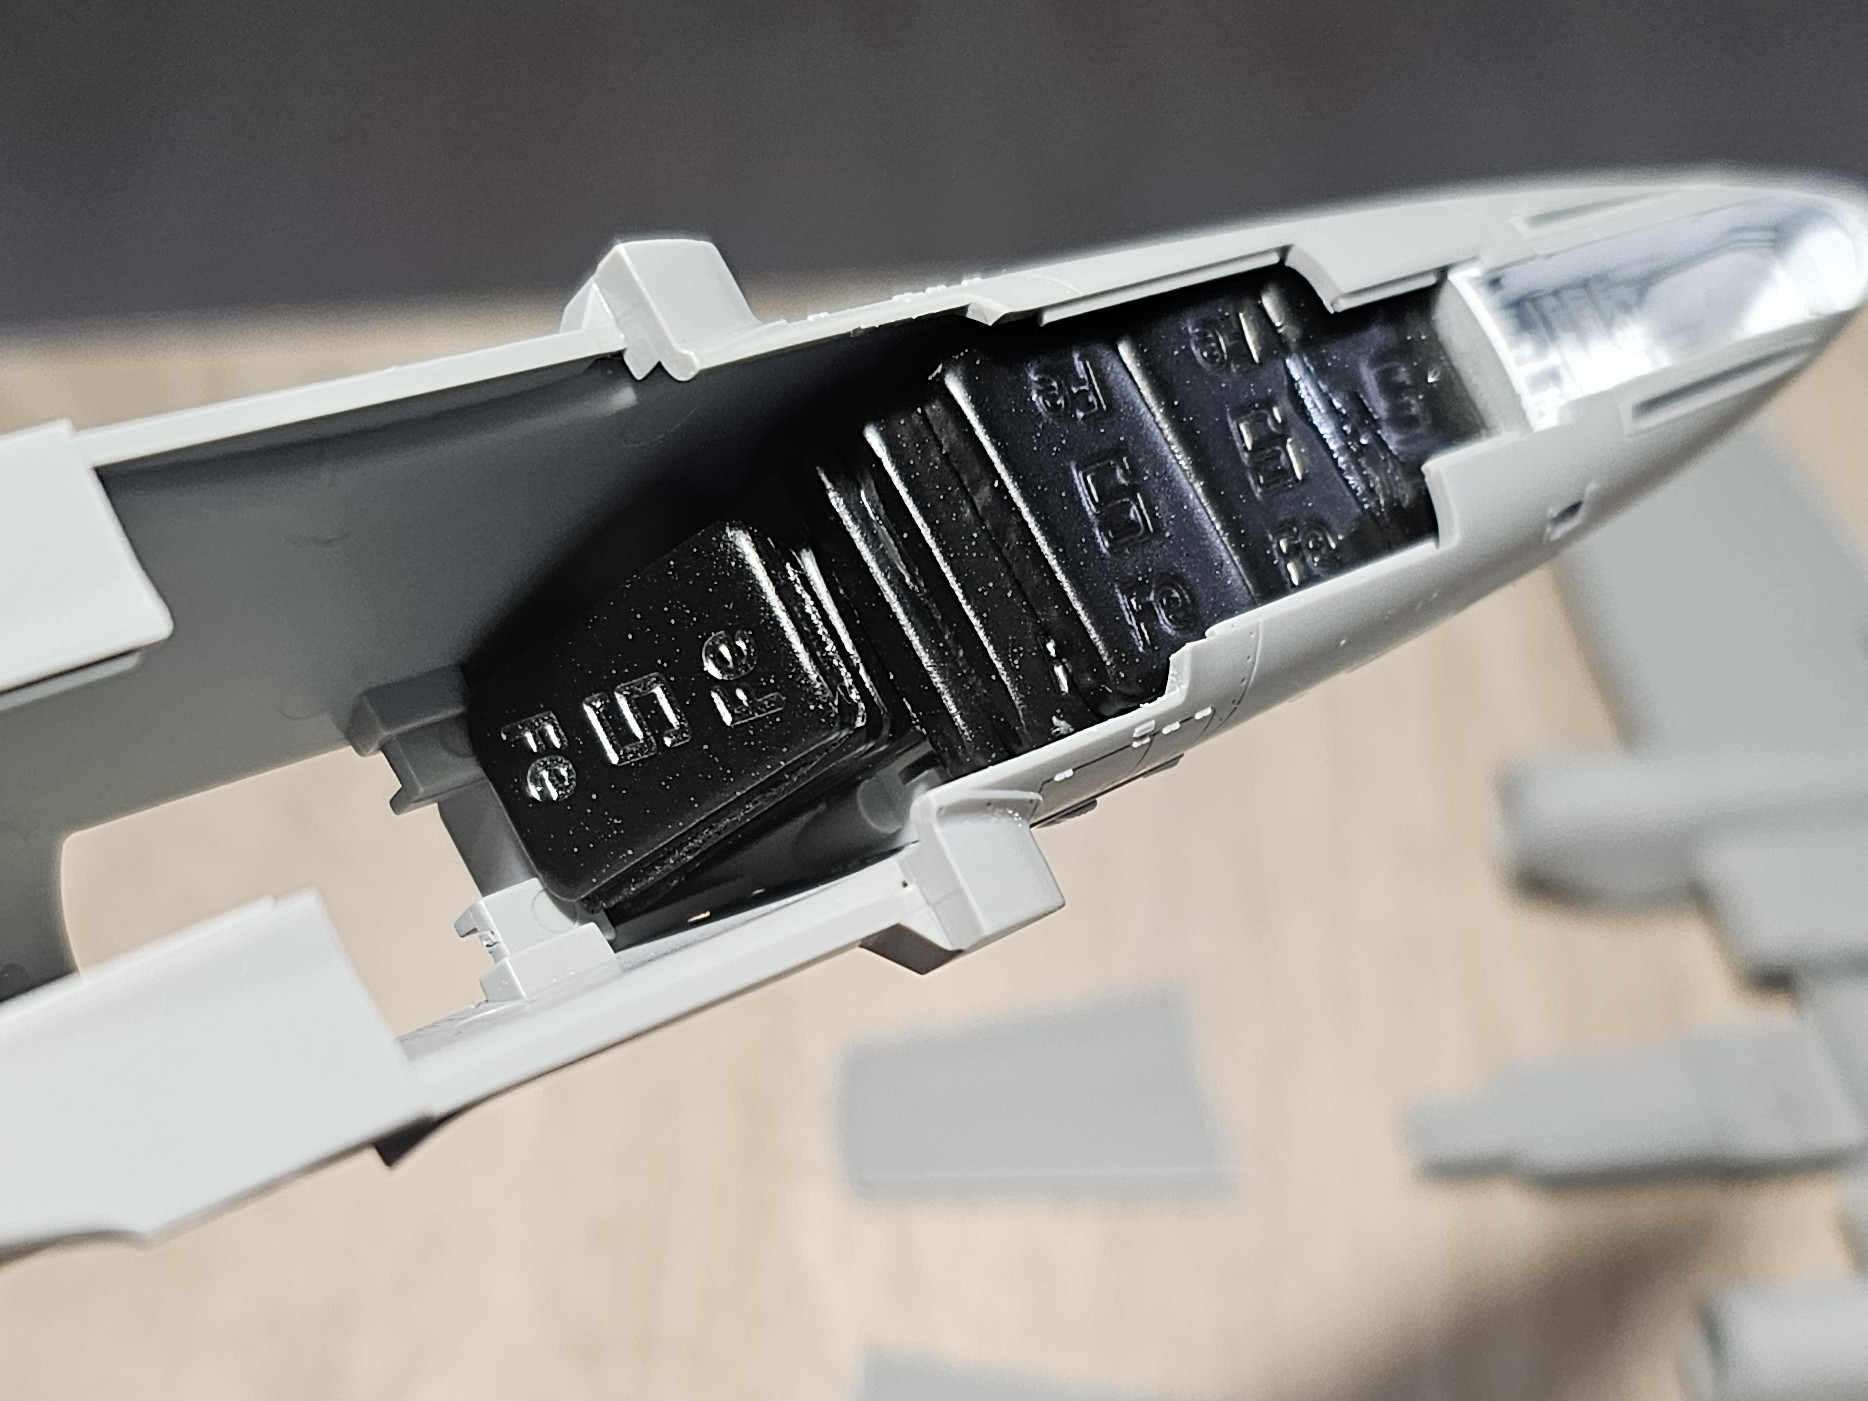
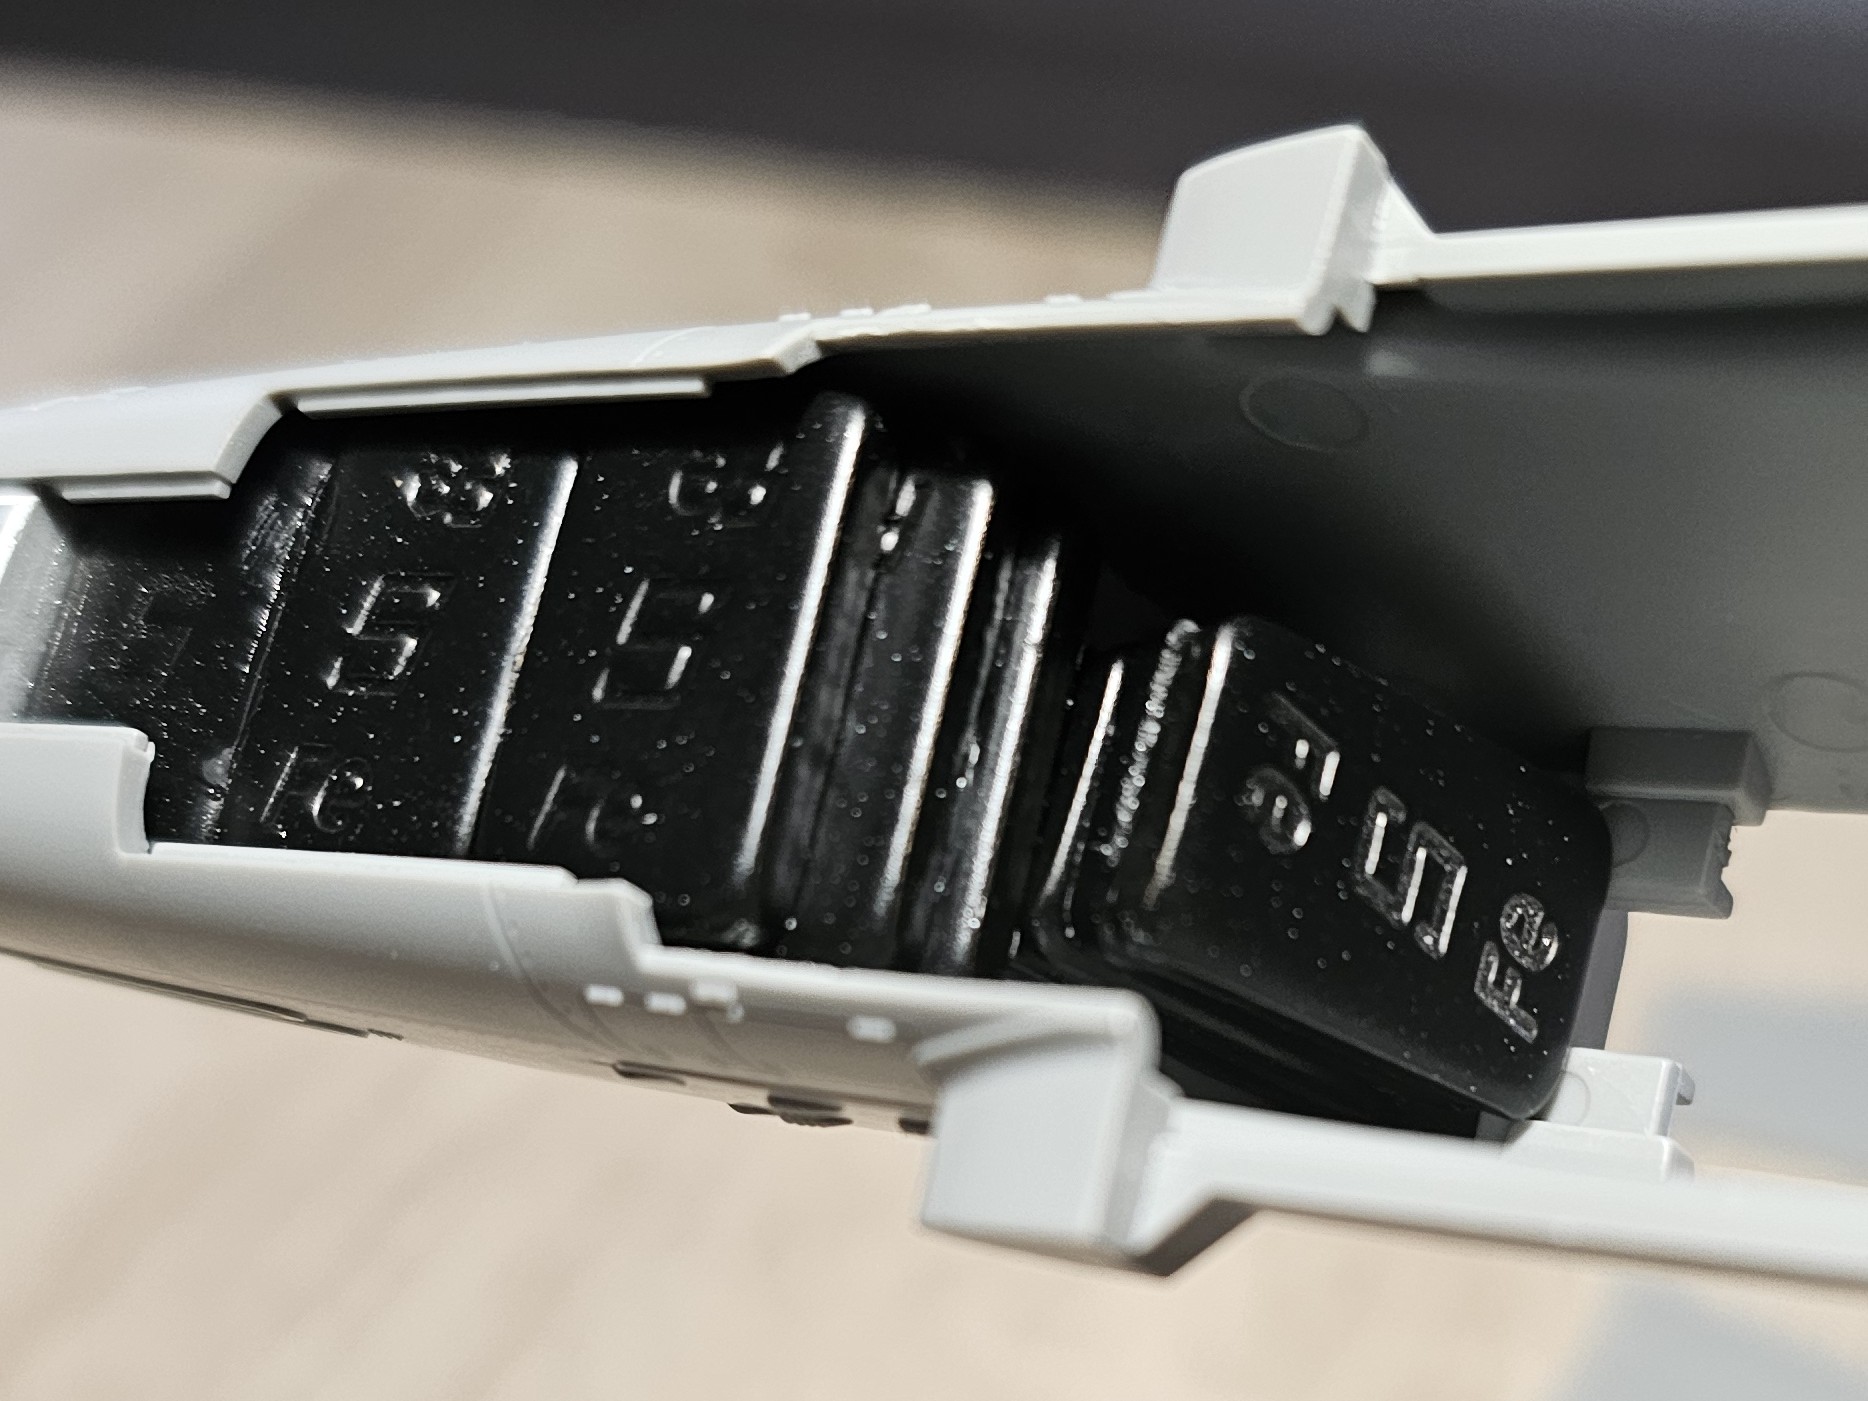
The next step is assembling the wings, including the engine nacelles and armament mounts. At this point, before attaching the wings, I added a lot of weight (yes, a lot) under the cockpit to ensure the finished aircraft wouldn't be a tailseat. For this, I used 5g lead weights, placing no fewer than 15. Unfortunately, I don't have an exact count, but I estimate I could have used slightly less with the same result. However, the area under the cockpit has ample space for weight without any issues. Once the wings were attached to the fuselage, I proceeded to work on the remaining details (the empennage, etc.) to prepare the aircraft for painting.
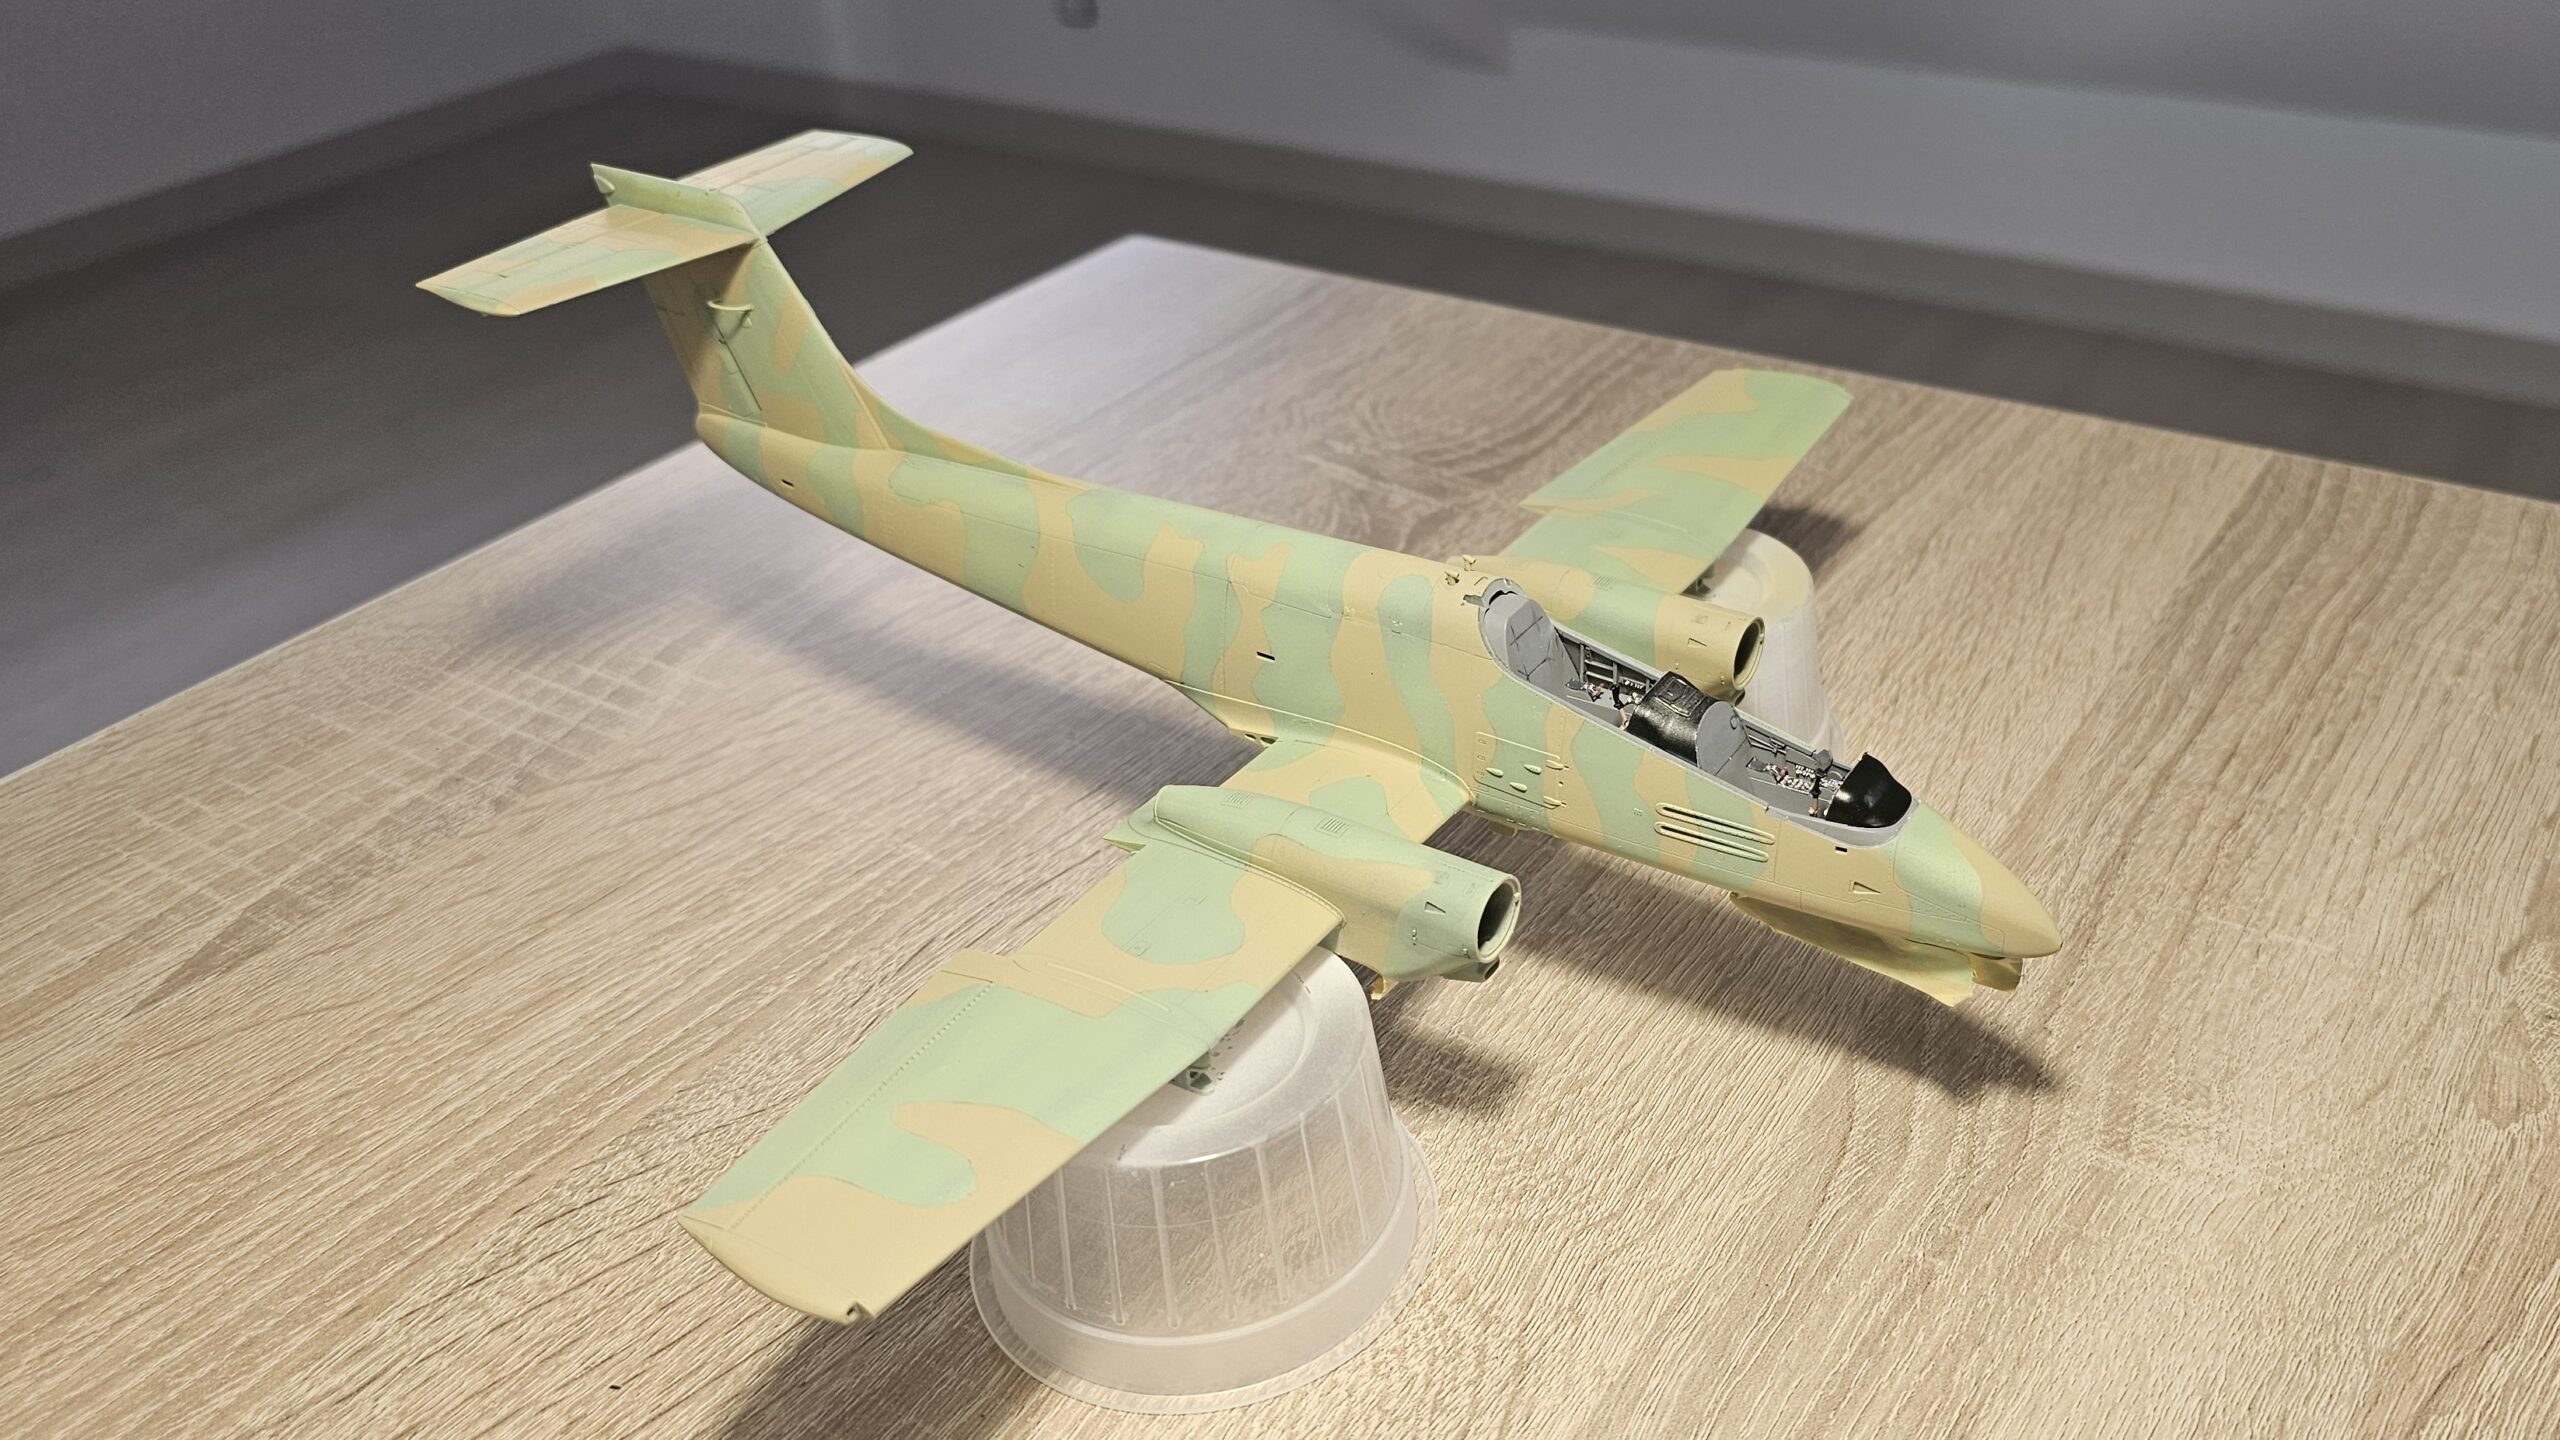
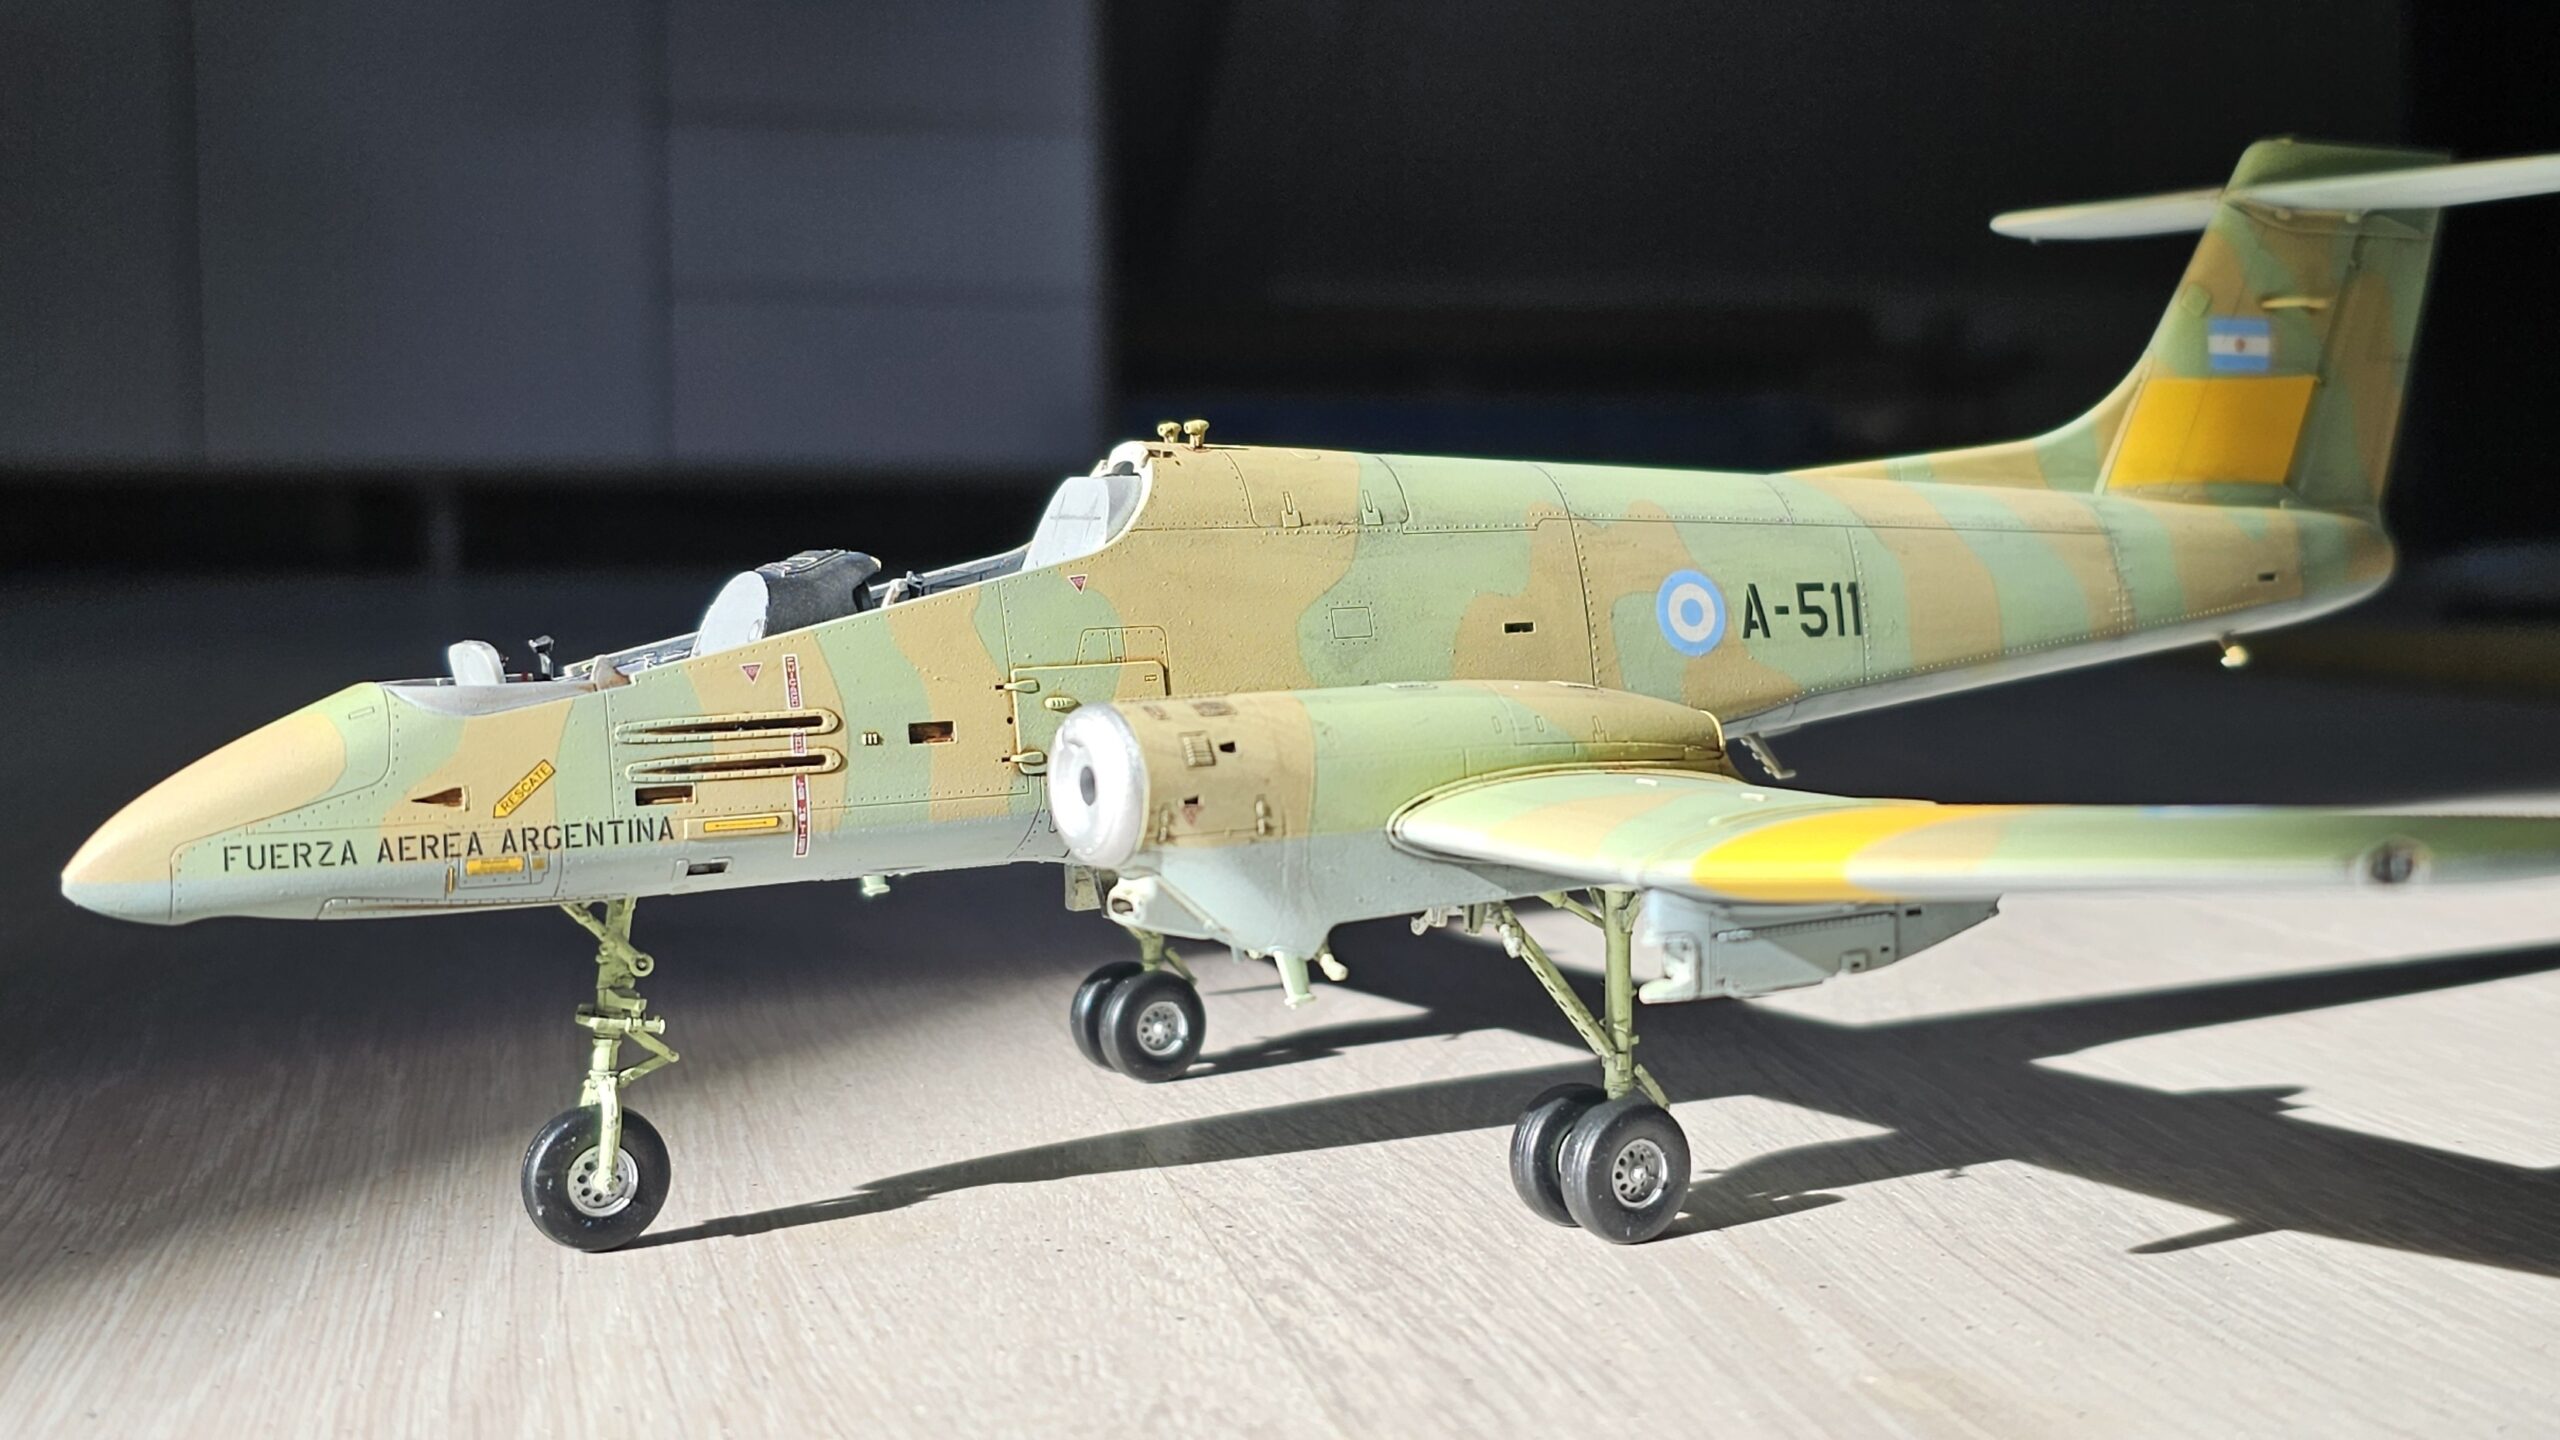
It is important to pay attention to the steps that should only be performed for variant “D” (IA-58D), because registration A-511 corresponded to variant “A”, so those steps should not be applied. The instructions clearly indicate which operations apply only to variant D.
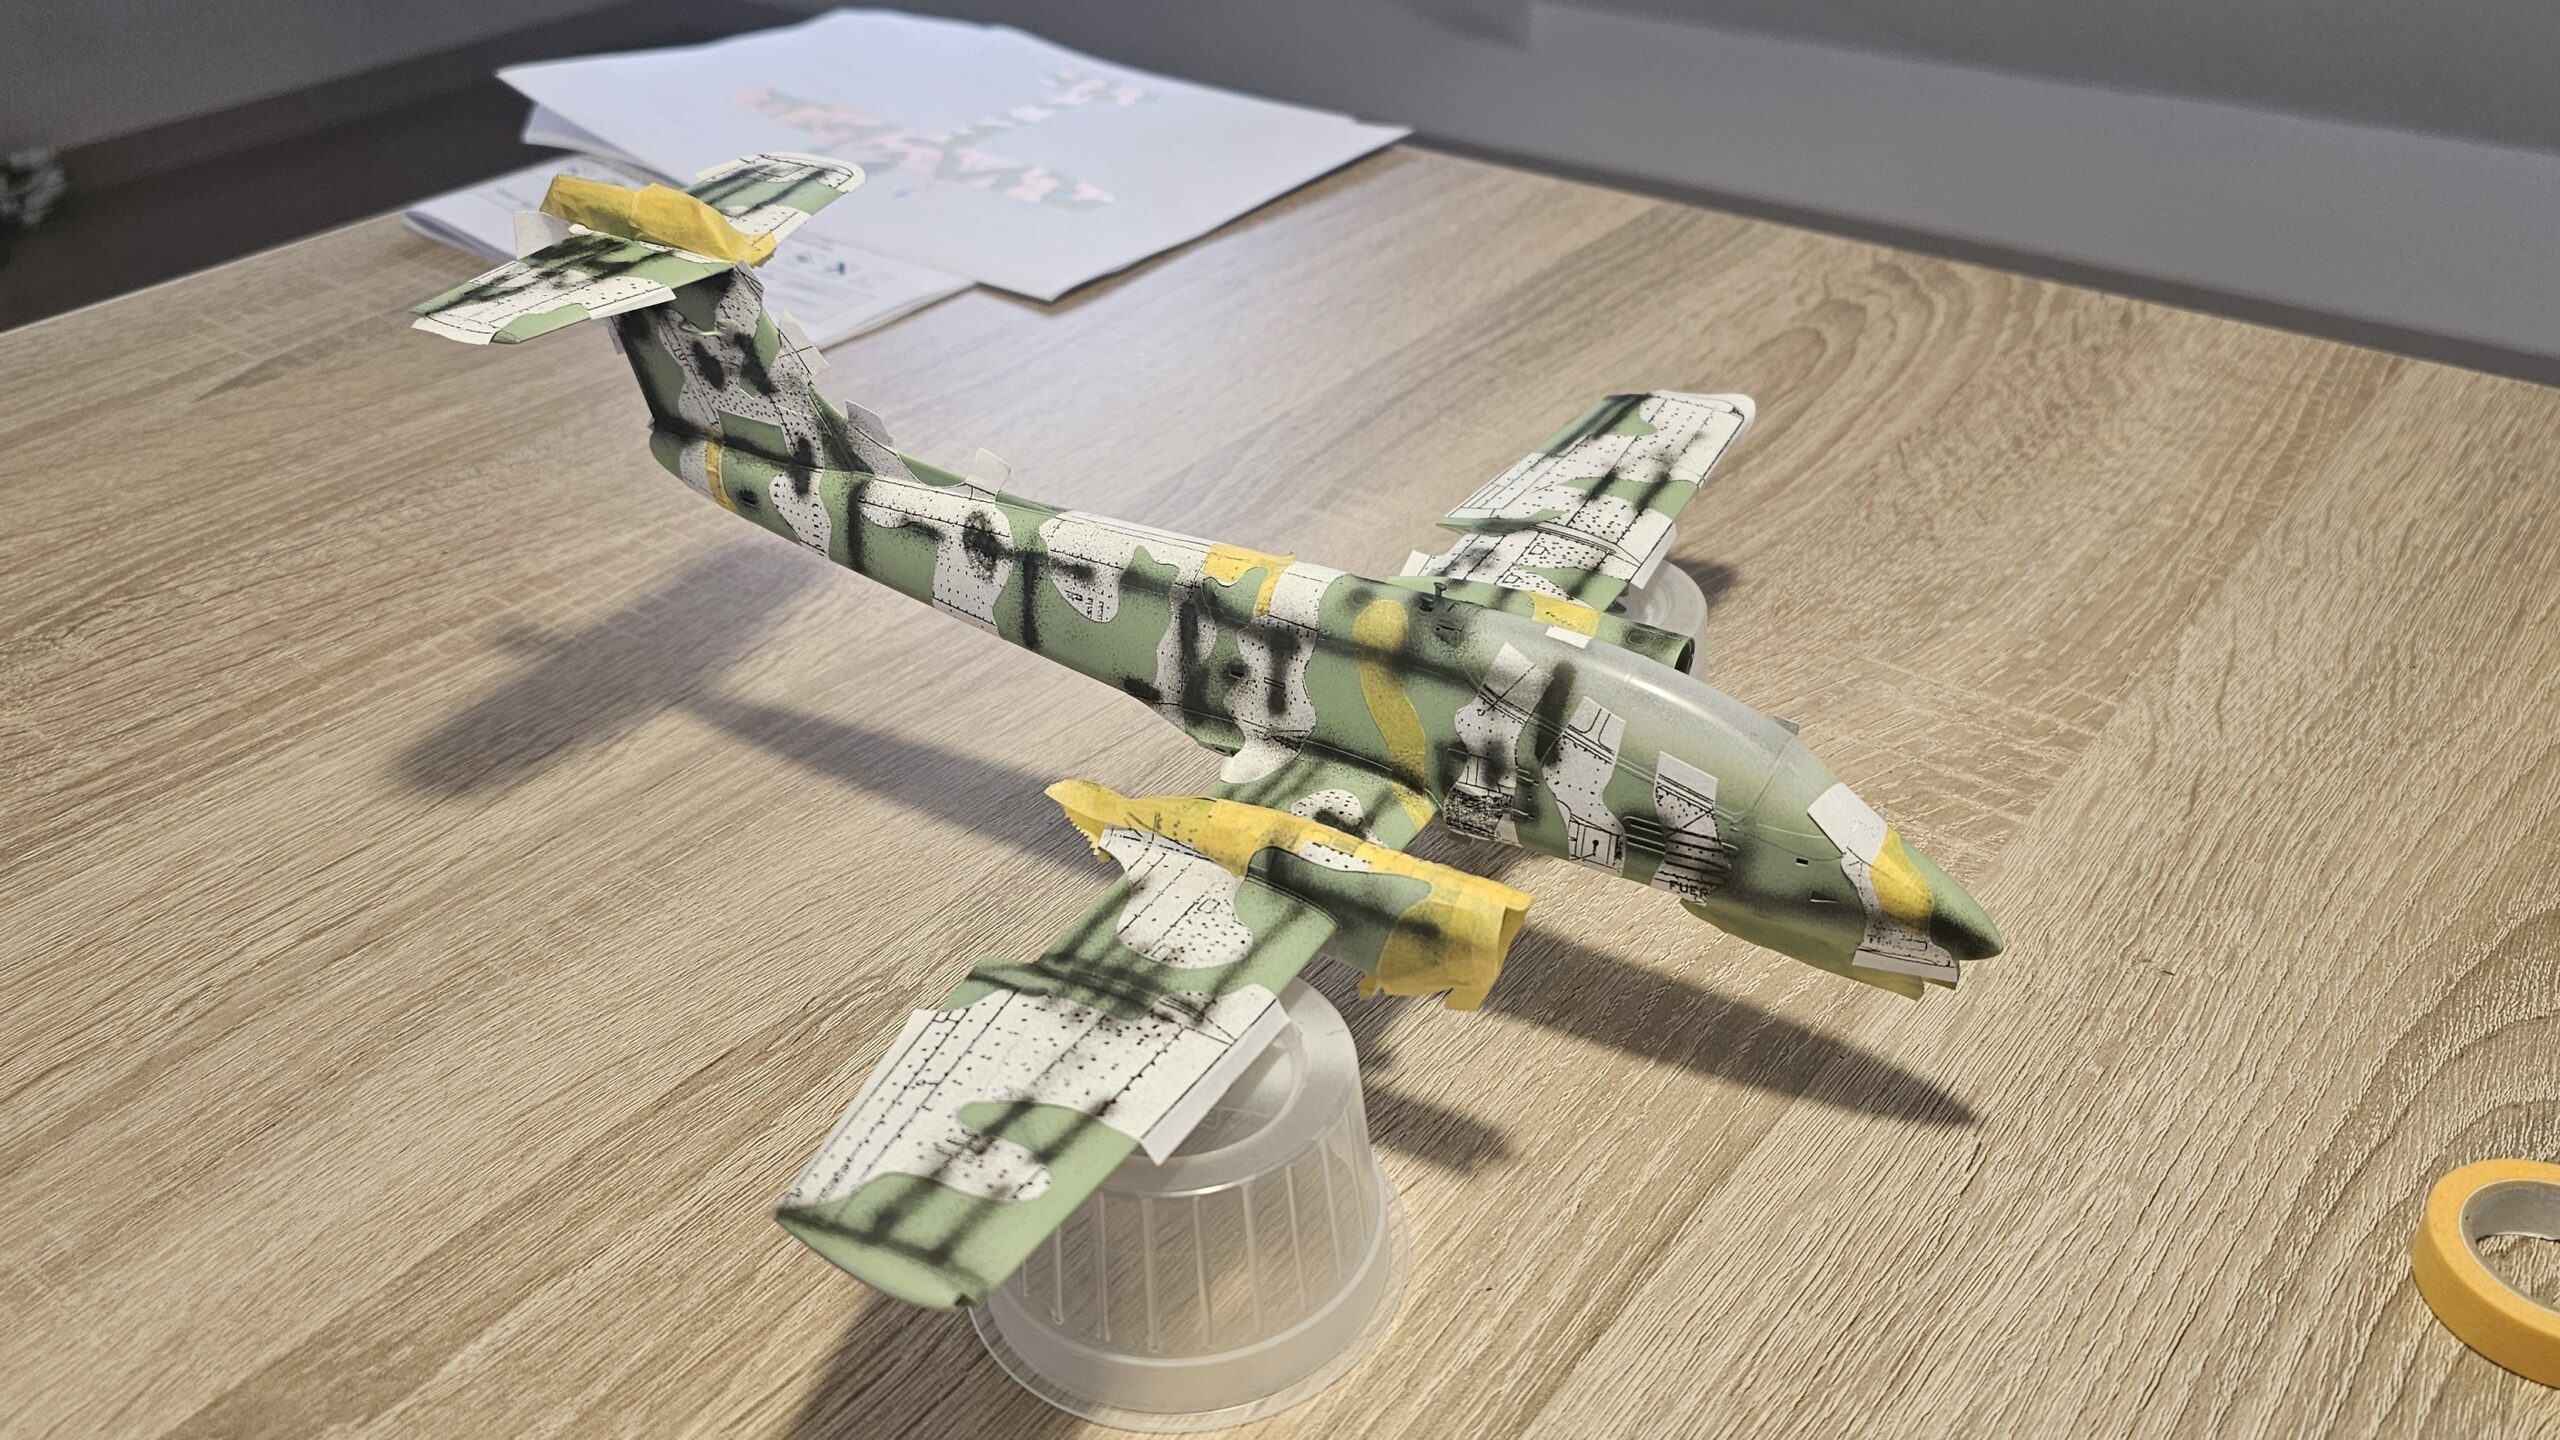
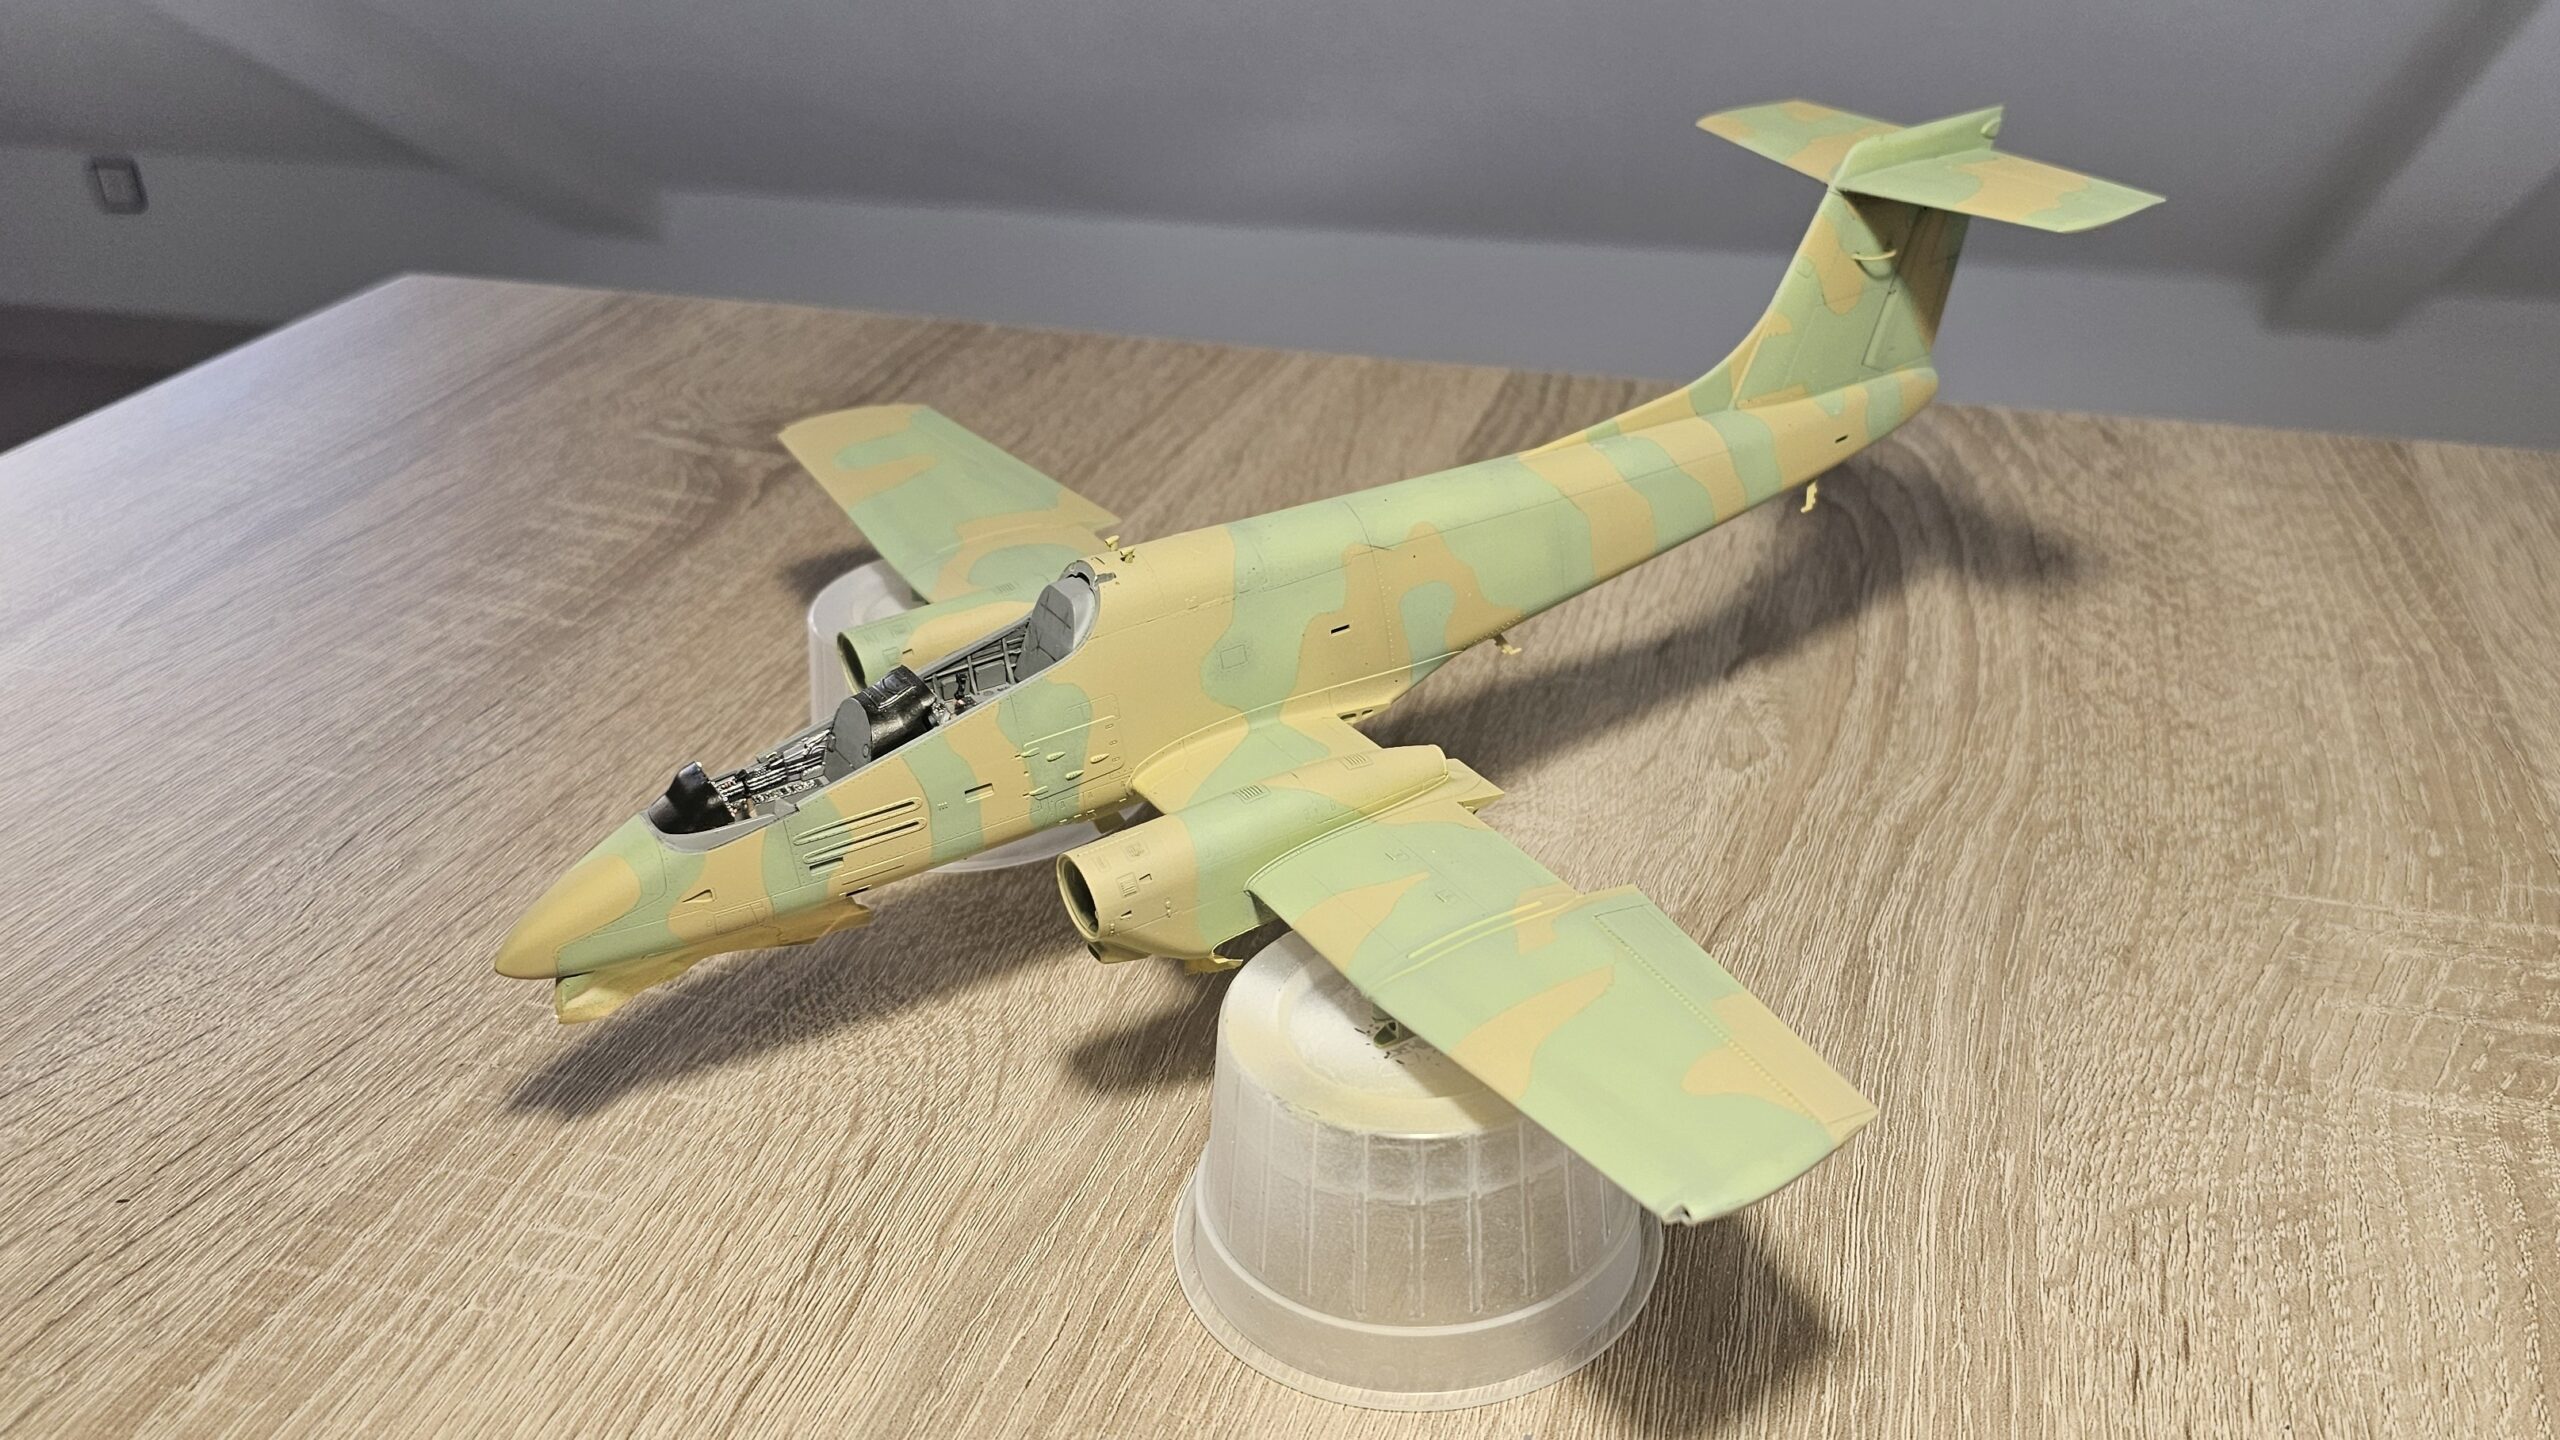
Paint
Painting the model was interesting, but also a bit complicated, because the colors used weren't documented, forcing a process of trial and error. I started with a coat of Vallejo Primer in white, and then a little pre-shading following the panel lines. Over this, I painted a couple of thin coats of "Duck Egg" acrylic paint. Then, using the instruction manual as a guide, I made a series of paper templates for the camouflage. I applied a little more pre-shading and then coats of brown acrylic, in the shade that seemed most appropriate. The final result wasn't bad, but it wasn't exactly what I was looking for, so I ended up using very thin, very diluted coats of yellow and white until I got the exact shade I wanted. In short, it was quite a bit of work, but I managed to get pretty close to the camouflage colors I was looking for. The underside of the fuselage and the wings are a single color, so I used Vallejo acrylics for that without any problems.
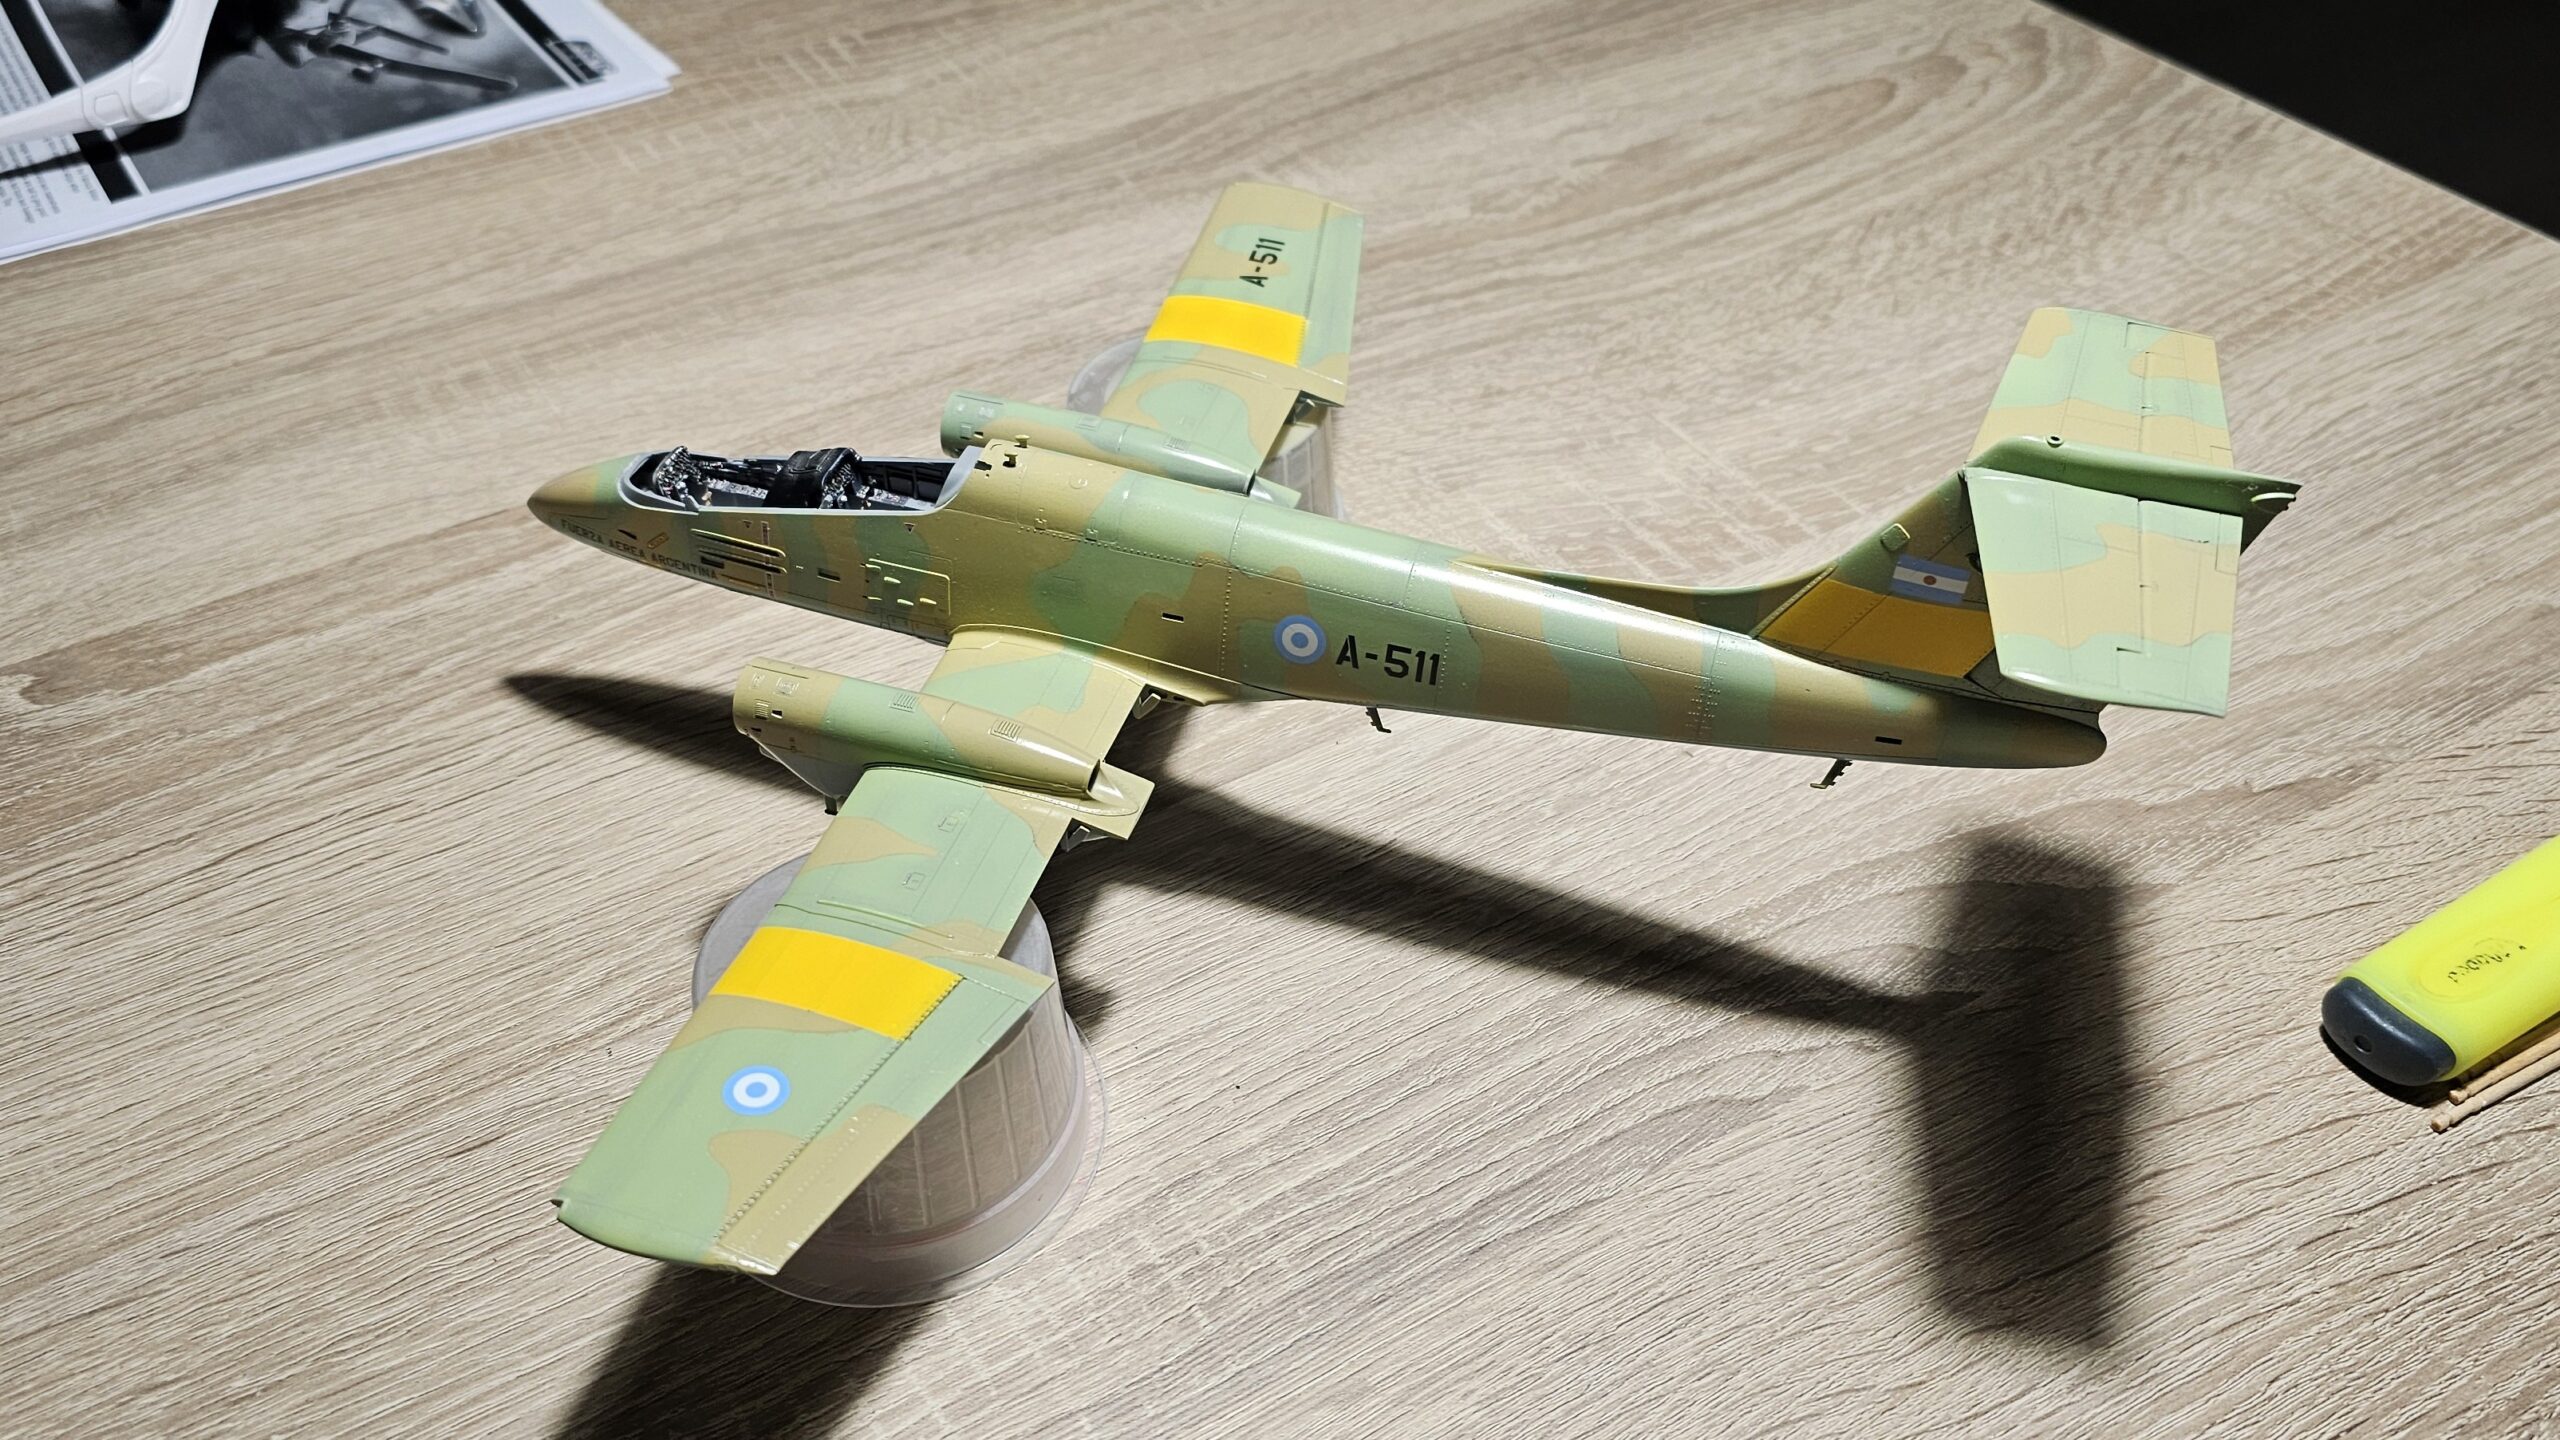
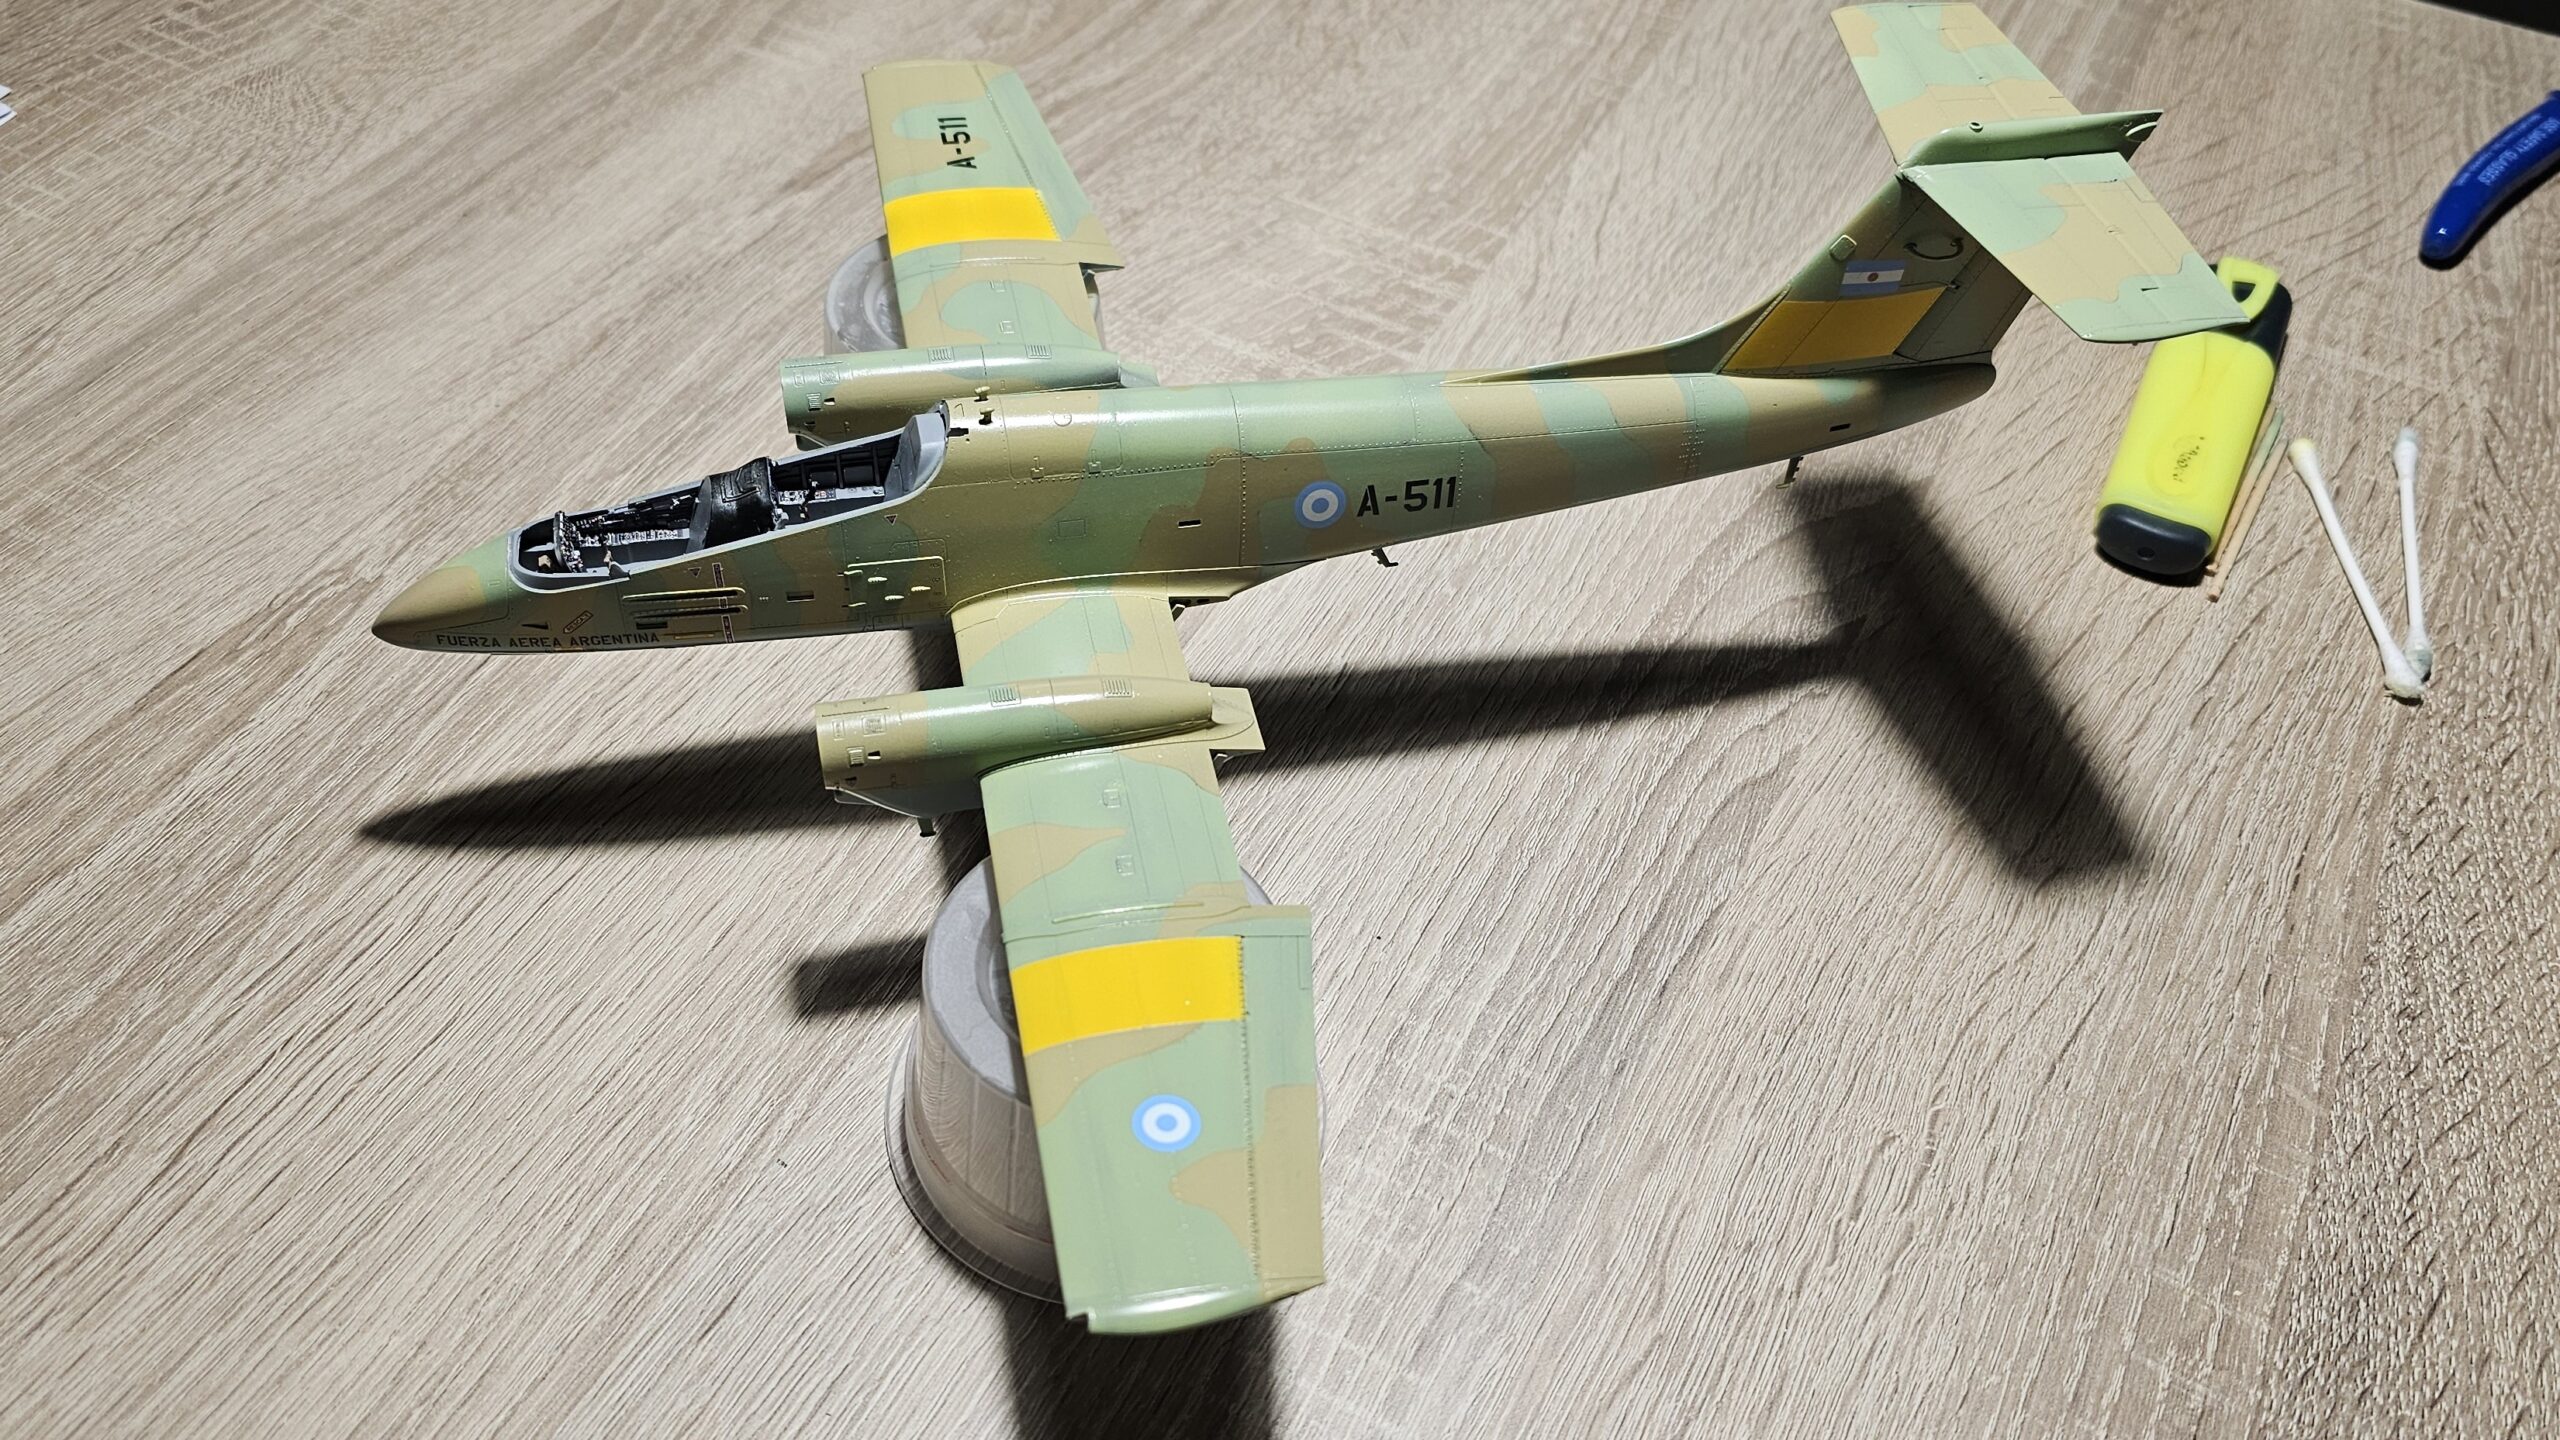
Decals and weathering
Once that was done, I took the opportunity to apply all the decals. I didn't use a coat of gloss acrylic, as I don't usually do, and in this case, I didn't really see the need. After applying the decals, I applied a coat of gloss acrylic (AK Intermediate Gauzy Agent) so I could then apply brown and black oil paints and the corresponding solvent. In my experience, decals don't react very well to solvent, which is why I usually seal them with gloss acrylic before starting the weathering process.
Final steps
Once the weathering was finished, the rest of the process was quite simple:
- Cabin details
- Undercarriage
- Flaps
- Propellers
- Other final details
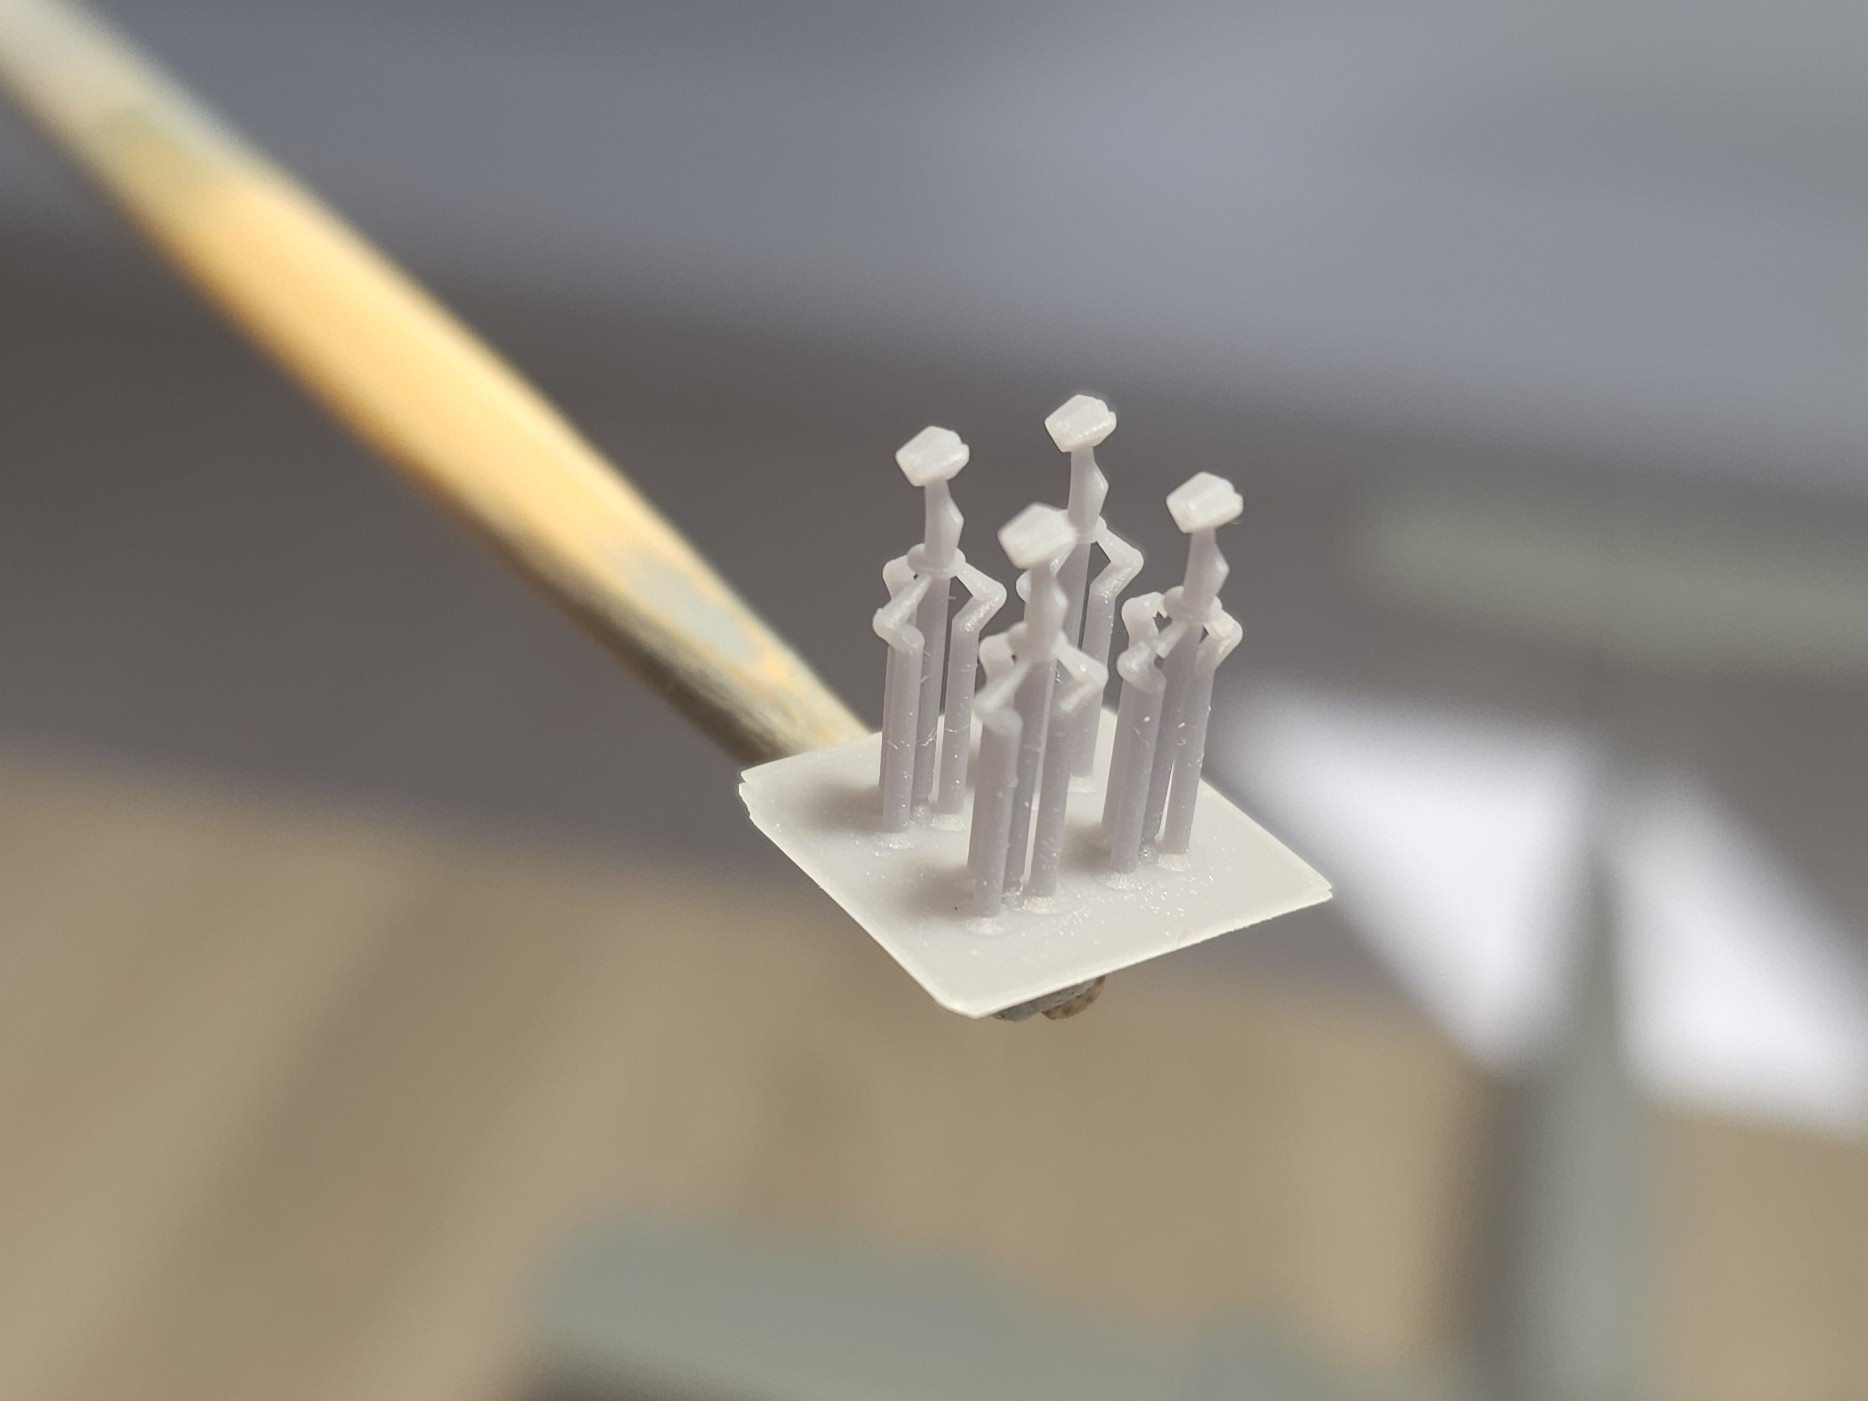
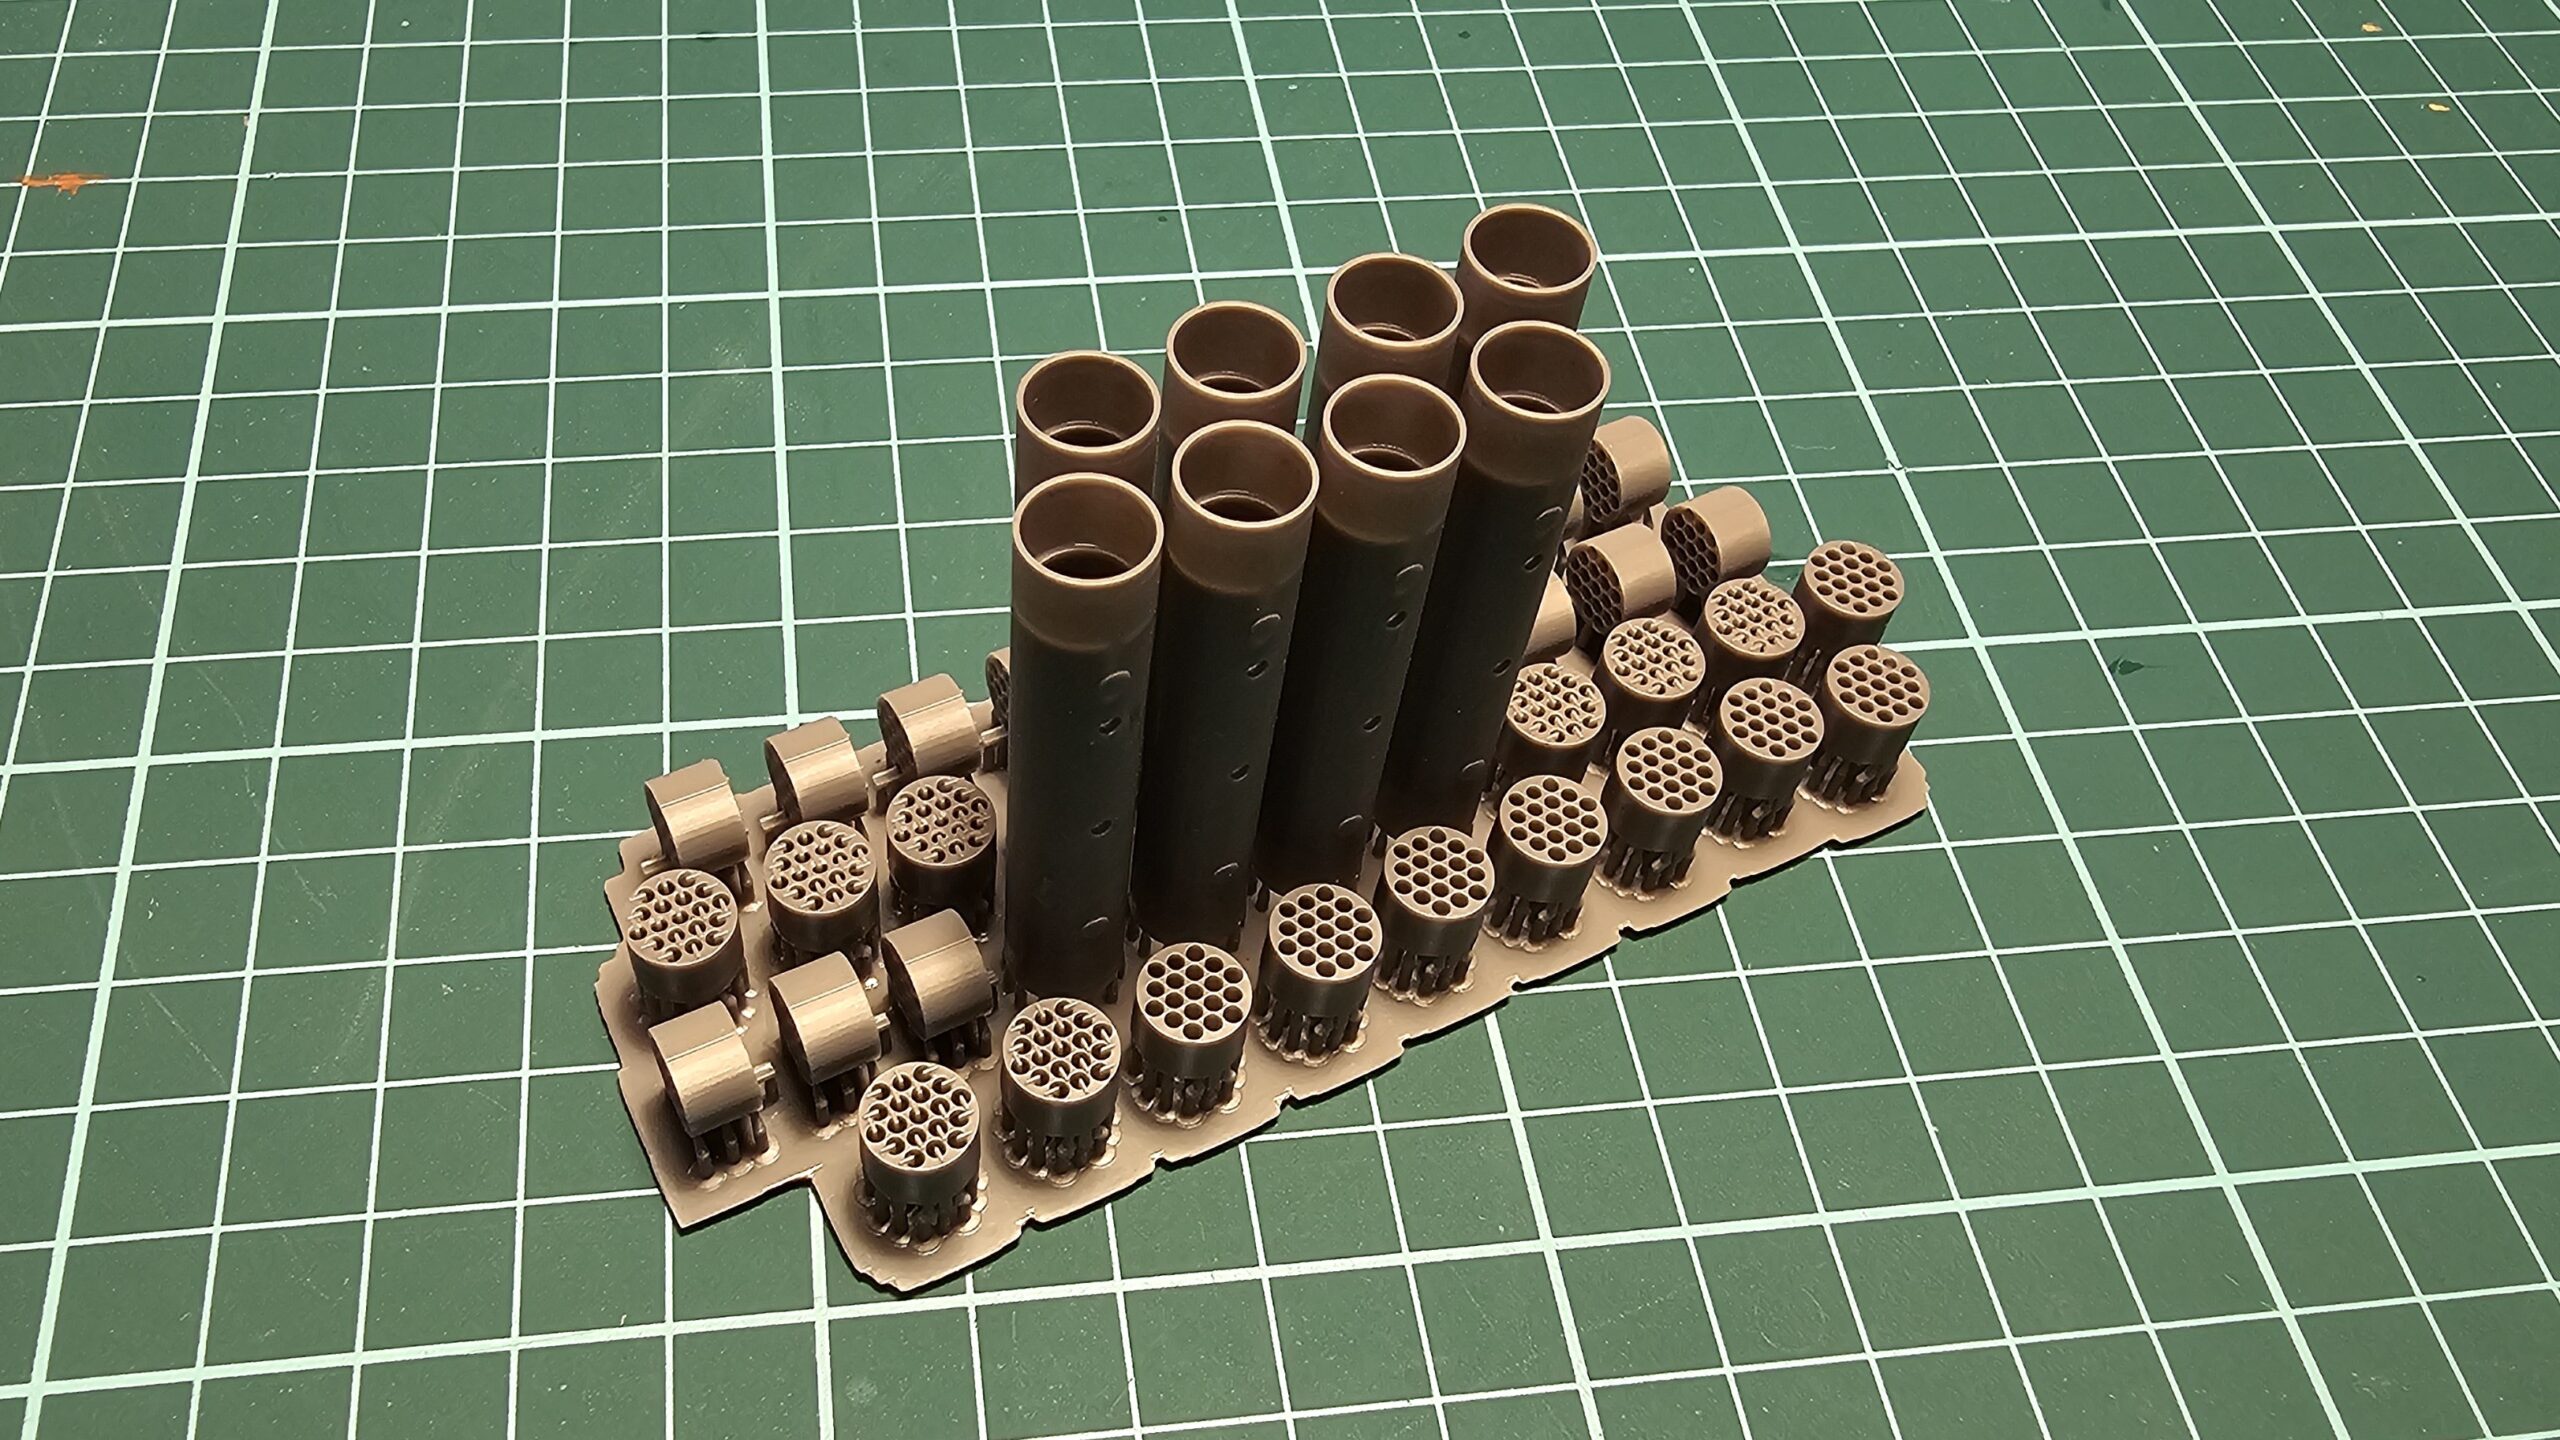
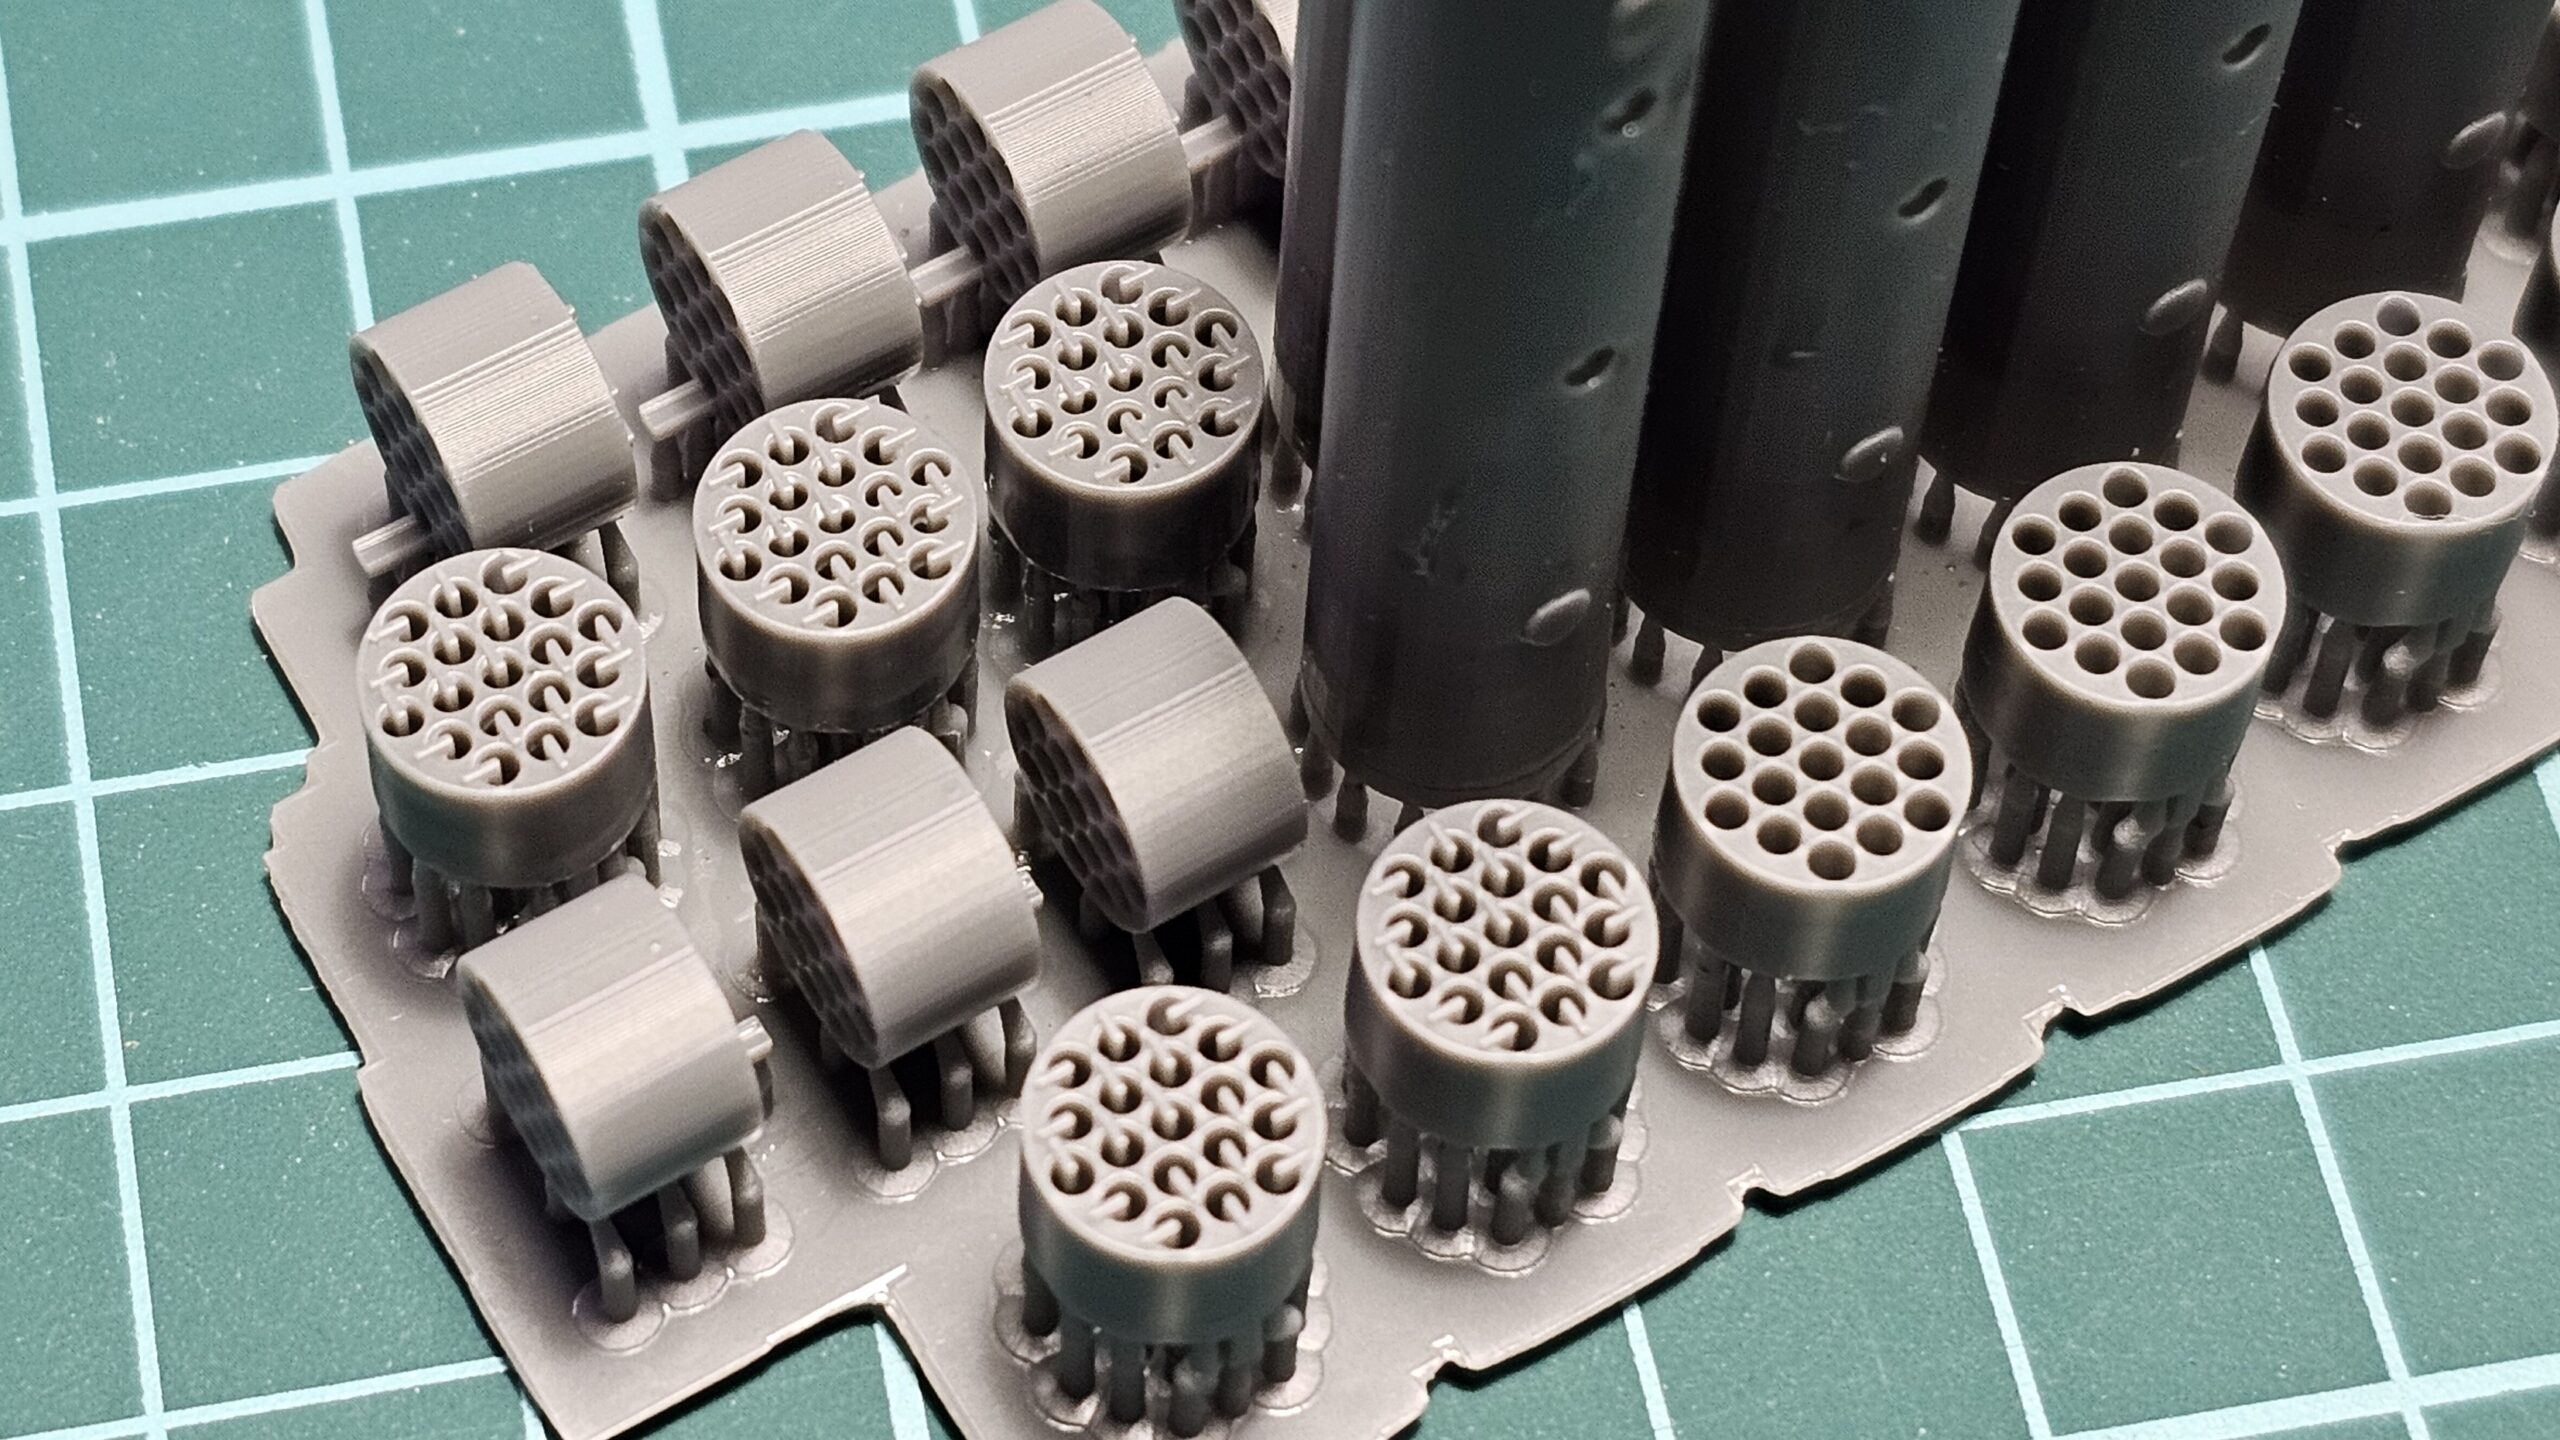
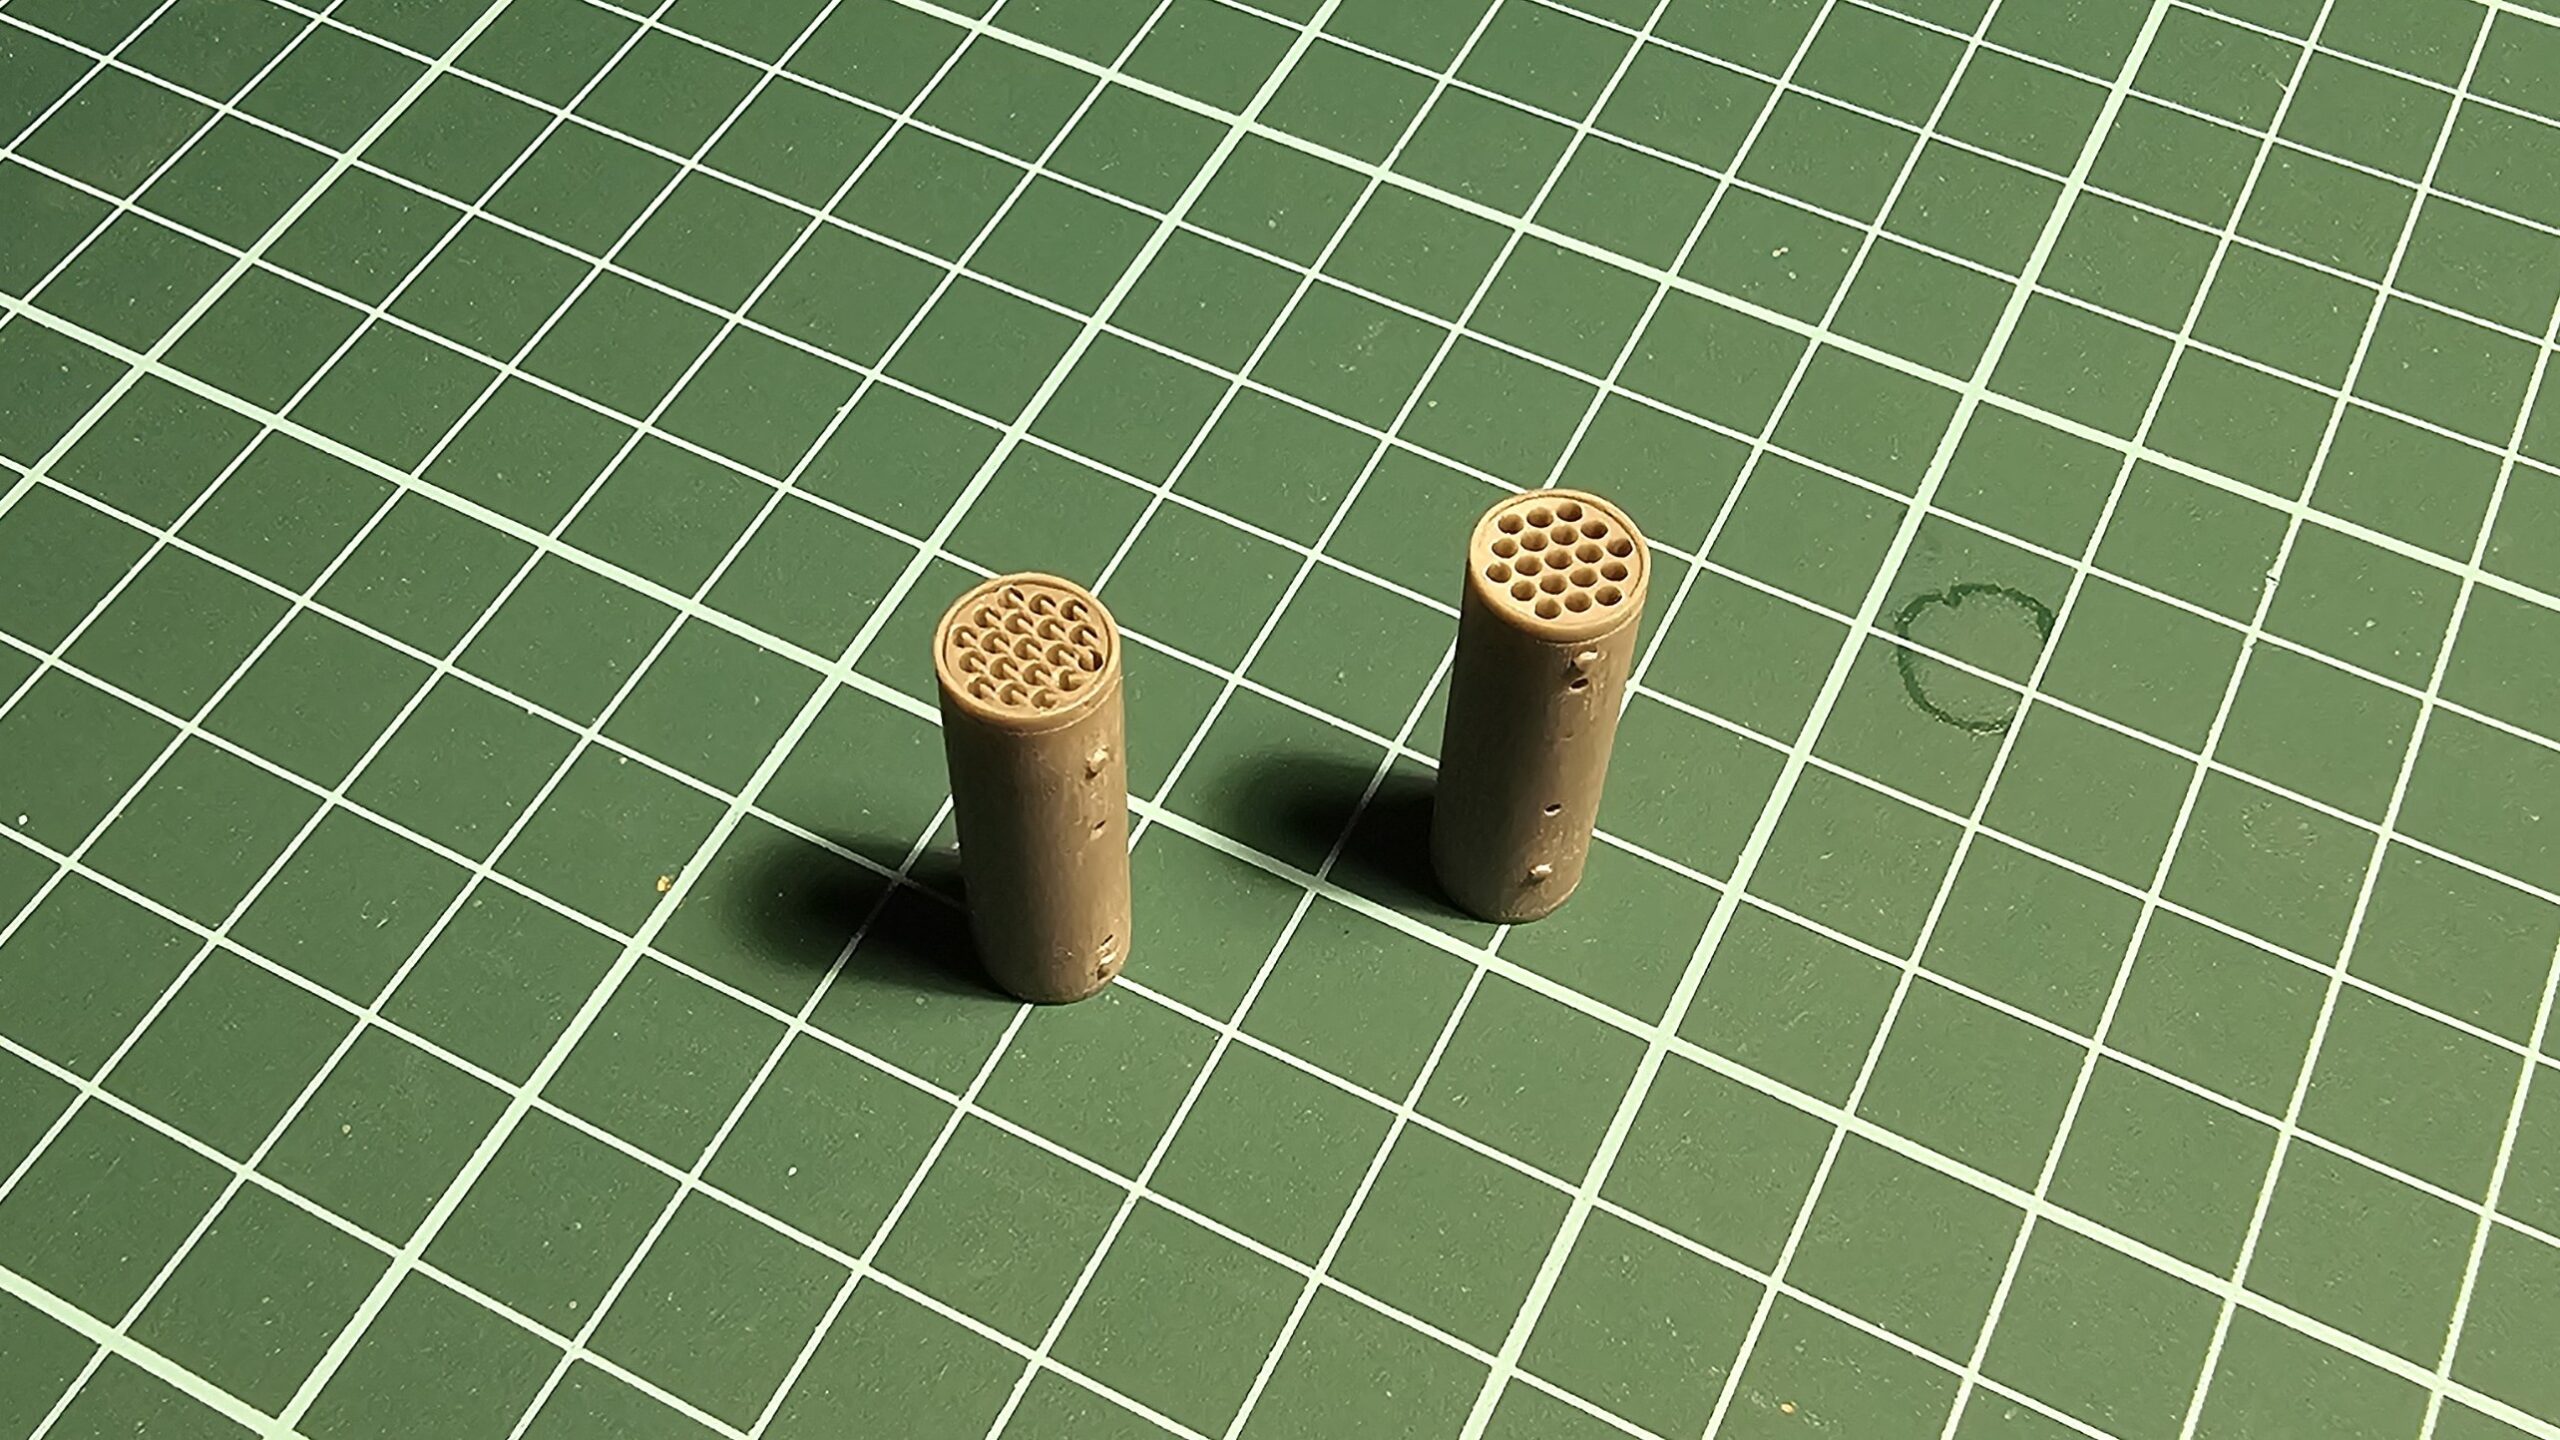
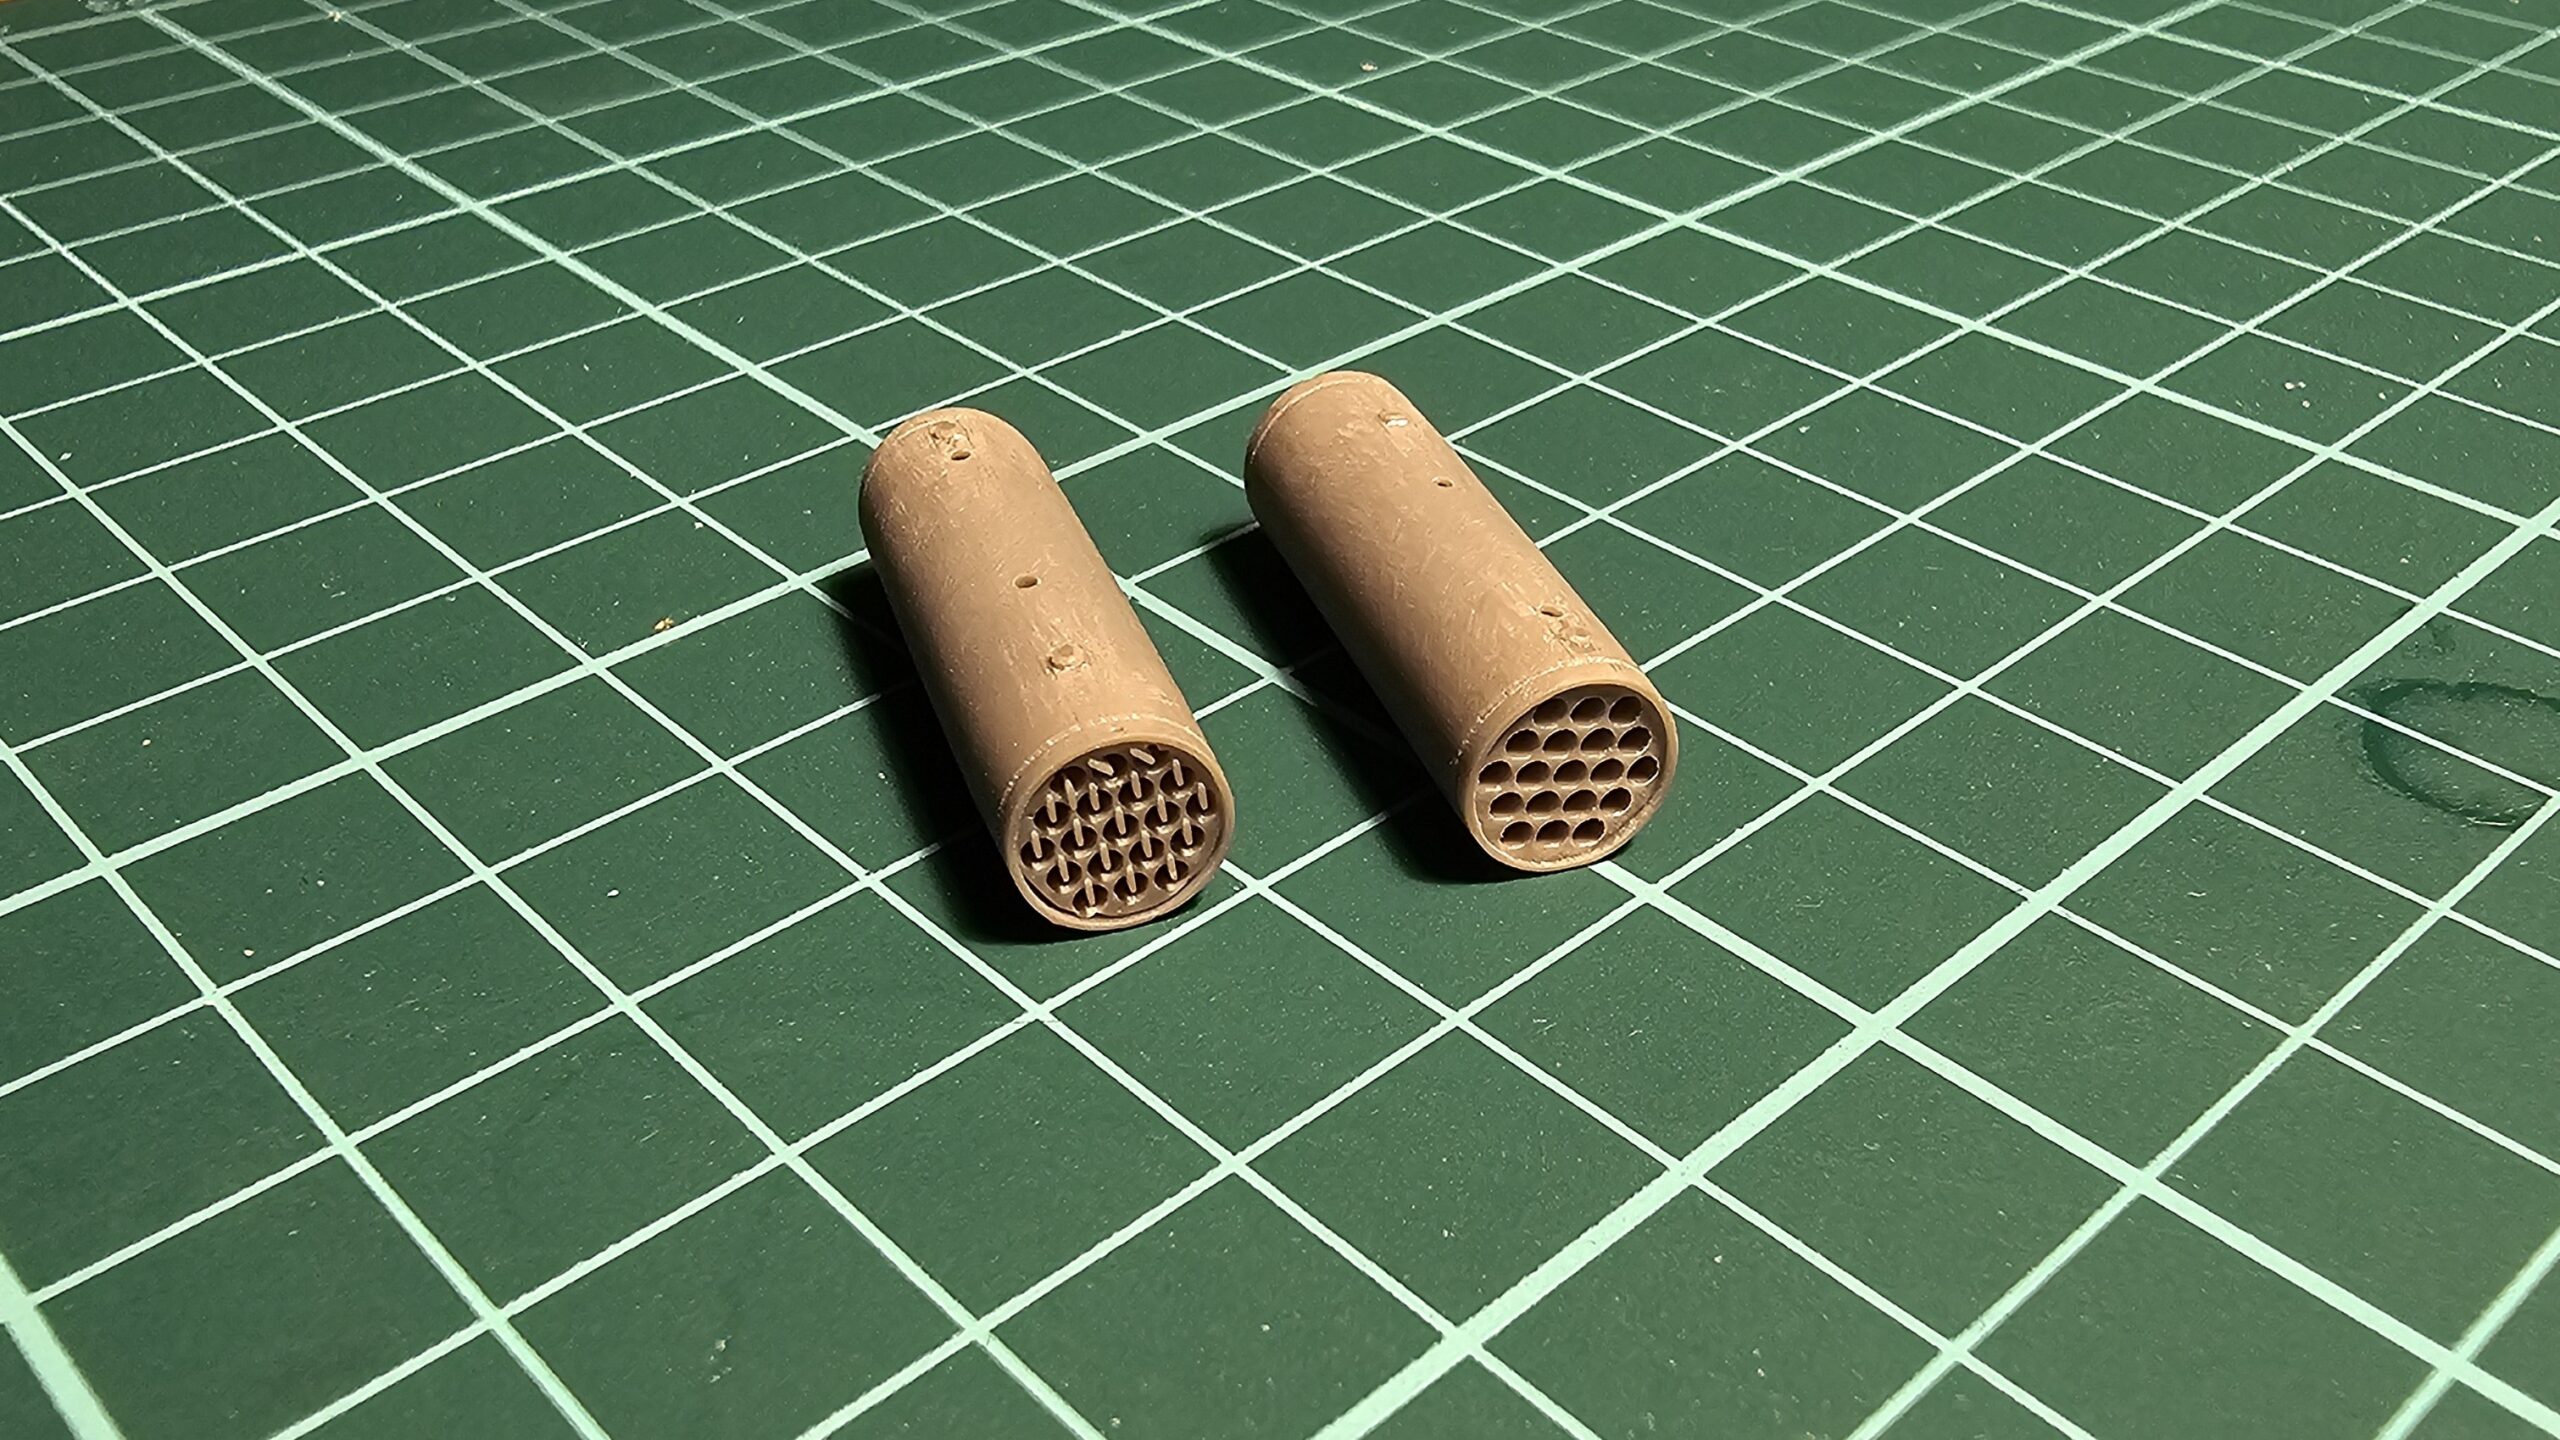
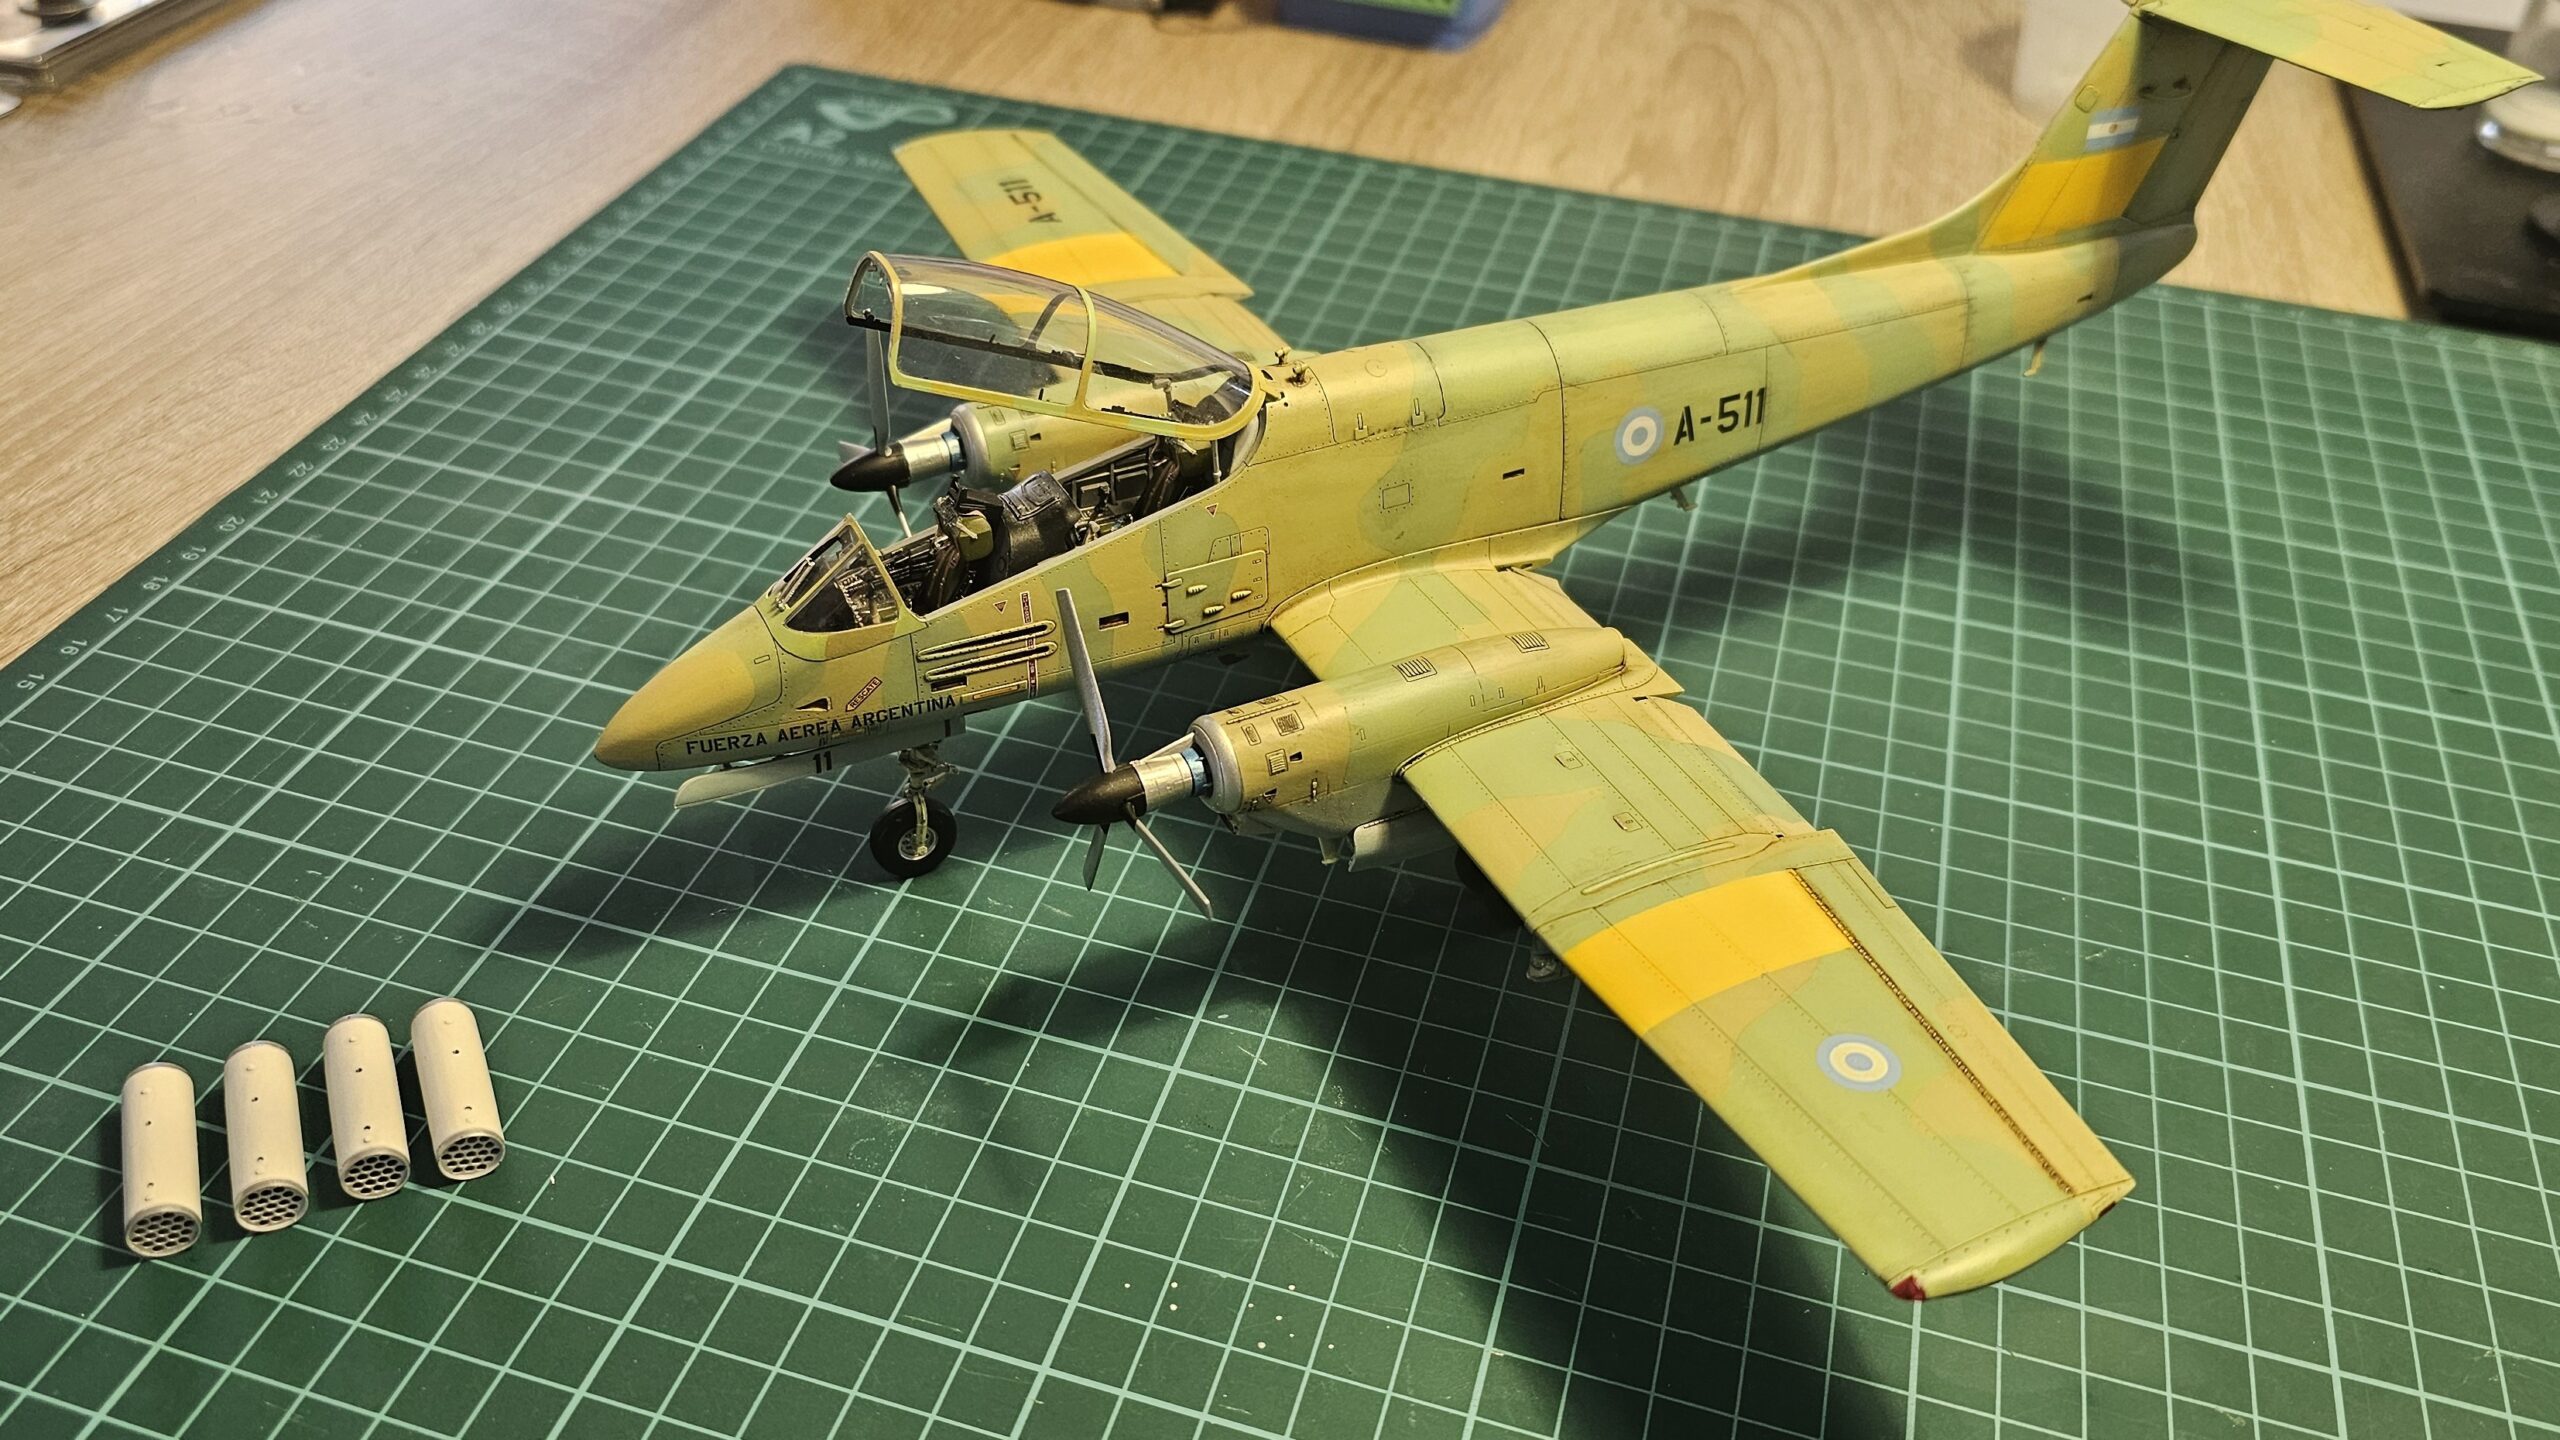
At this point, all that remained was to manufacture the rocket launchers. For this, I used Solidworks and printed a set of eight rocket launchers with considerable detail. Then I painted them and chose the four that I thought looked best to attach to the Pucará's TERs. To finish them, I used some leftover decals from other kits I had previously assembled to simulate the markings that can sometimes be seen on the LAU-61/A.
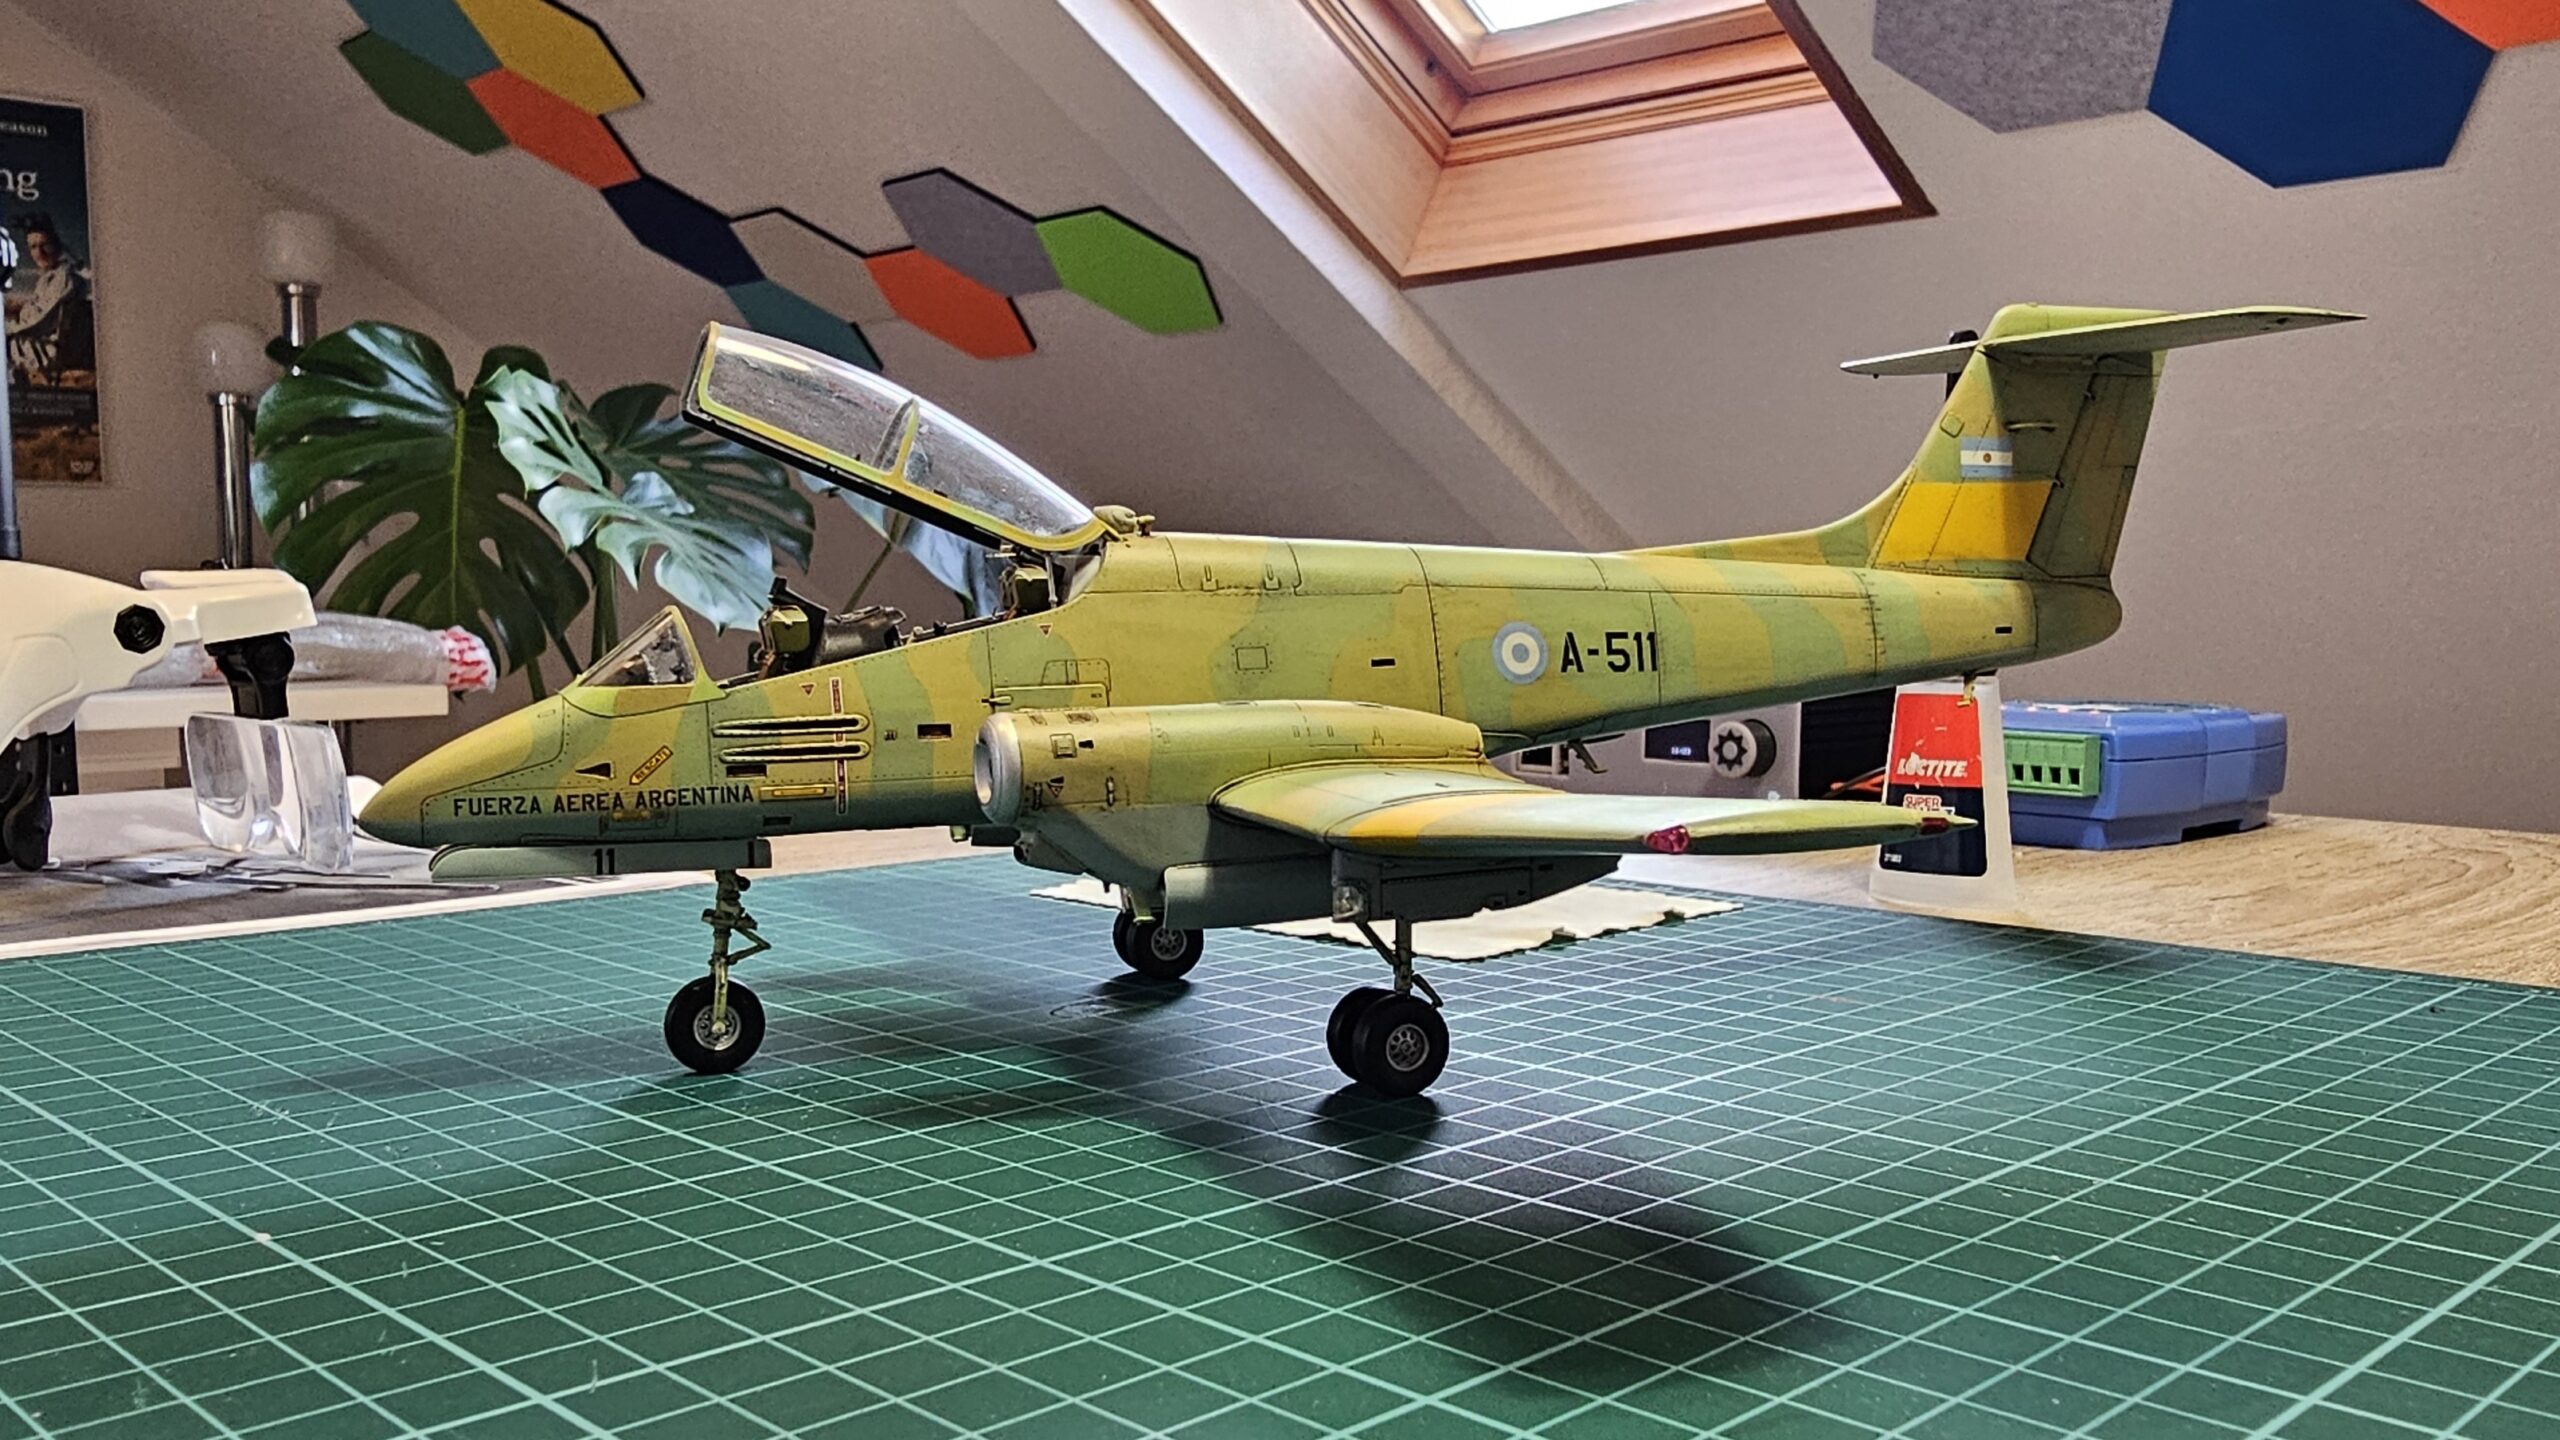
An important detail: painting the canopy was complicated because I did it after finishing everything else, and as I explained earlier, getting the right shade was quite difficult. So, to paint the canopy, I had to go through the whole process again until I got reasonably similar colors. Something to remember: when using special shades, it's important to save some paint. Alternatively, you can paint all the parts at the same time to avoid making this same mistake.
Conclusions
It was a pleasure to build this Kinetic model of such an iconic aircraft, so closely tied to my country's history. It gave me the opportunity to create interesting 3D parts, and the addition of Quinta Studio decals (which I now use on practically all my builds) completed a project I thoroughly enjoyed.
Model/variant
F-16C Block 32
Scale
1/48
Air Force
US Air Force
Manufacturer / ID
Tamiya #61101
Difficulty
4/5
Modeler
Leave a Reply
You must be logged in to post a comment.