
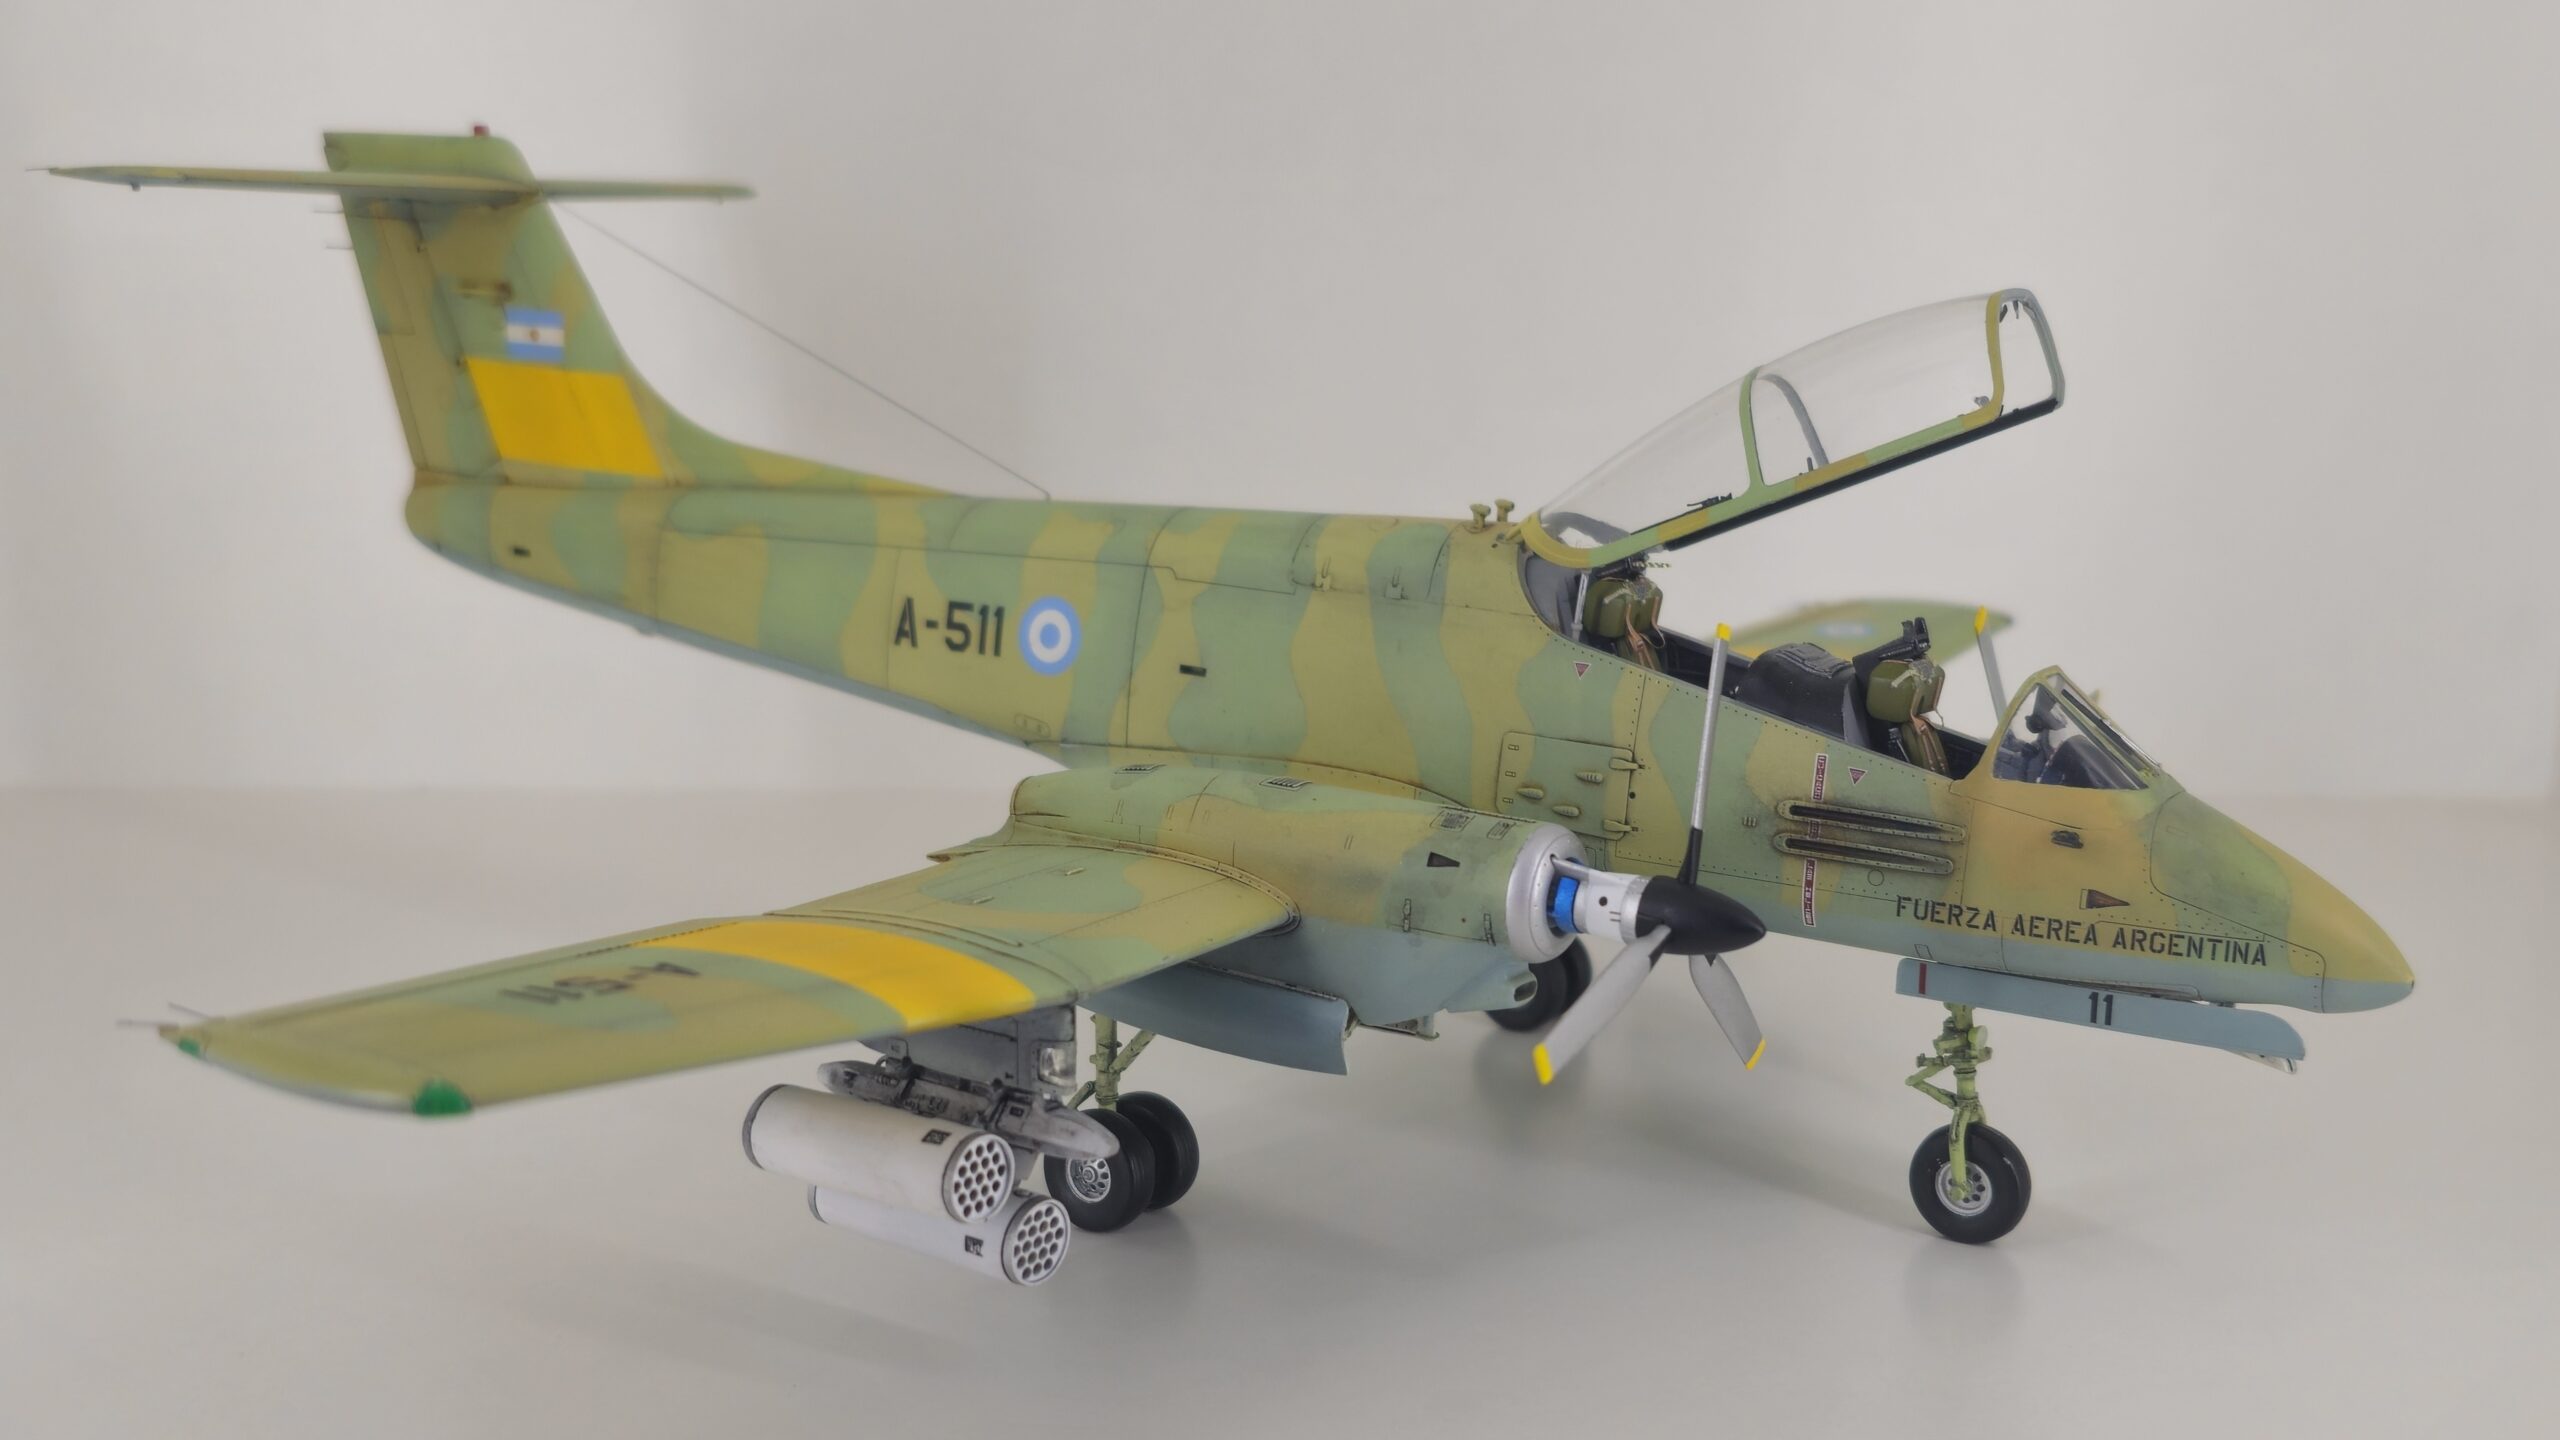
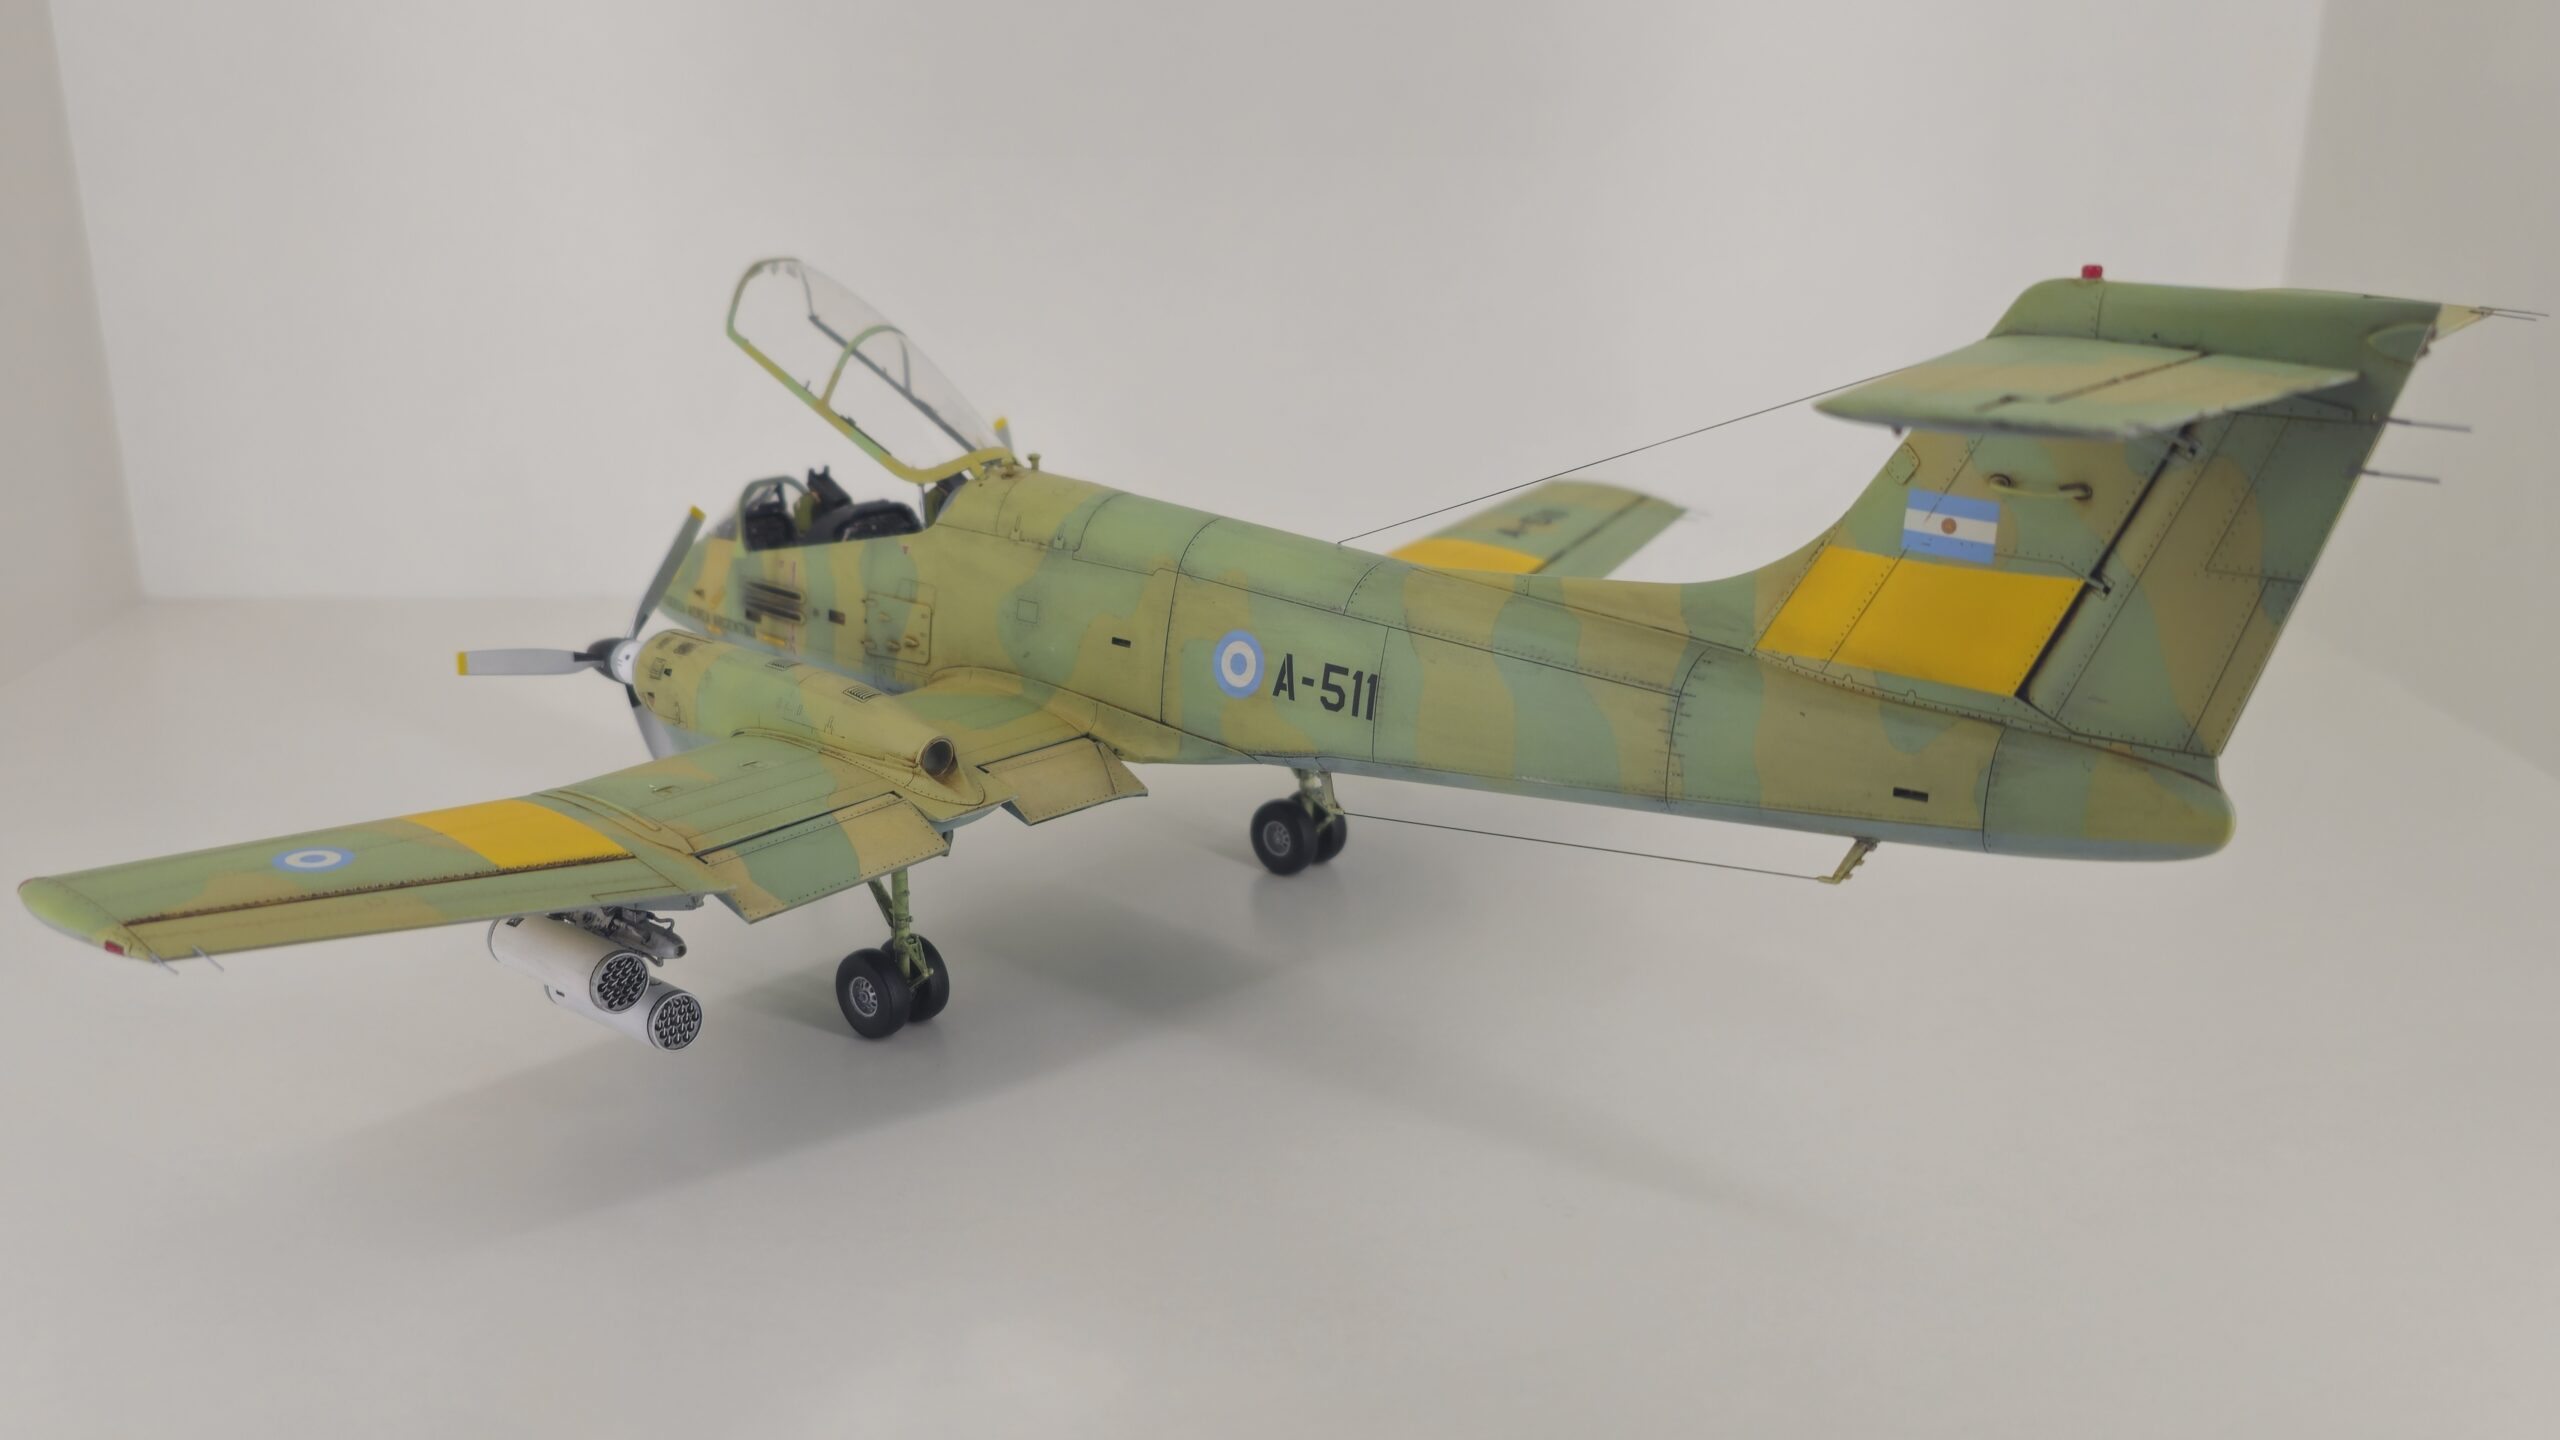
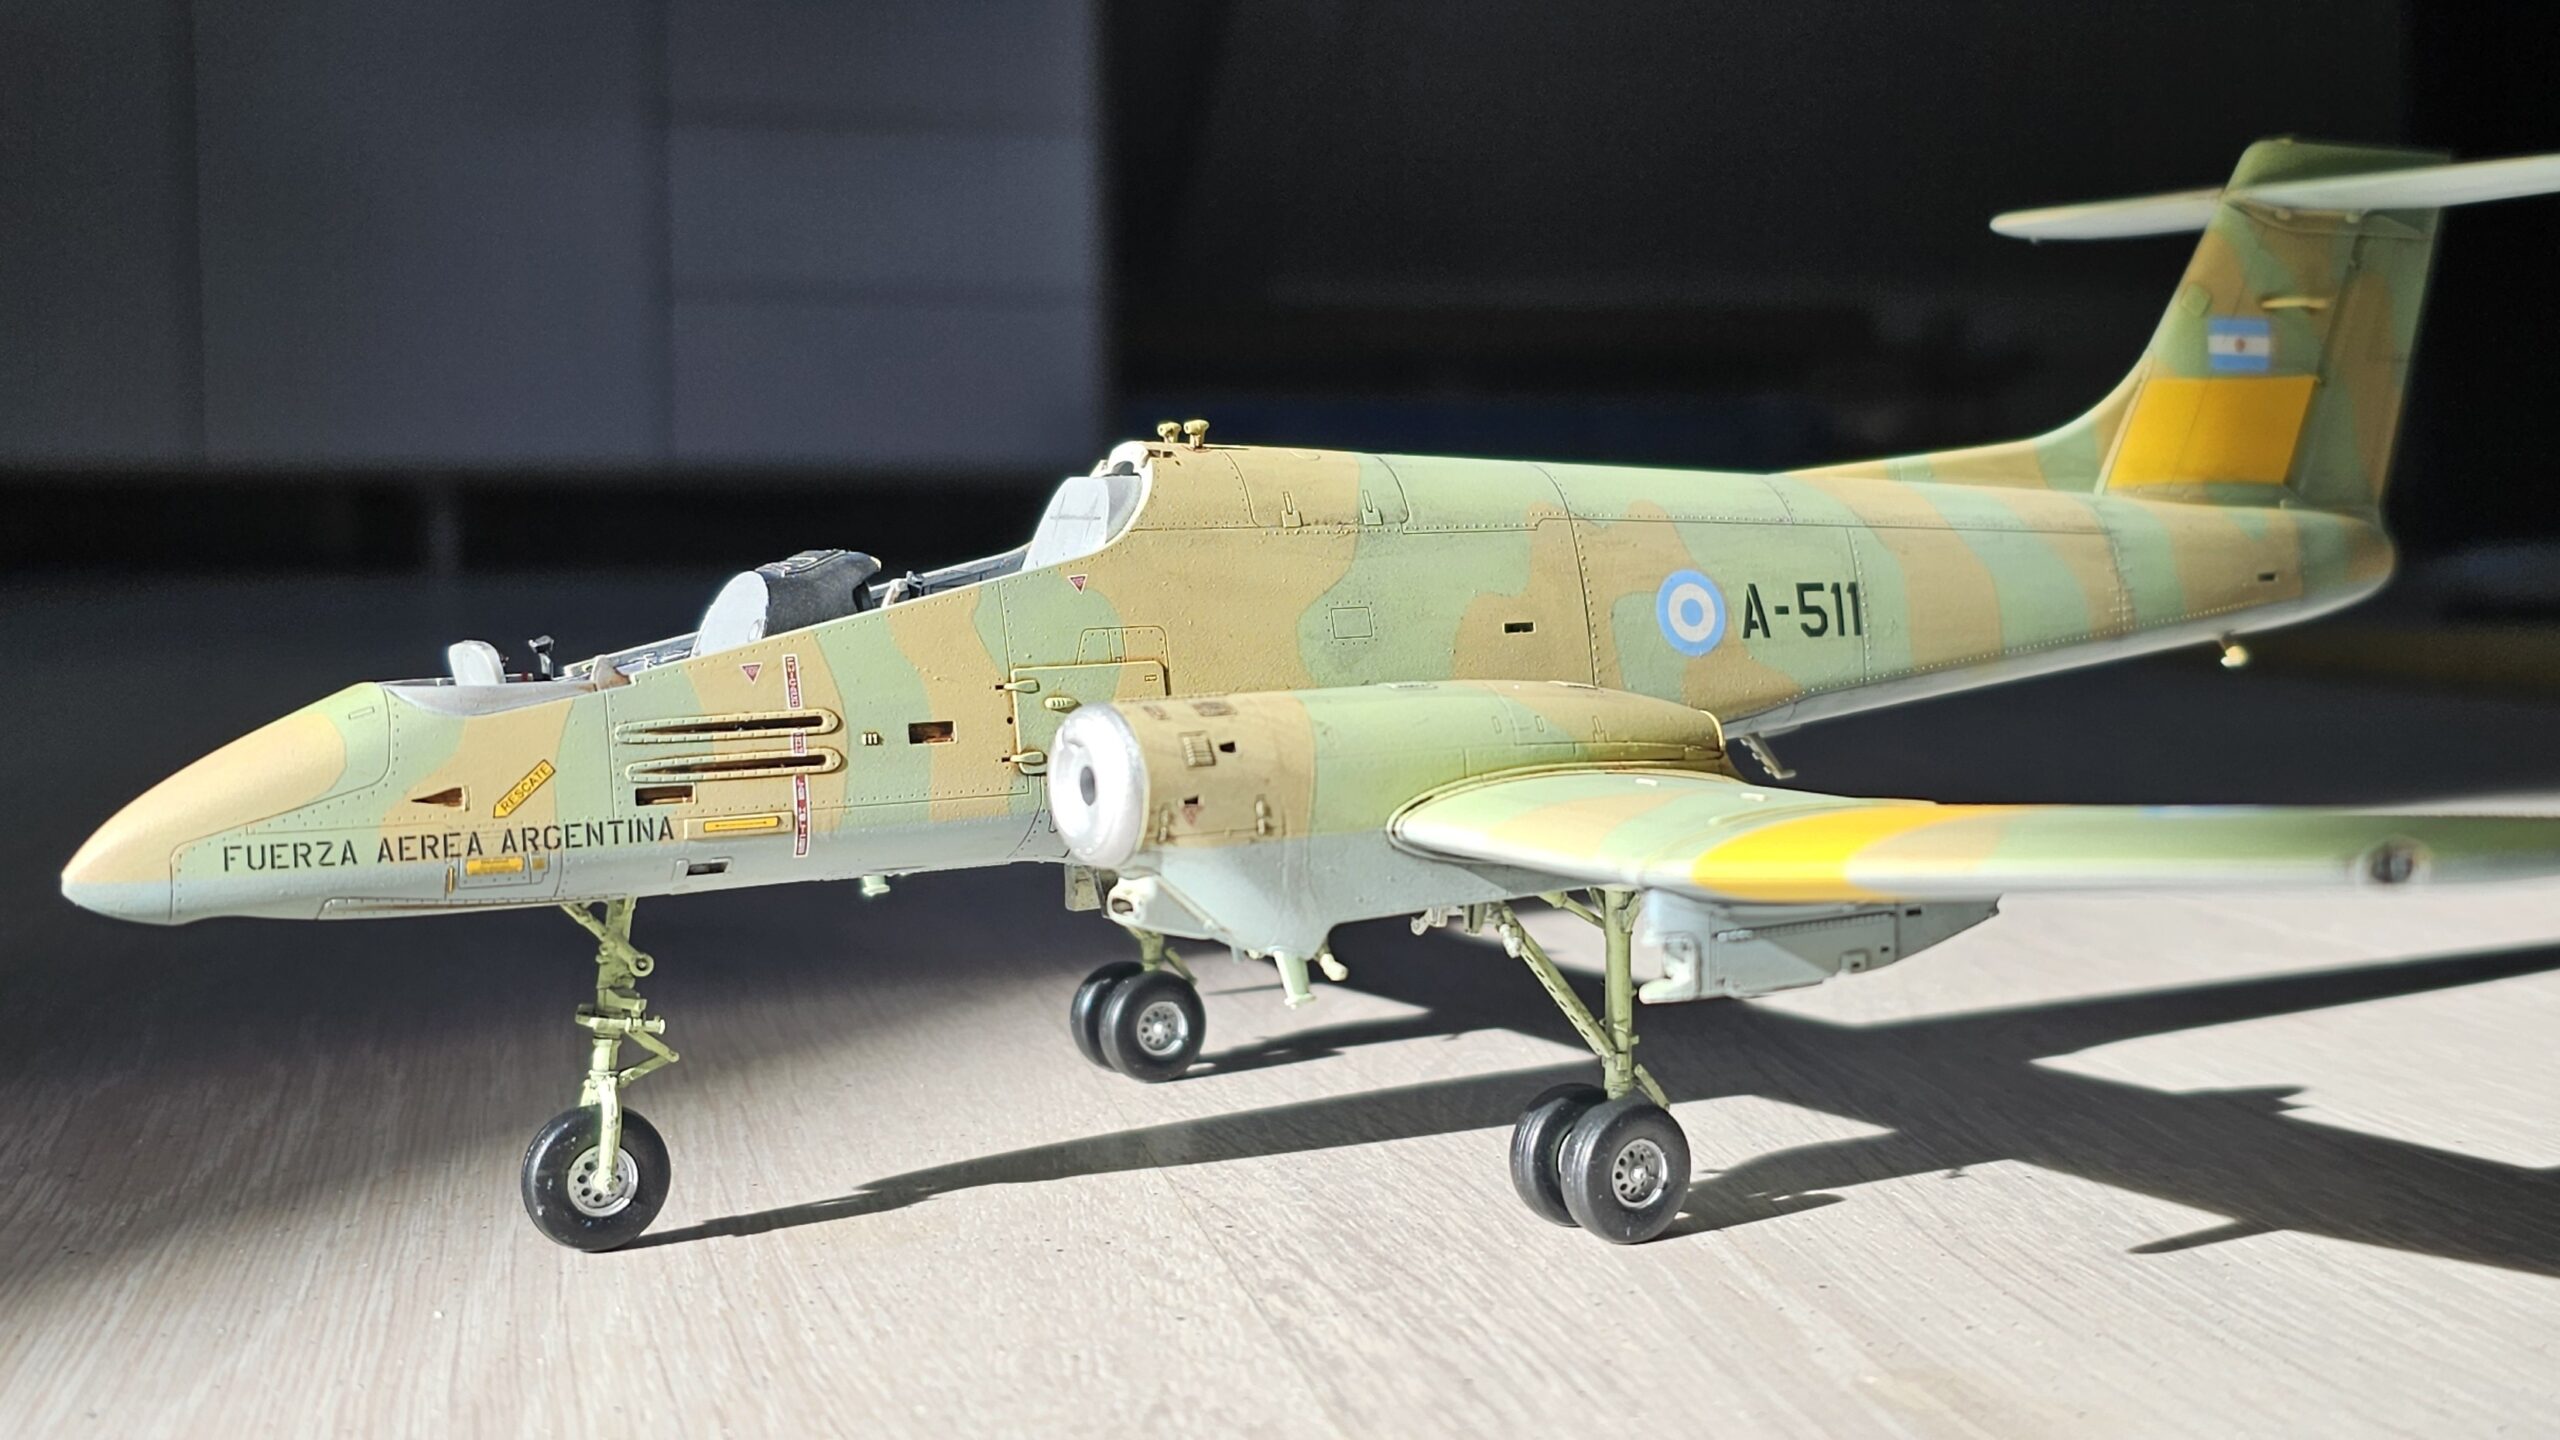
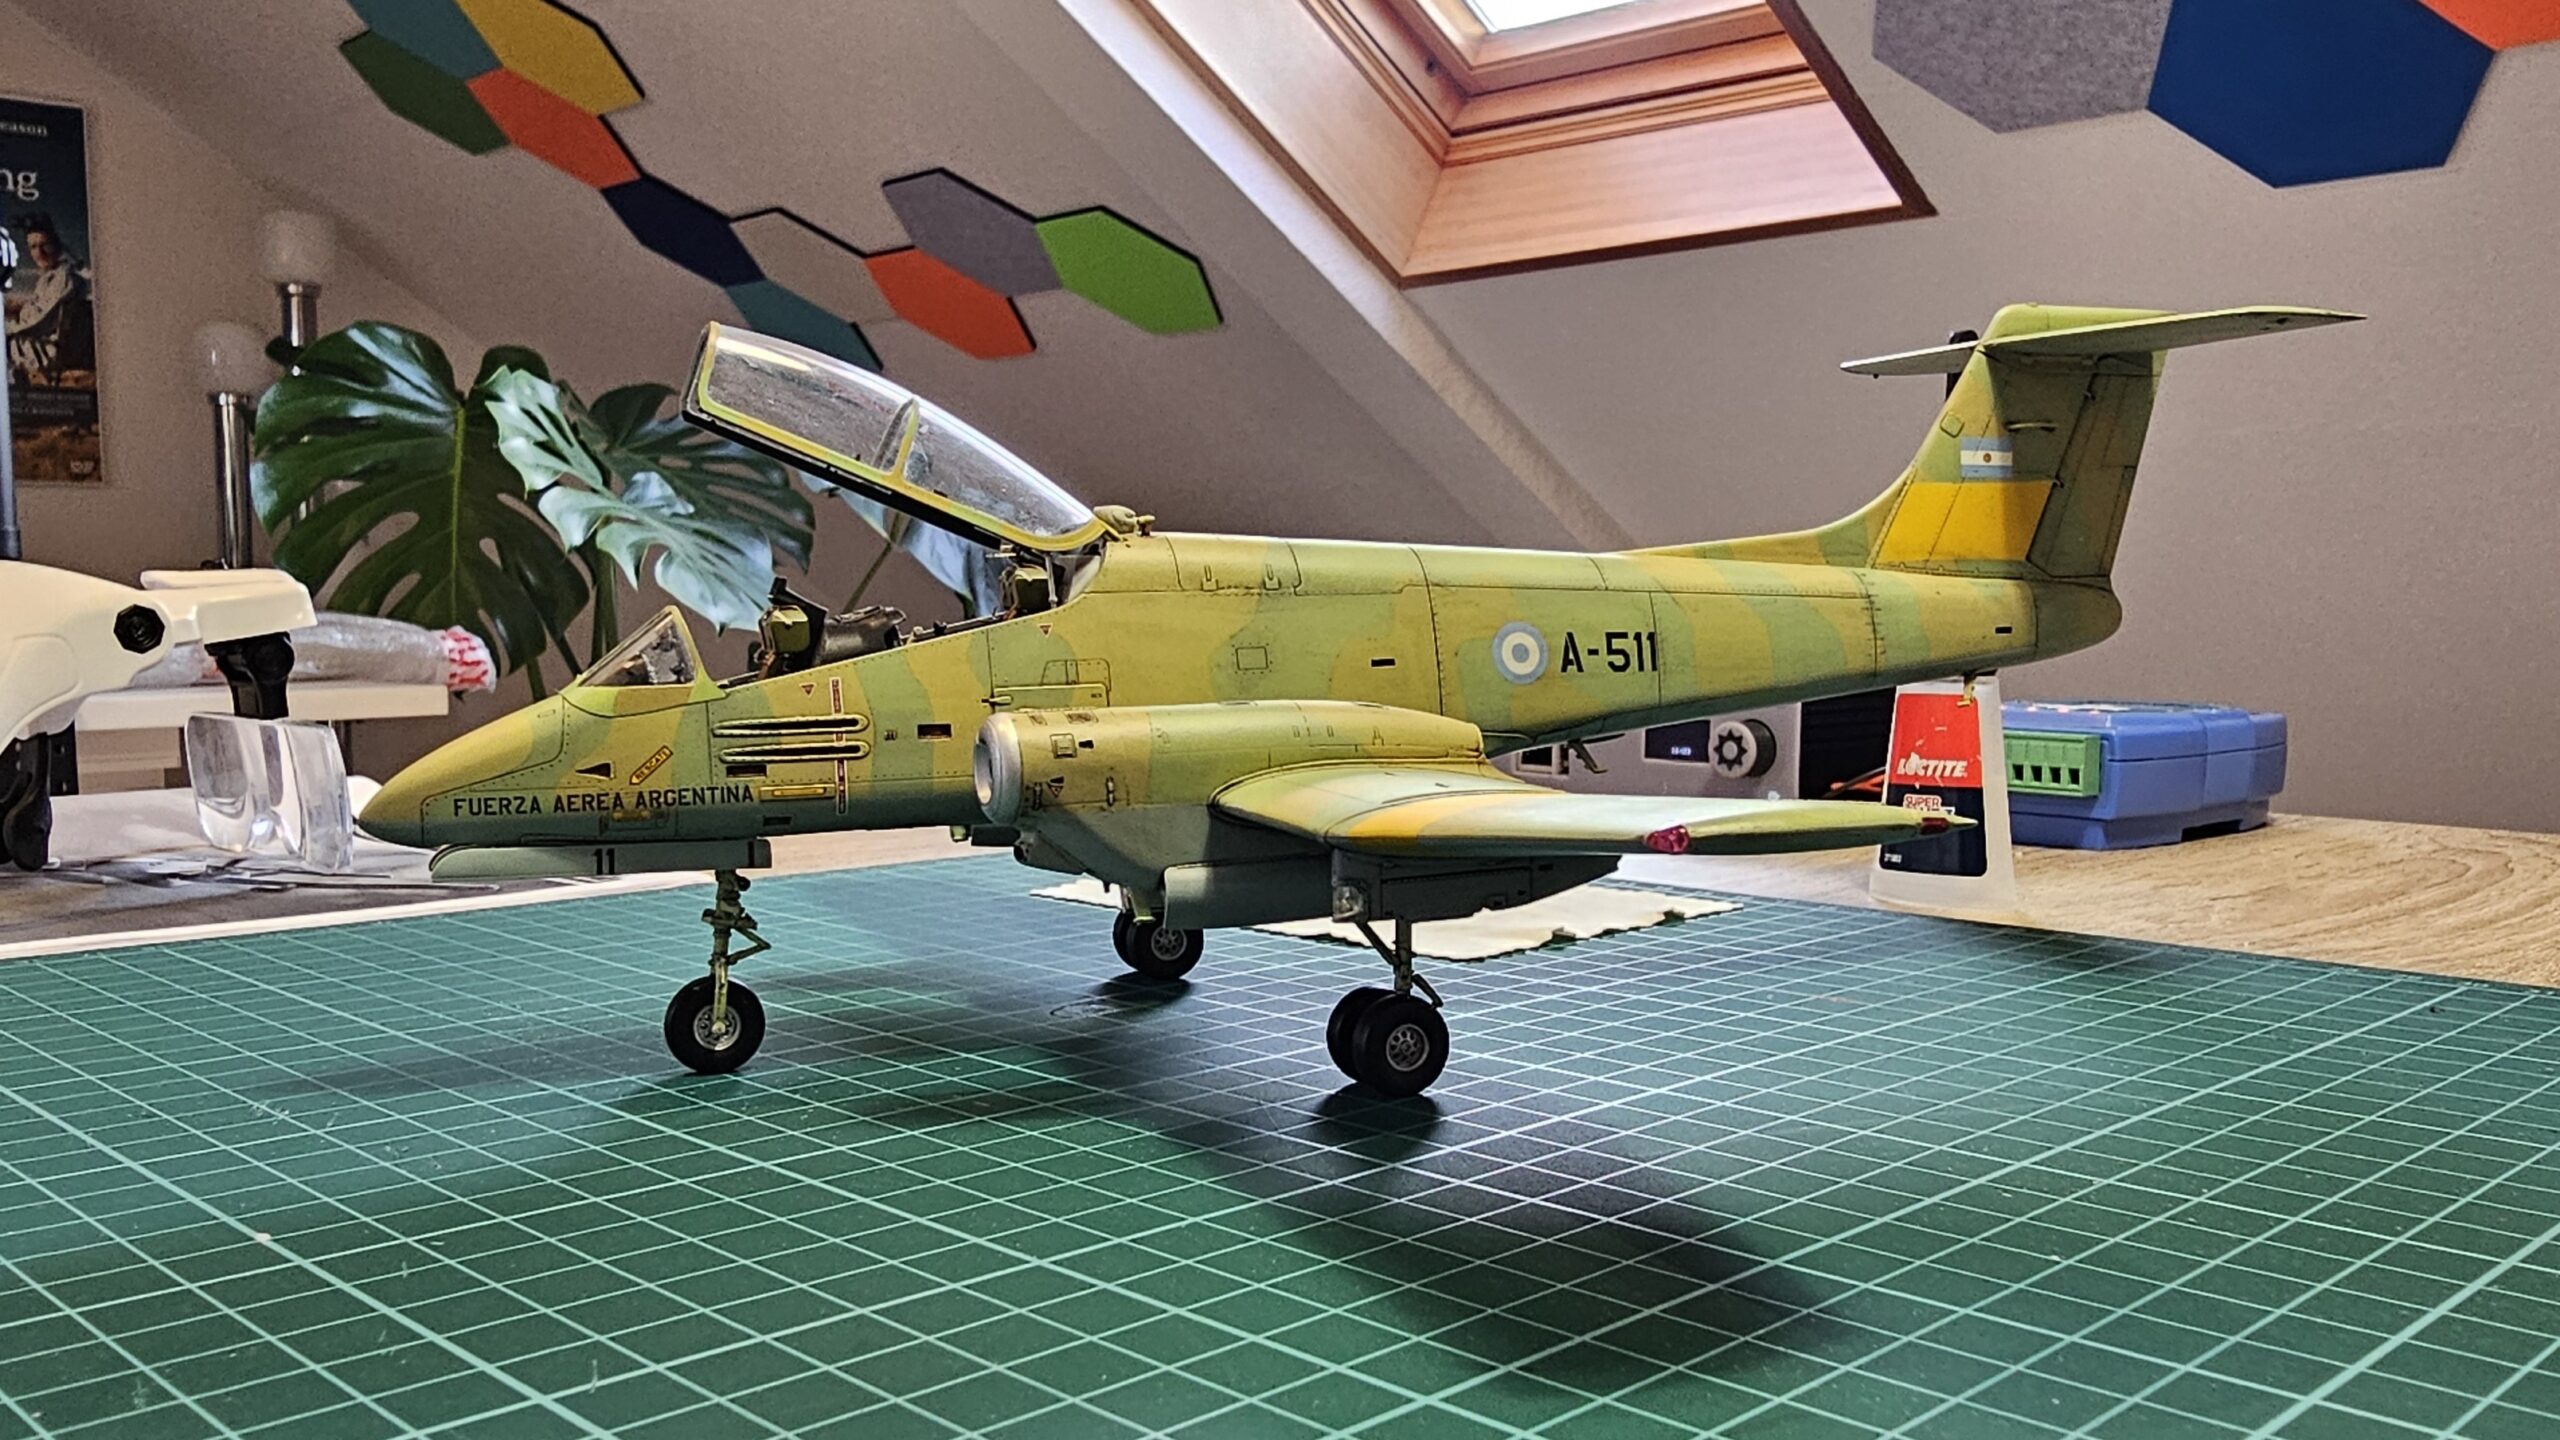
A 1/48 scale version of the IA-58 Pucará, an aircraft designed and produced entirely in Argentina, which played a significant role in the 1982 Falklands War. The kit is by Kinetic, with 3D decals by Quinta Studio, and custom-designed, 3D-printed LAU-61/A rocket launchers. Assembly was mostly completed during 2024.


Images of the finished model
About this model
This model has enormous significance for me, as it is an aircraft entirely designed and manufactured in Argentina, where I was born and lived until 2020. While some resin kits existed, it wasn't until 2021 that Kinetic released this kit, fulfilling a dream of many modelers (especially from Argentina and the UK), who for the first time had the opportunity to model this aircraft that was widely used in the Falklands War, in which both countries clashed in 1982.
The war began when I was six years old, and it left vivid memories to this day. Argentina is a mostly peaceful country that has participated in very few major conflicts with other nations. But as a child, the possibility of war (and the fear that existed at the time of bombings in Buenos Aires, where I lived with my parents, my brothers, and my sister) had a profound effect on me.
Much has been said about this war, about the enormous disparity between the forces involved (with the Sea Harrier as the advanced weapon of the Royal Air Force), and about the lack of recognition for those who participated. But perhaps one positive takeaway is the beauty, power, and versatility of the aircraft that took part in the conflict. And of course, the fact that Argentina and the United Kingdom have been able, over time, to rebuild a smooth and reasonably friendly relationship.
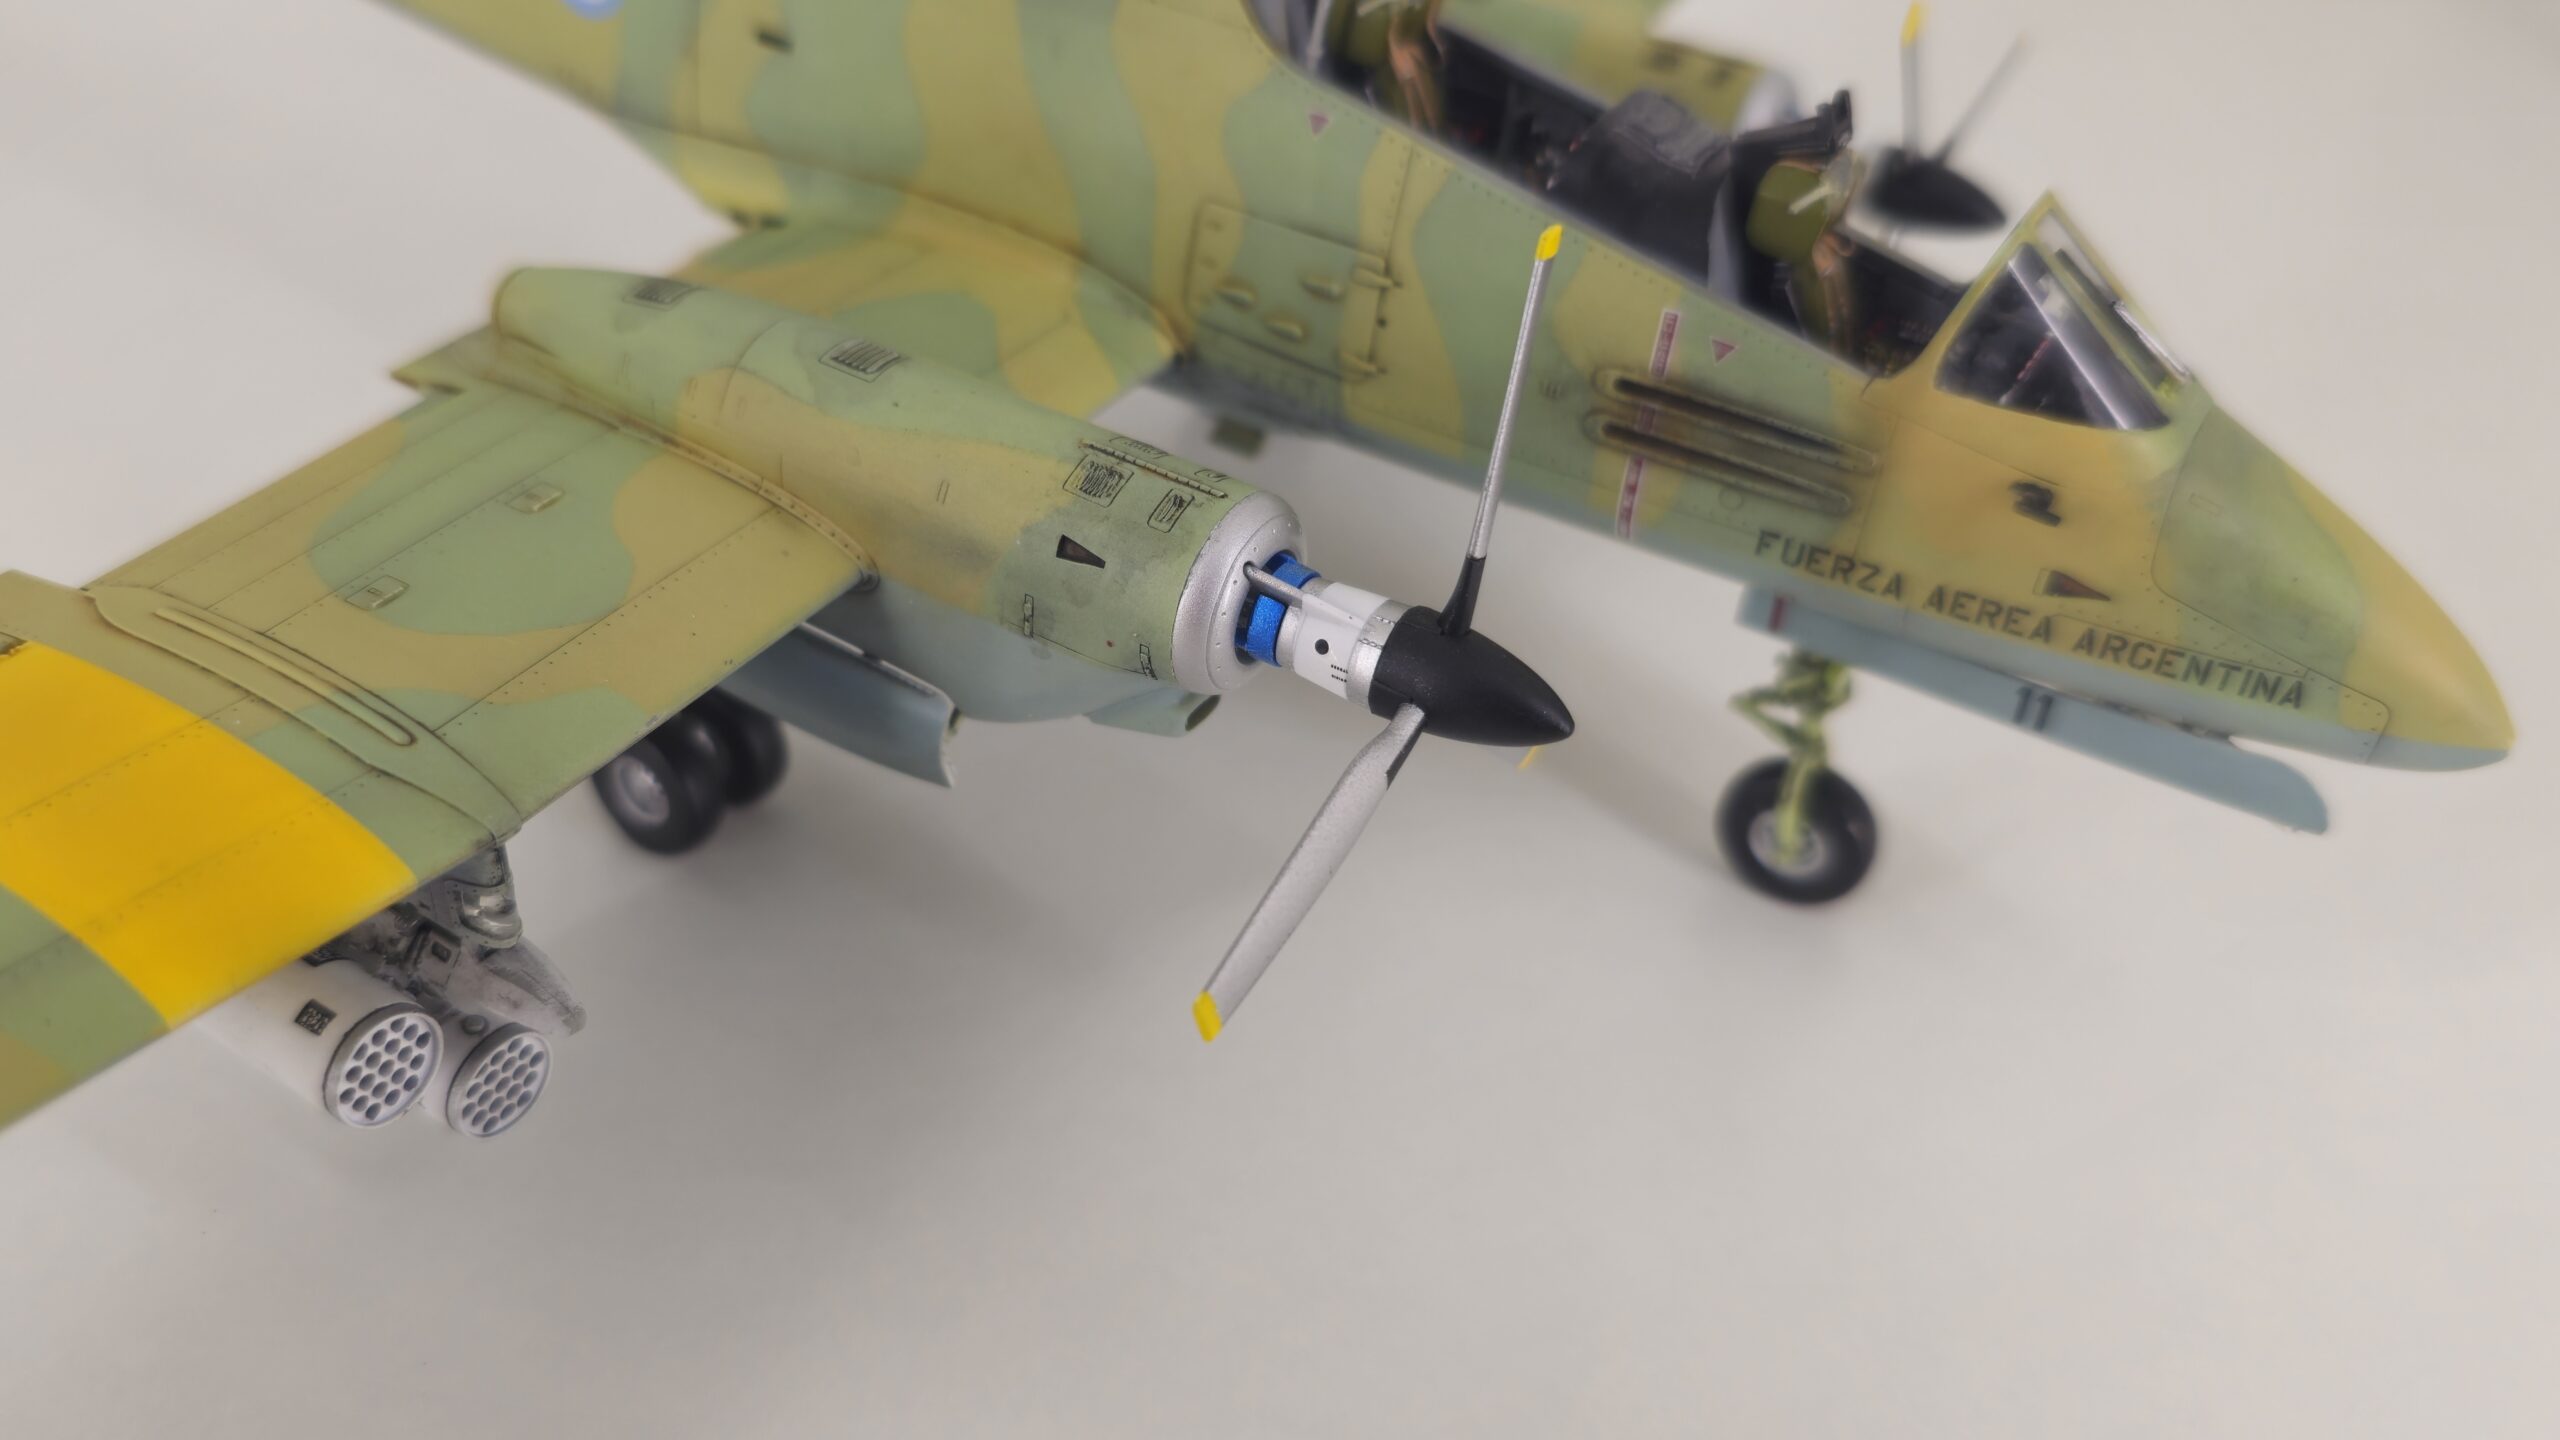
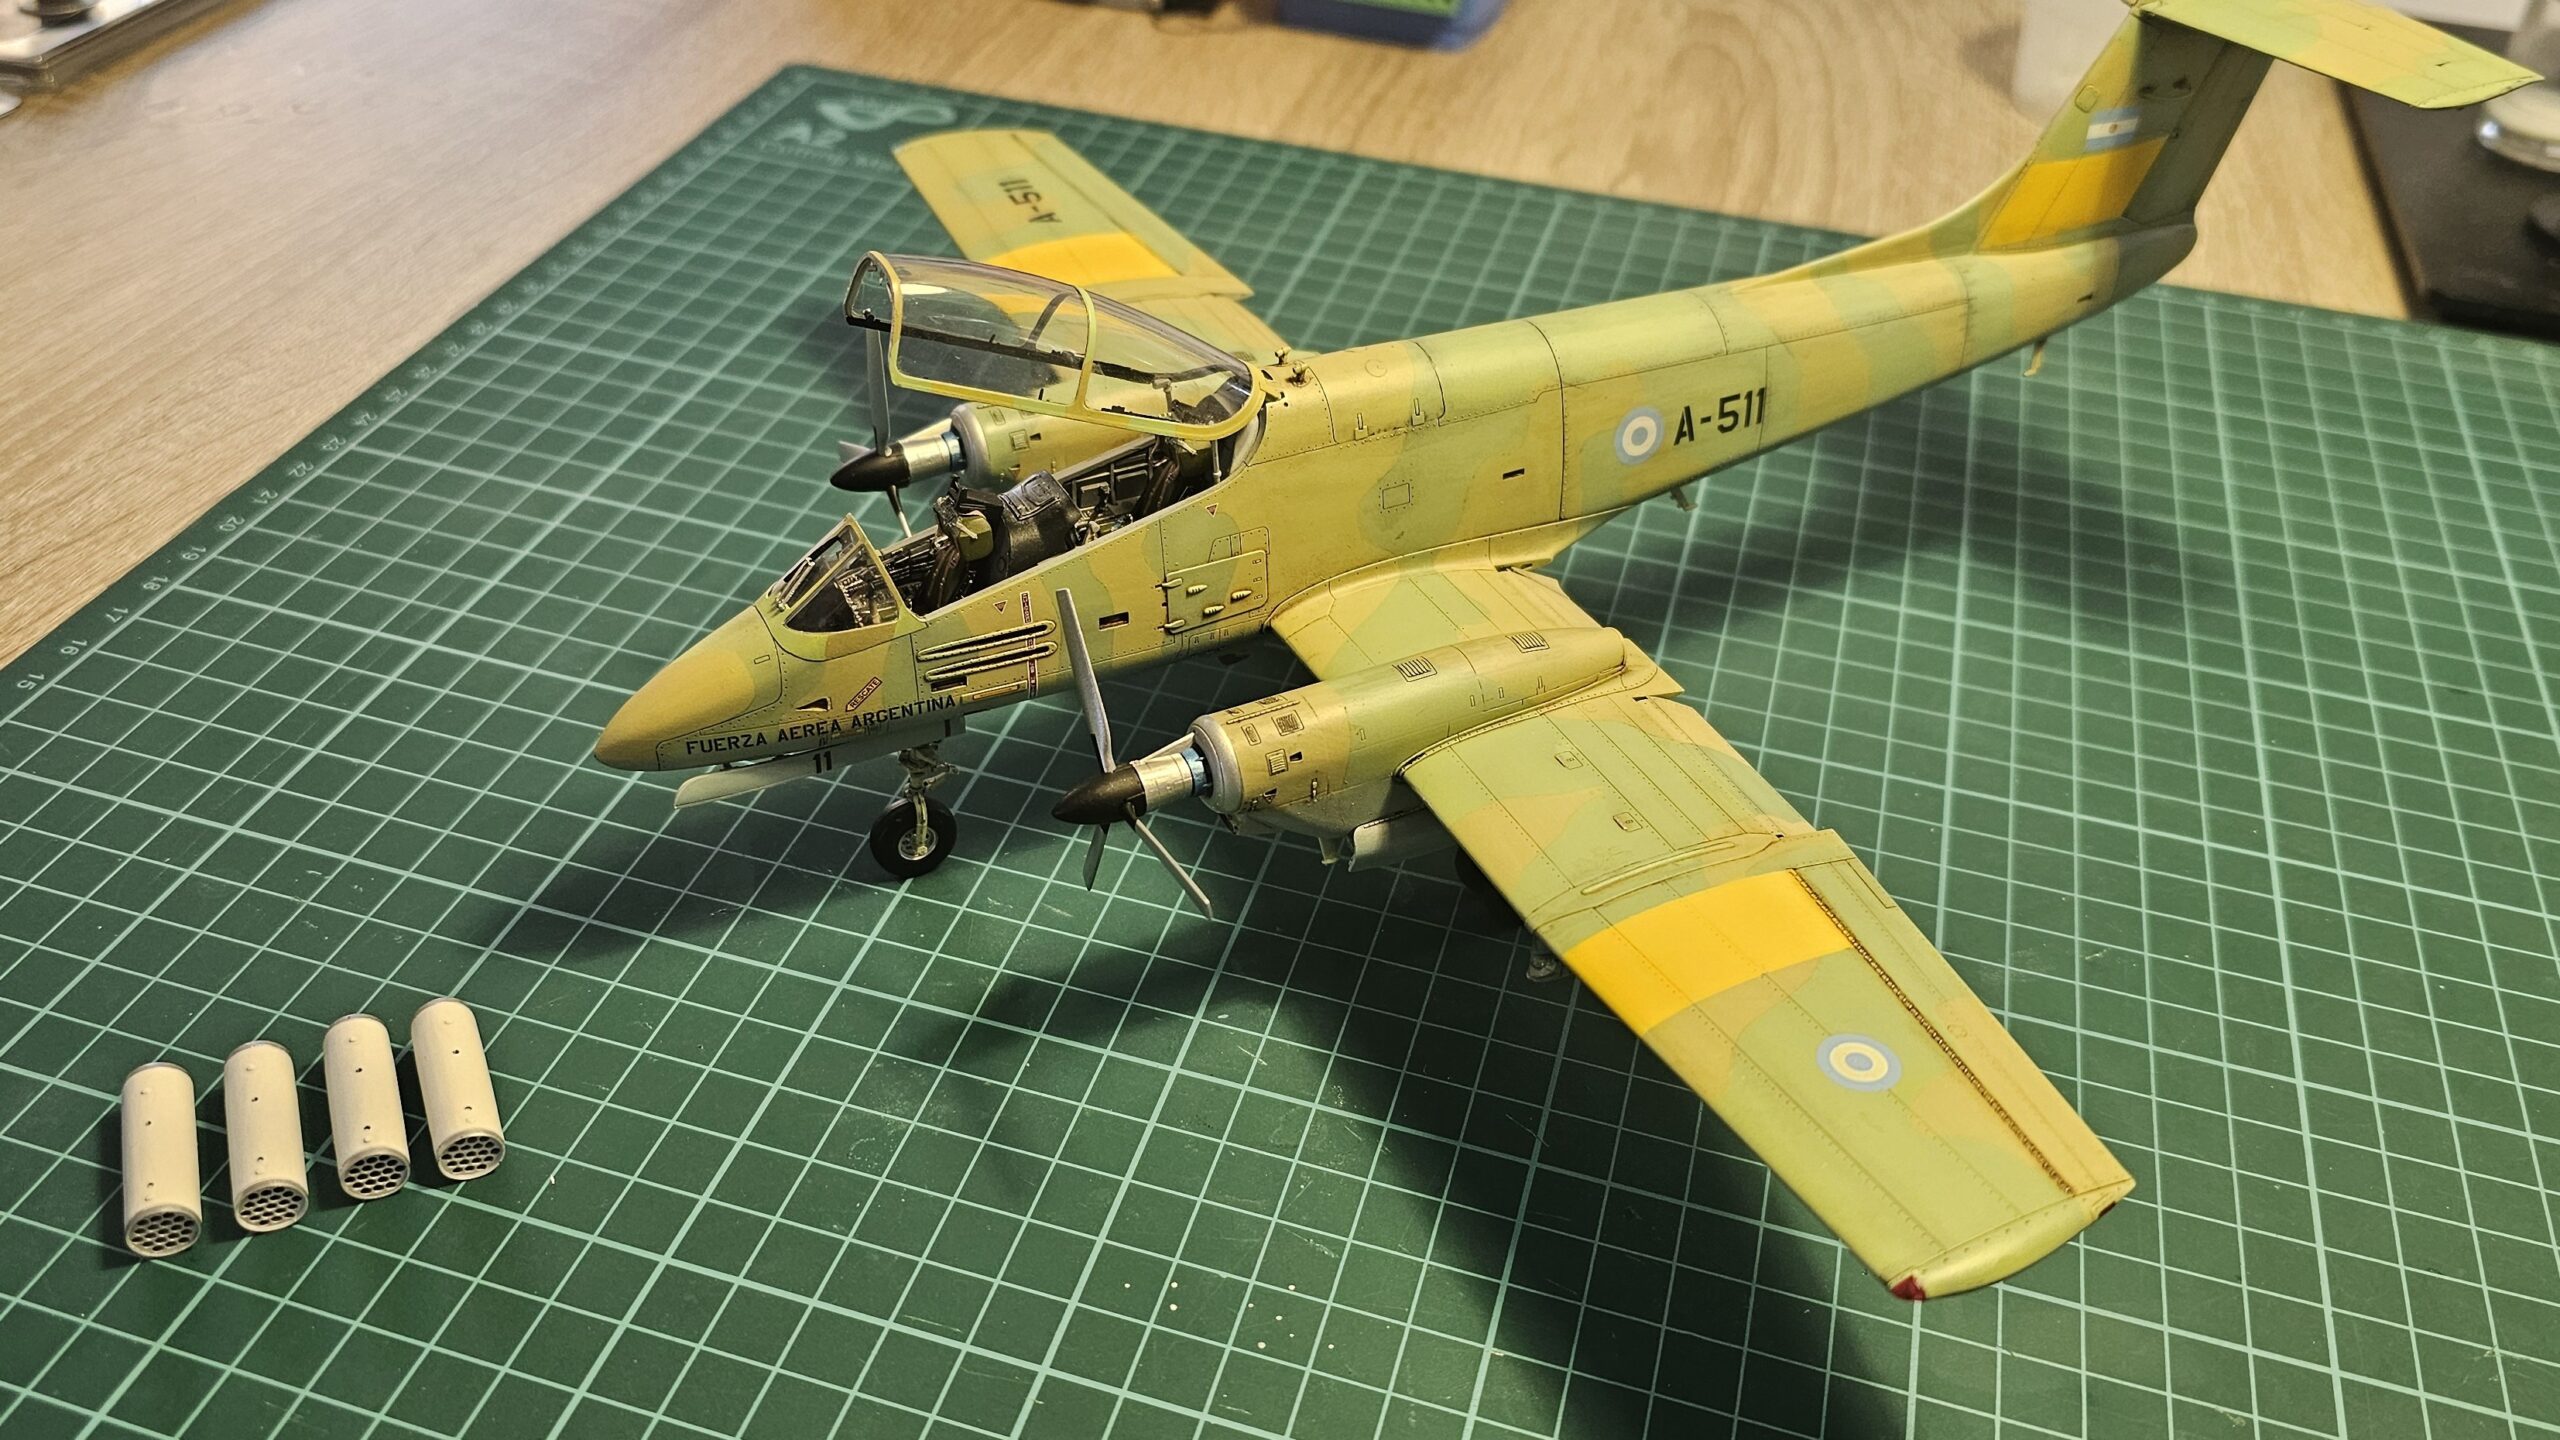
For this model, I chose the Pucará with registration A-511, piloted by Brigadier General Carlos Tomba, a renowned pilot decorated with the Medal for Valor in Combat, who passed away at the age of 78 a year ago (April 2025).
In addition to the items included in the kit, I used the following:
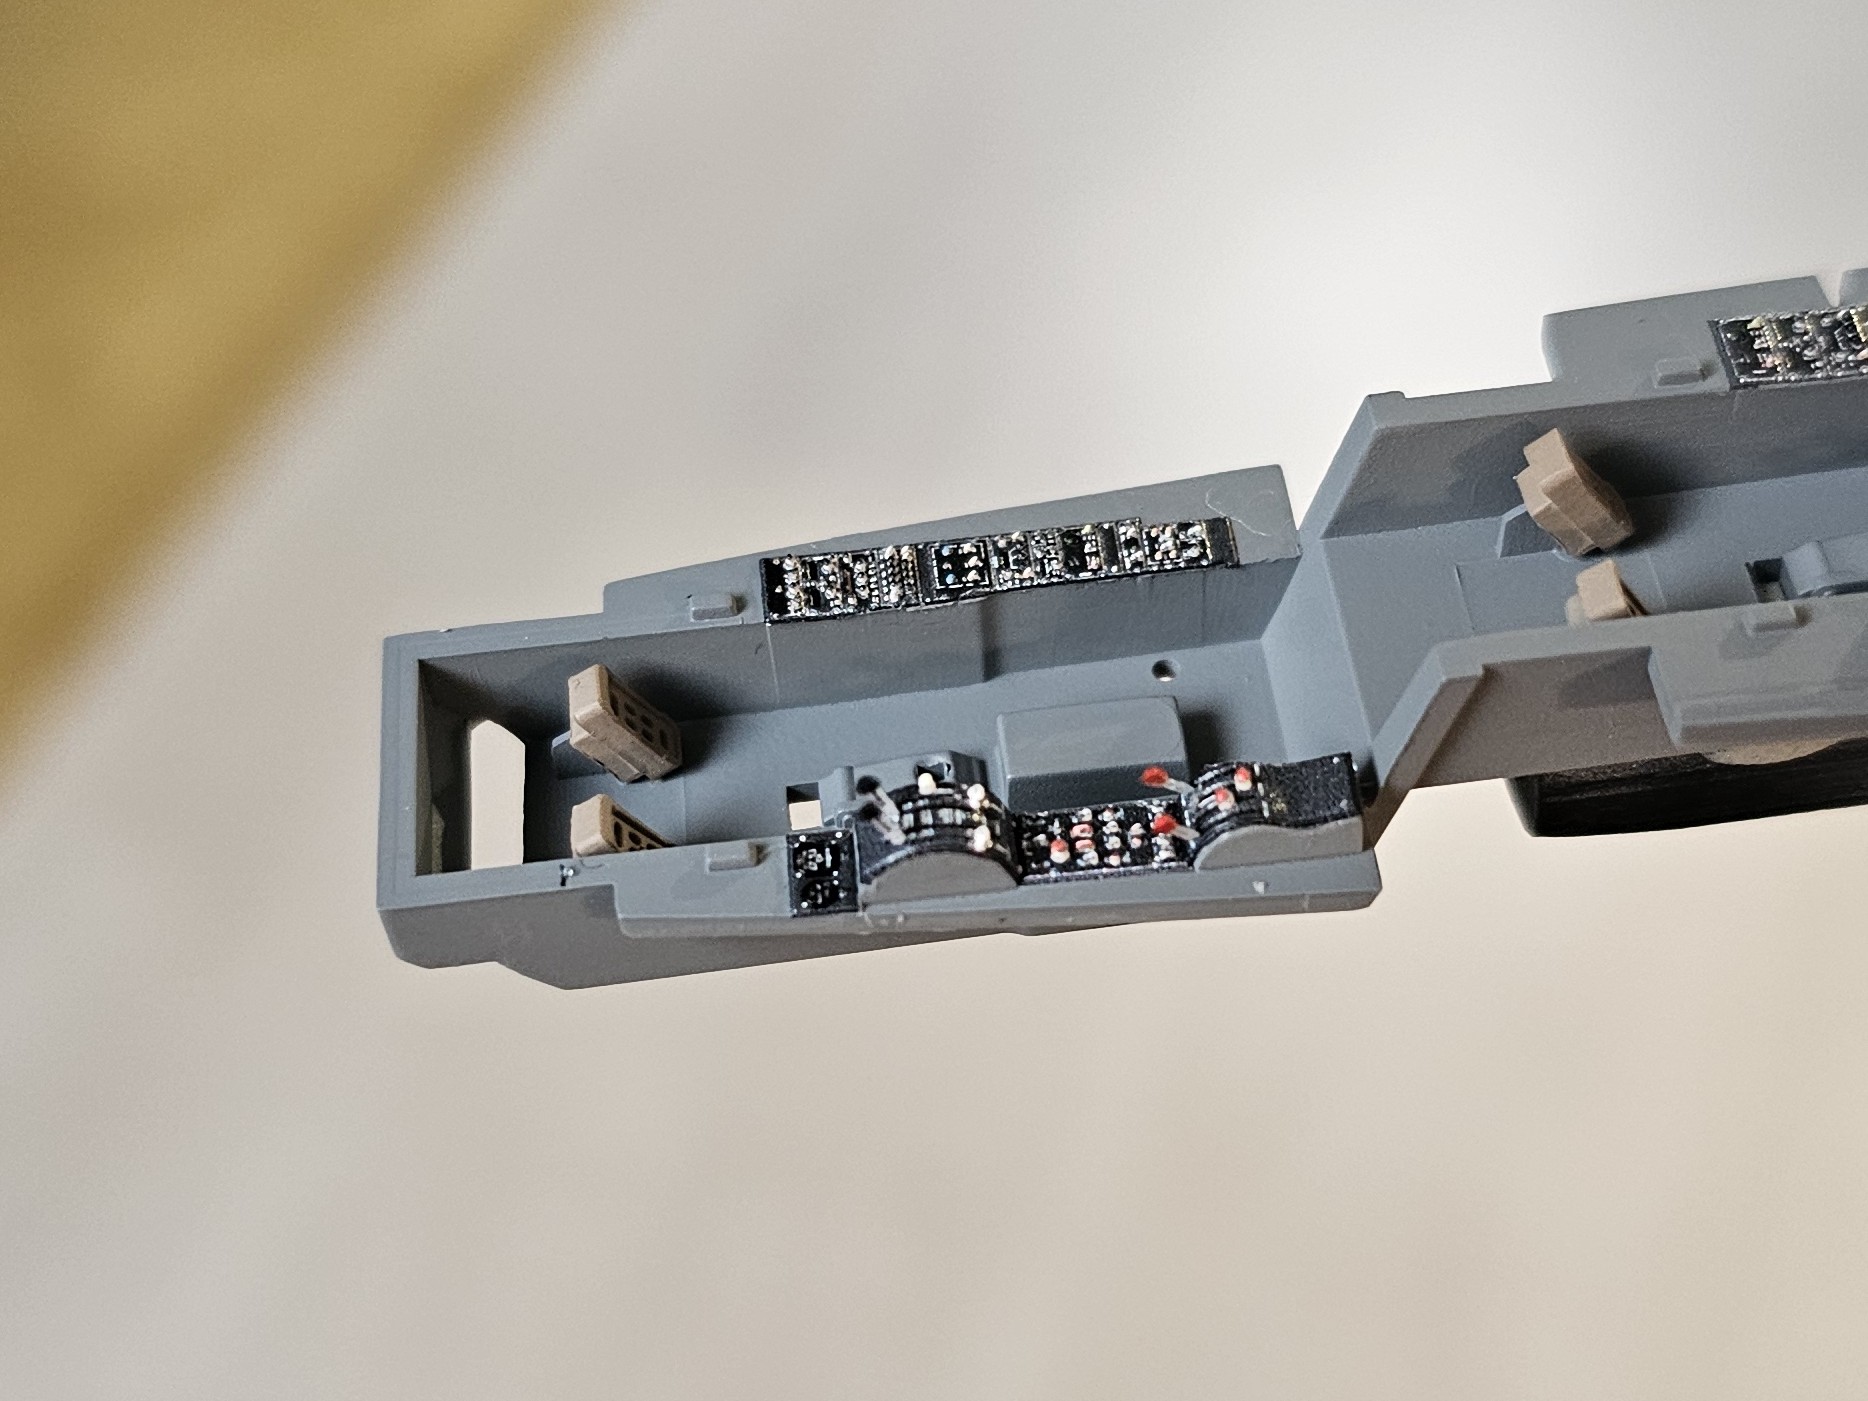
- Quinta Studio 3D decals for the cabin interior.
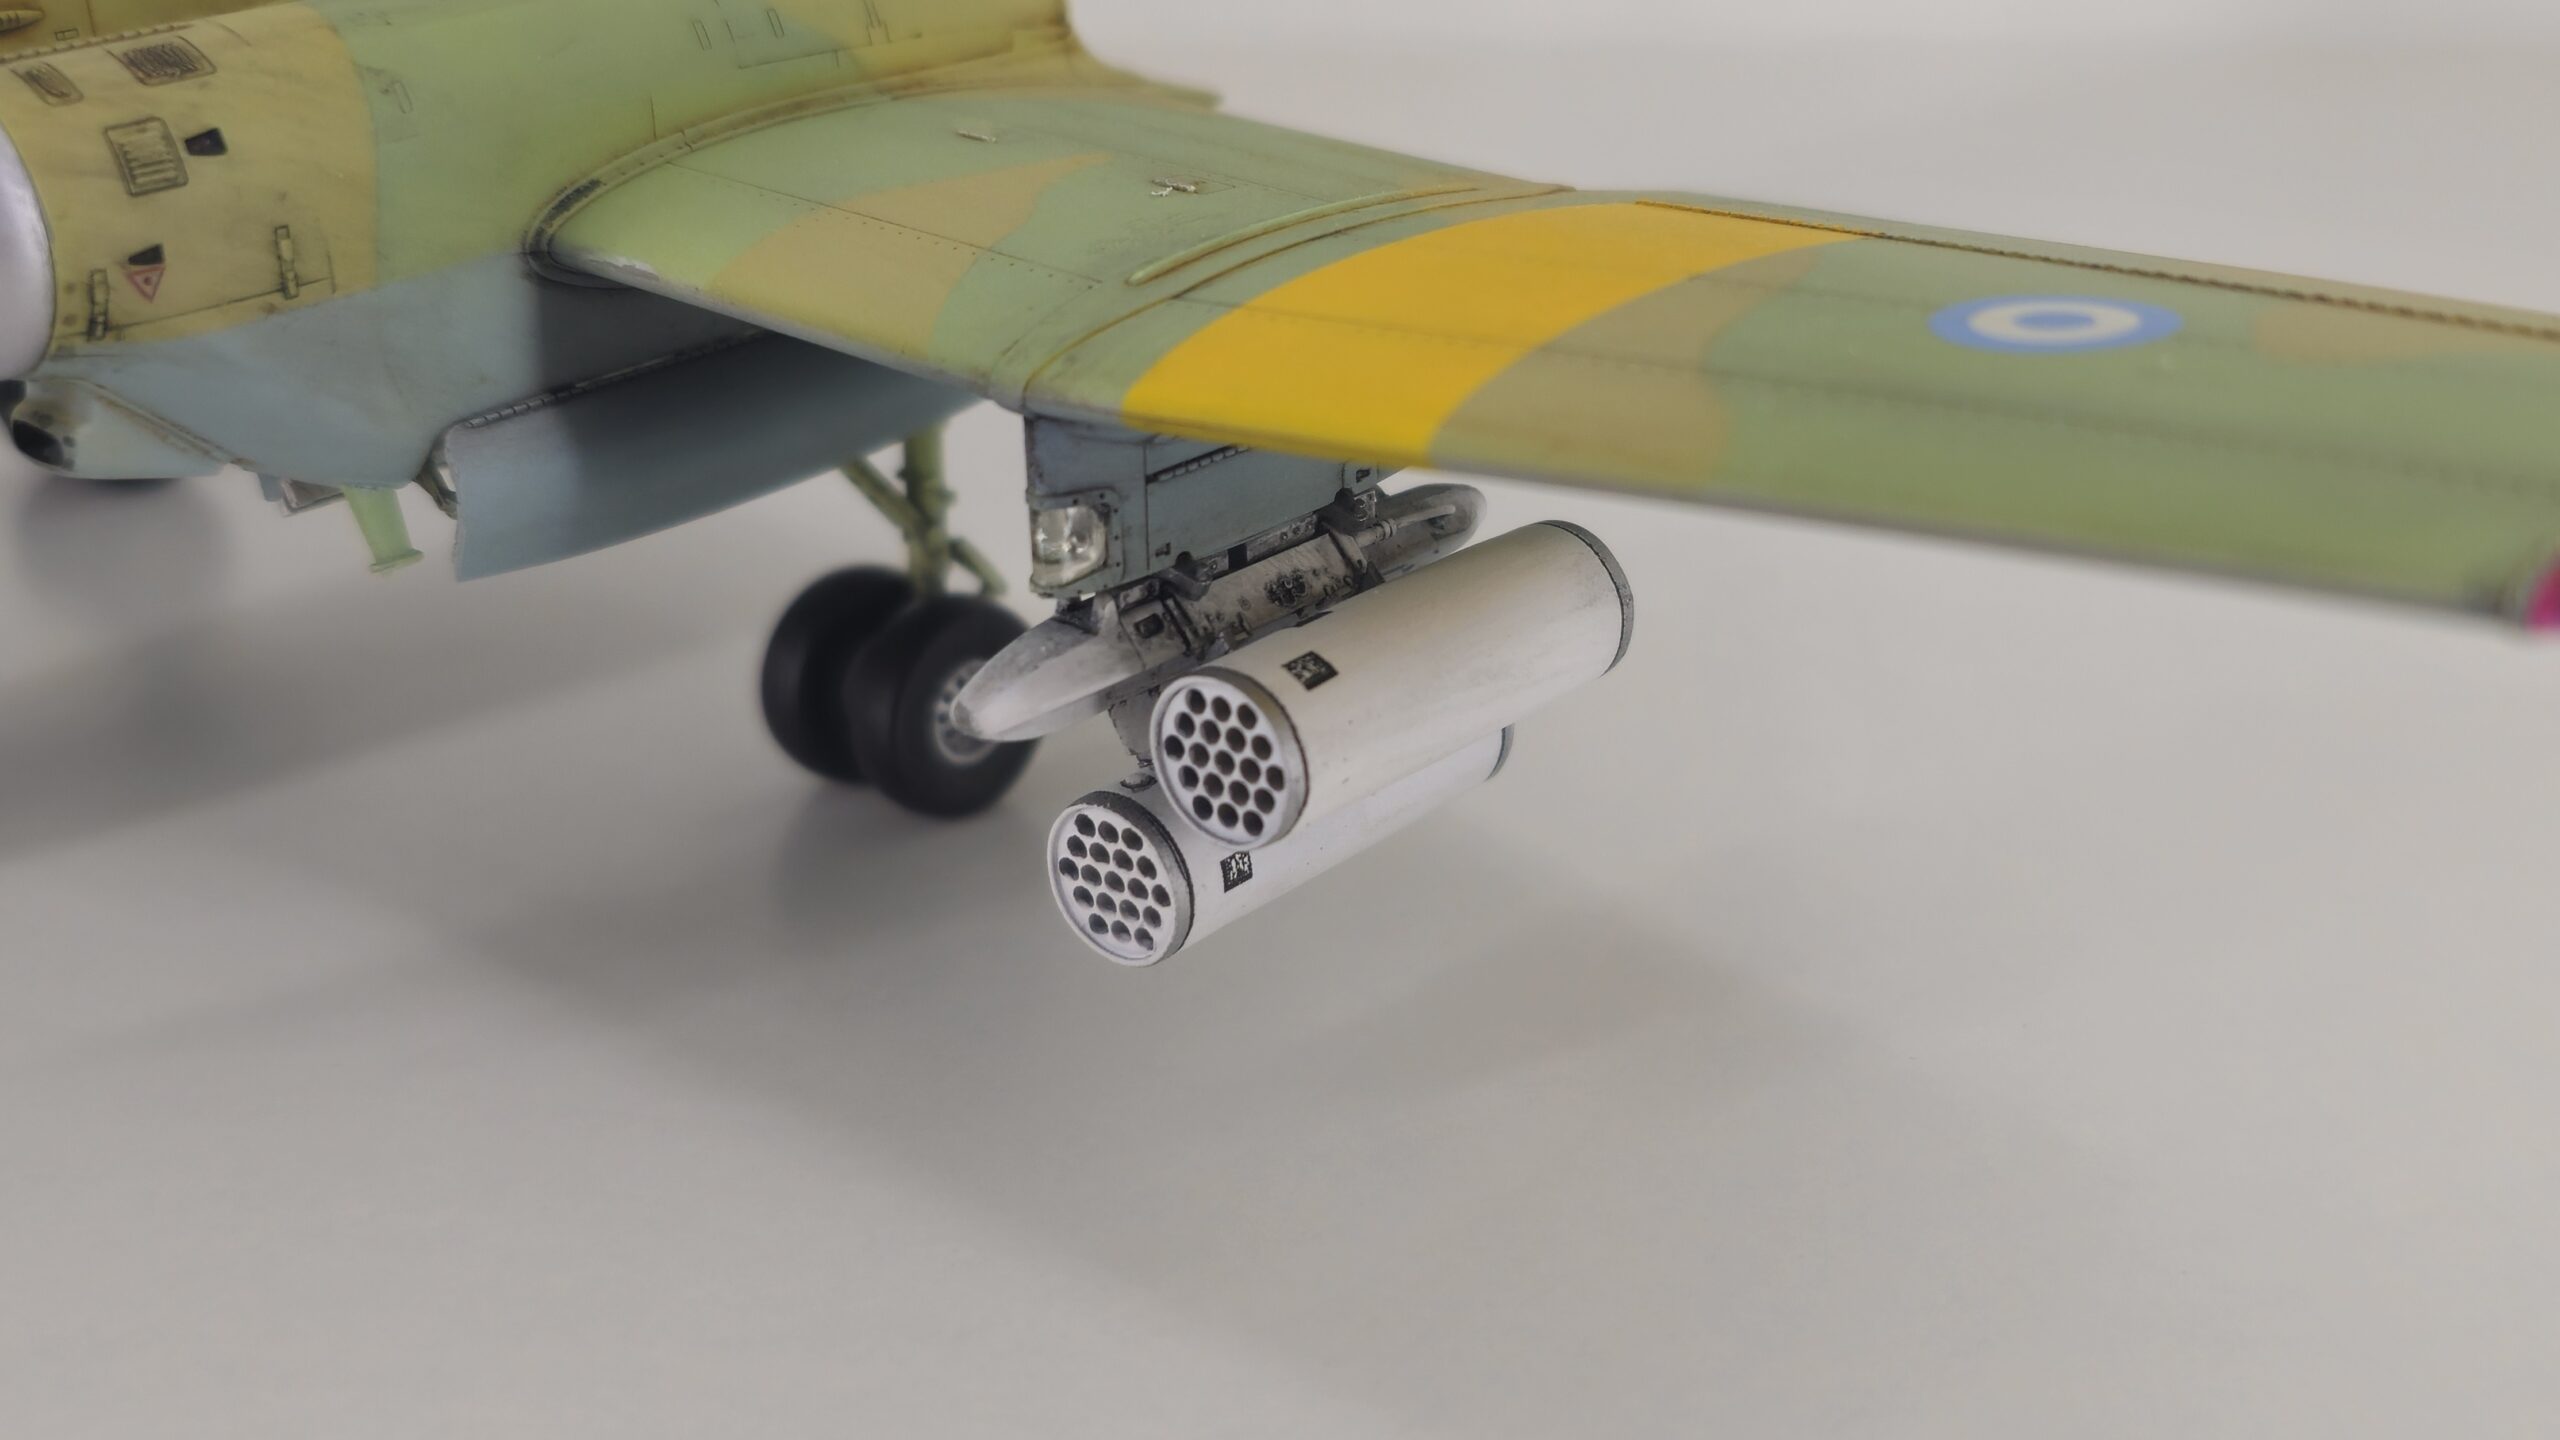
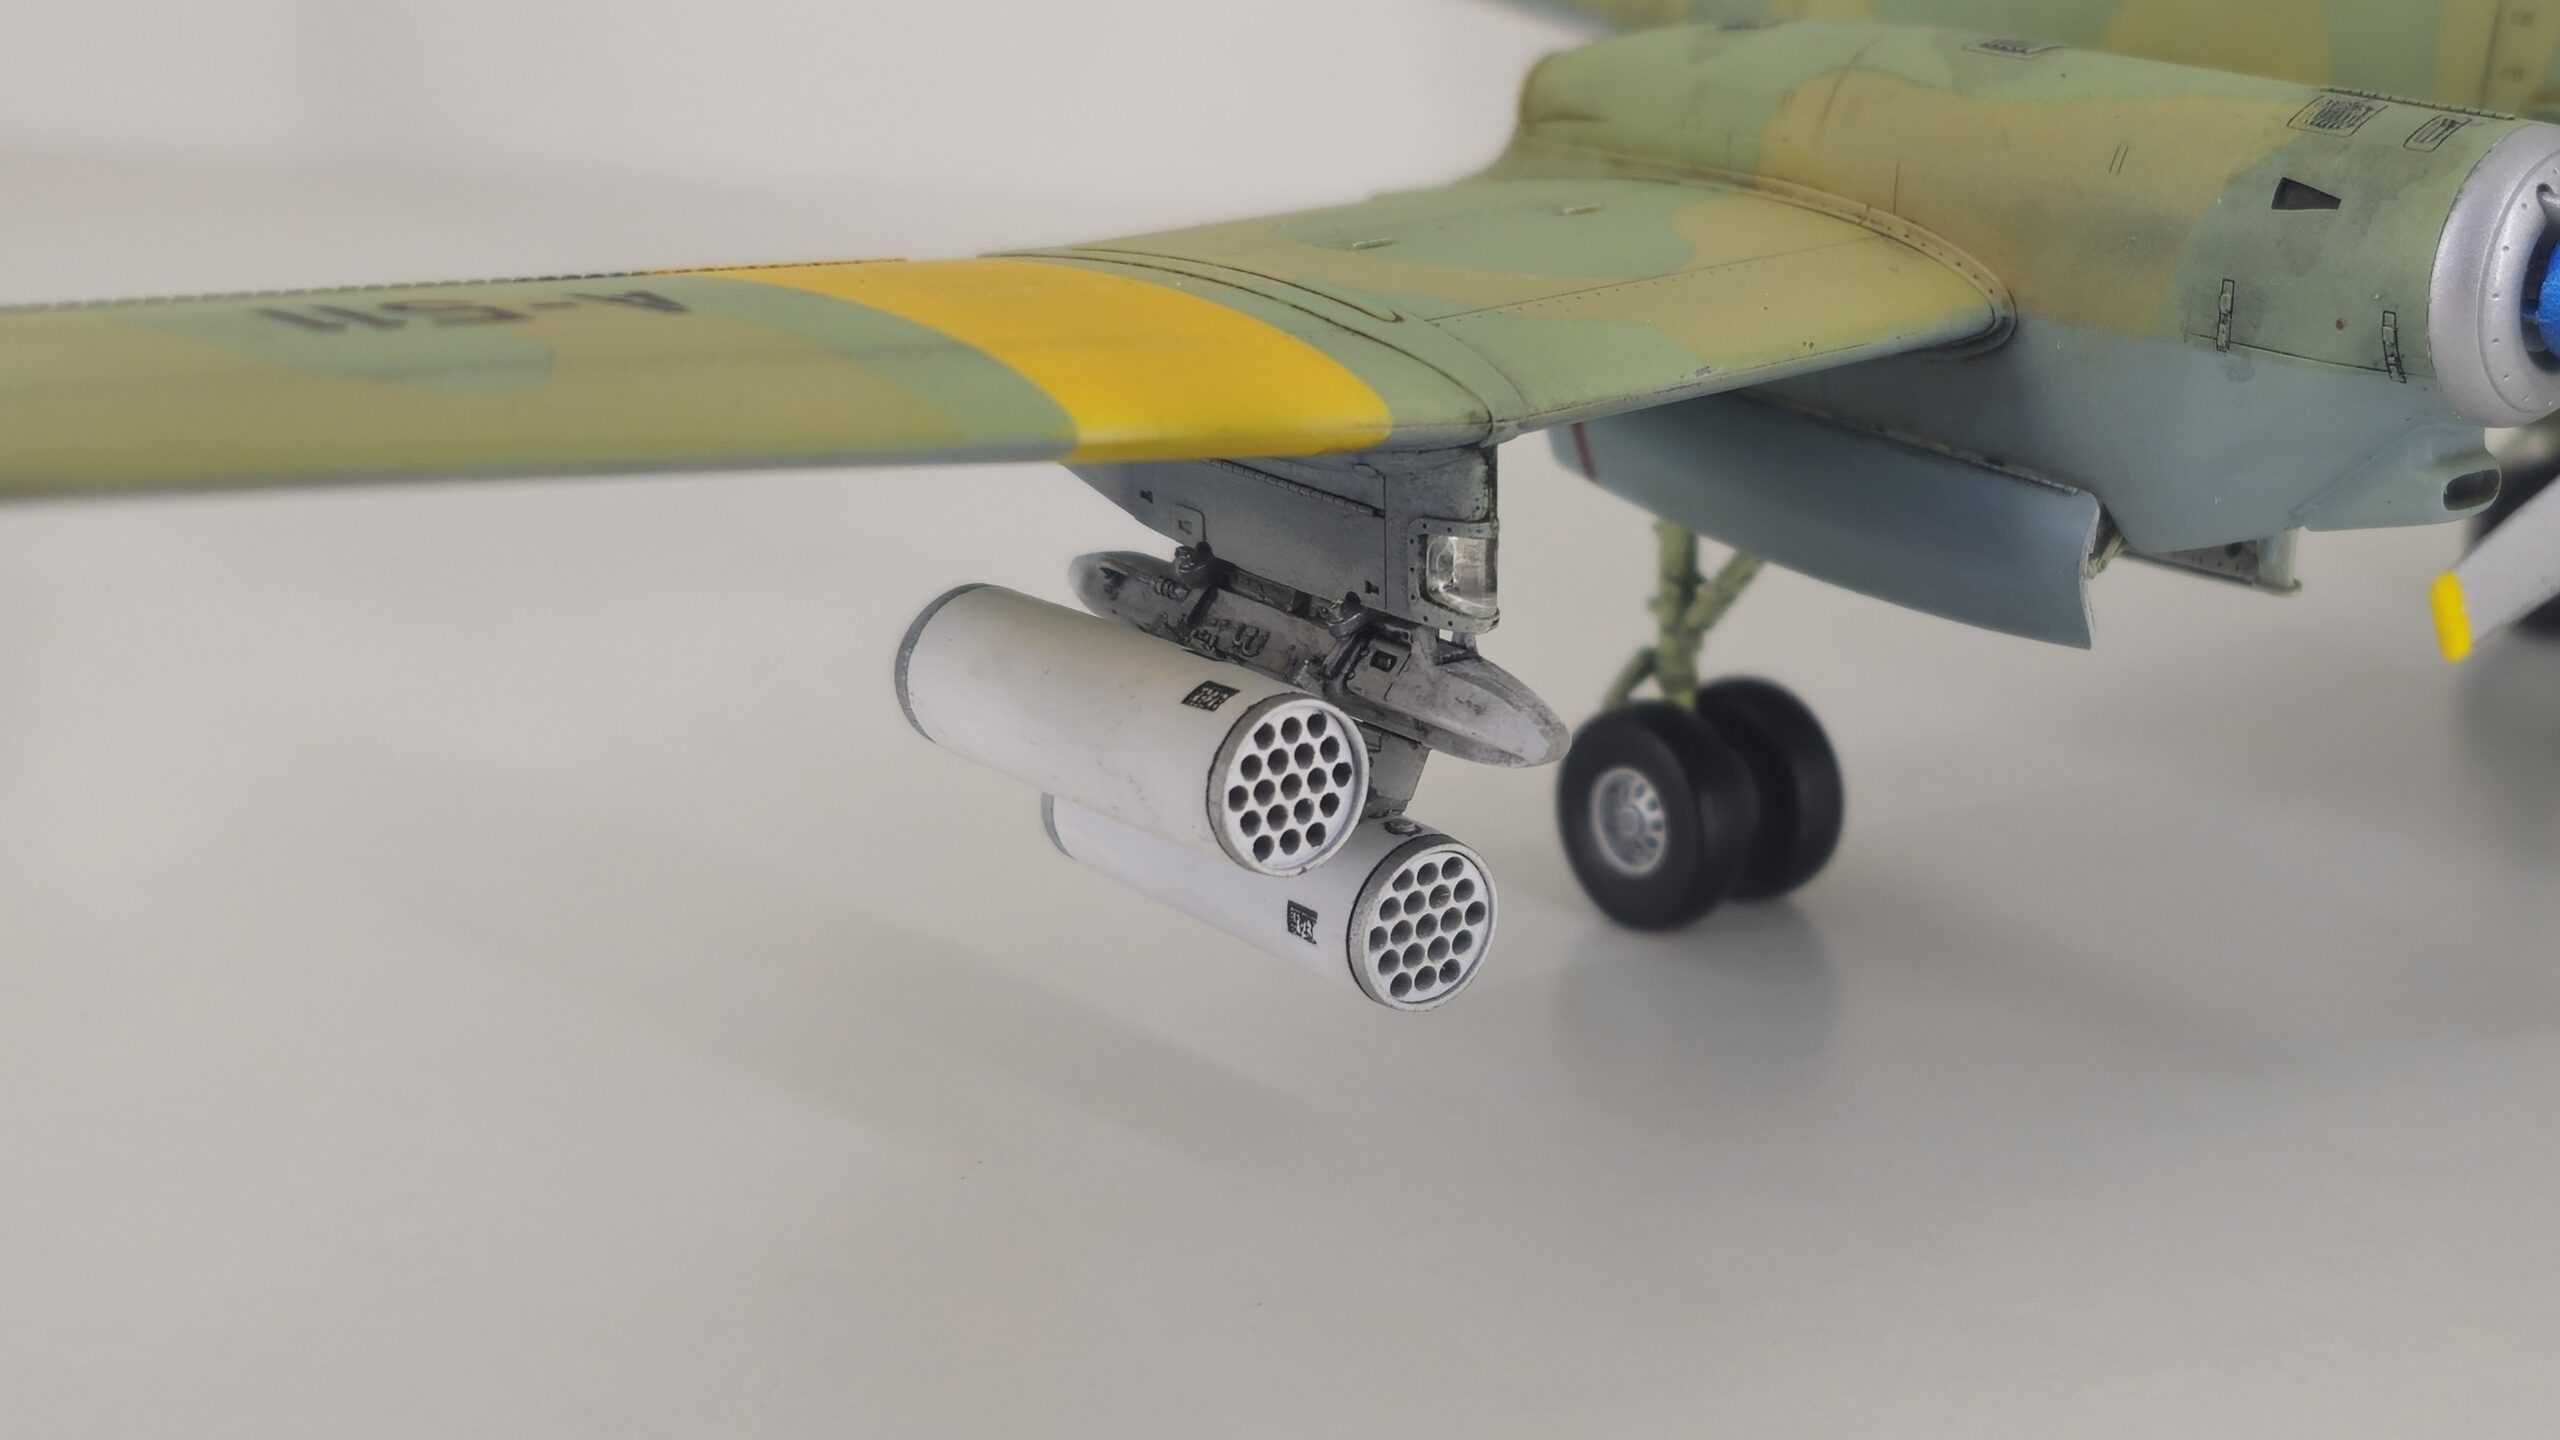
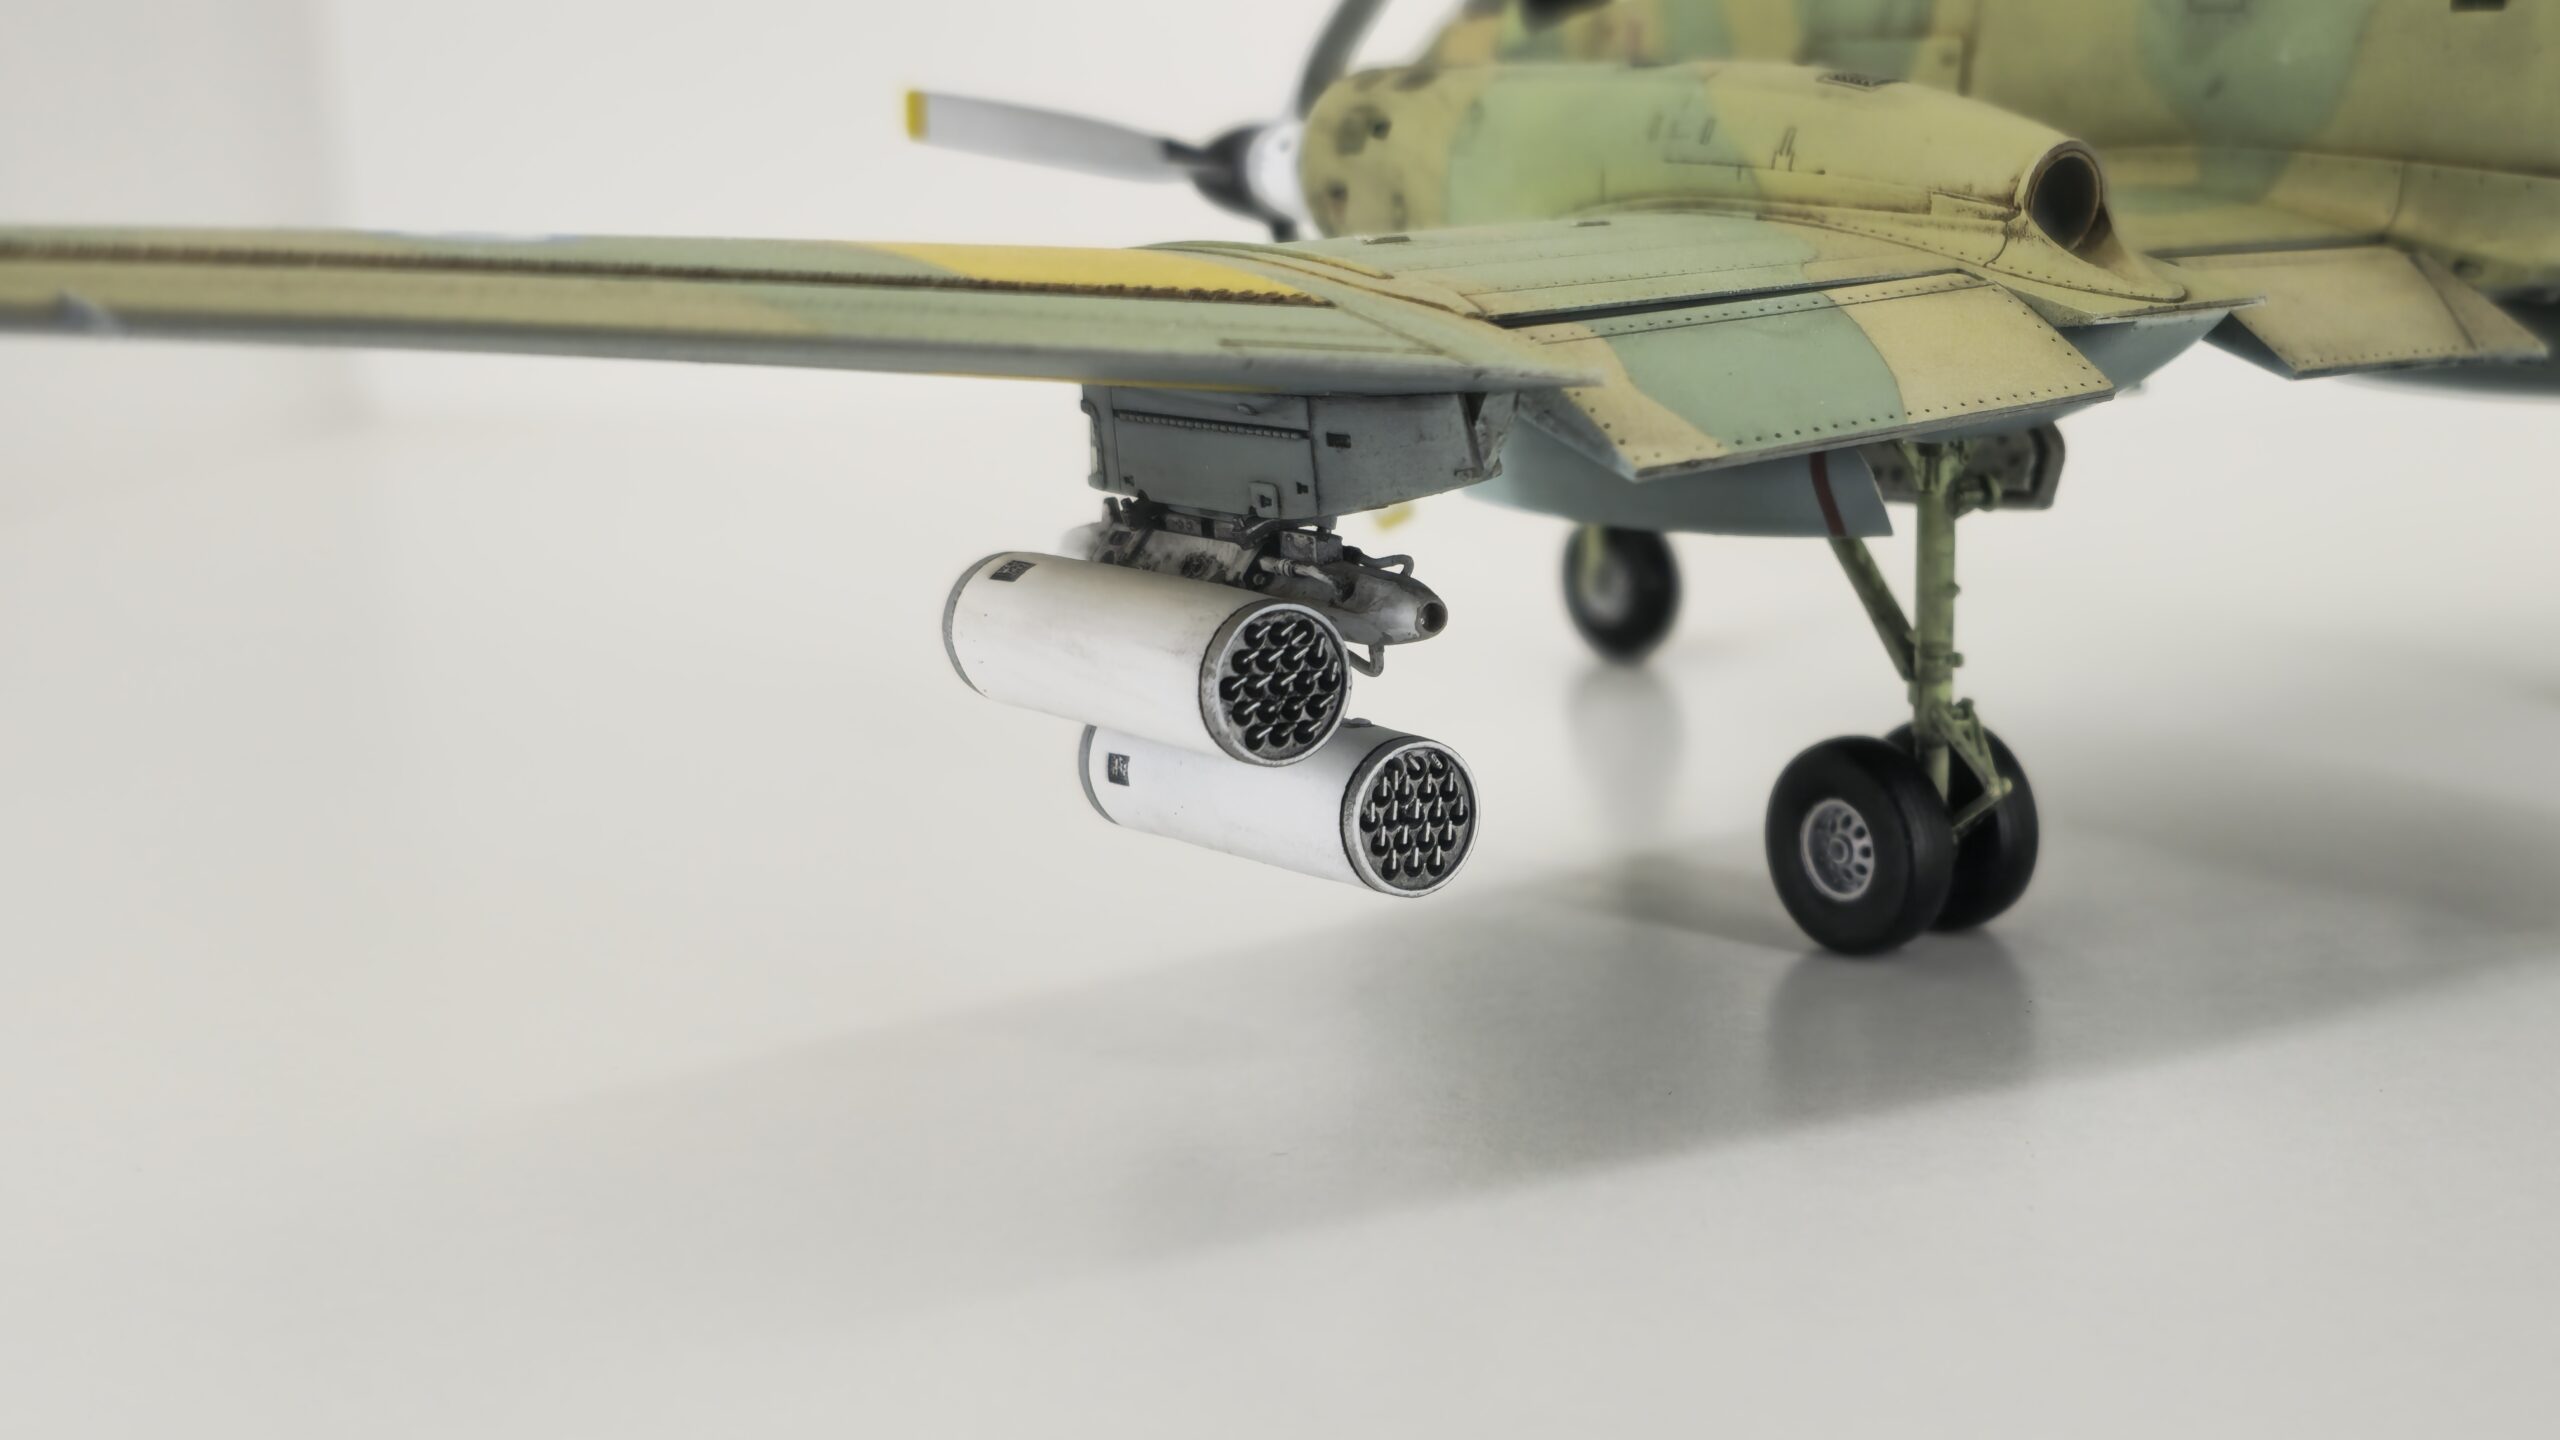
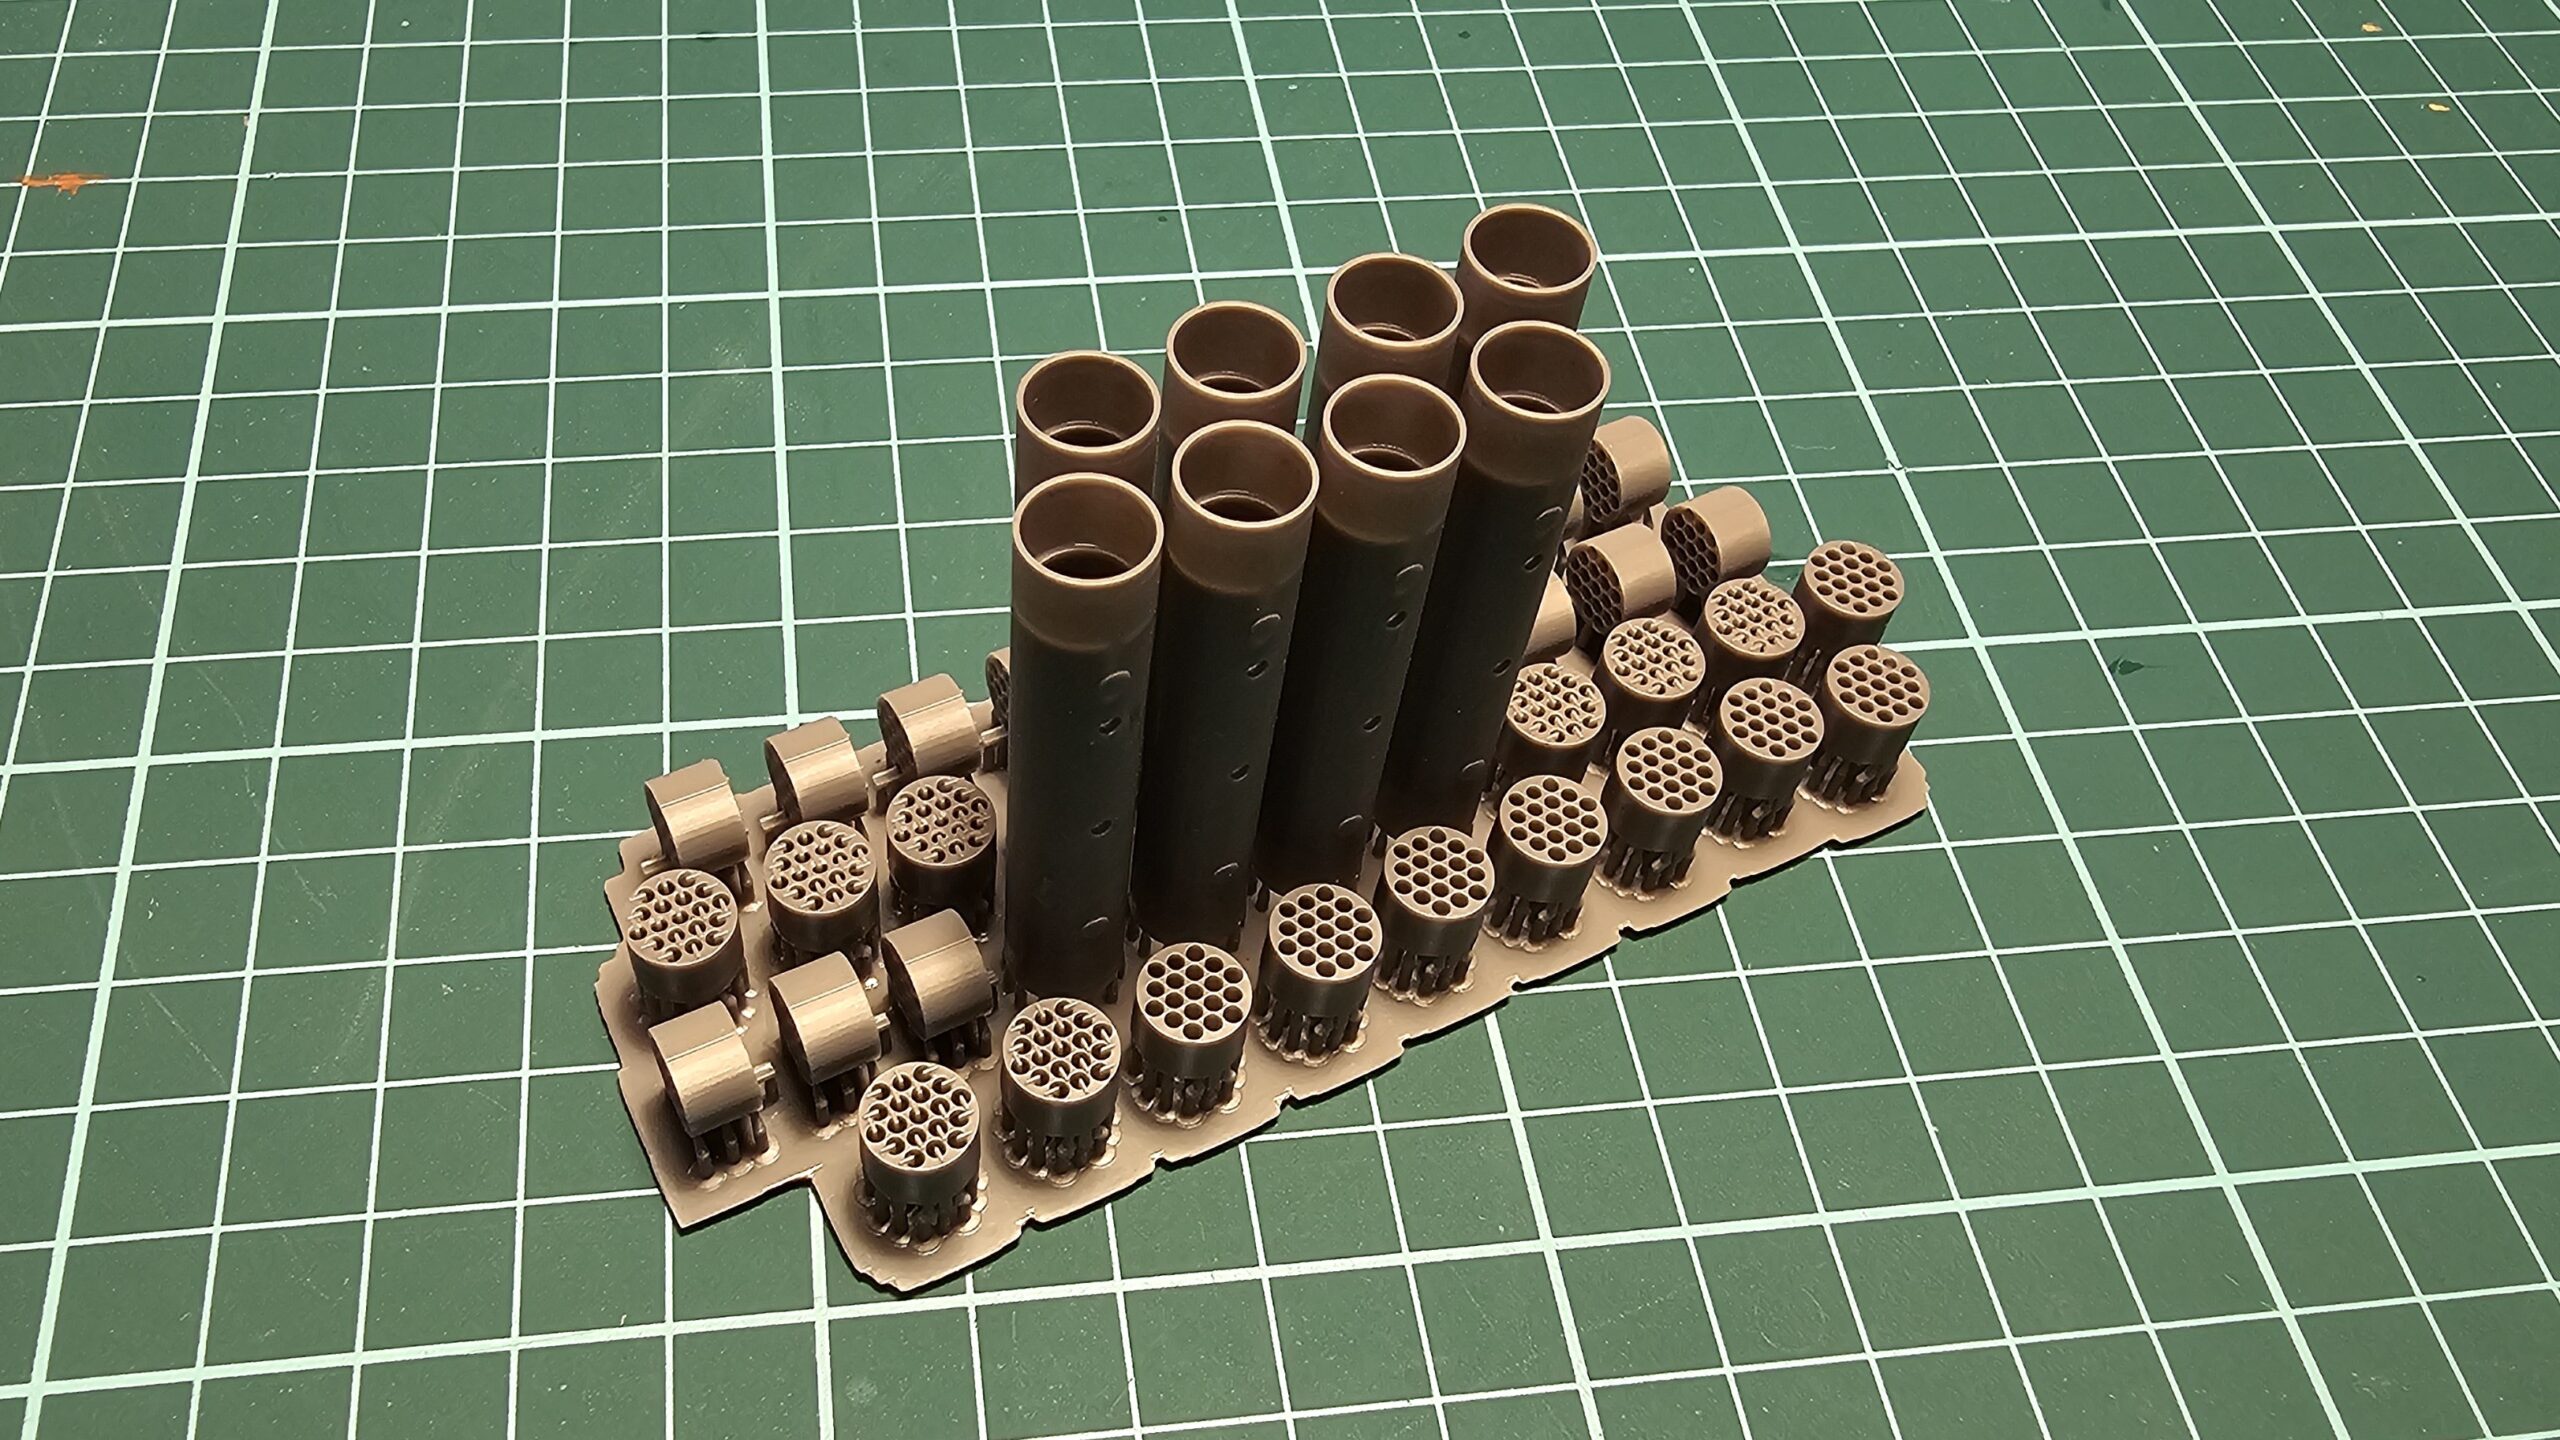
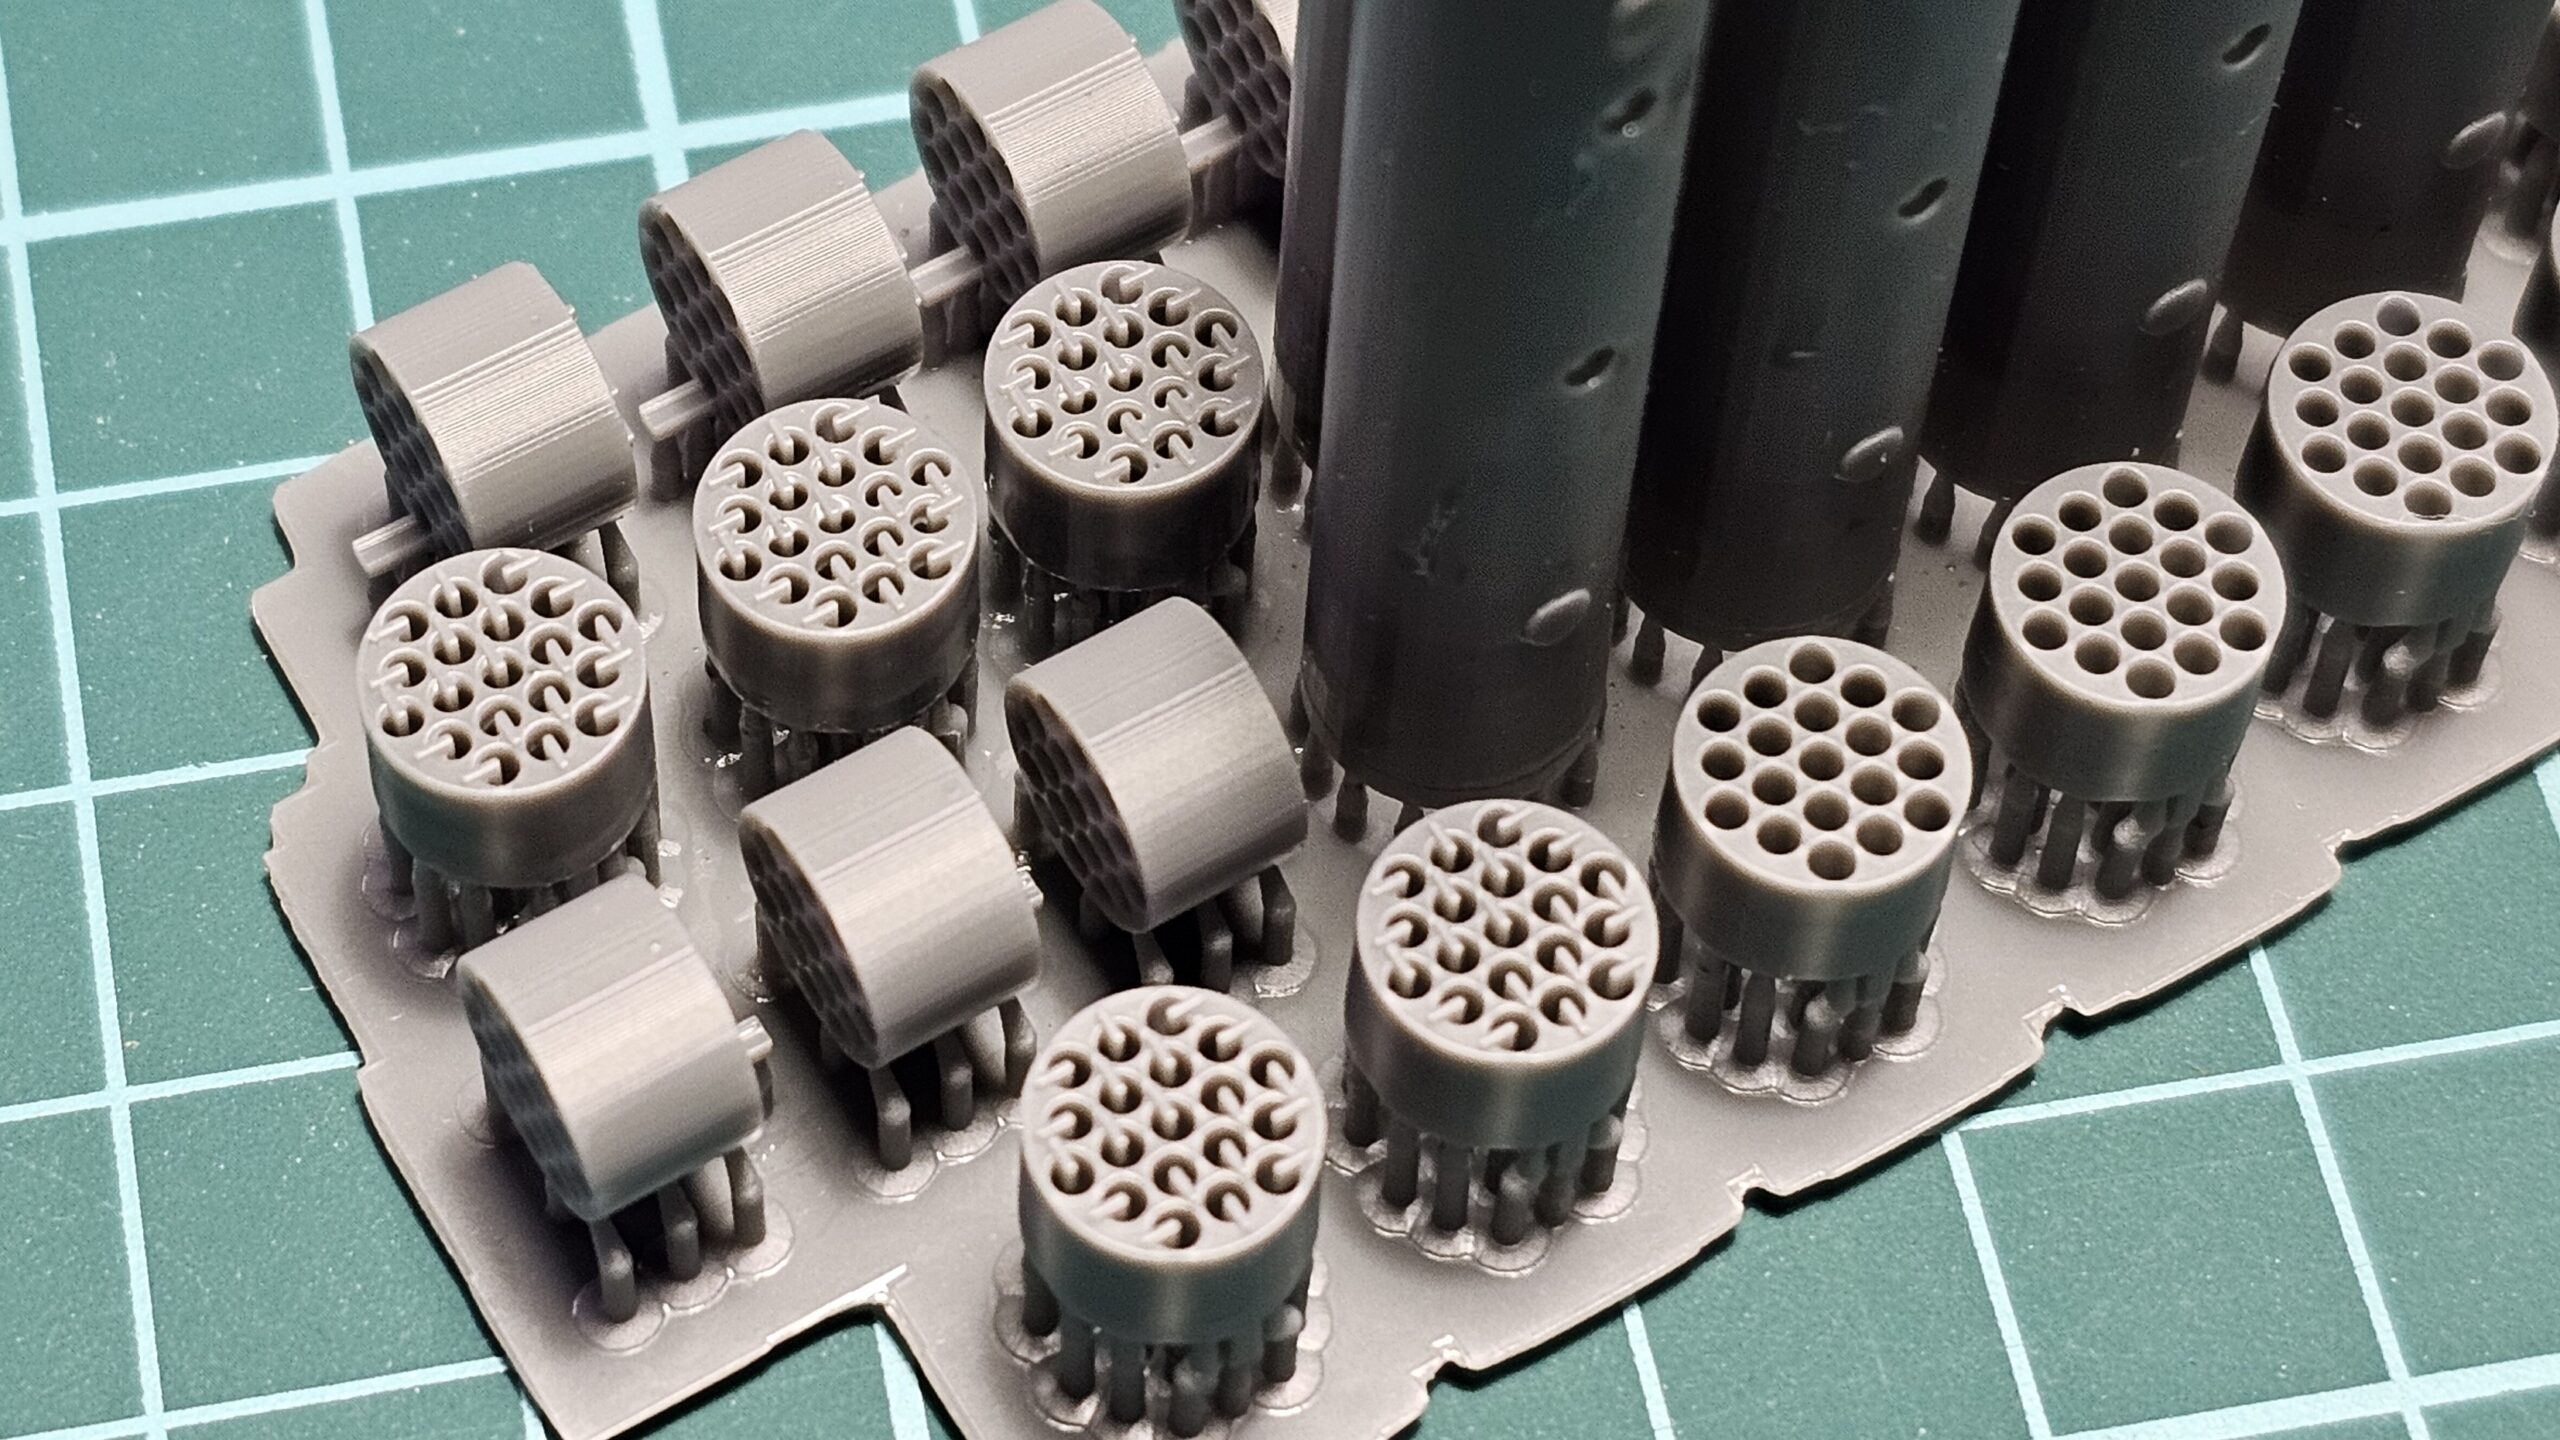
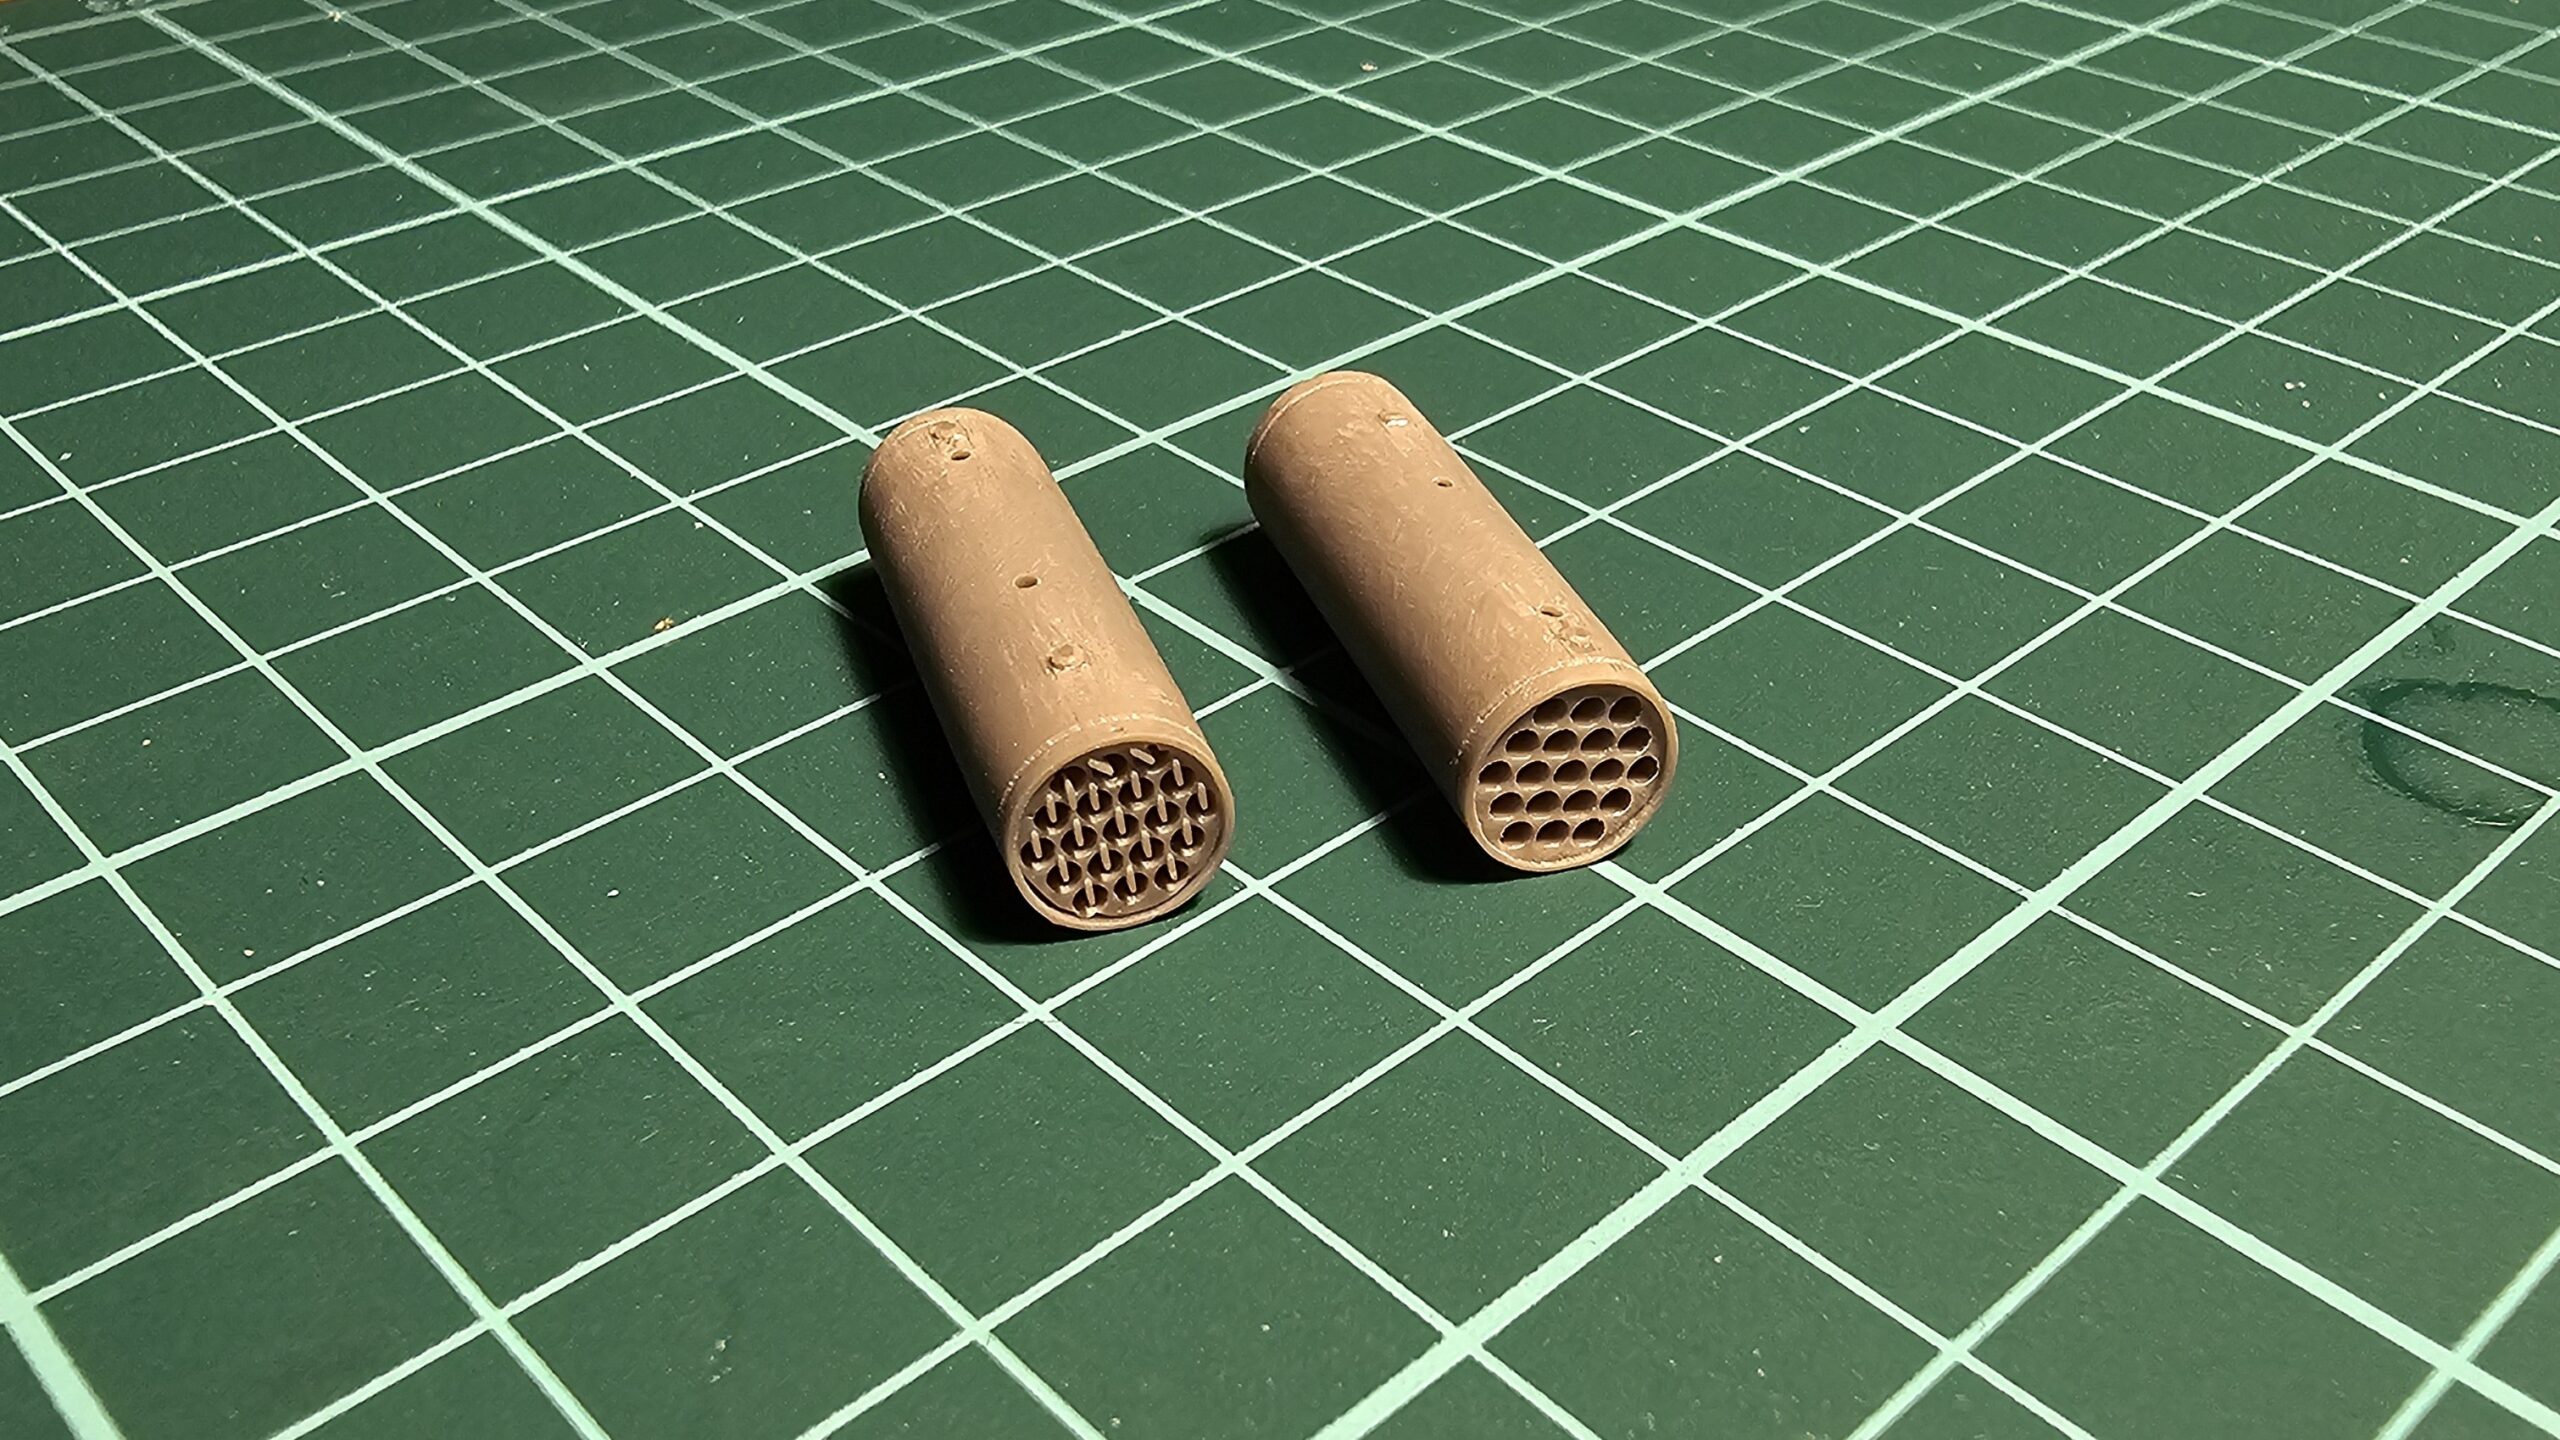
- I designed and 3D printed the LAU-61/A rocket launchers that were used in the Falklands War.
The kit
Building this kit is a real pleasure. The level of detail is excellent, the fit is practically perfect, and with the addition of Quinta Studio's 3D decals, the result is truly superb. As is often the case, I had to struggle quite a bit with the few PE parts I used, but I can't complain.
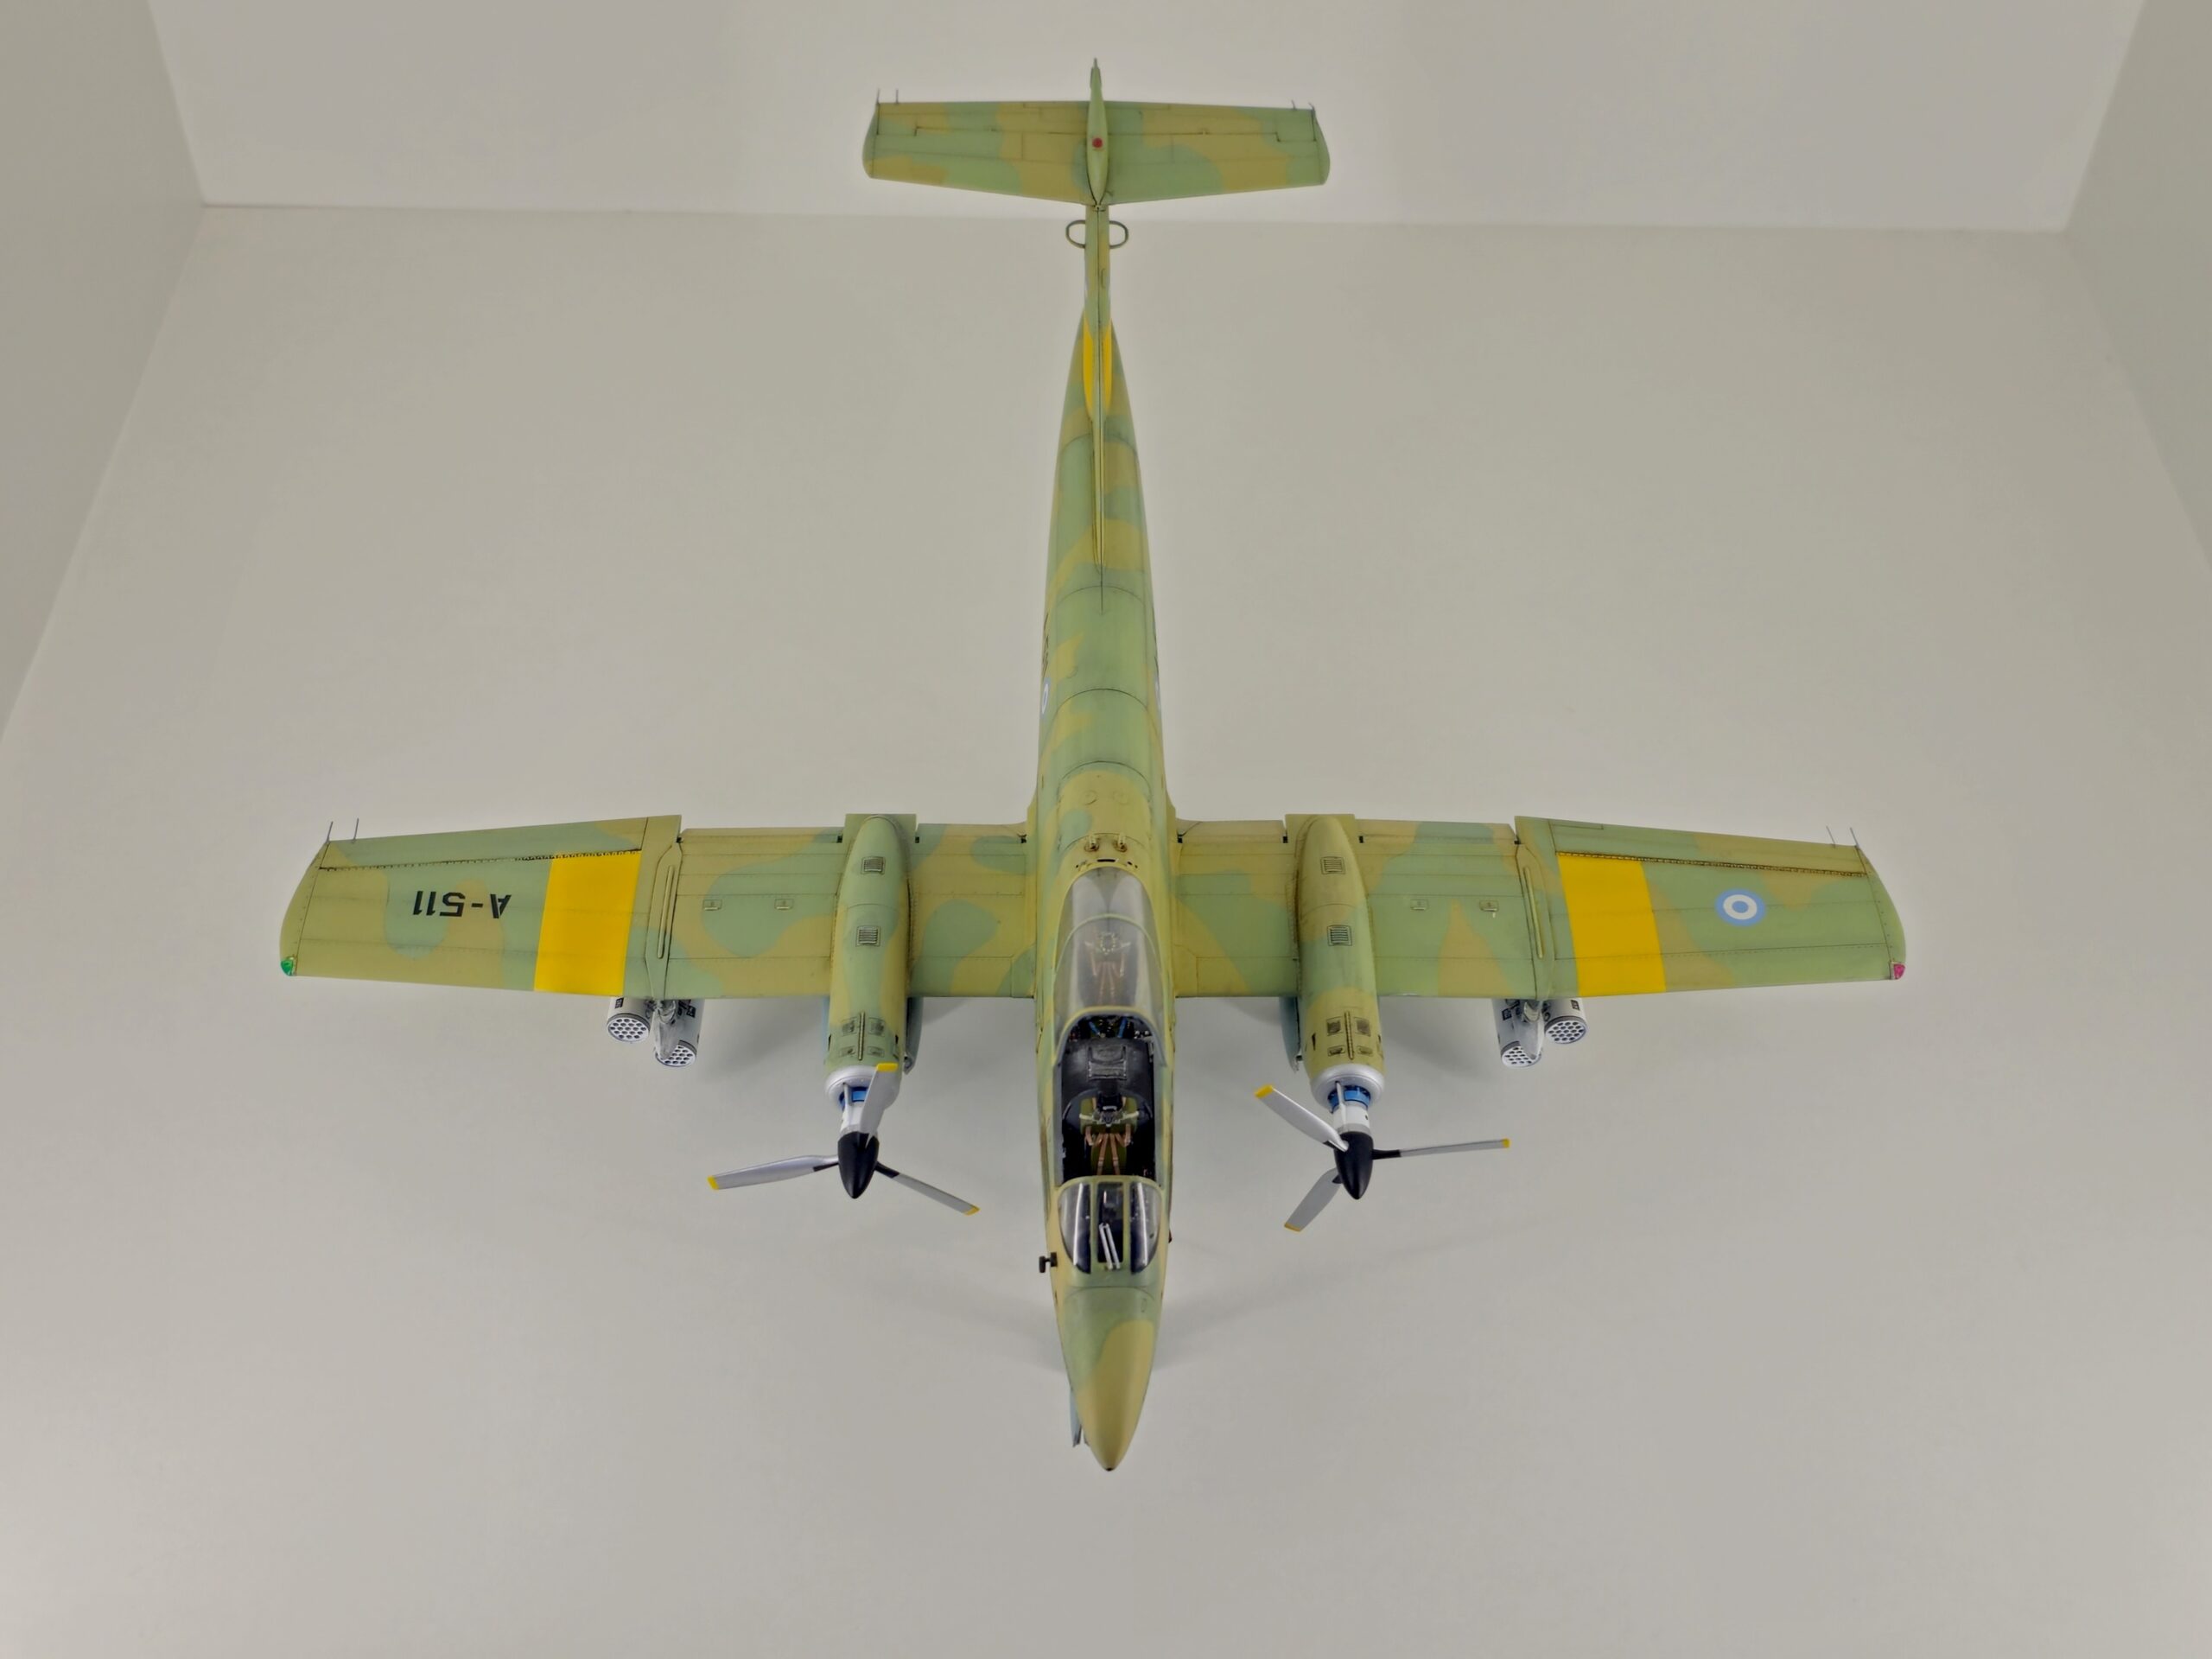
It would be great if the kit included the rocket launchers used in Argentina, but designing and 3D printing them was fun, and the result (in my opinion) is very nice. Interestingly, the rocket launchers were used in the external and central positions of the TER (triple ejection rack) because there was a risk of collision with the propeller if they were used in the internal position.
The kit is designed to represent the A-511 aircraft piloted by Brigadier General Carlos Tomba. This aircraft was shot down by a British Sea Harrier, but fortunately, Tomba was able to eject and was later rescued. Very little documentation exists about this particular aircraft, and unfortunately, when I contacted Tomba in 2024, he was already seriously ill and unable to provide any further information. Sadly, Brigadier General Tomba passed away shortly afterward, in April 2025, at the age of 78.
Despite the limited documentation, I believe this kit accurately represents the Pucará de Tomba as it was used in the Falkland Islands, except for the lack of rocket launchers.
Build


Images of the construction process
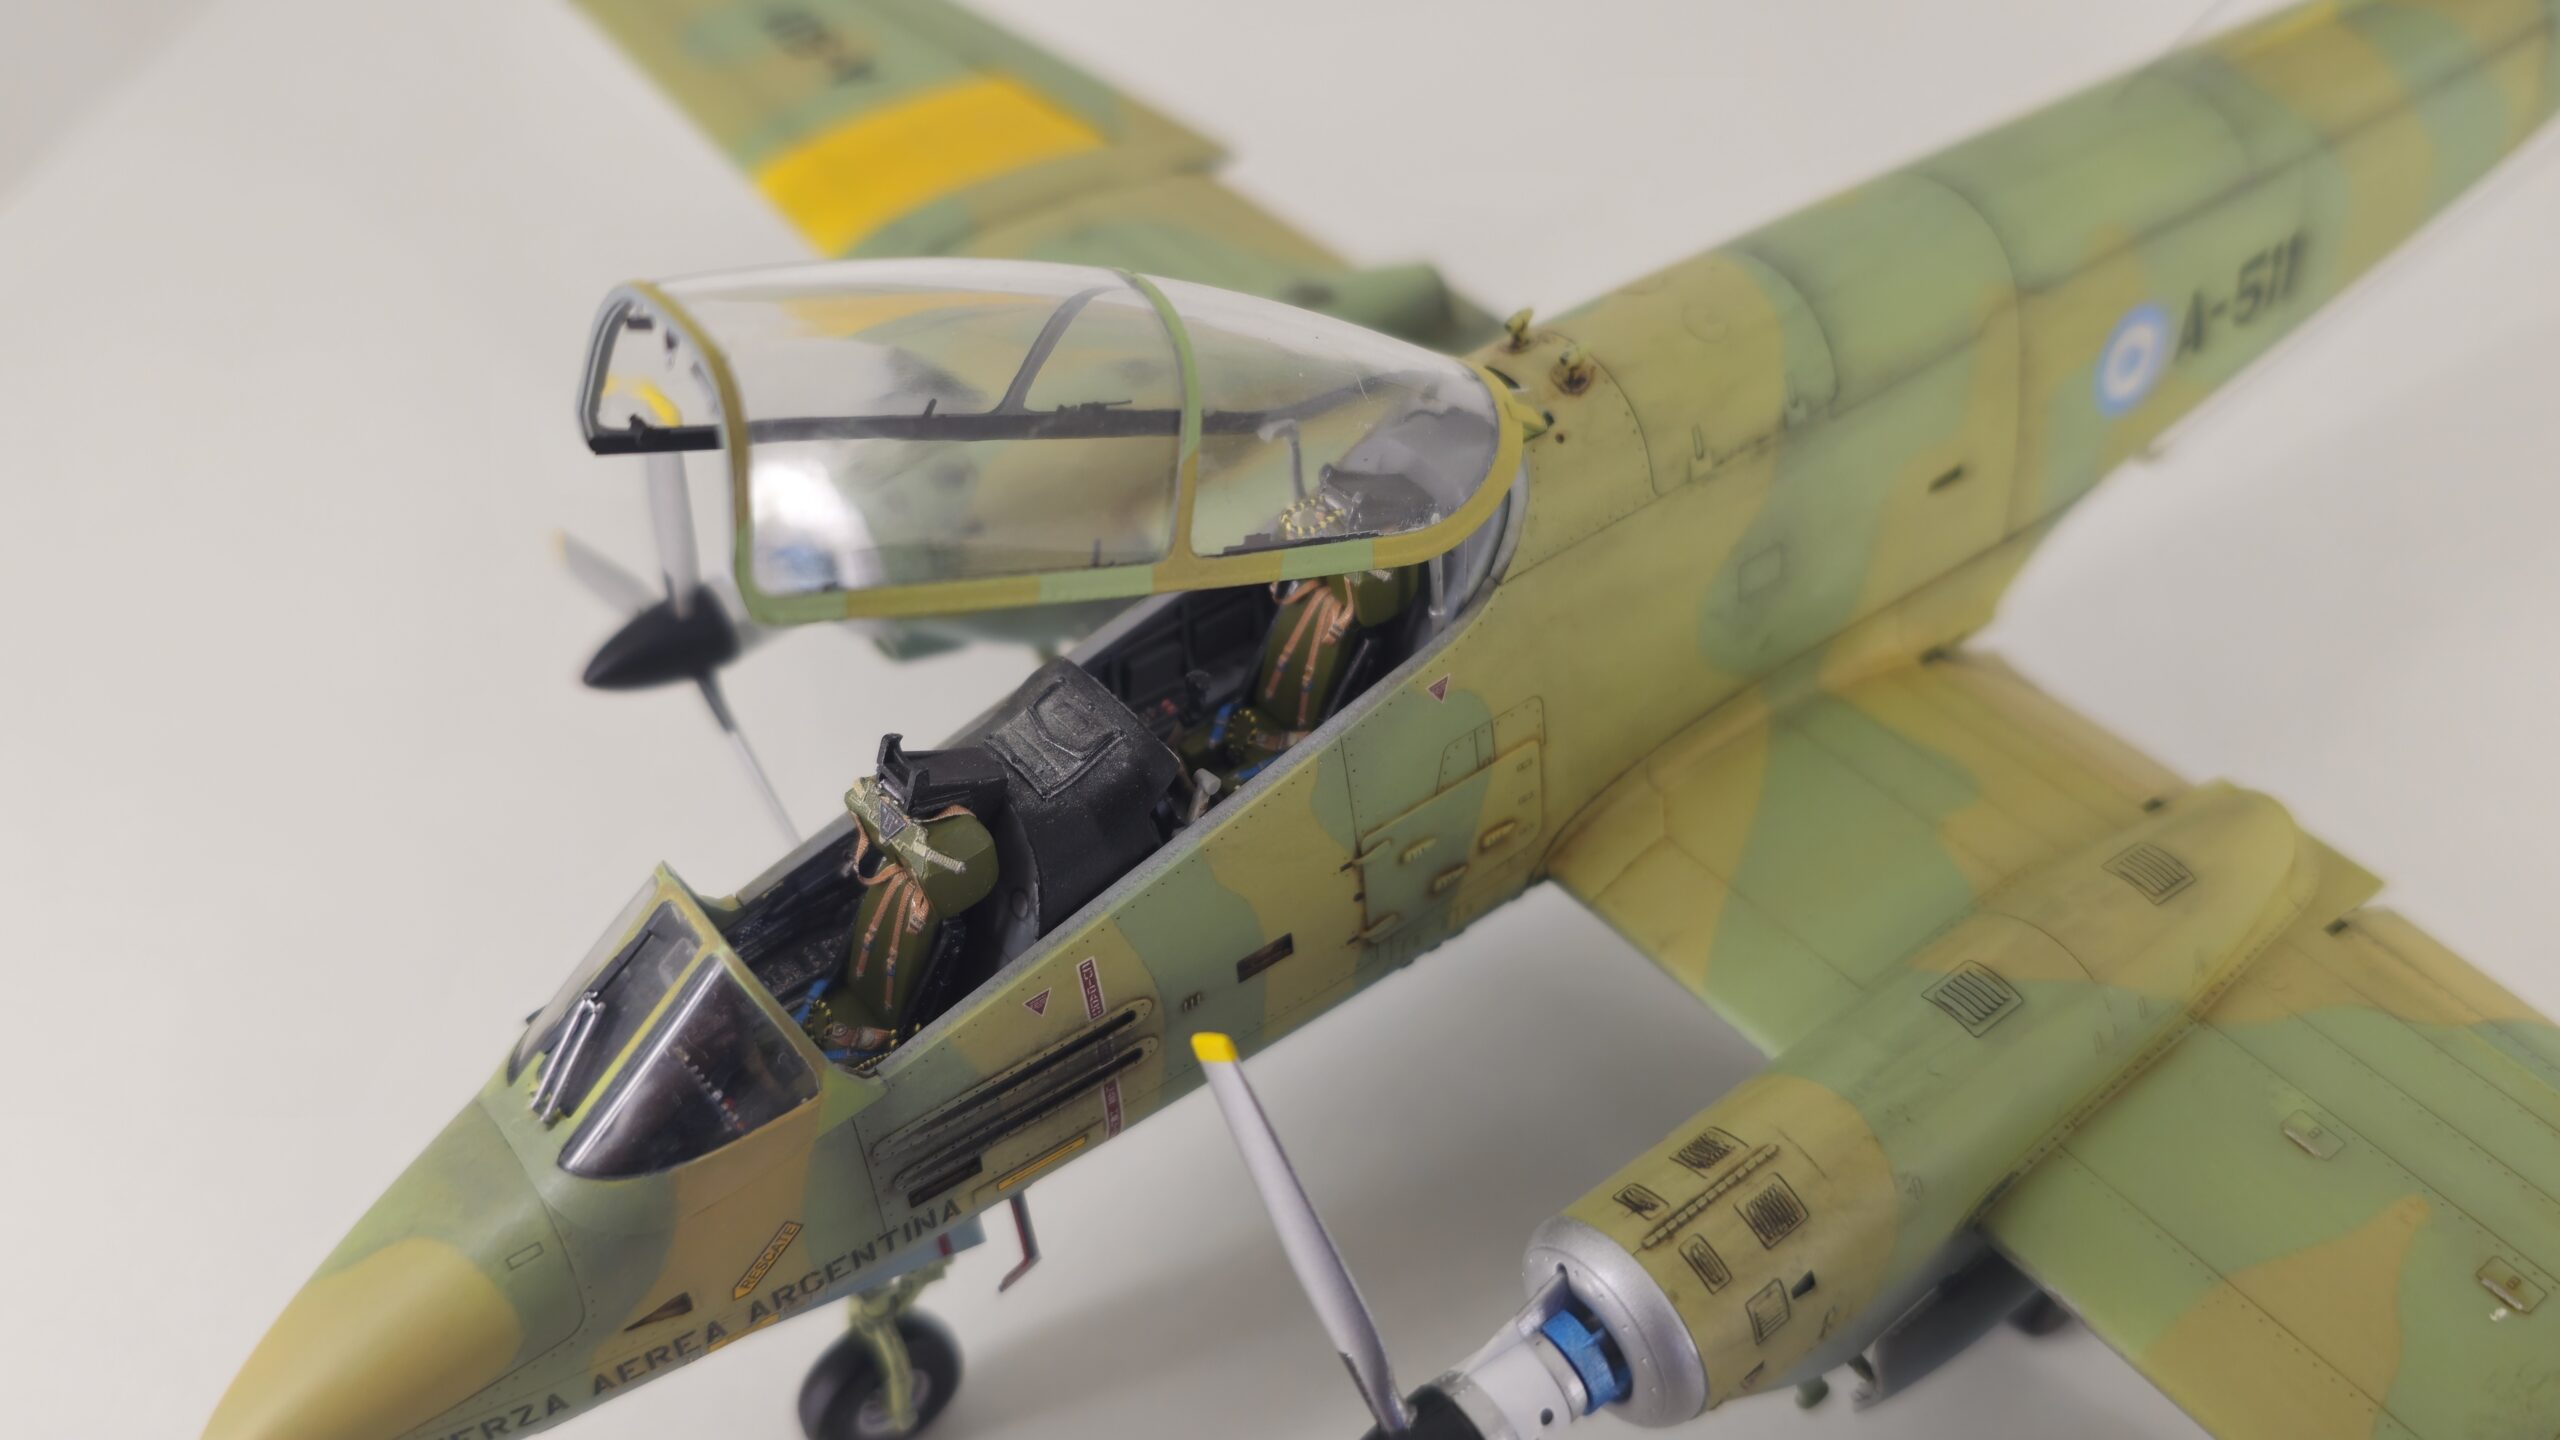
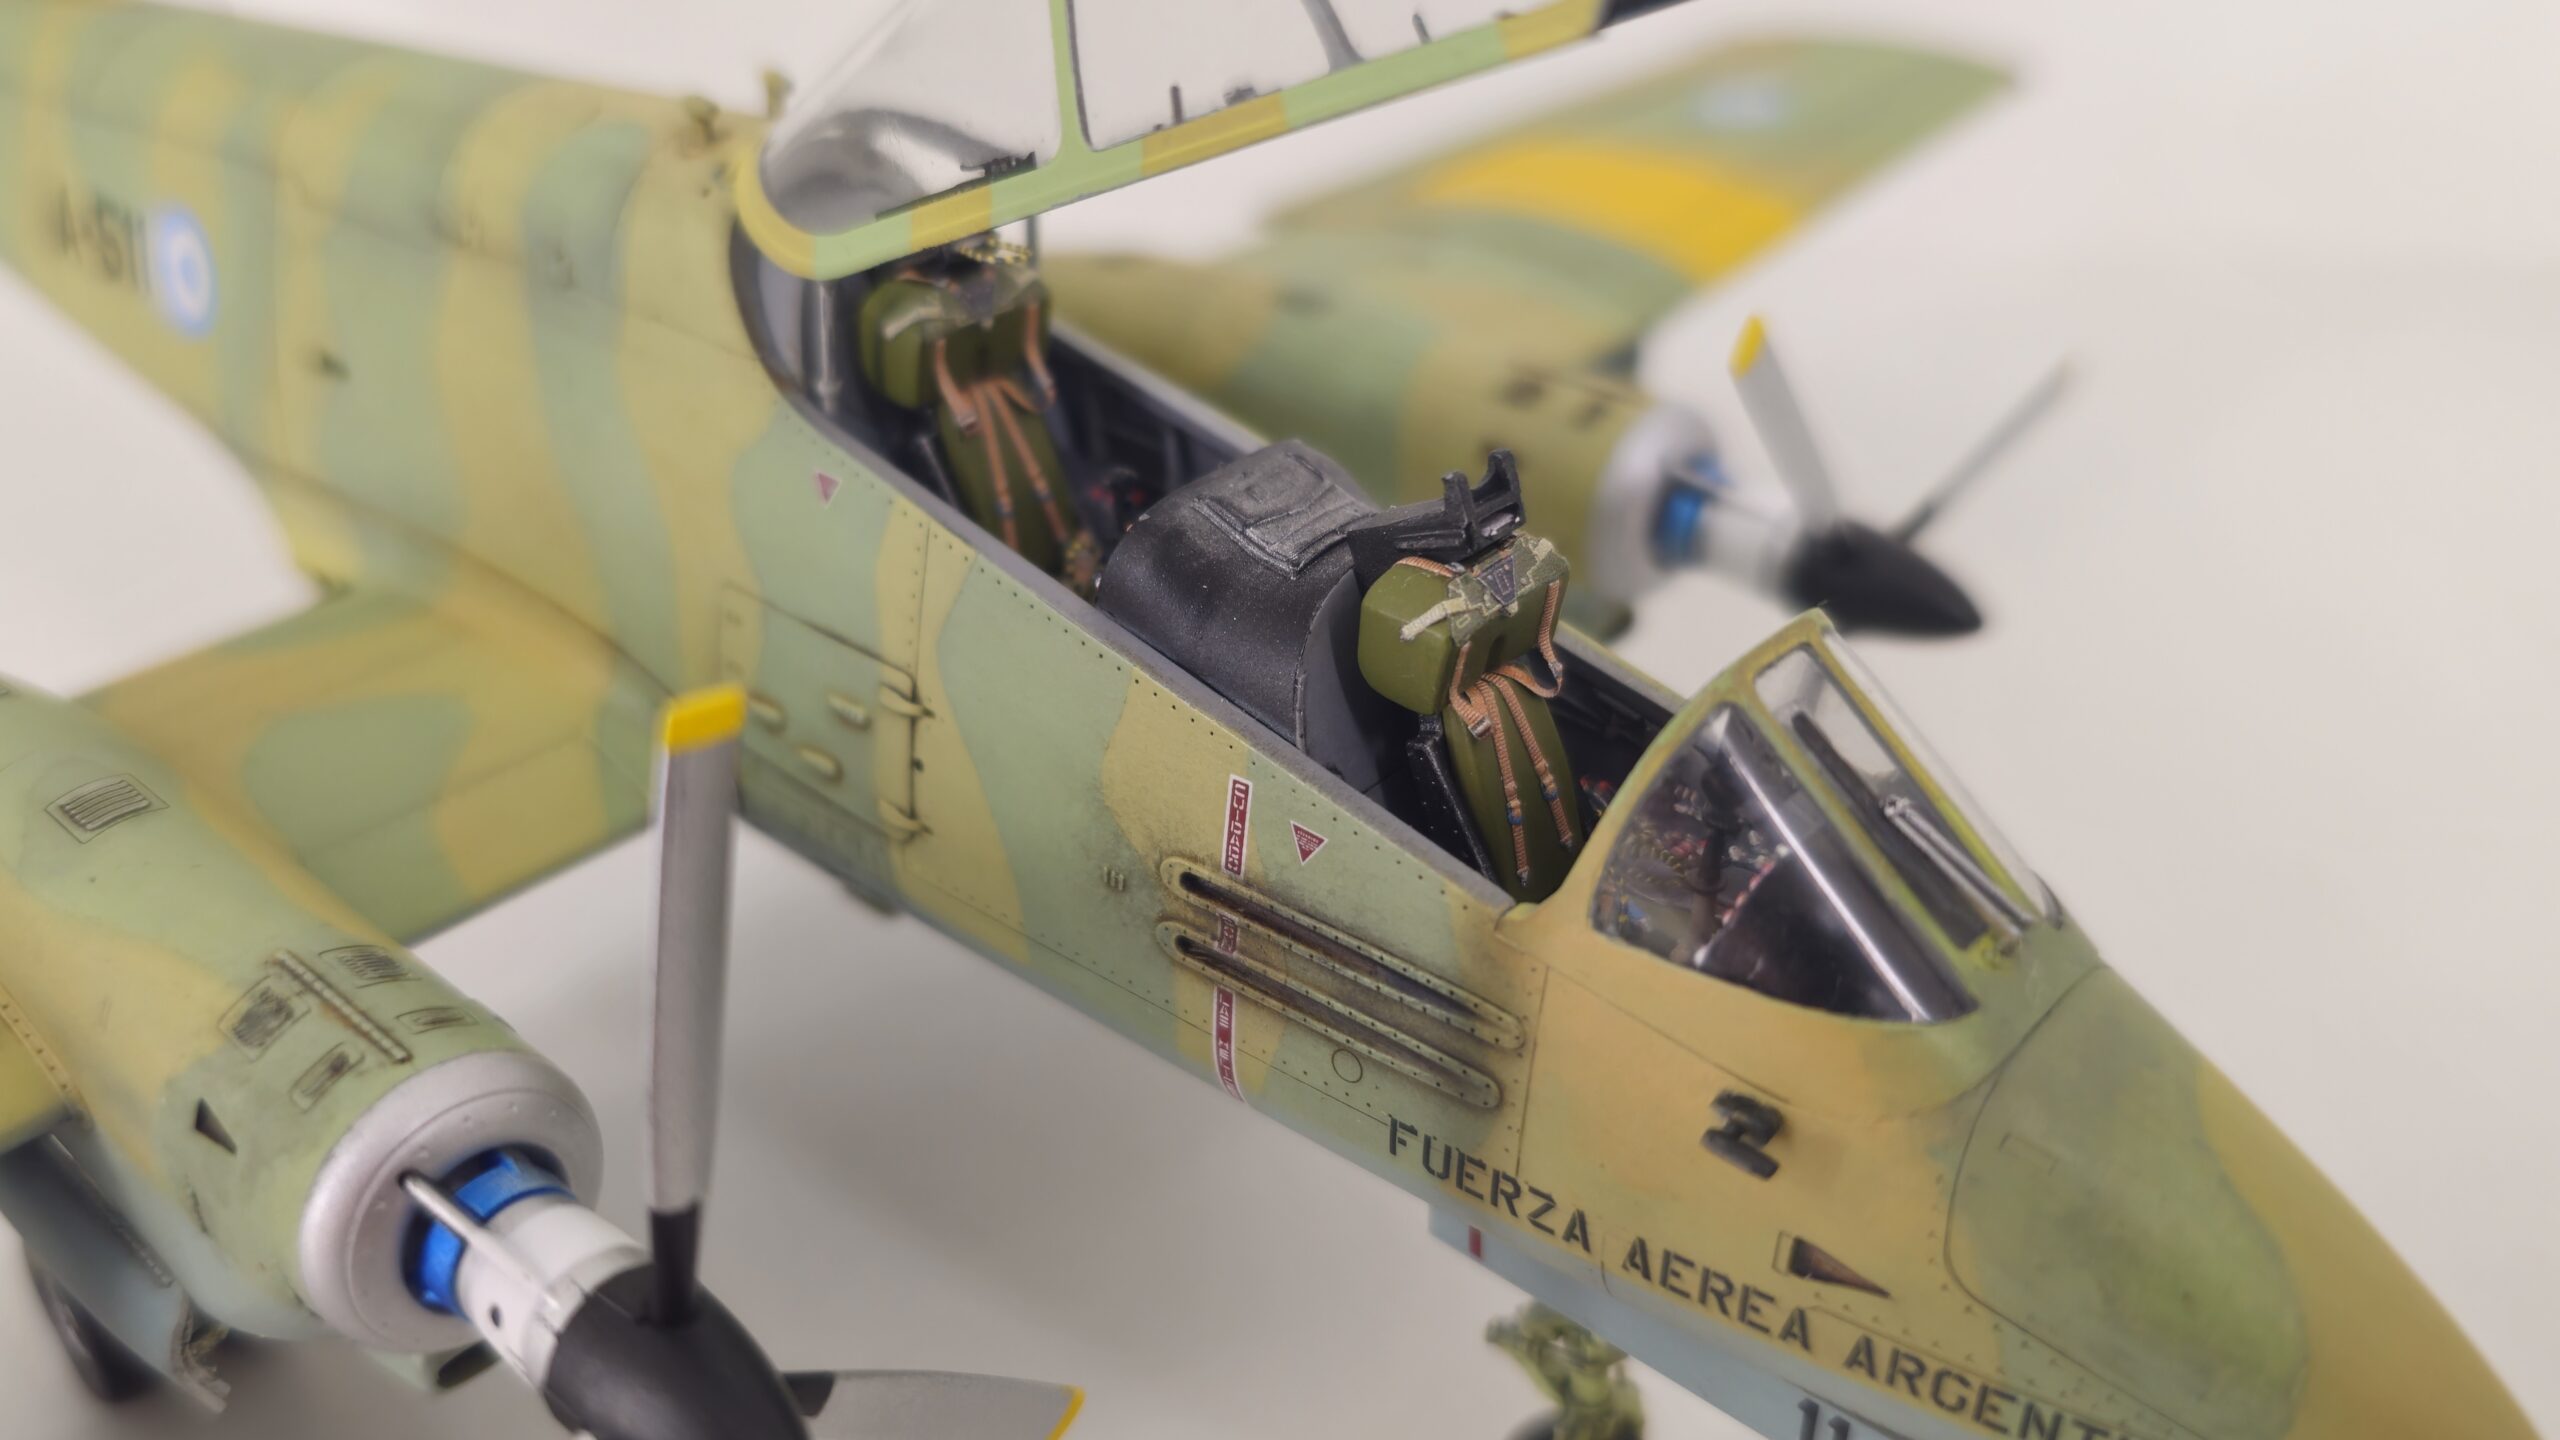
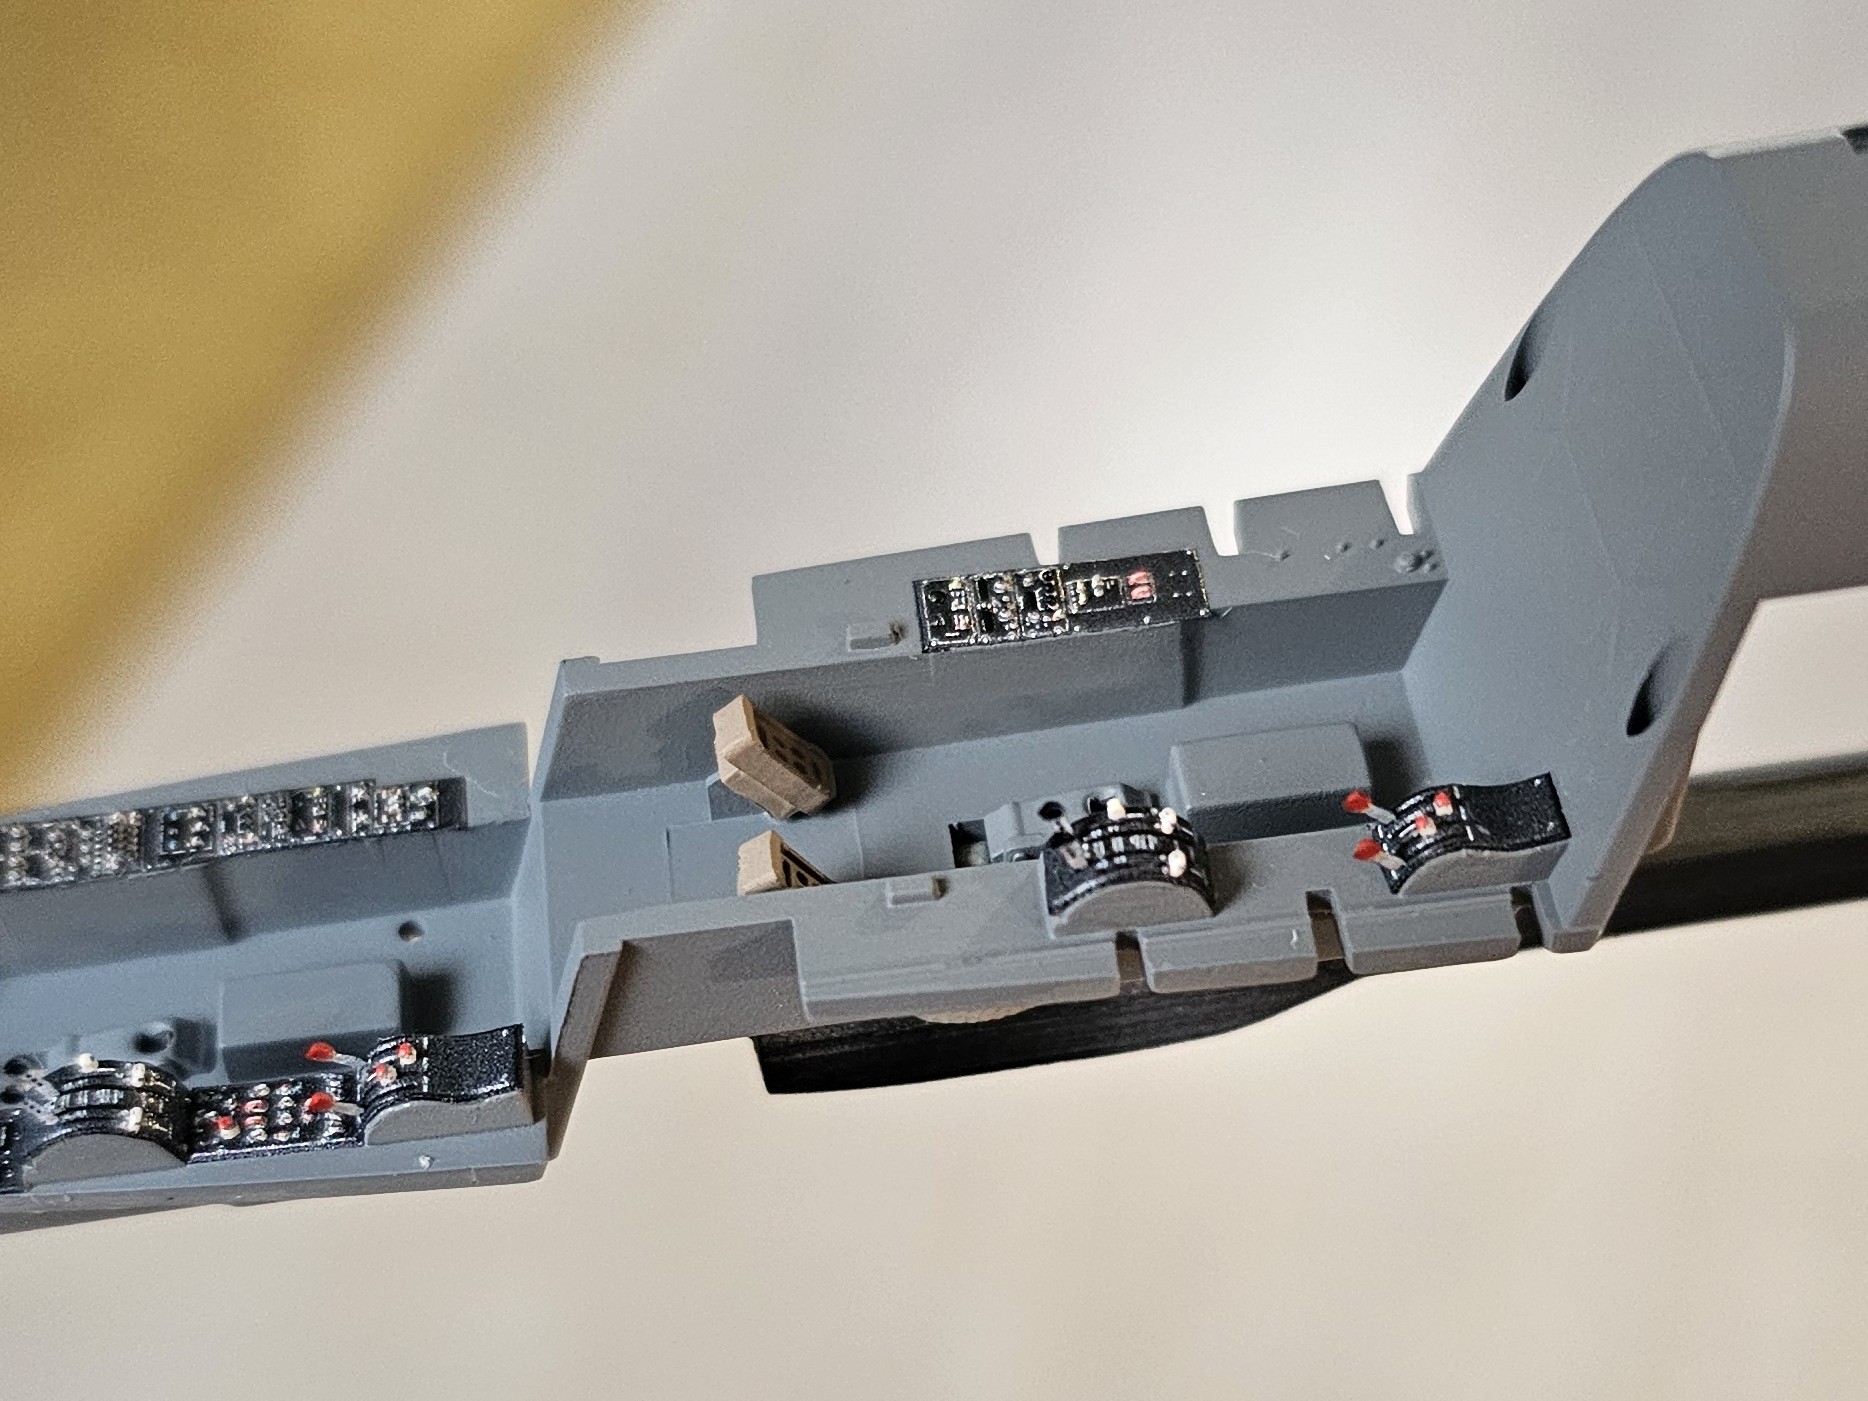
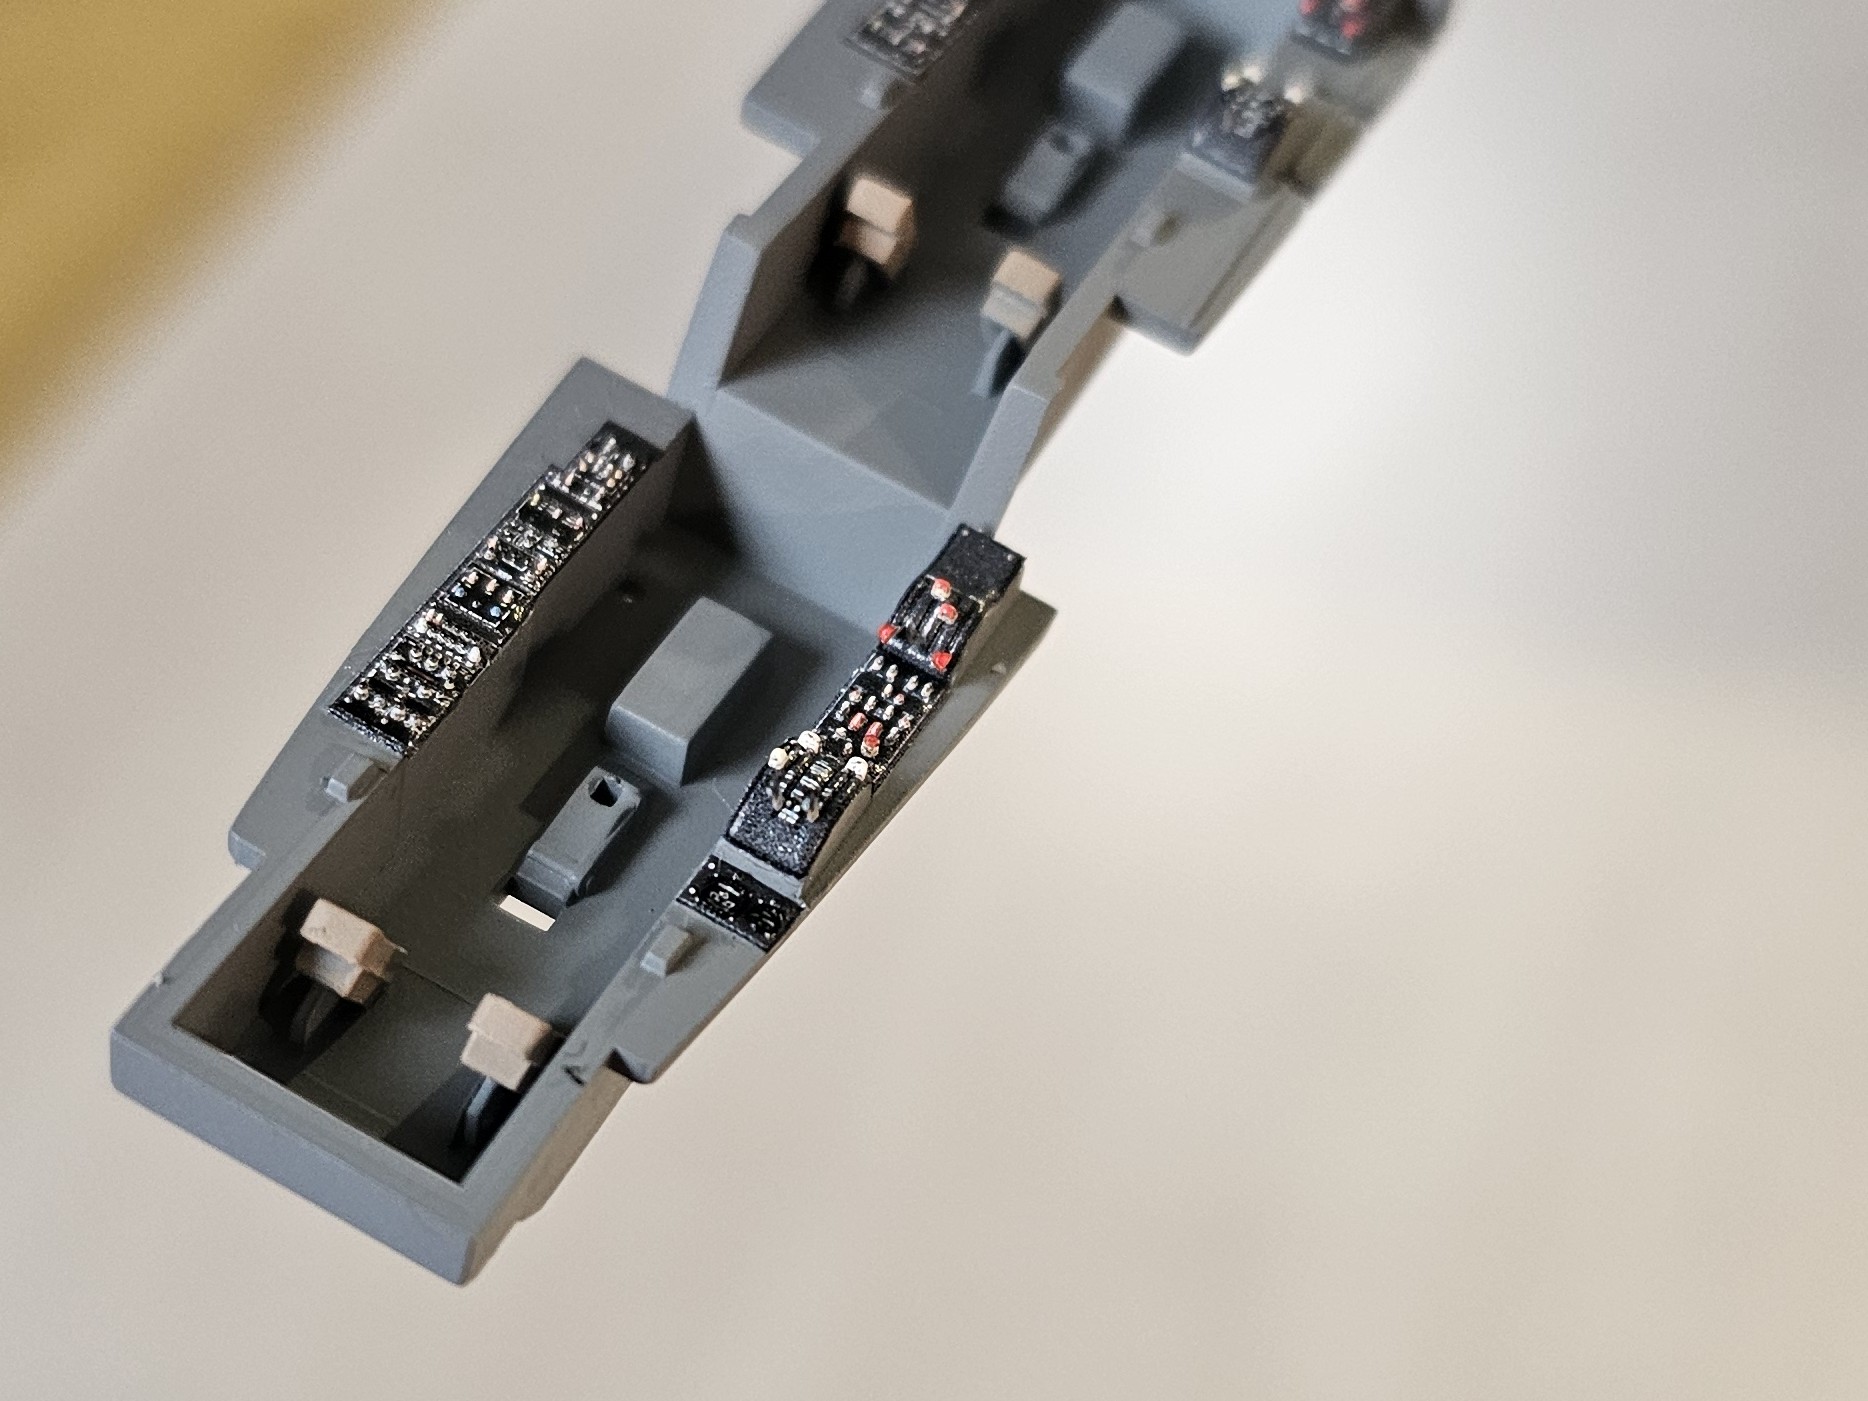
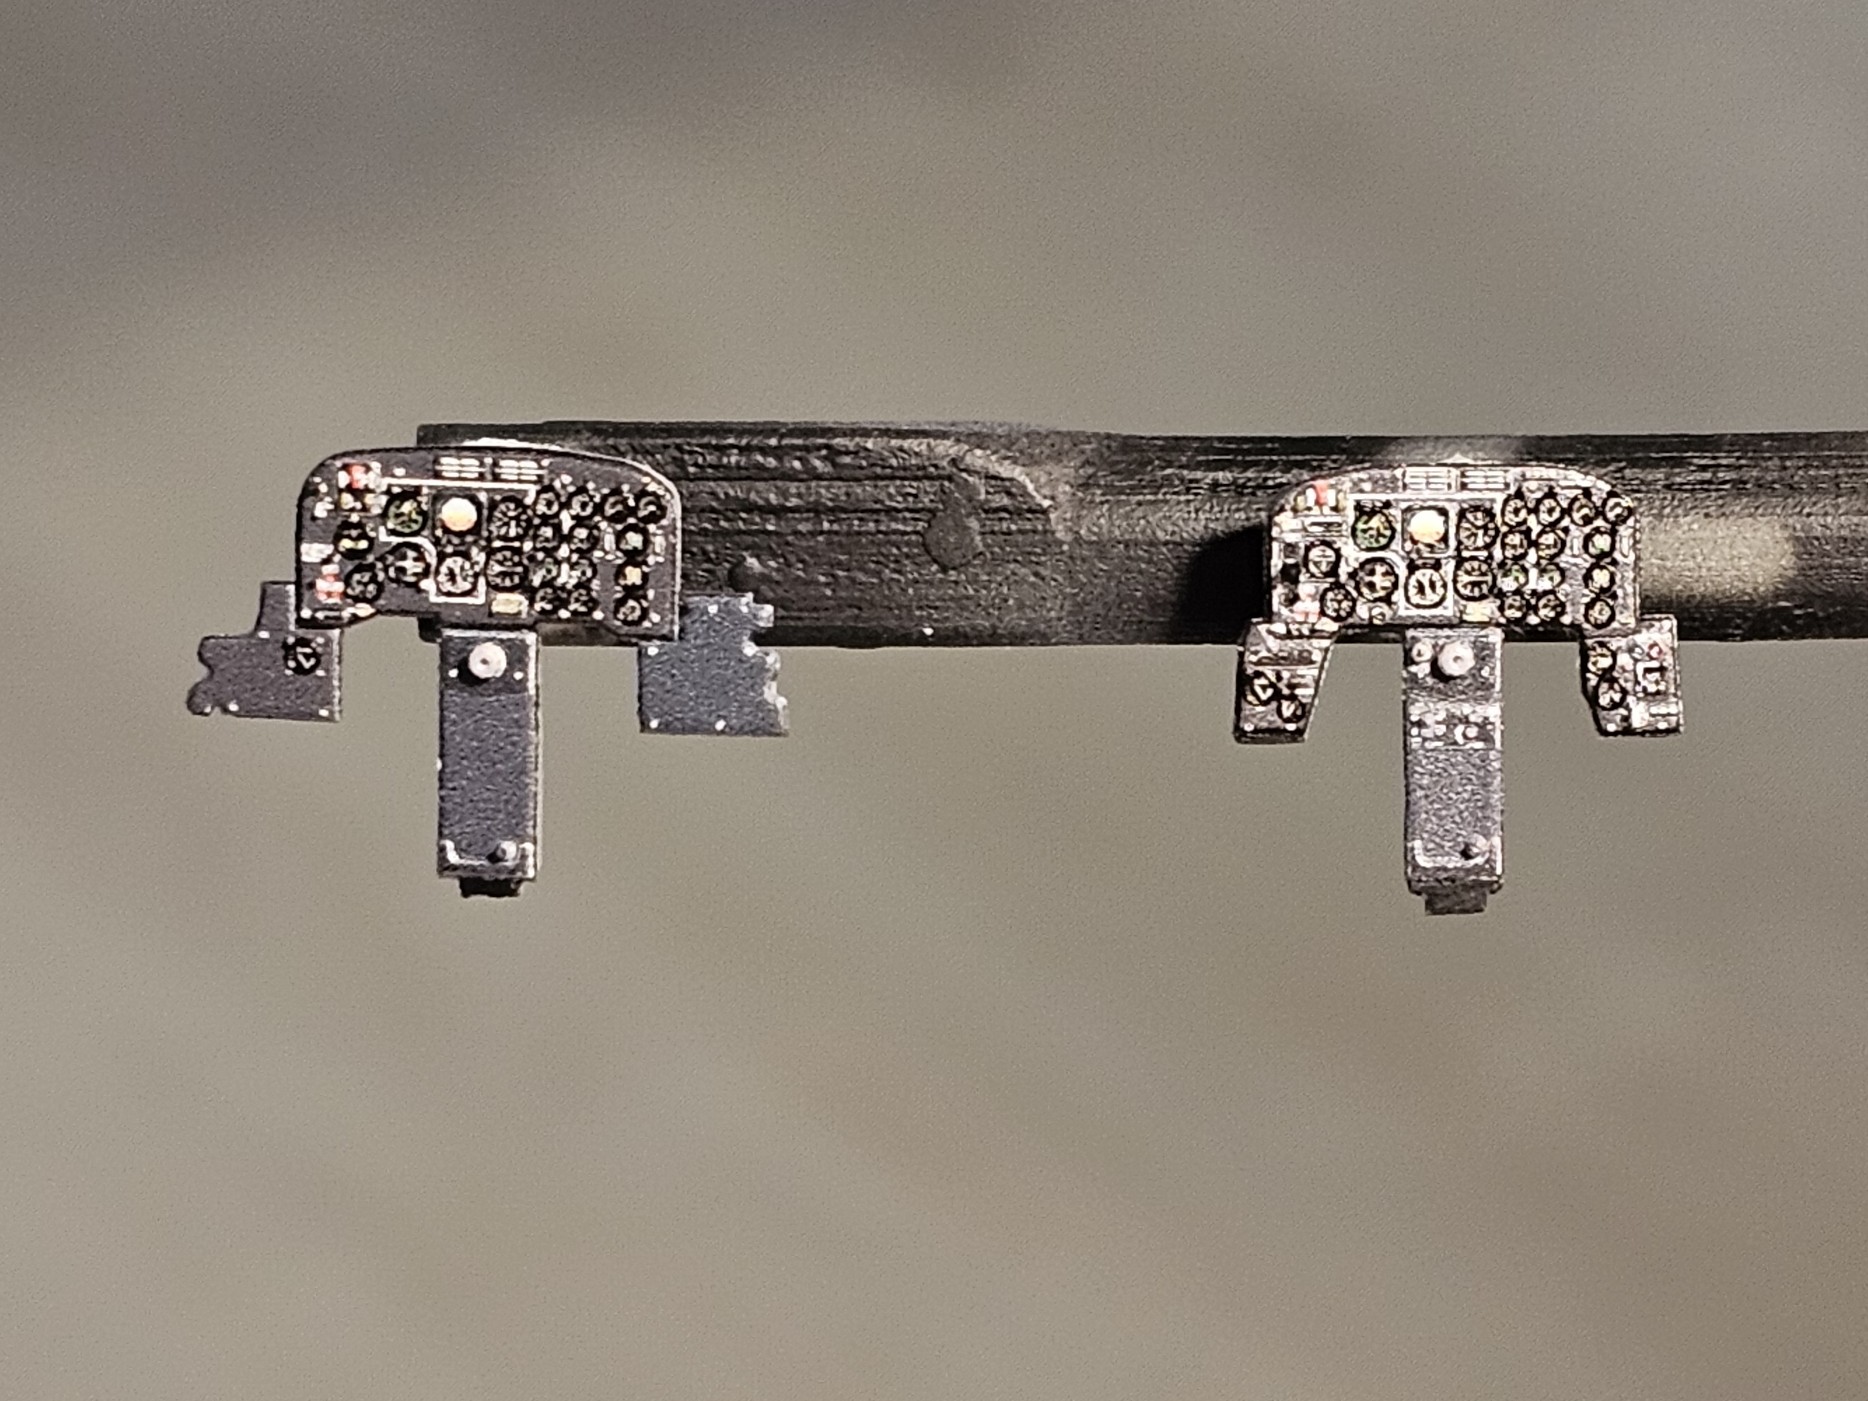
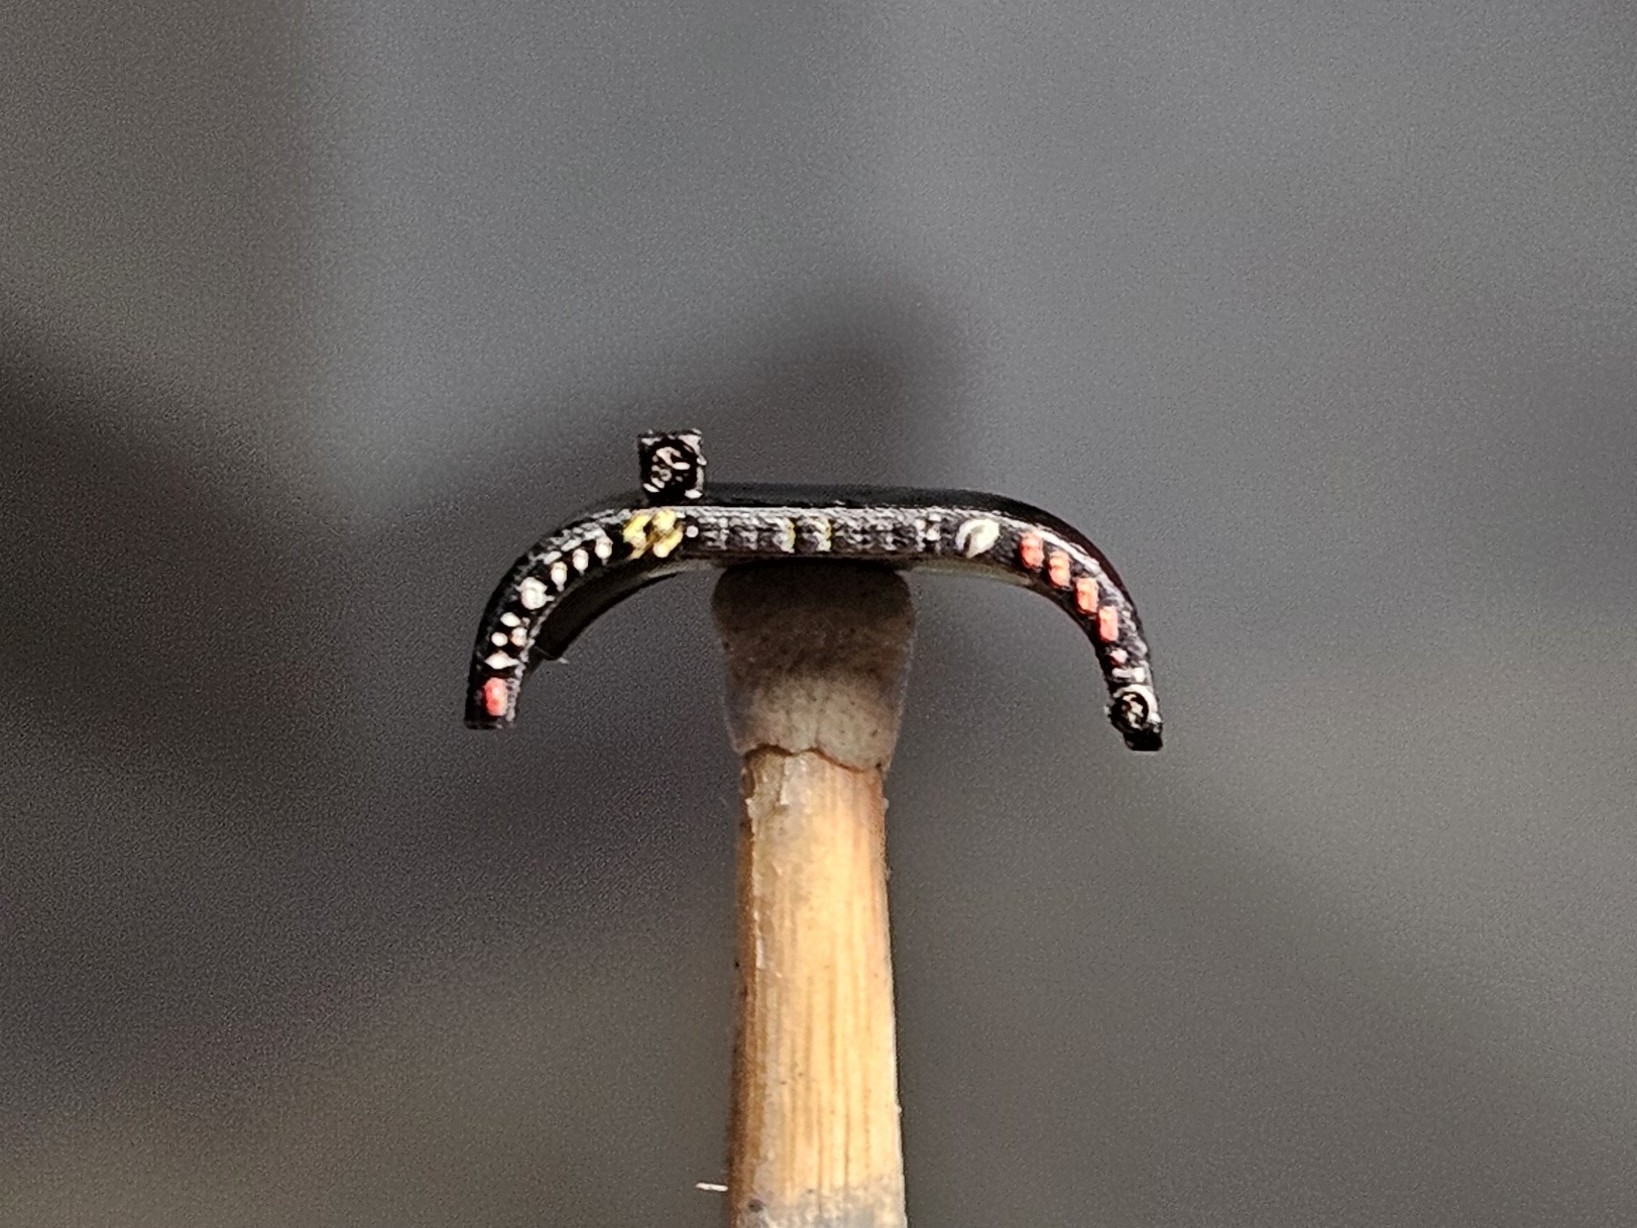
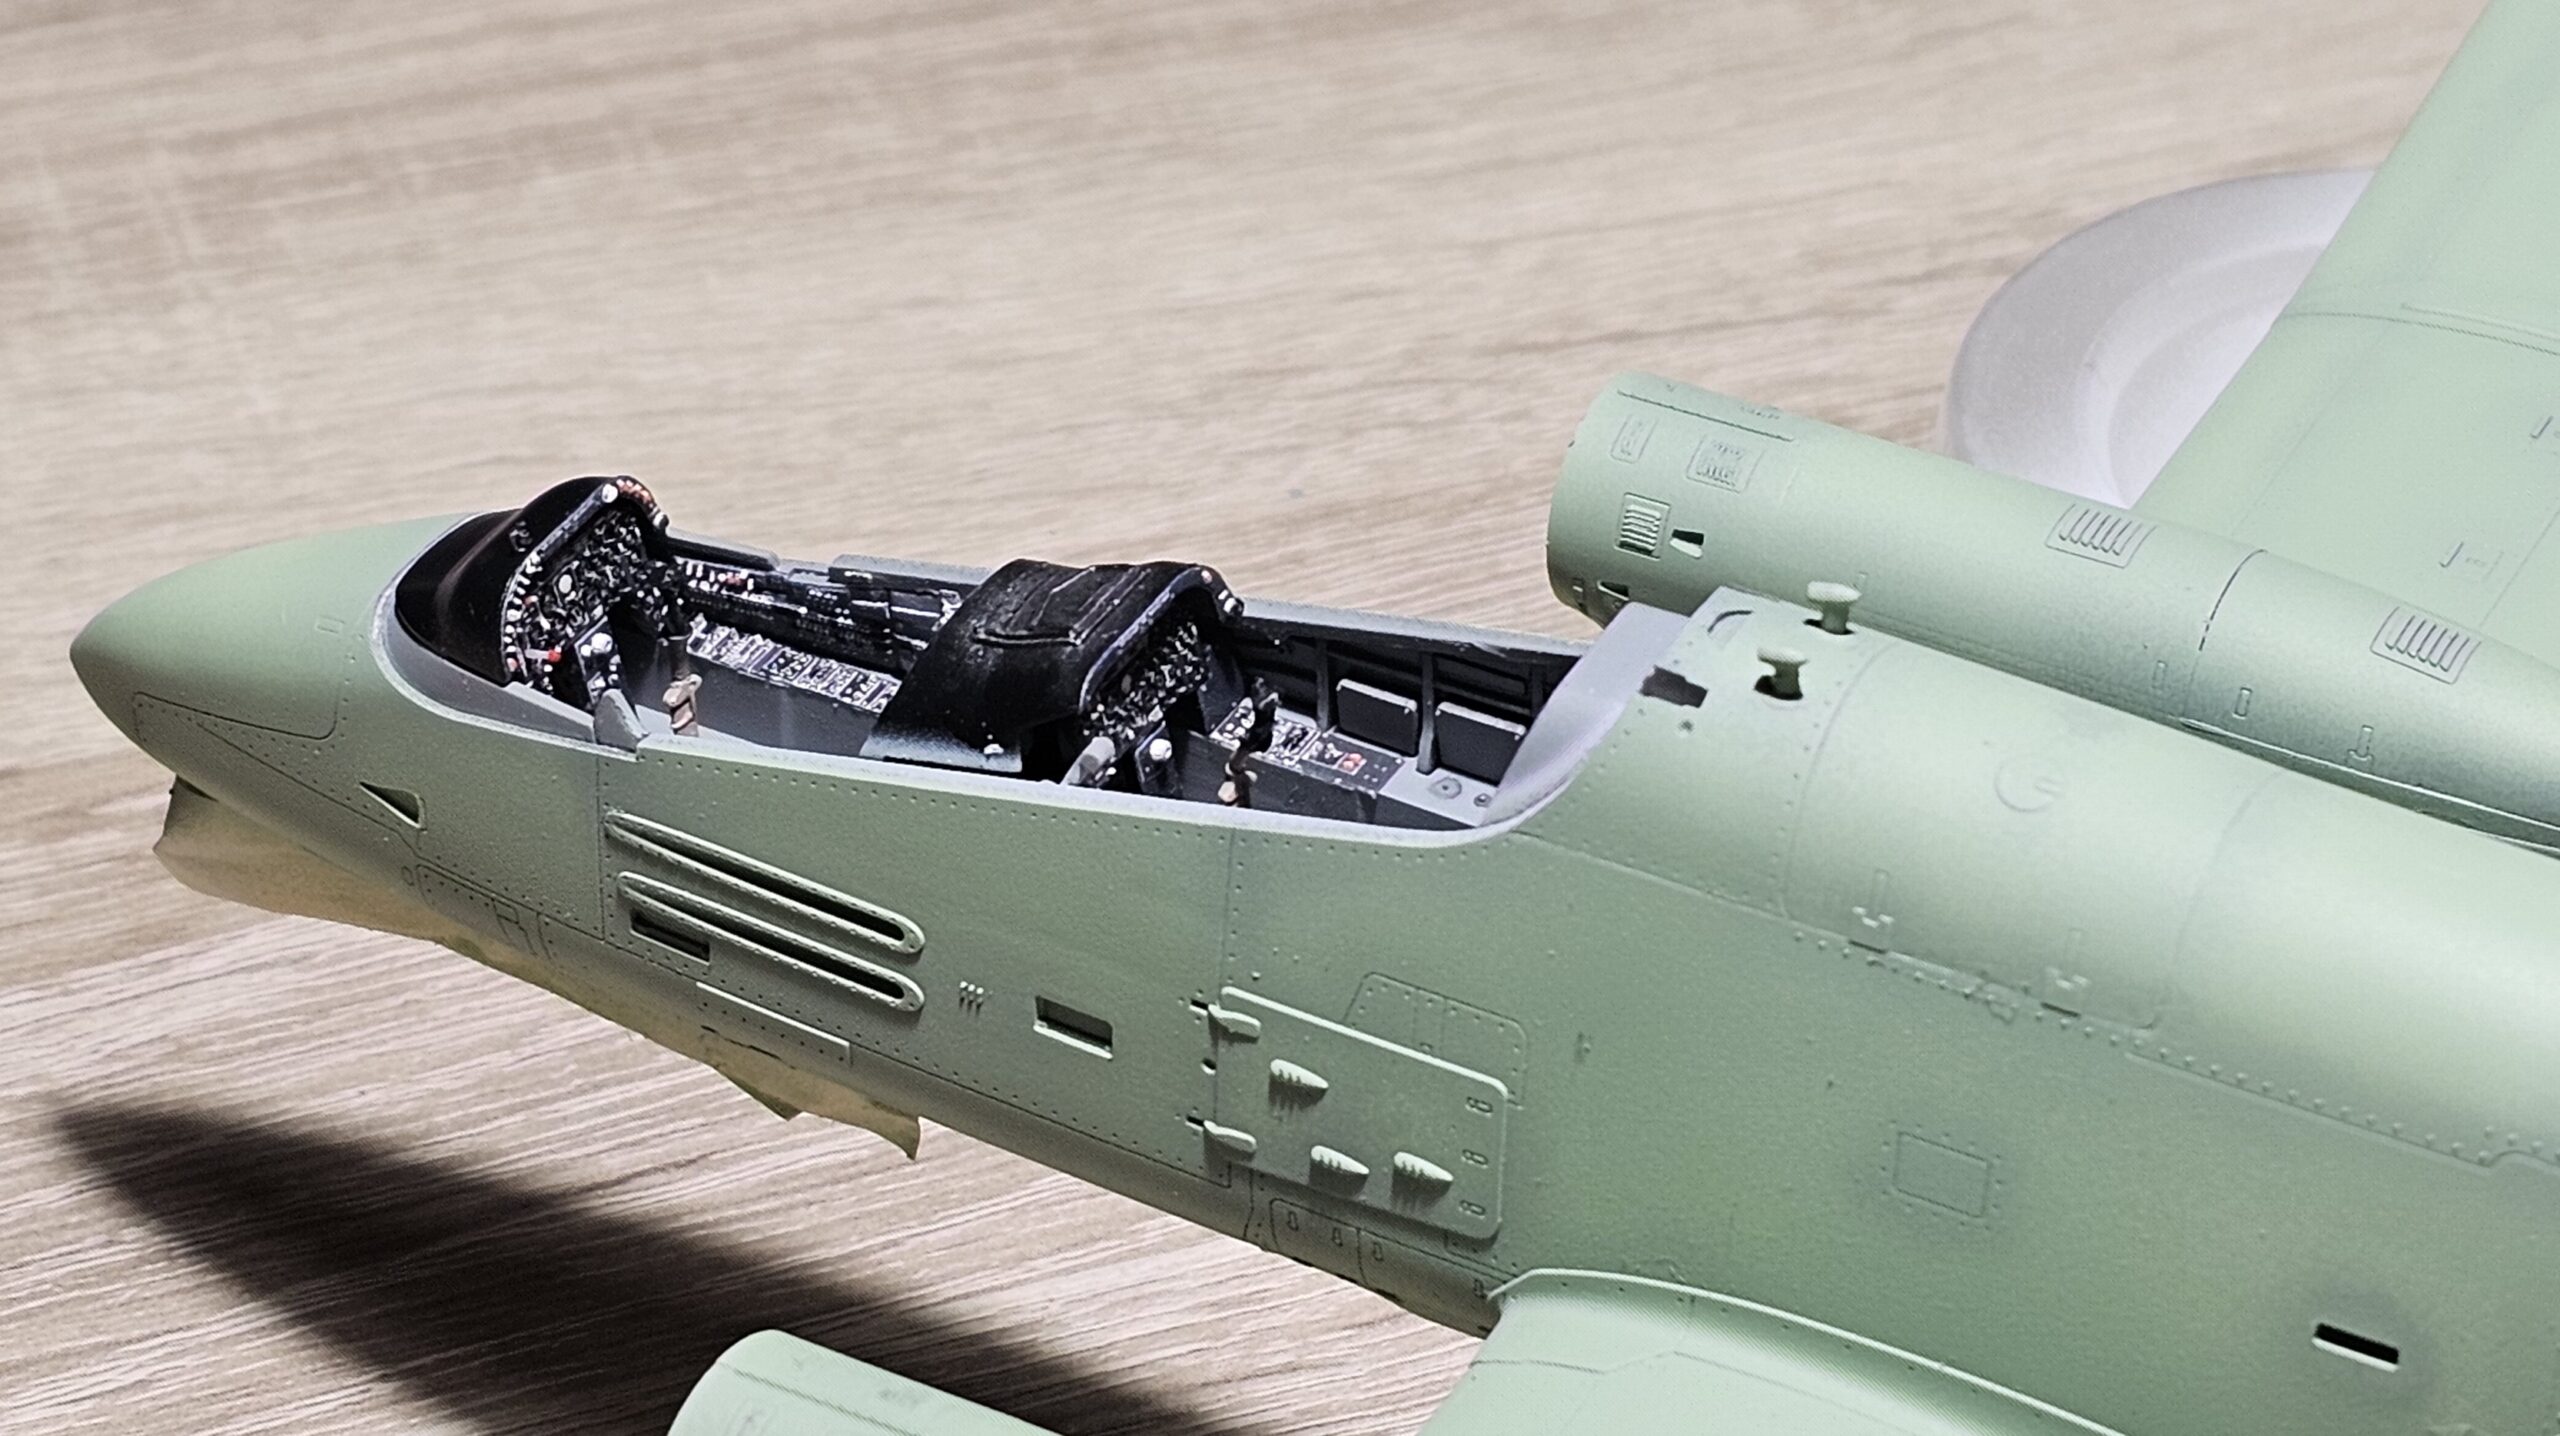
Cabin
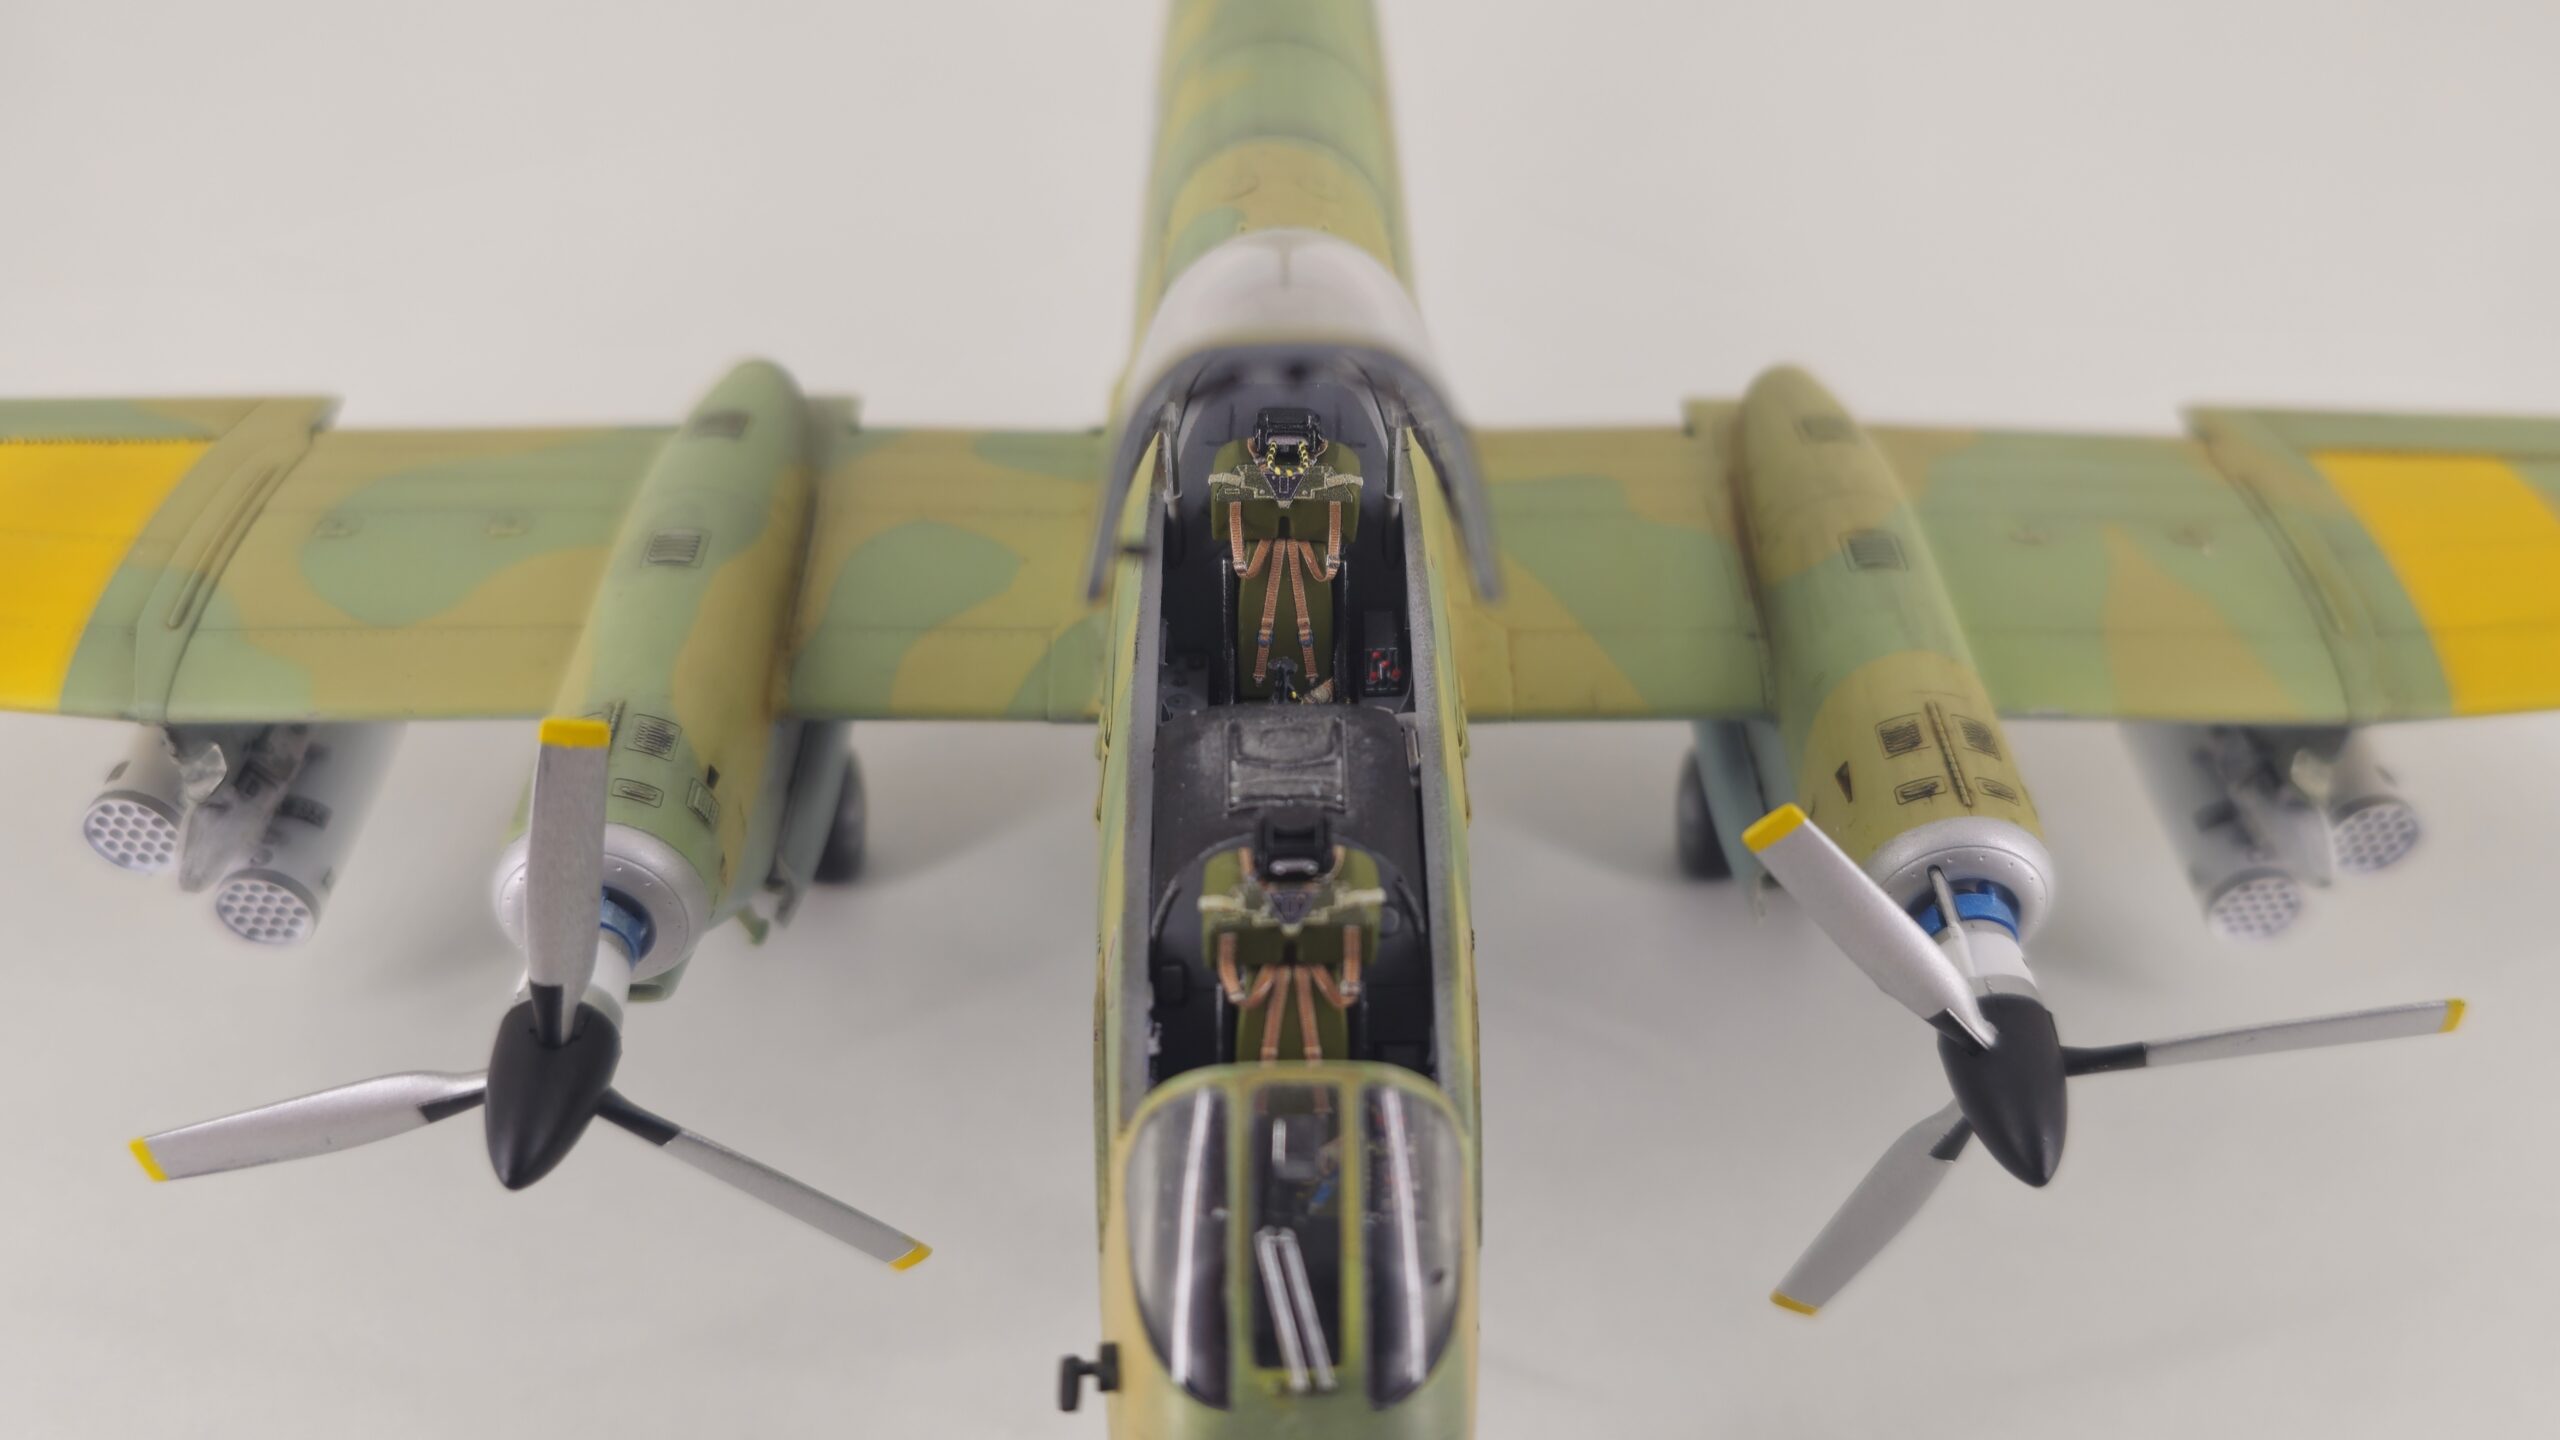
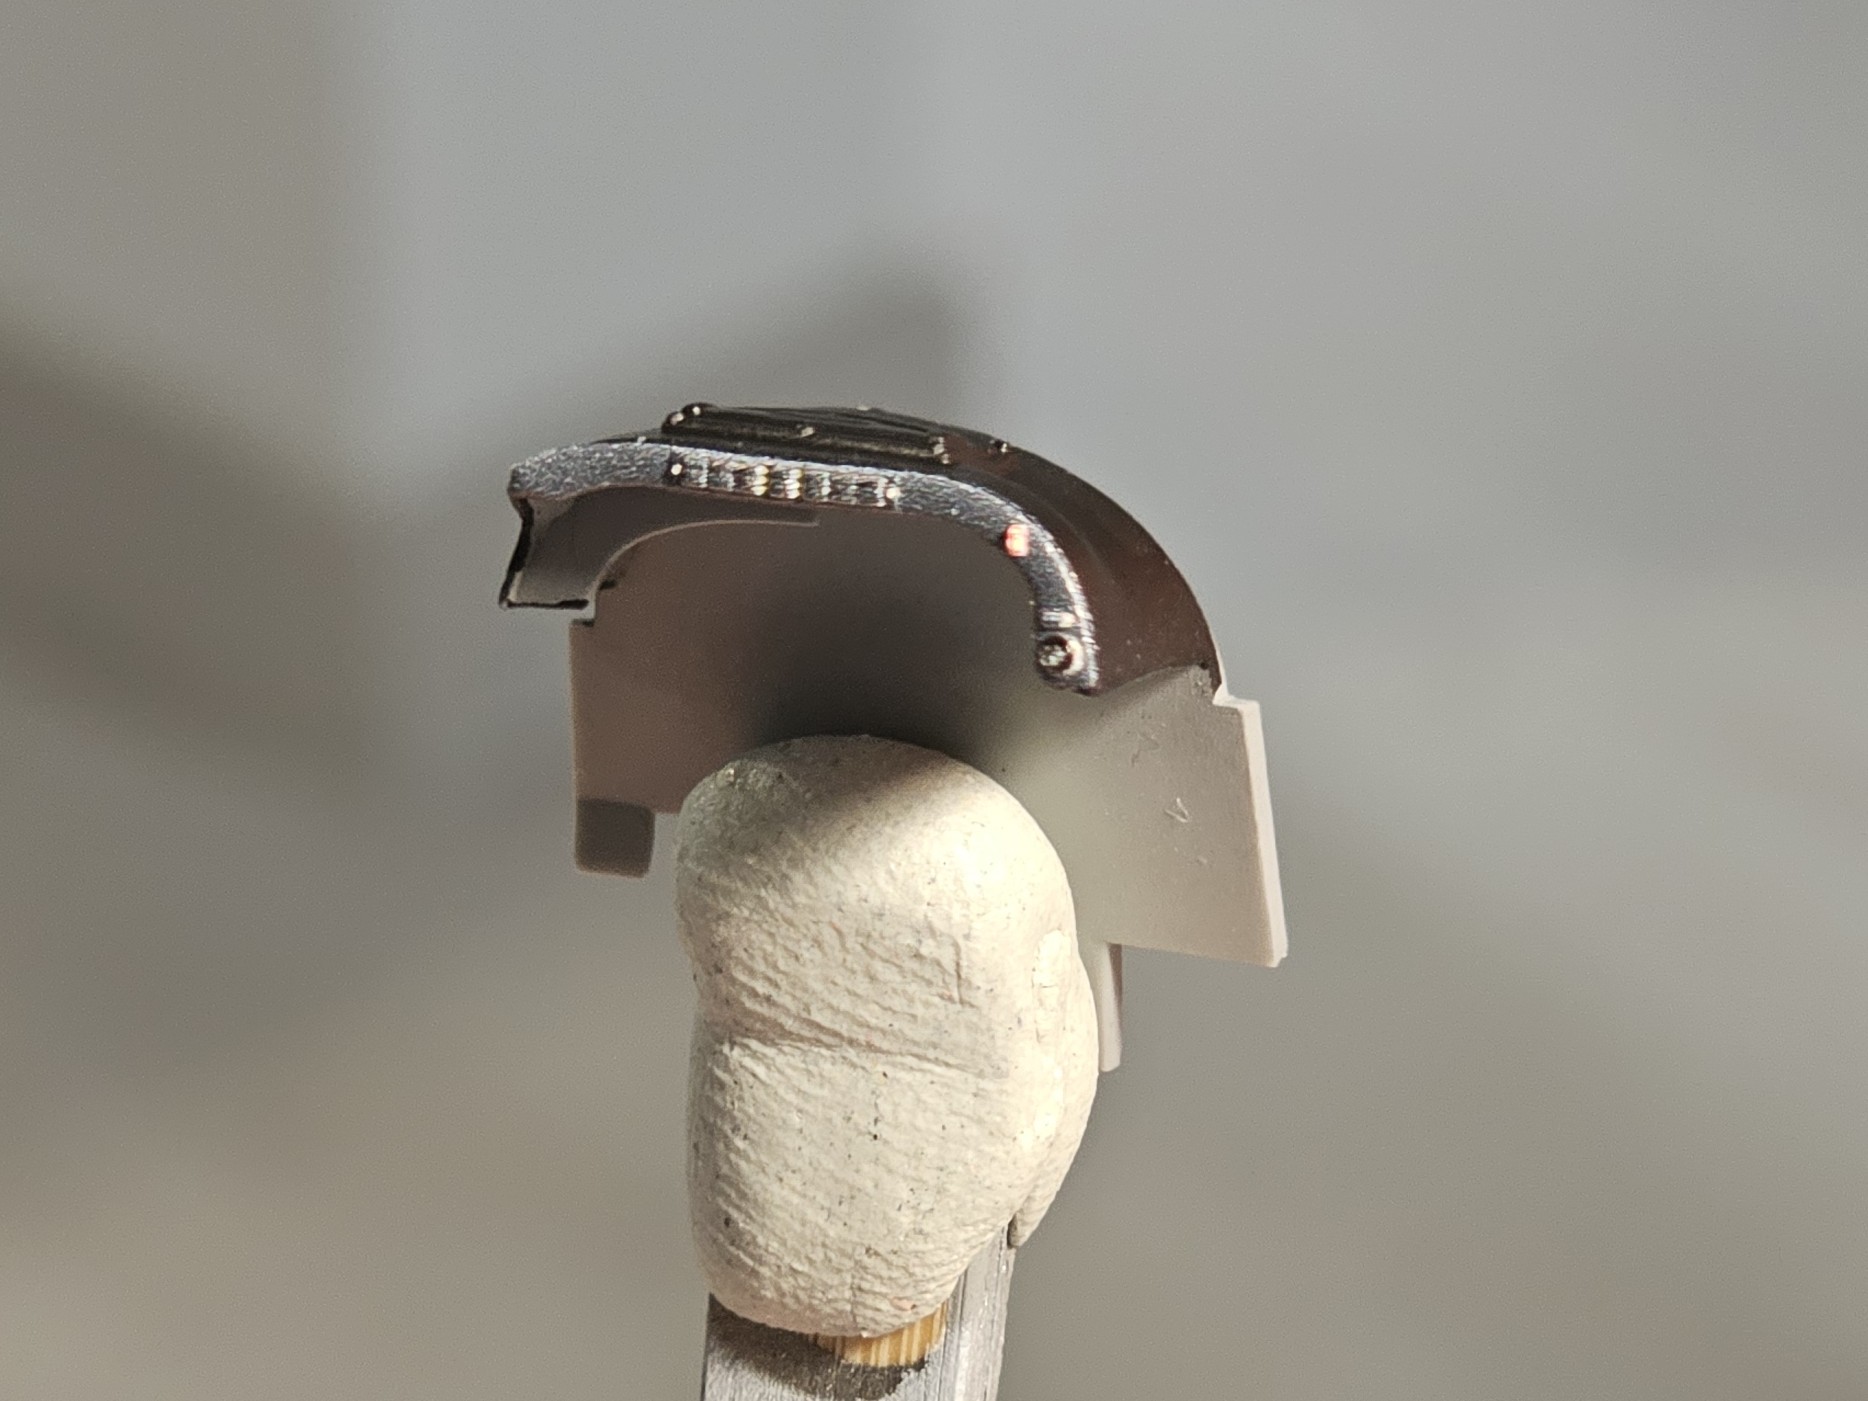
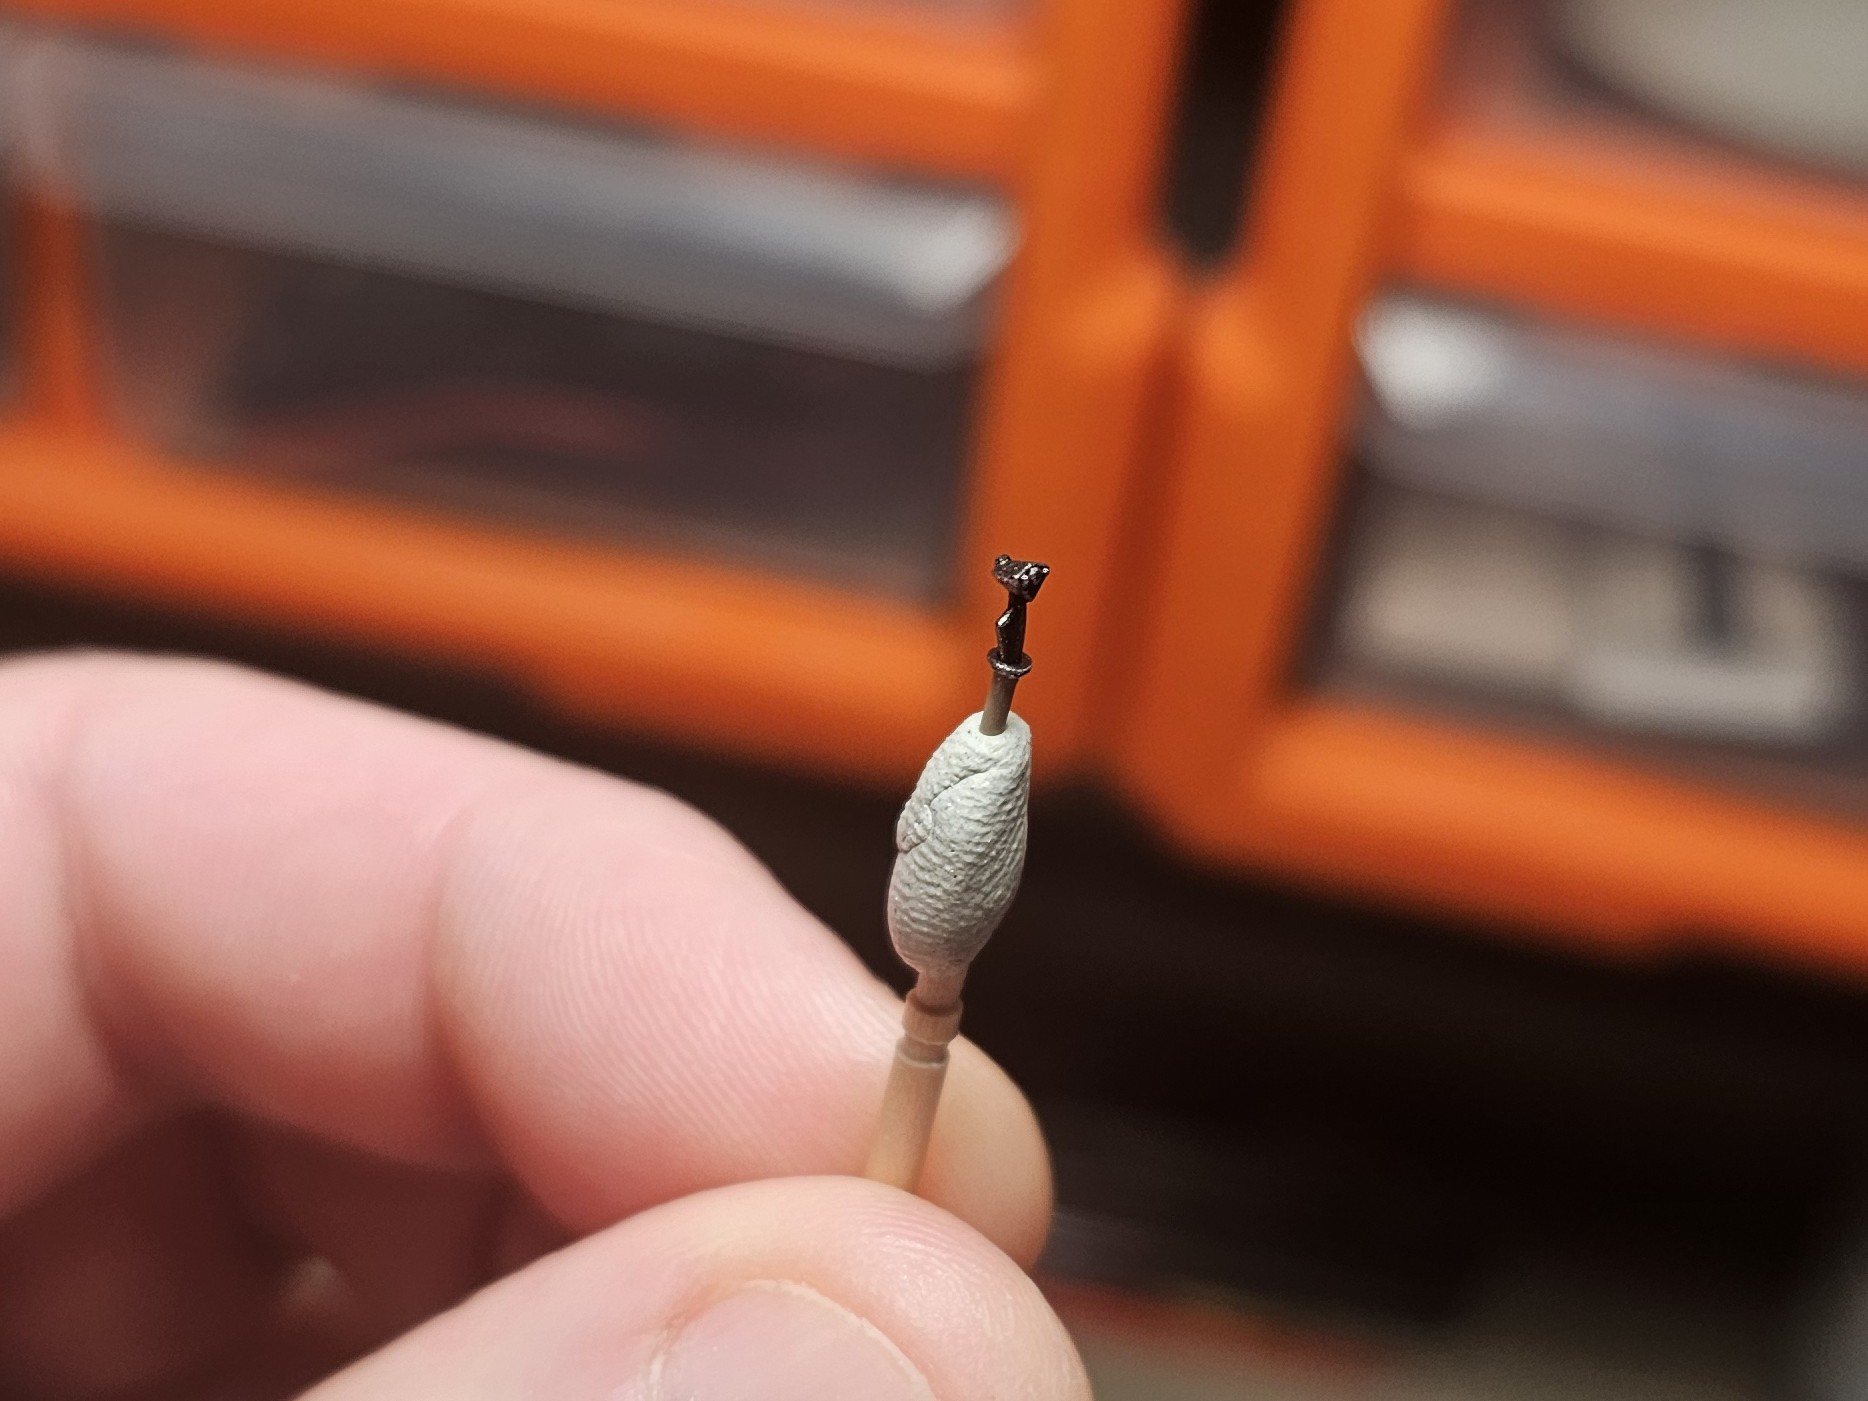
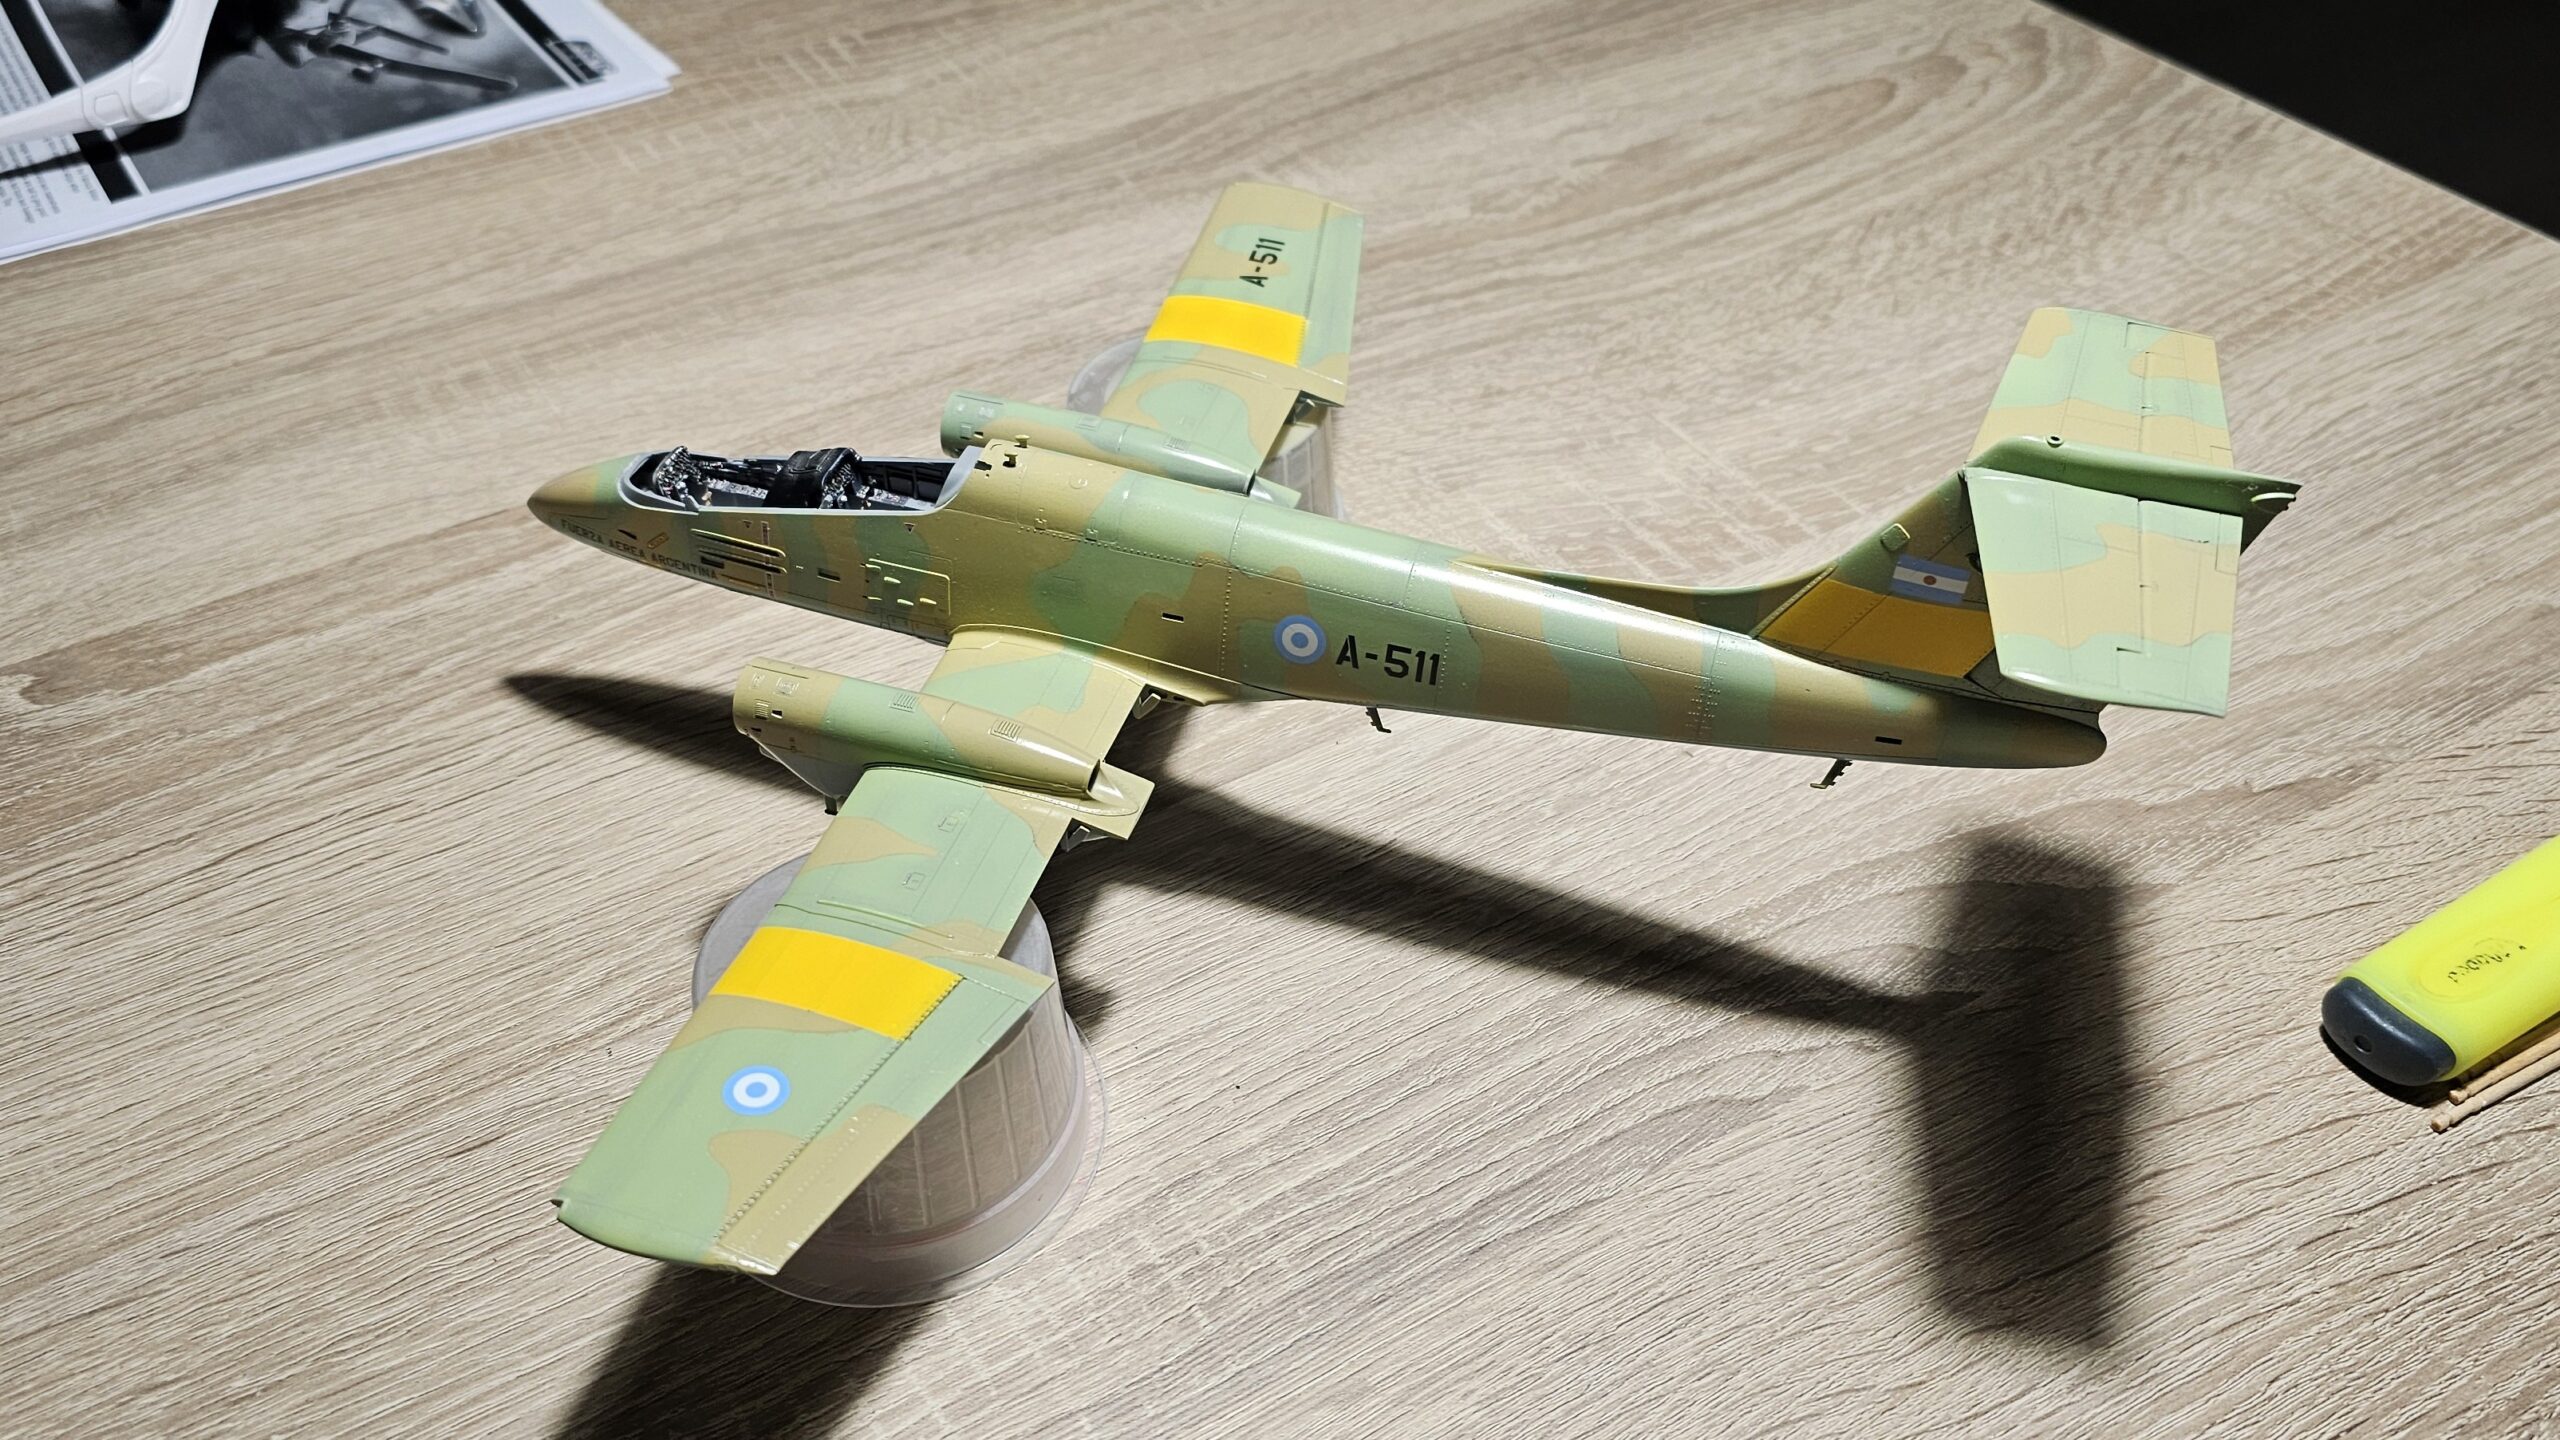
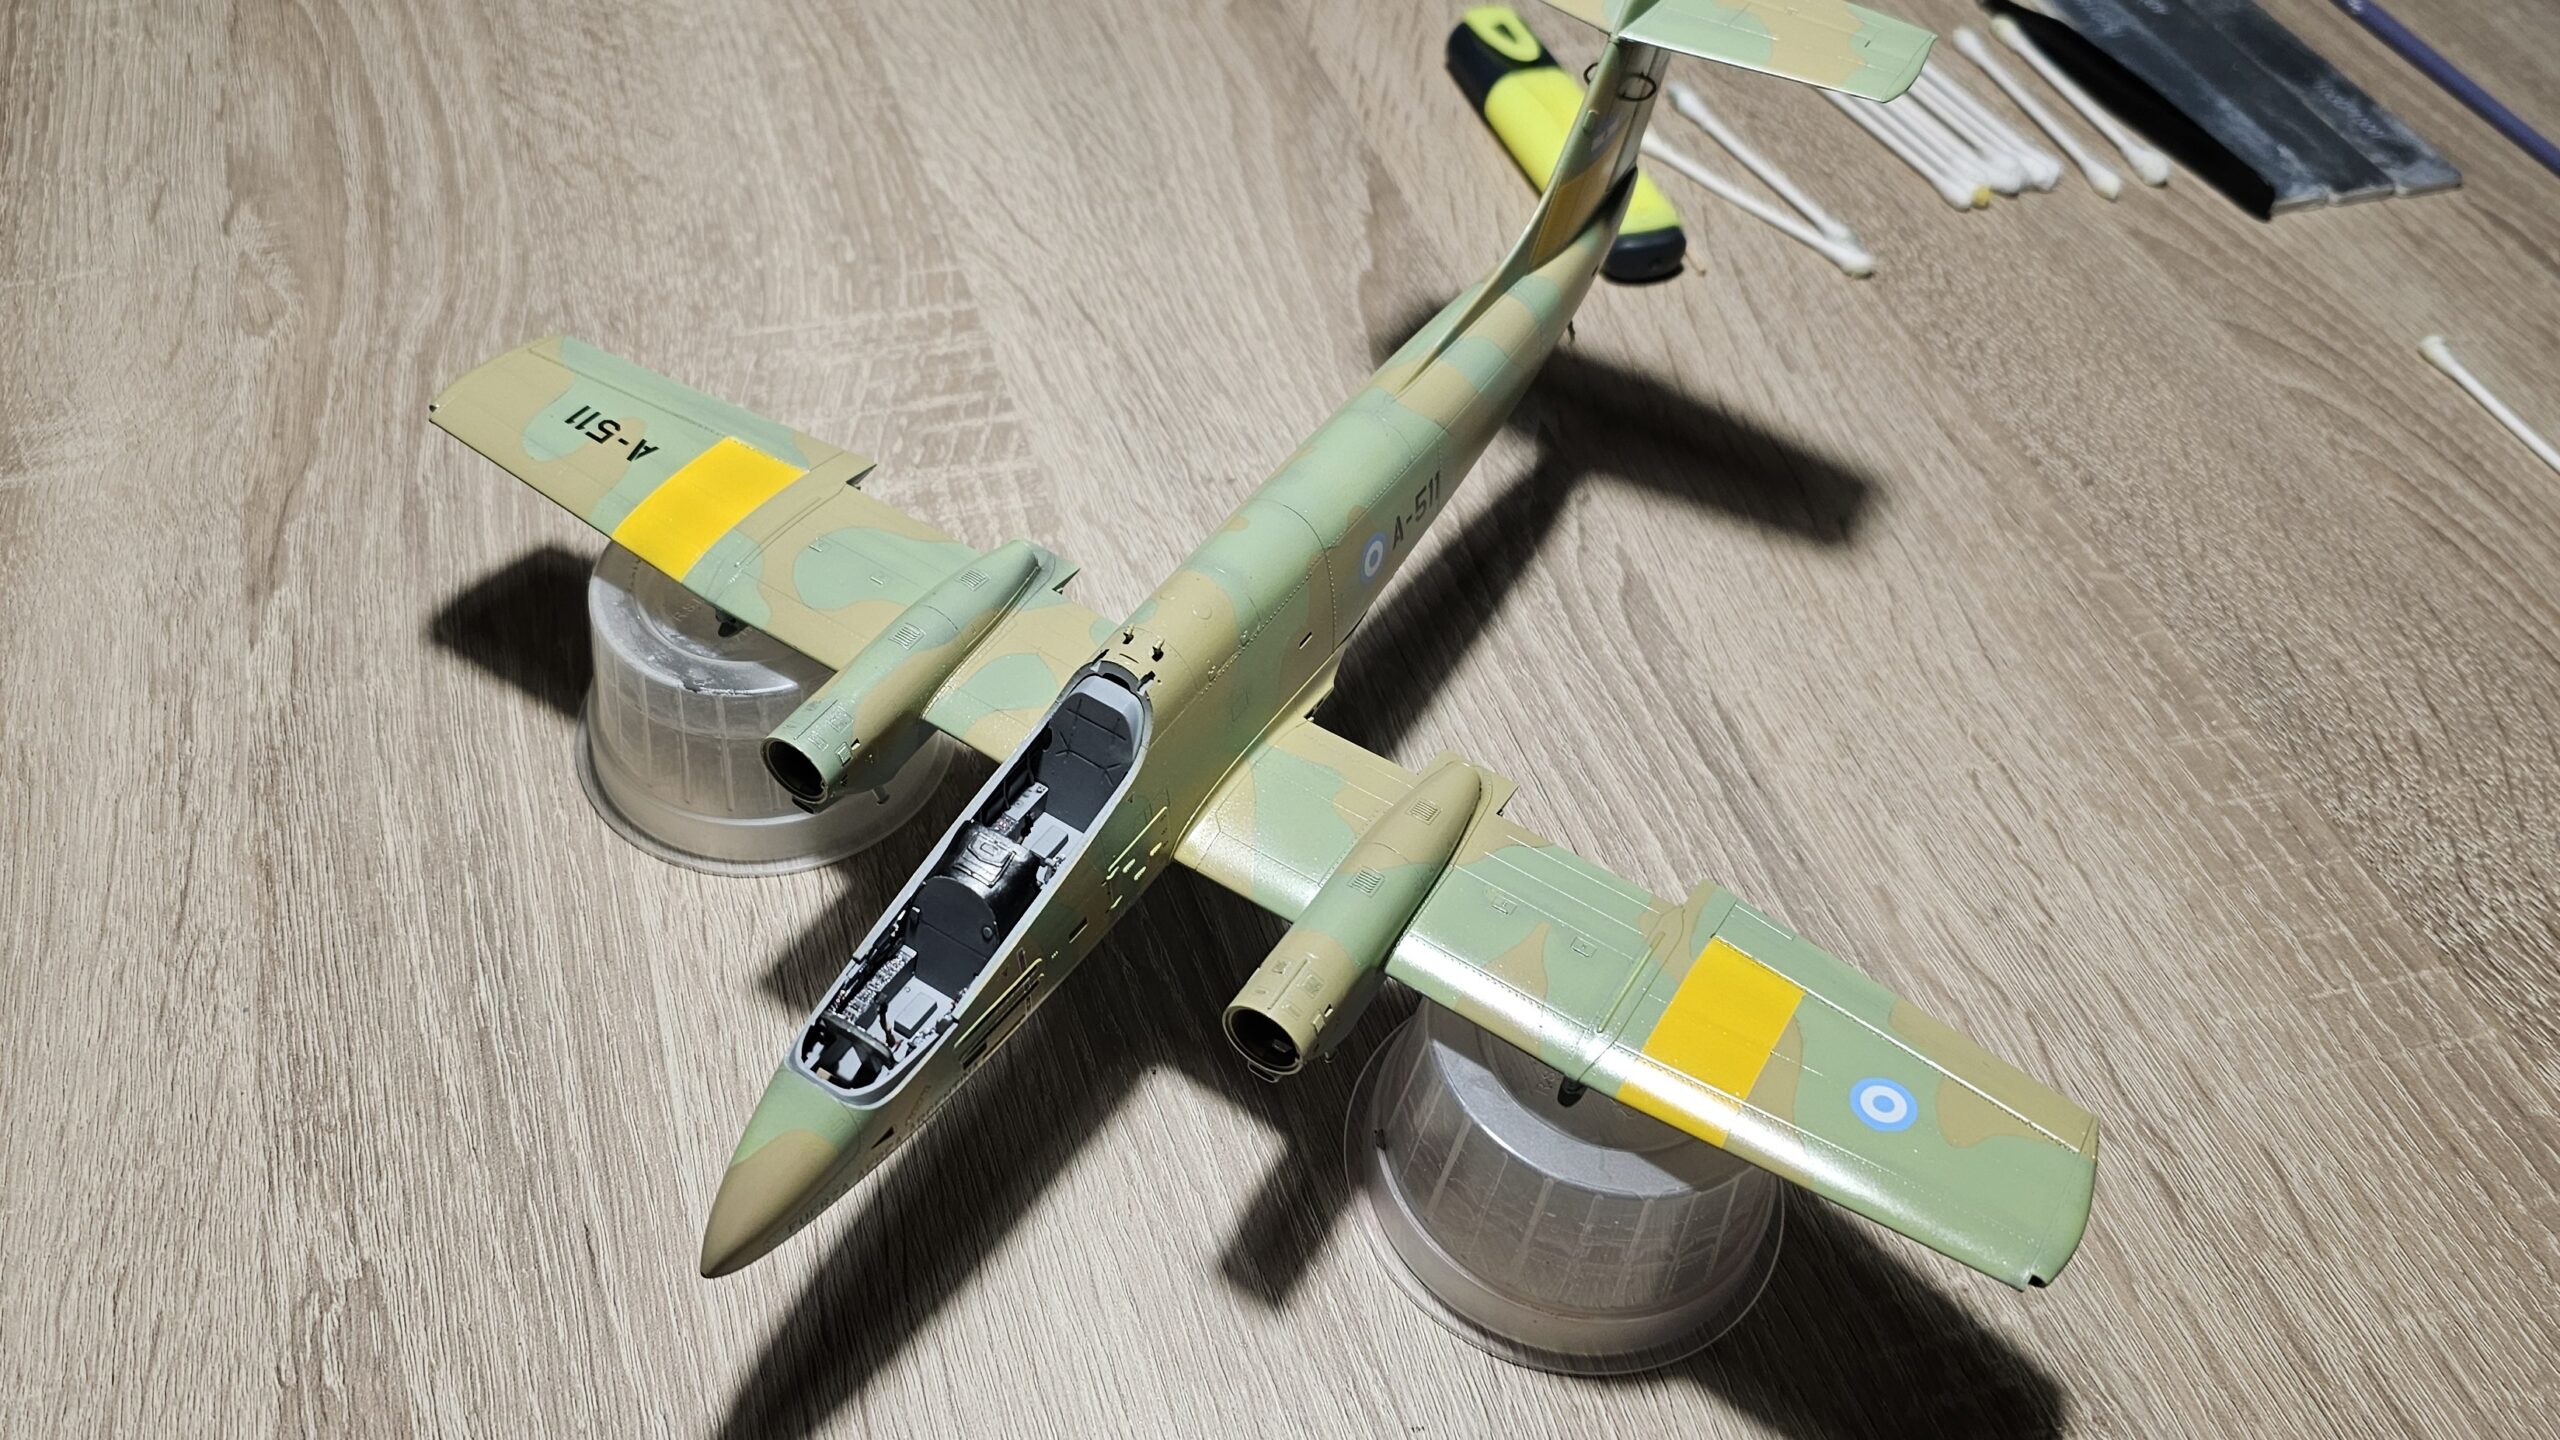
Like most kits, this one starts with assembling the cockpit, which in this case involves removing the raised trim from all the panels so you can apply Quinta Studio's 3D decals. The assembly is relatively straightforward and without any problems. I usually leave installing the seats until the last minute, and this was no exception, so I just put them in place and left the rest for later. For some reason, I lost one of the control sticks, so I designed a new one and 3D printed it. It wasn't too much work, and the level of detail is slightly better than the original stick.
Fuselage and wings
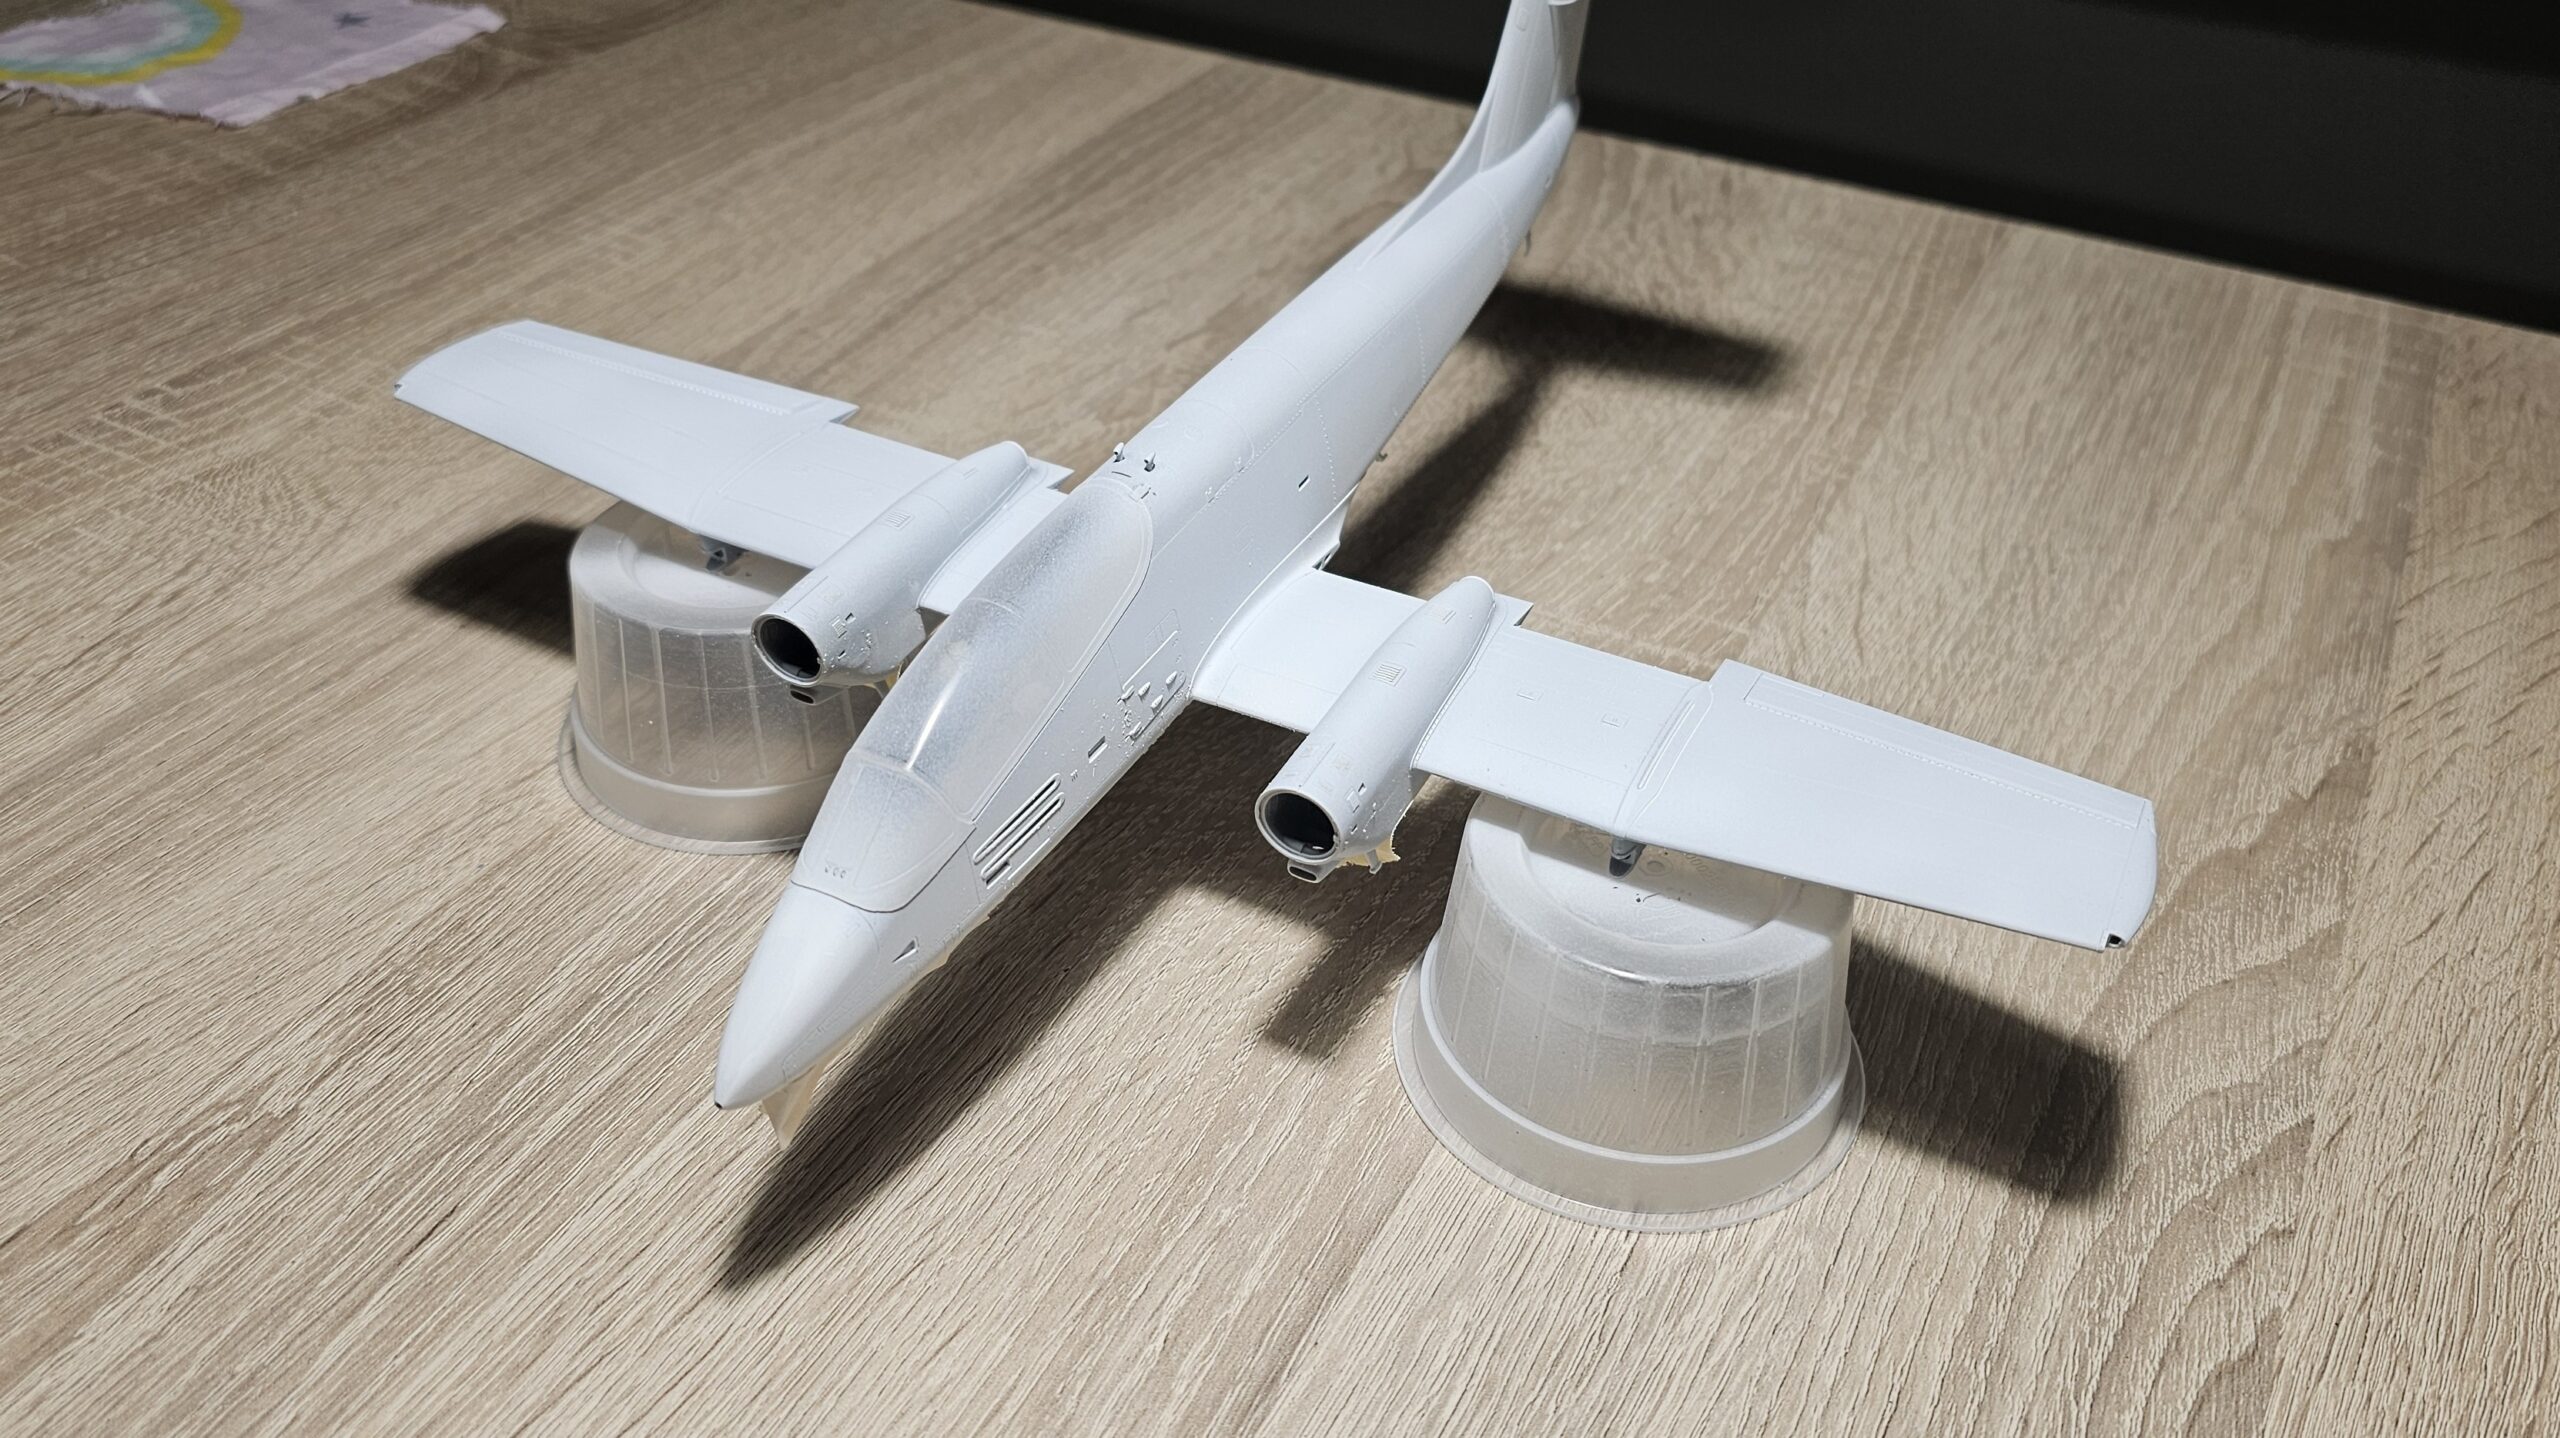
Once the cockpit was completed, the nose wheel well was built, which was a simple process, and then the two fuselage halves could be joined. The fit was really good, requiring practically no filler.
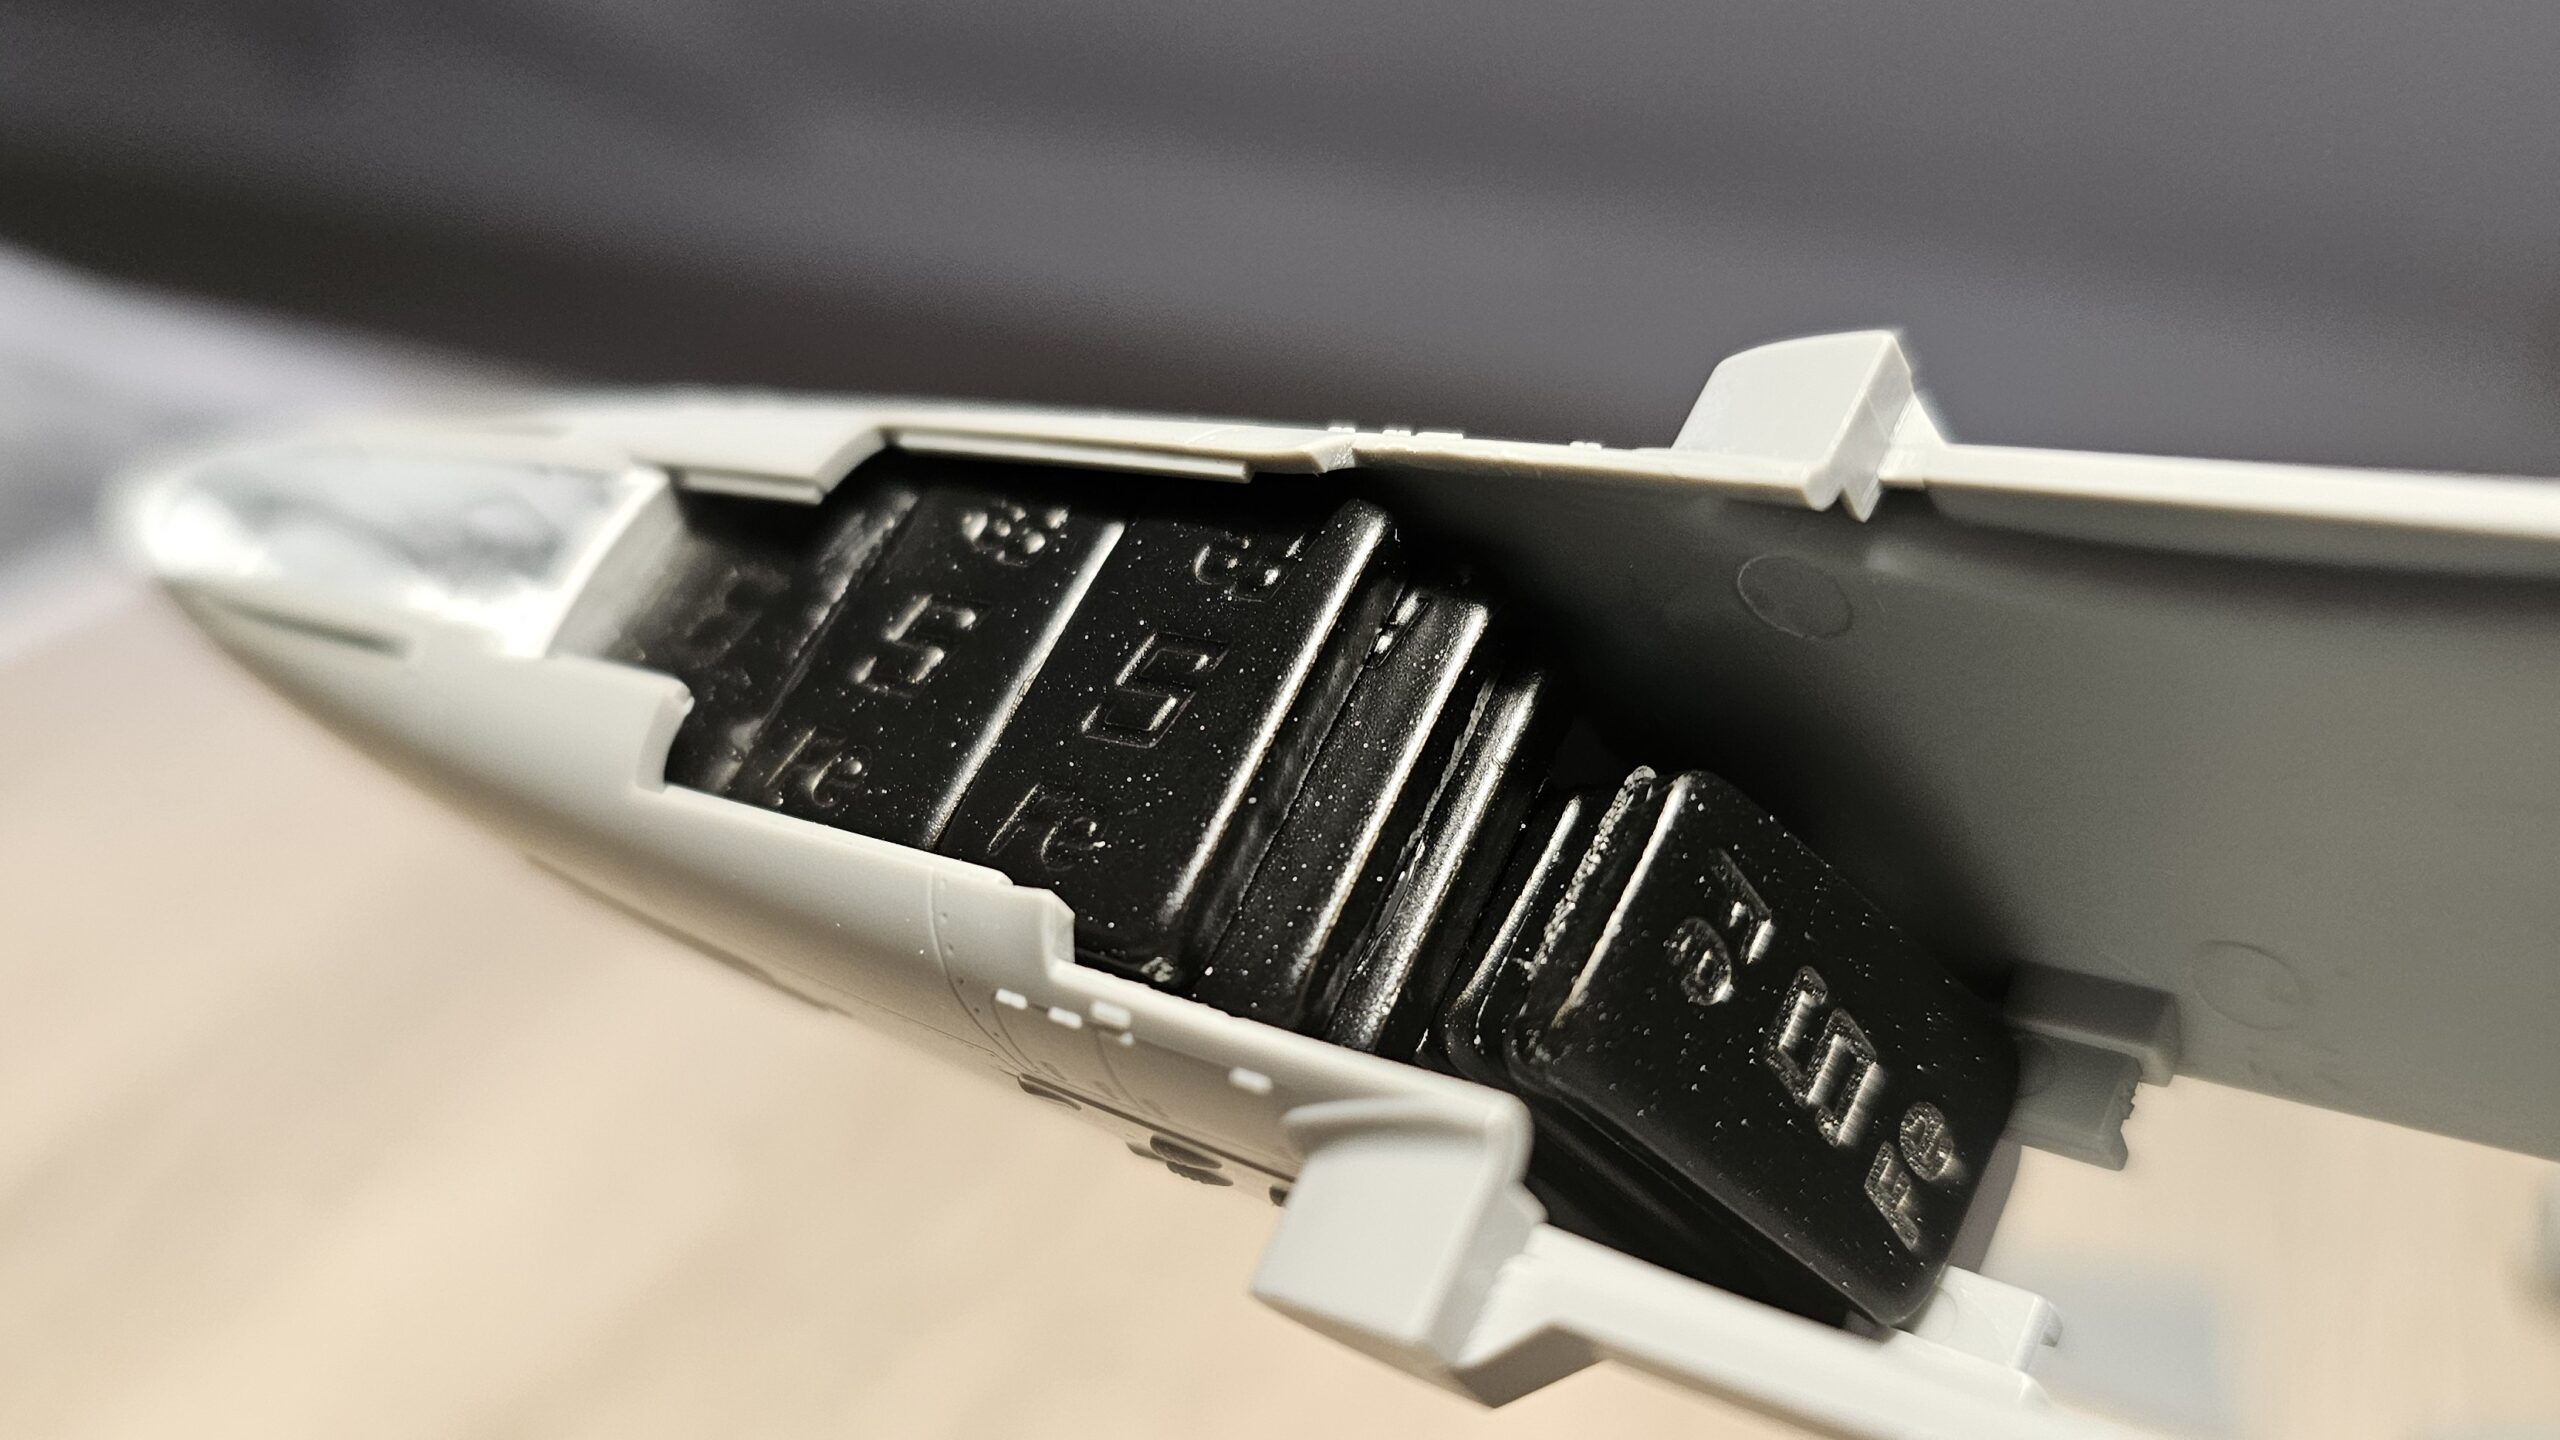
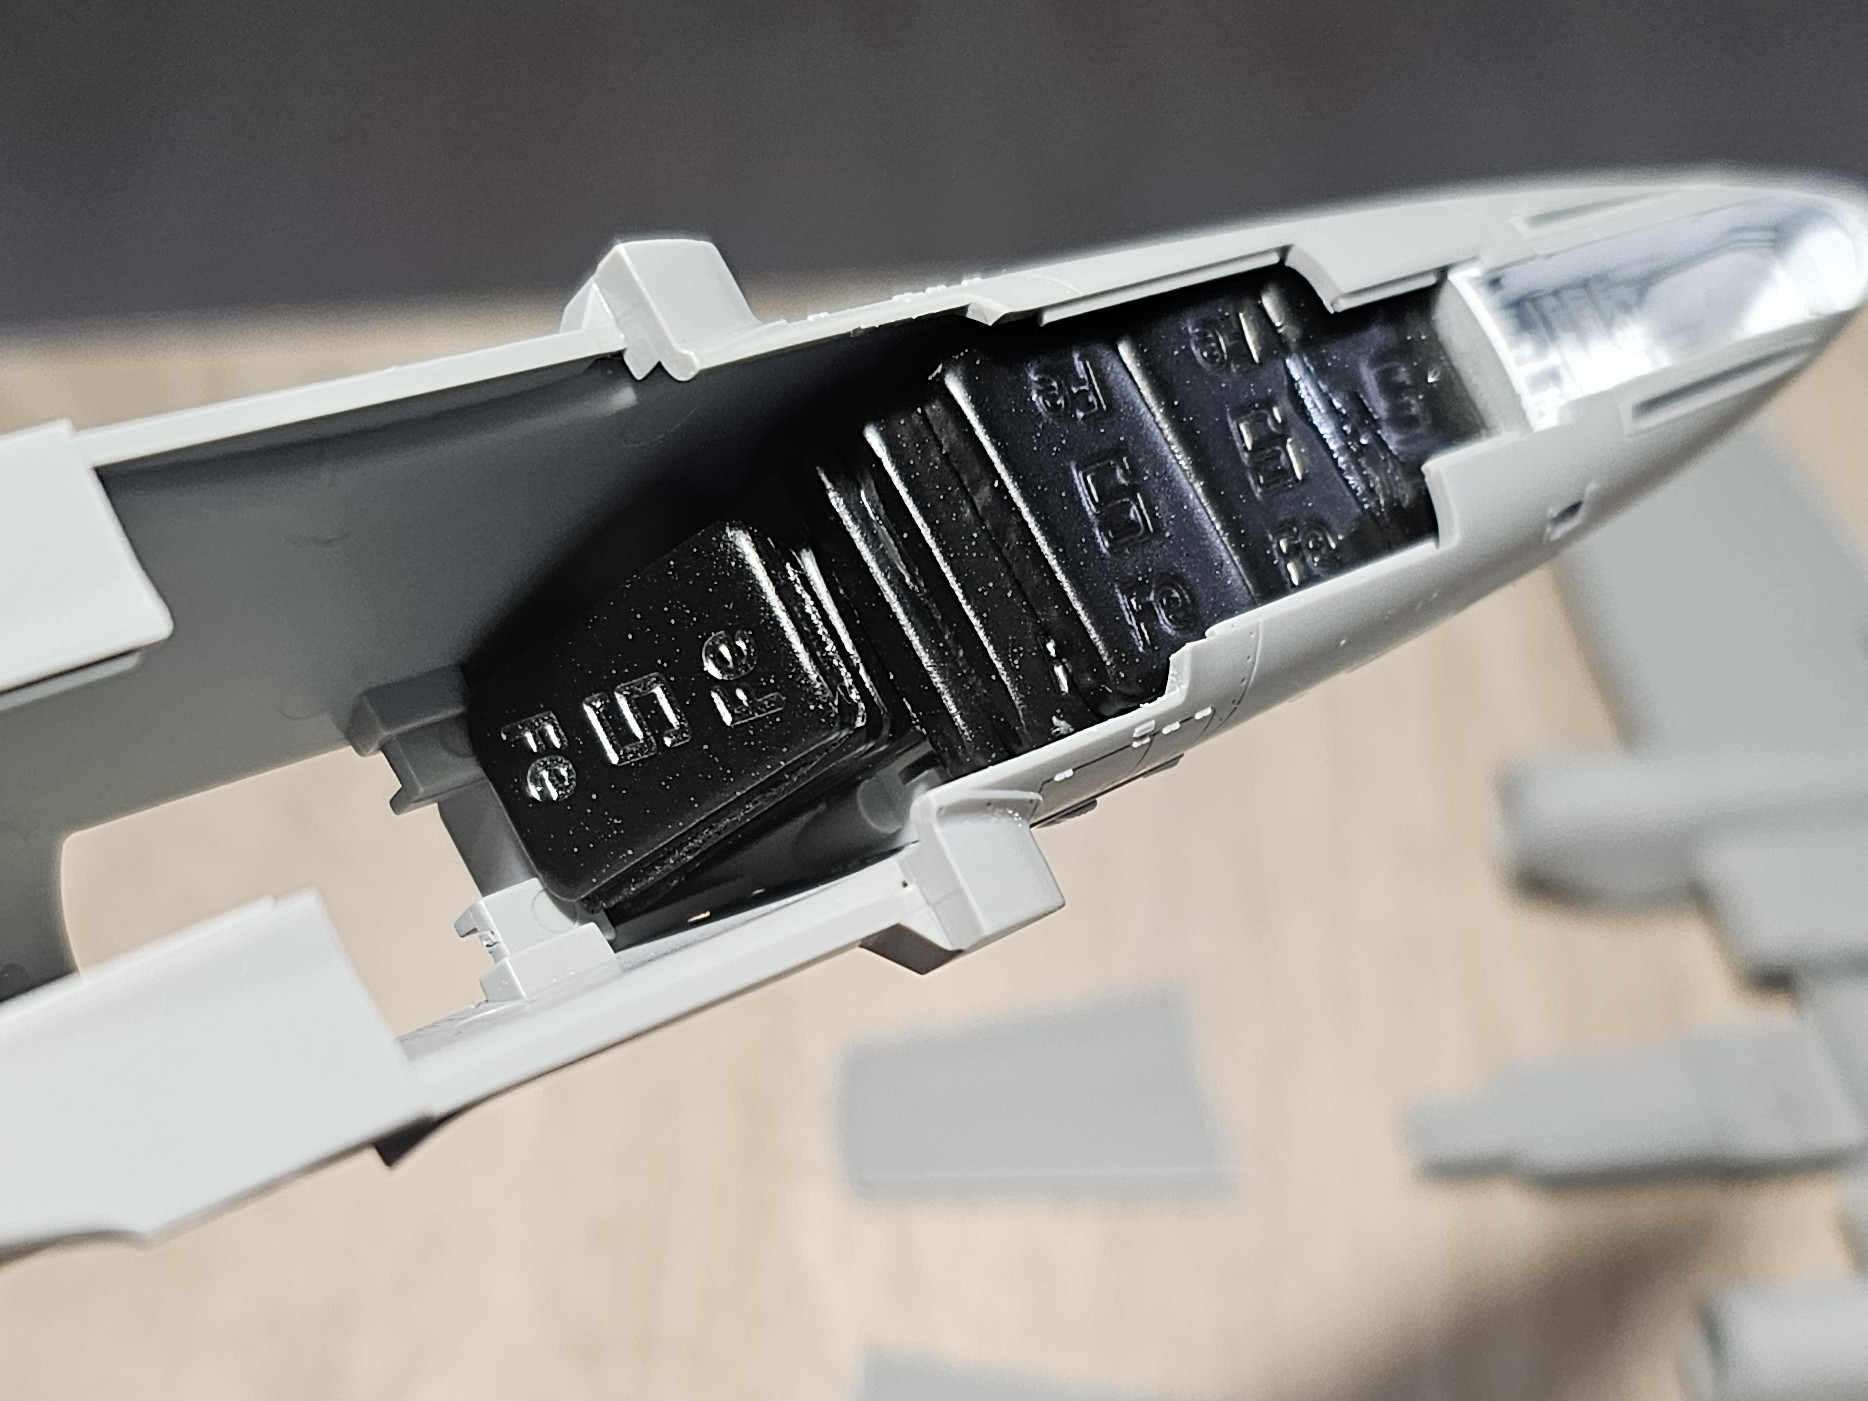
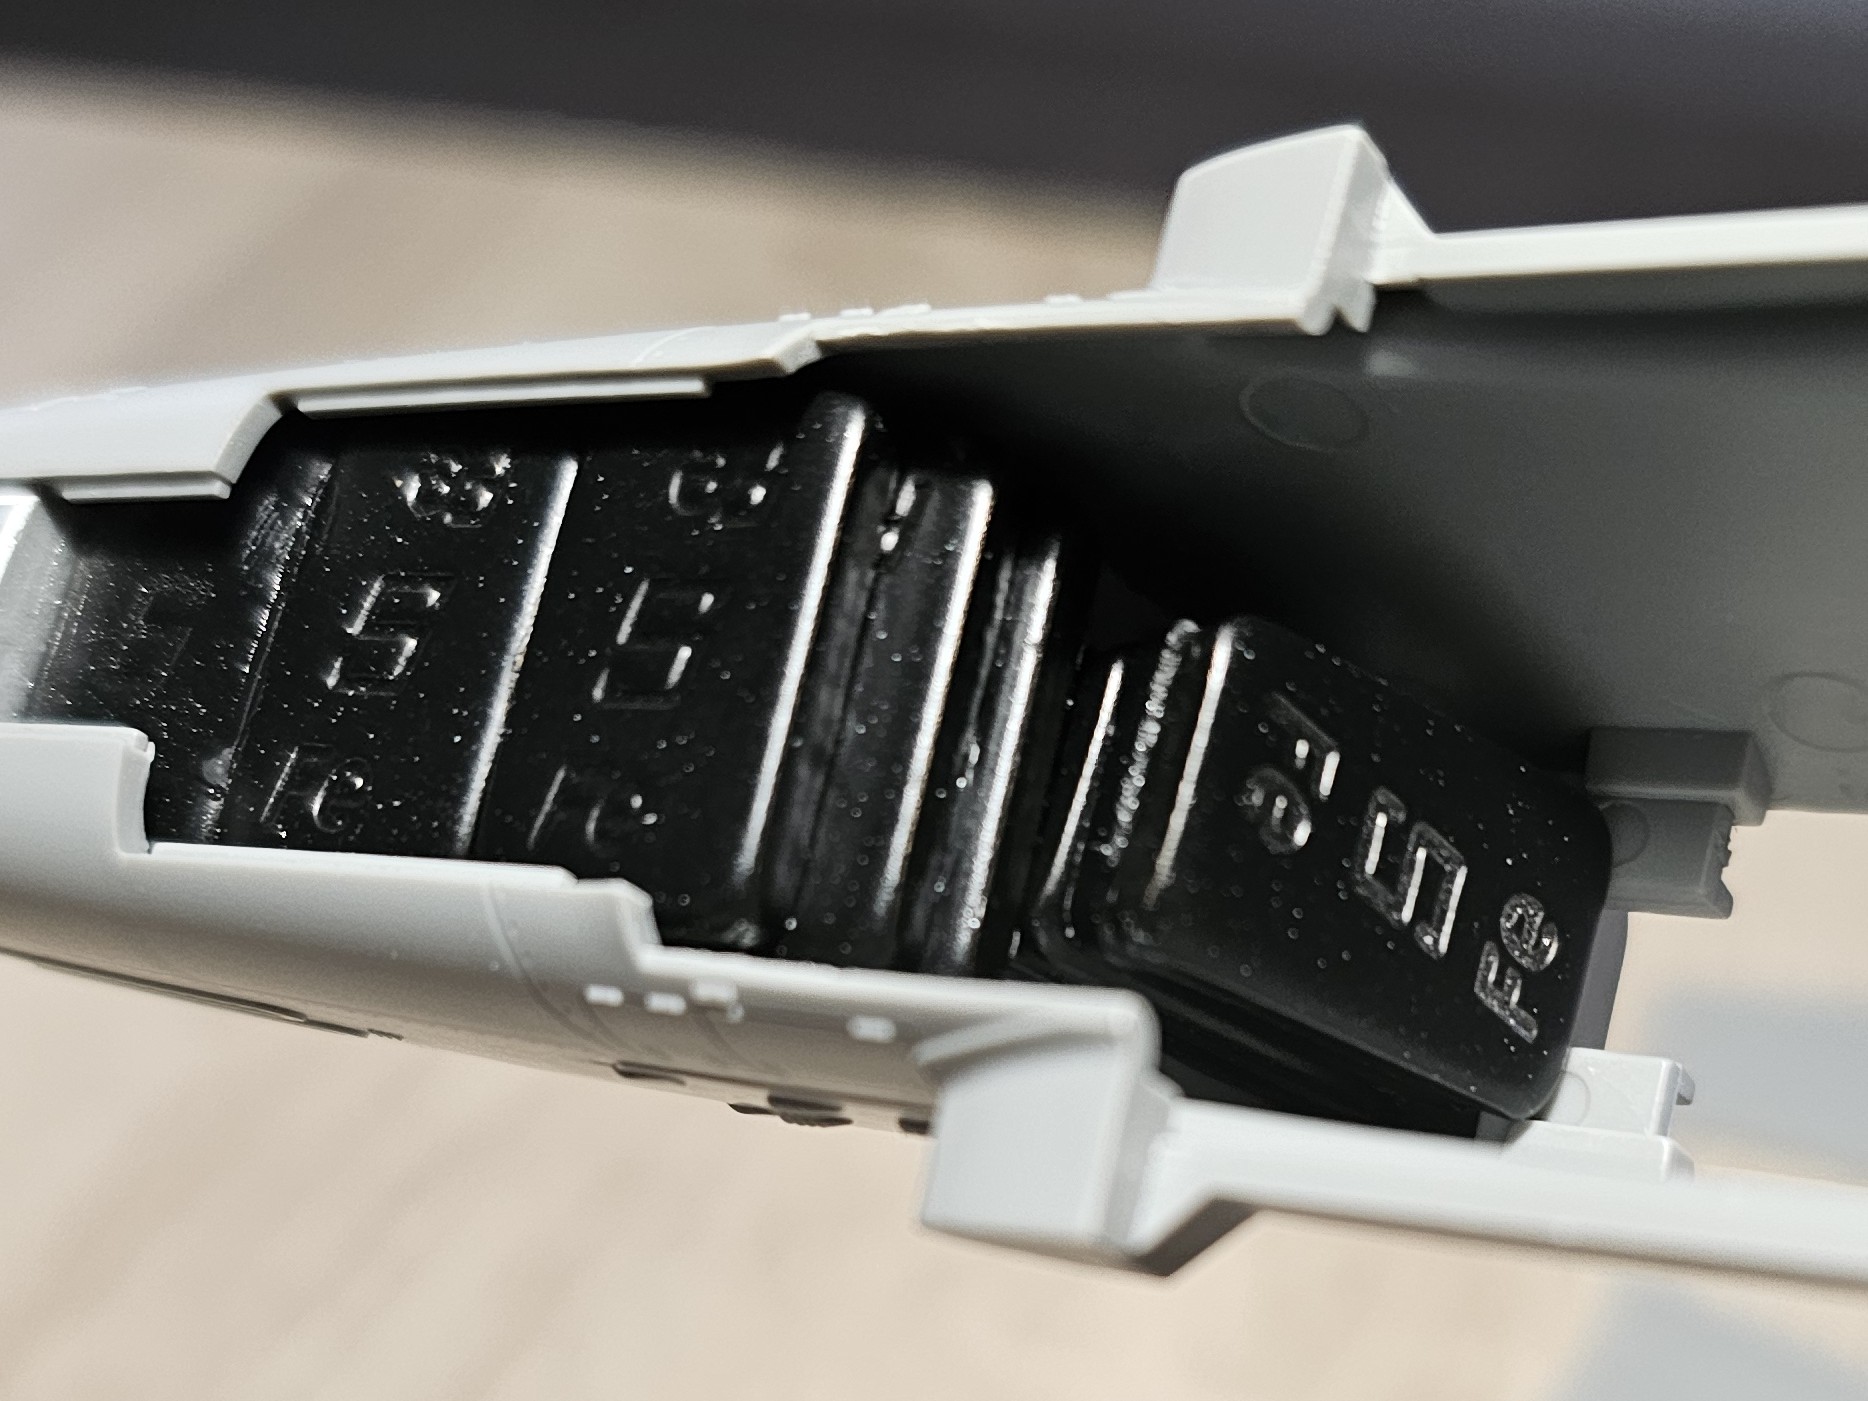
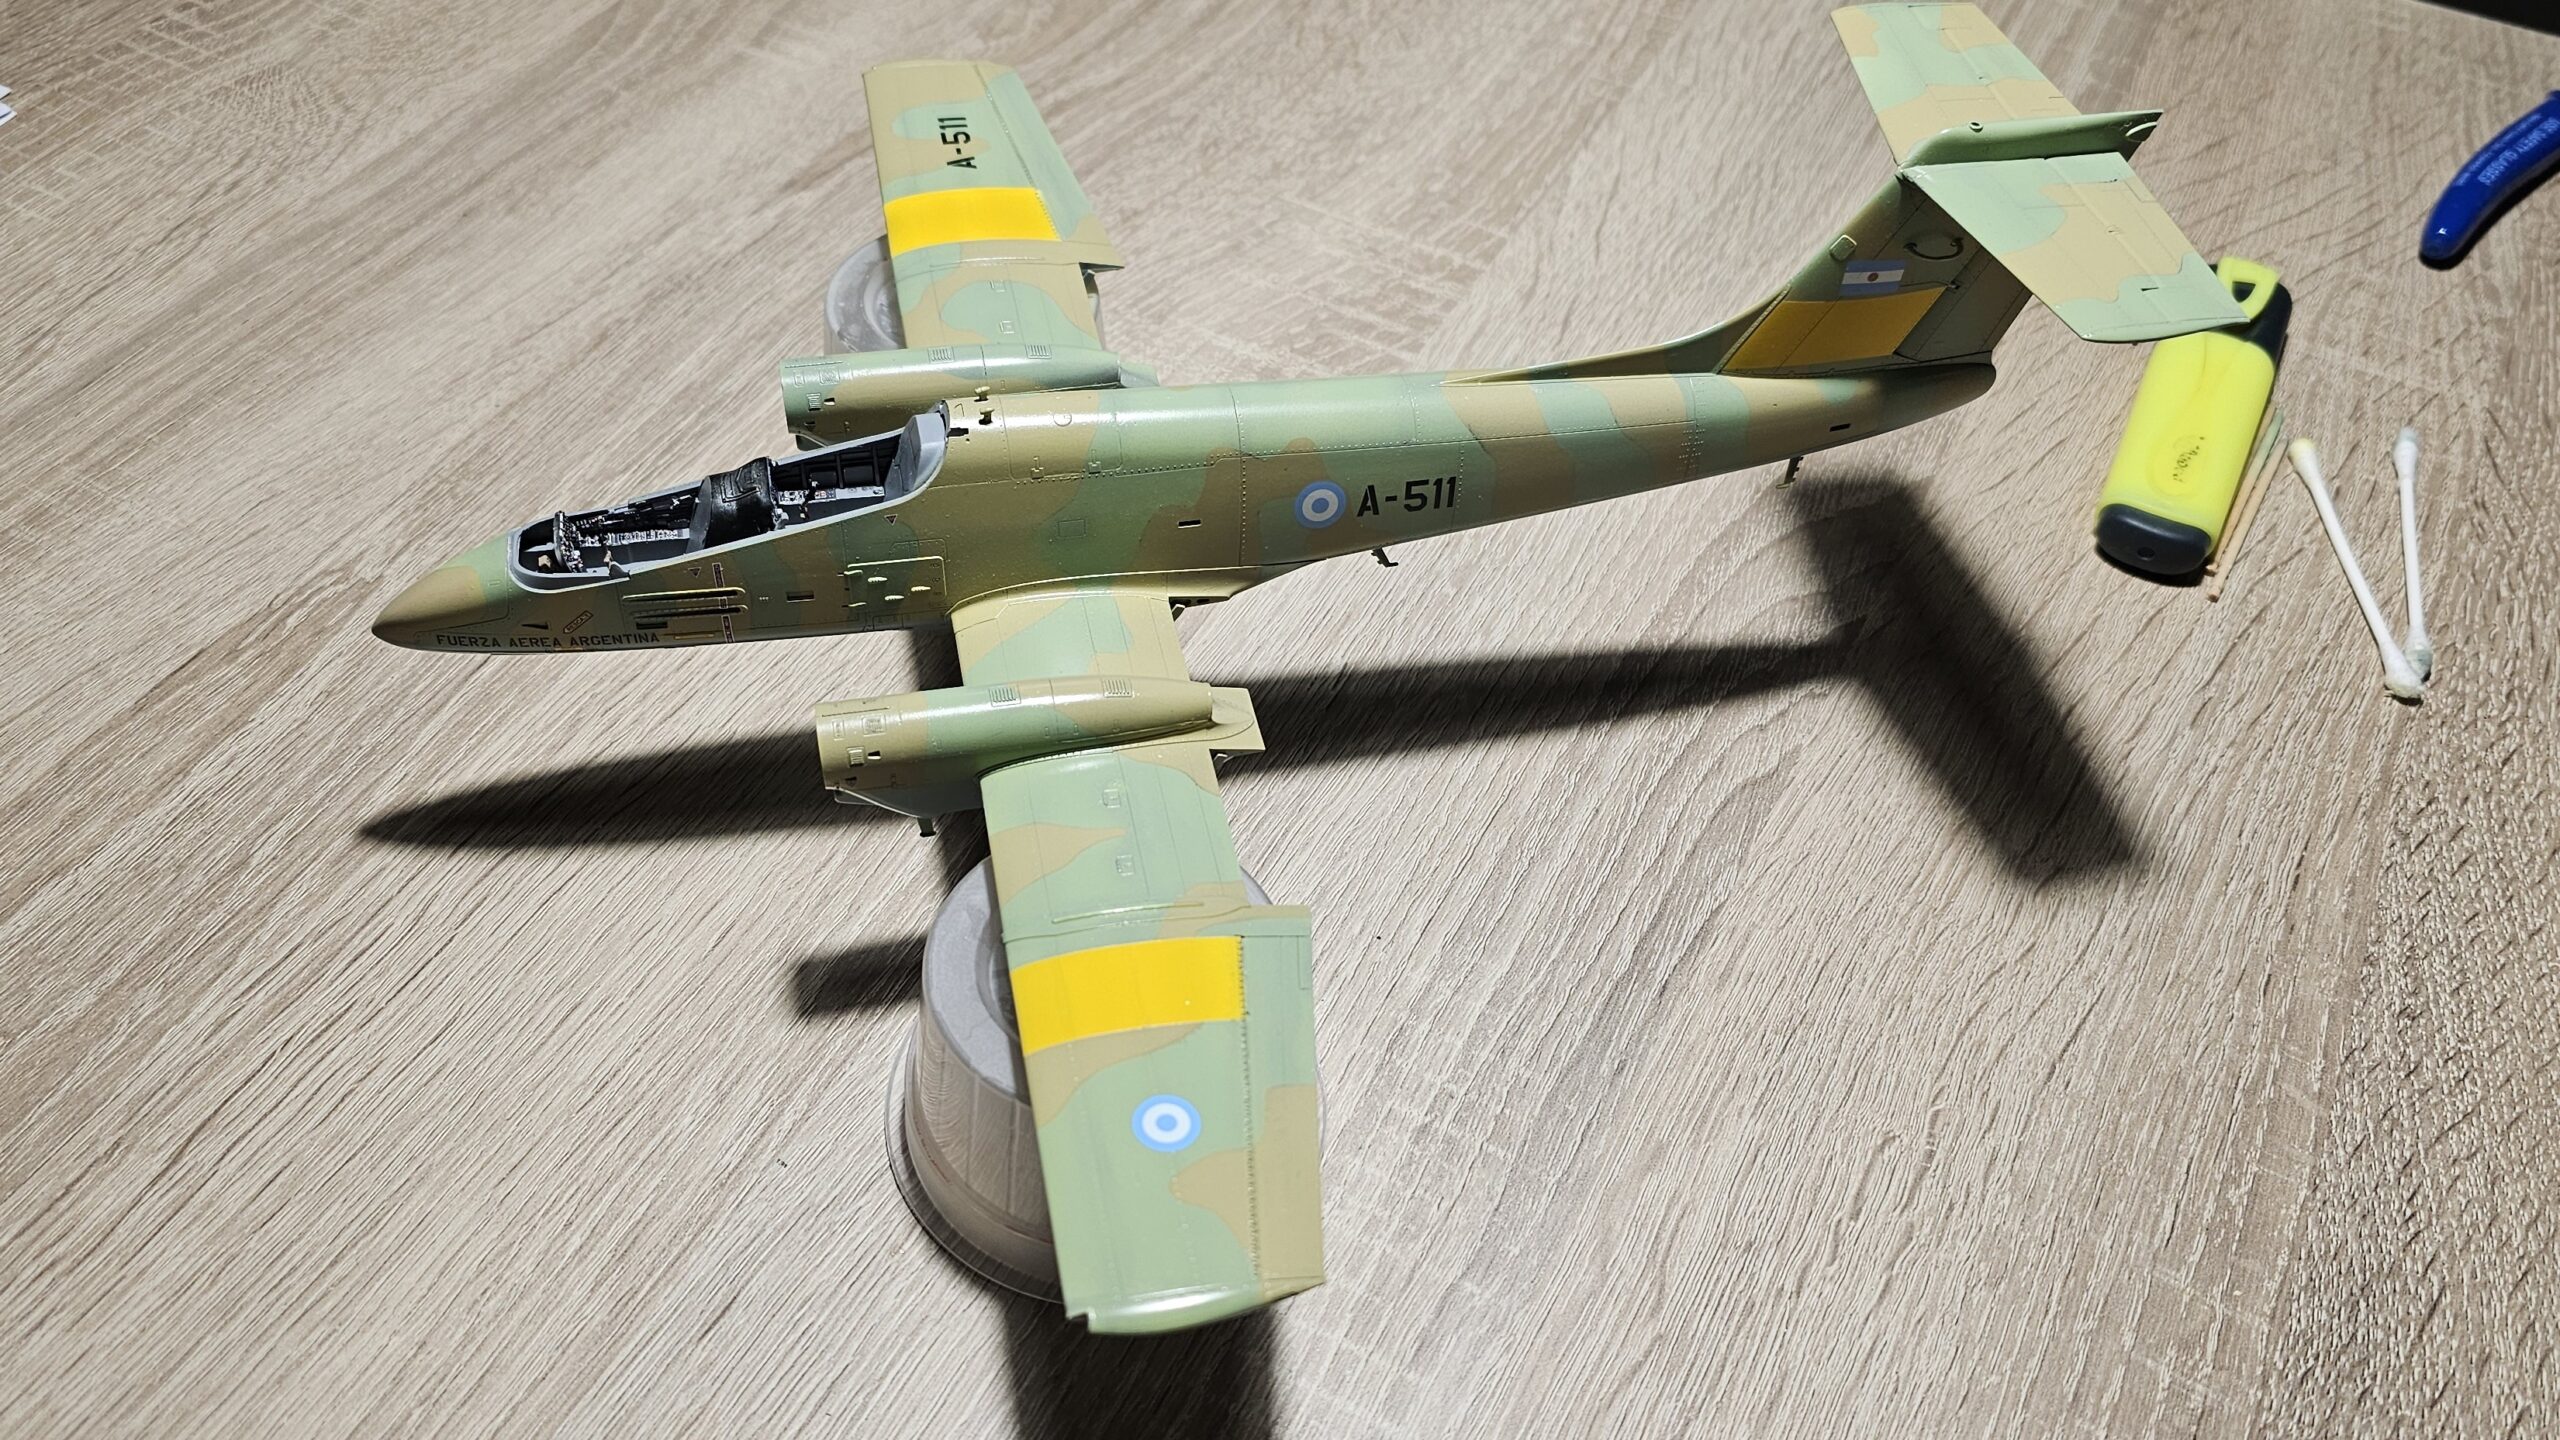
The next step is assembling the wings, including the engine nacelles and armament mounts. At this point, before attaching the wings, I added a lot of weight (yes, a lot) under the cockpit to ensure the finished aircraft wouldn't be a tailseat. For this, I used 5g lead weights, placing no fewer than 15. Unfortunately, I don't have an exact count, but I estimate I could have used slightly less with the same result. However, the area under the cockpit has ample space for weight without any issues. Once the wings were attached to the fuselage, I proceeded to work on the remaining details (the empennage, etc.) to prepare the aircraft for painting.
It is important to pay attention to the steps that should only be performed for variant “D” (IA-58D), because registration A-511 corresponded to variant “A”, so those steps should not be applied. The instructions clearly indicate which operations apply only to variant D.
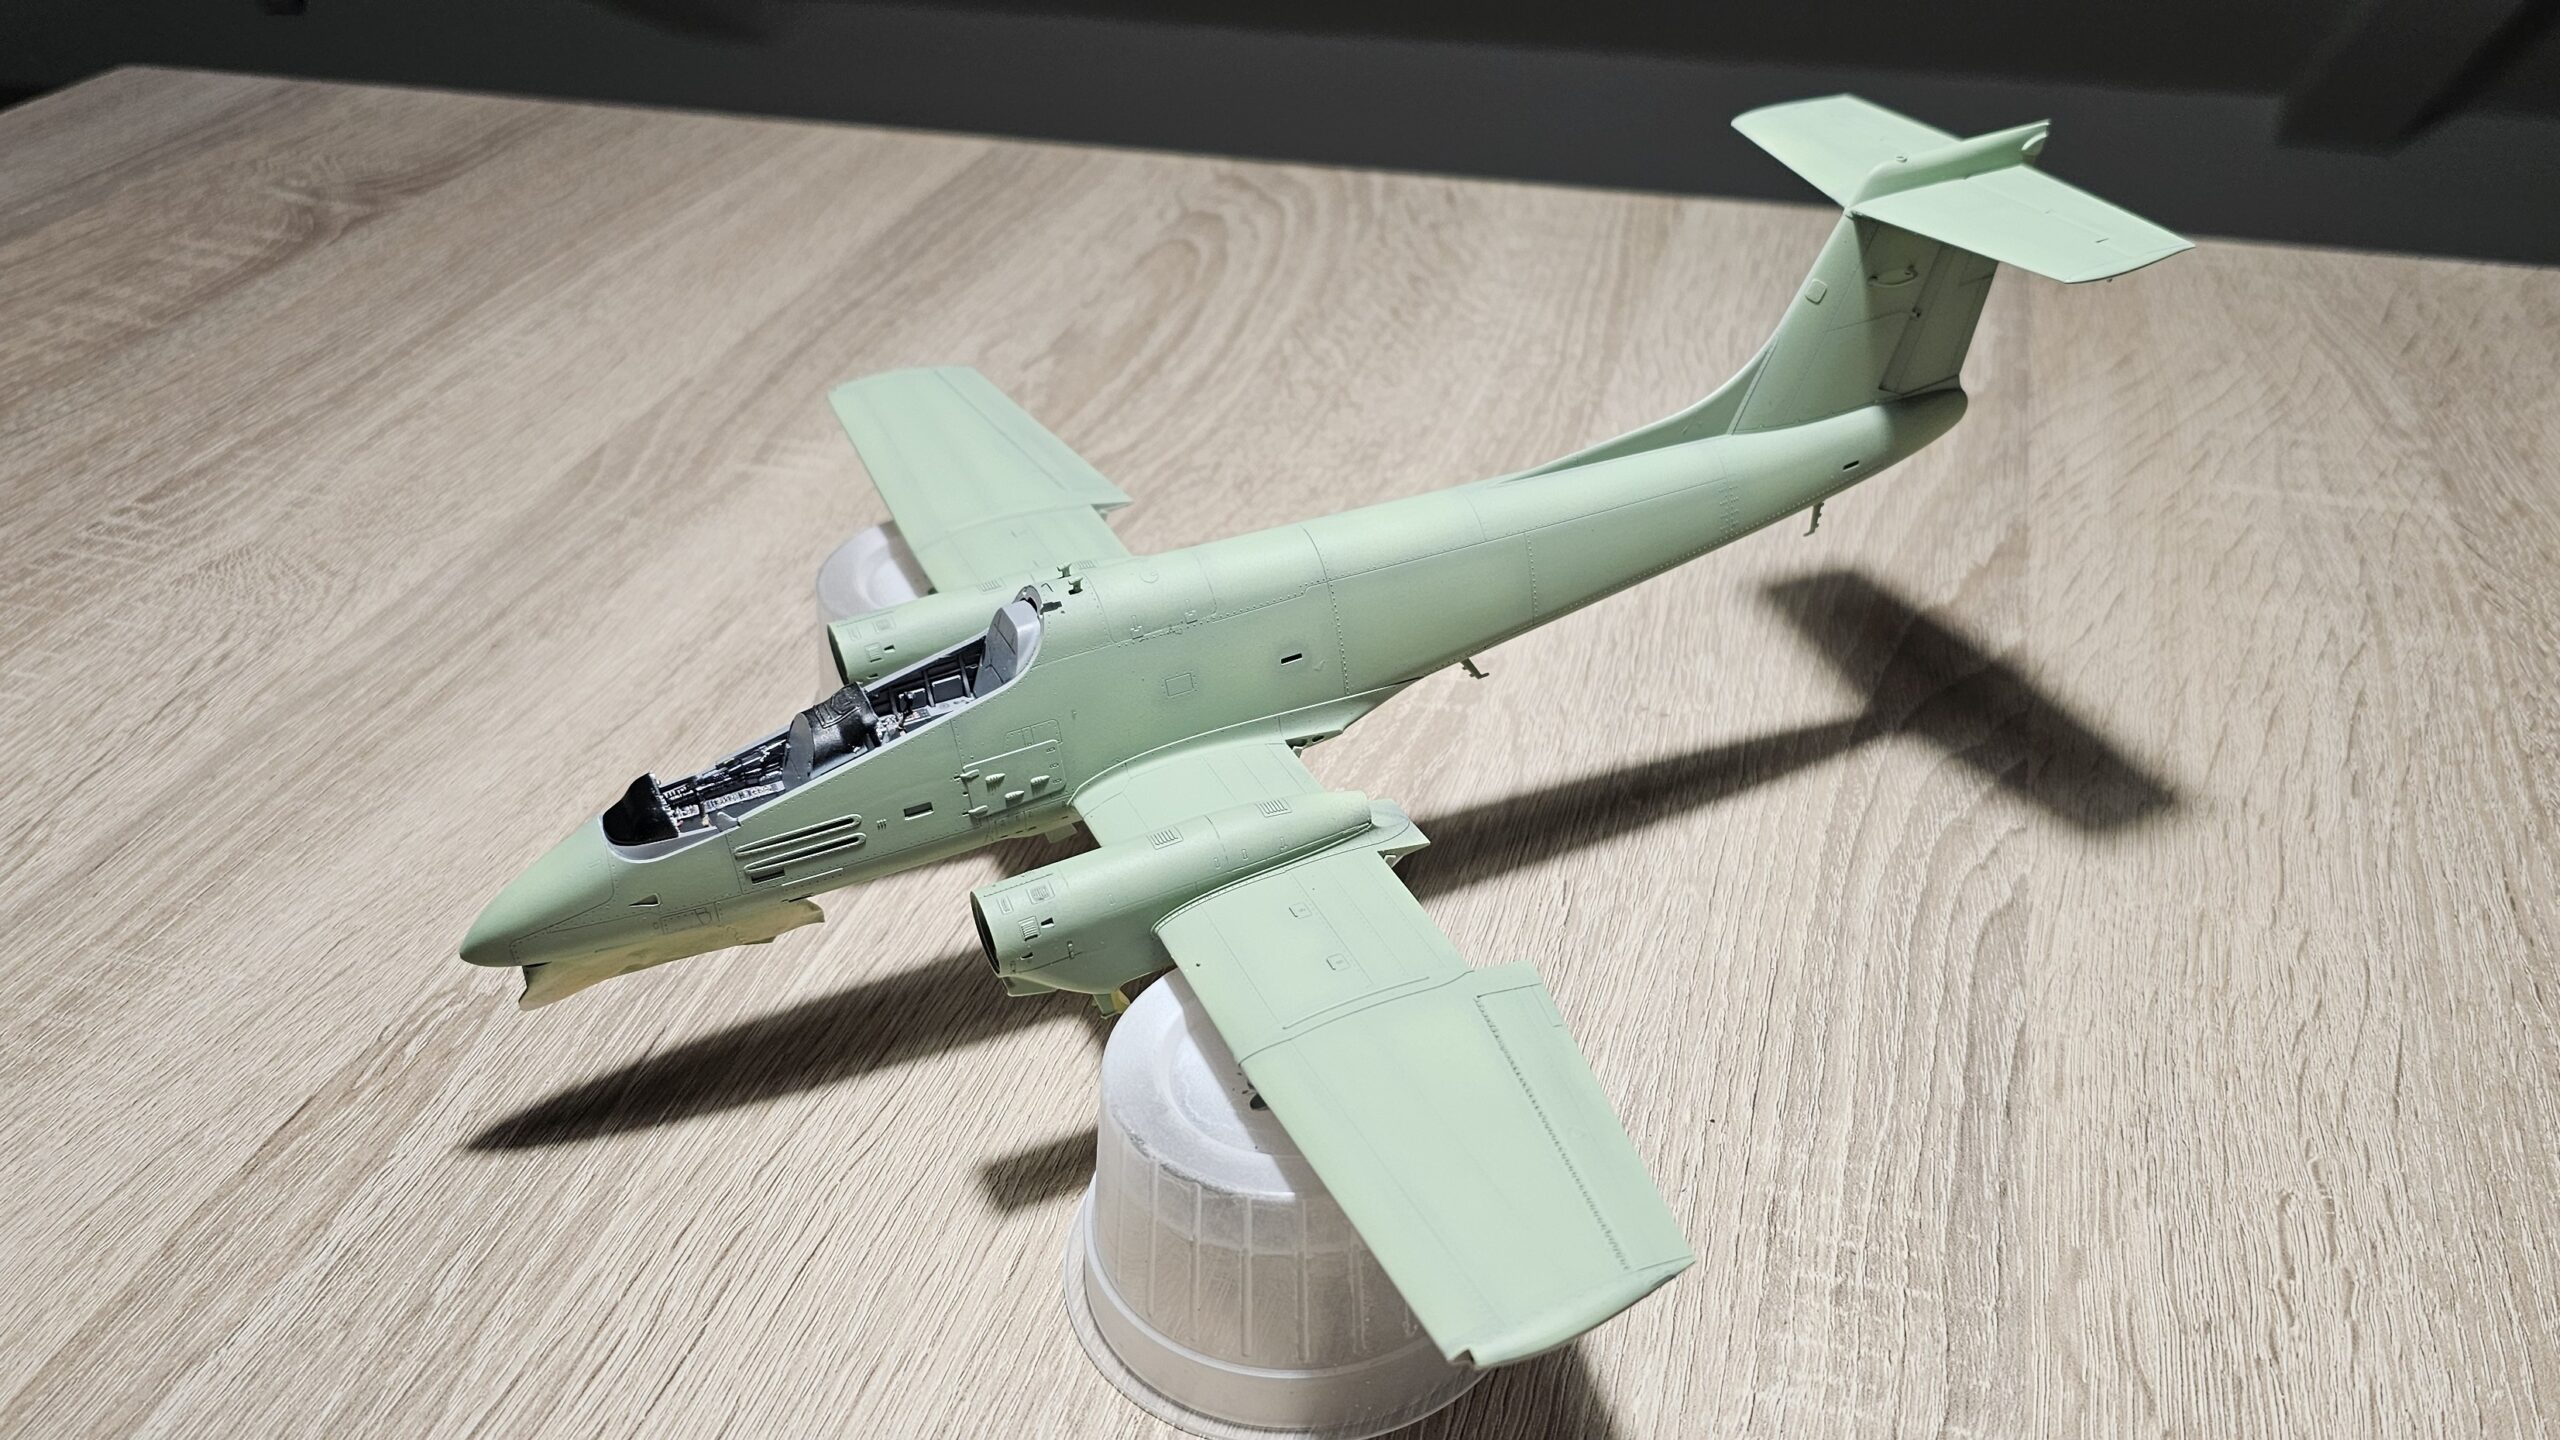
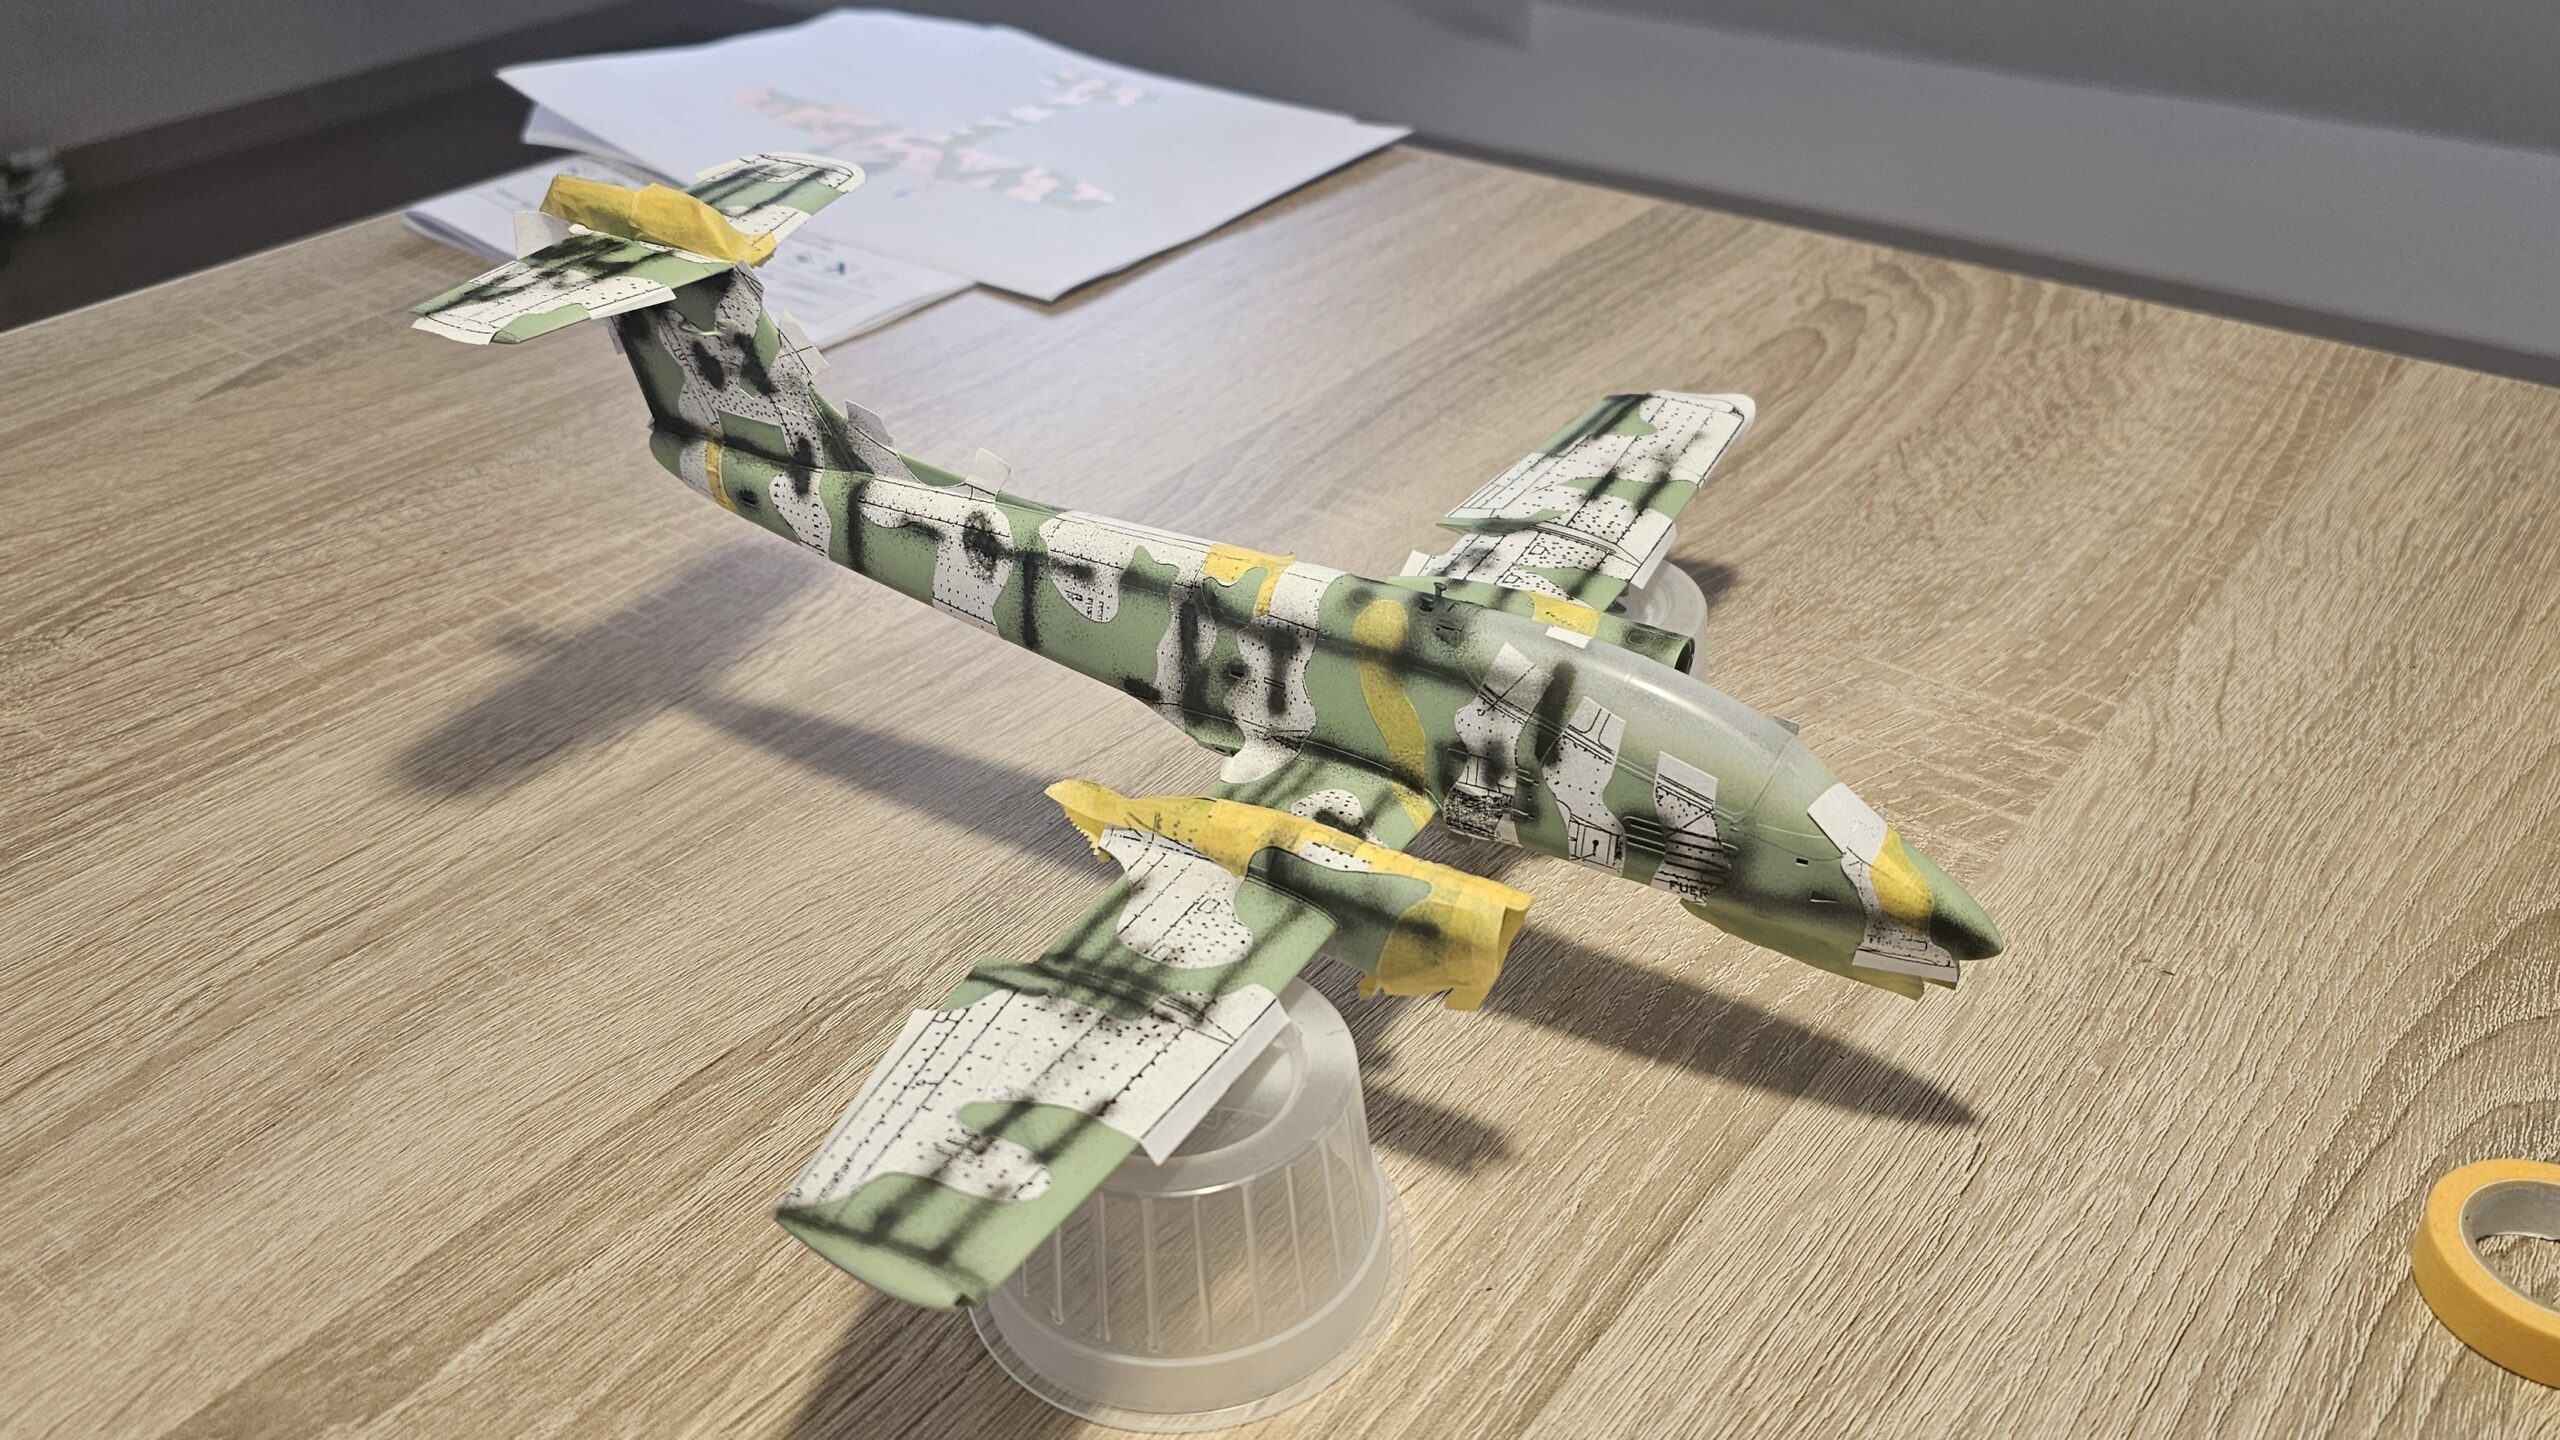
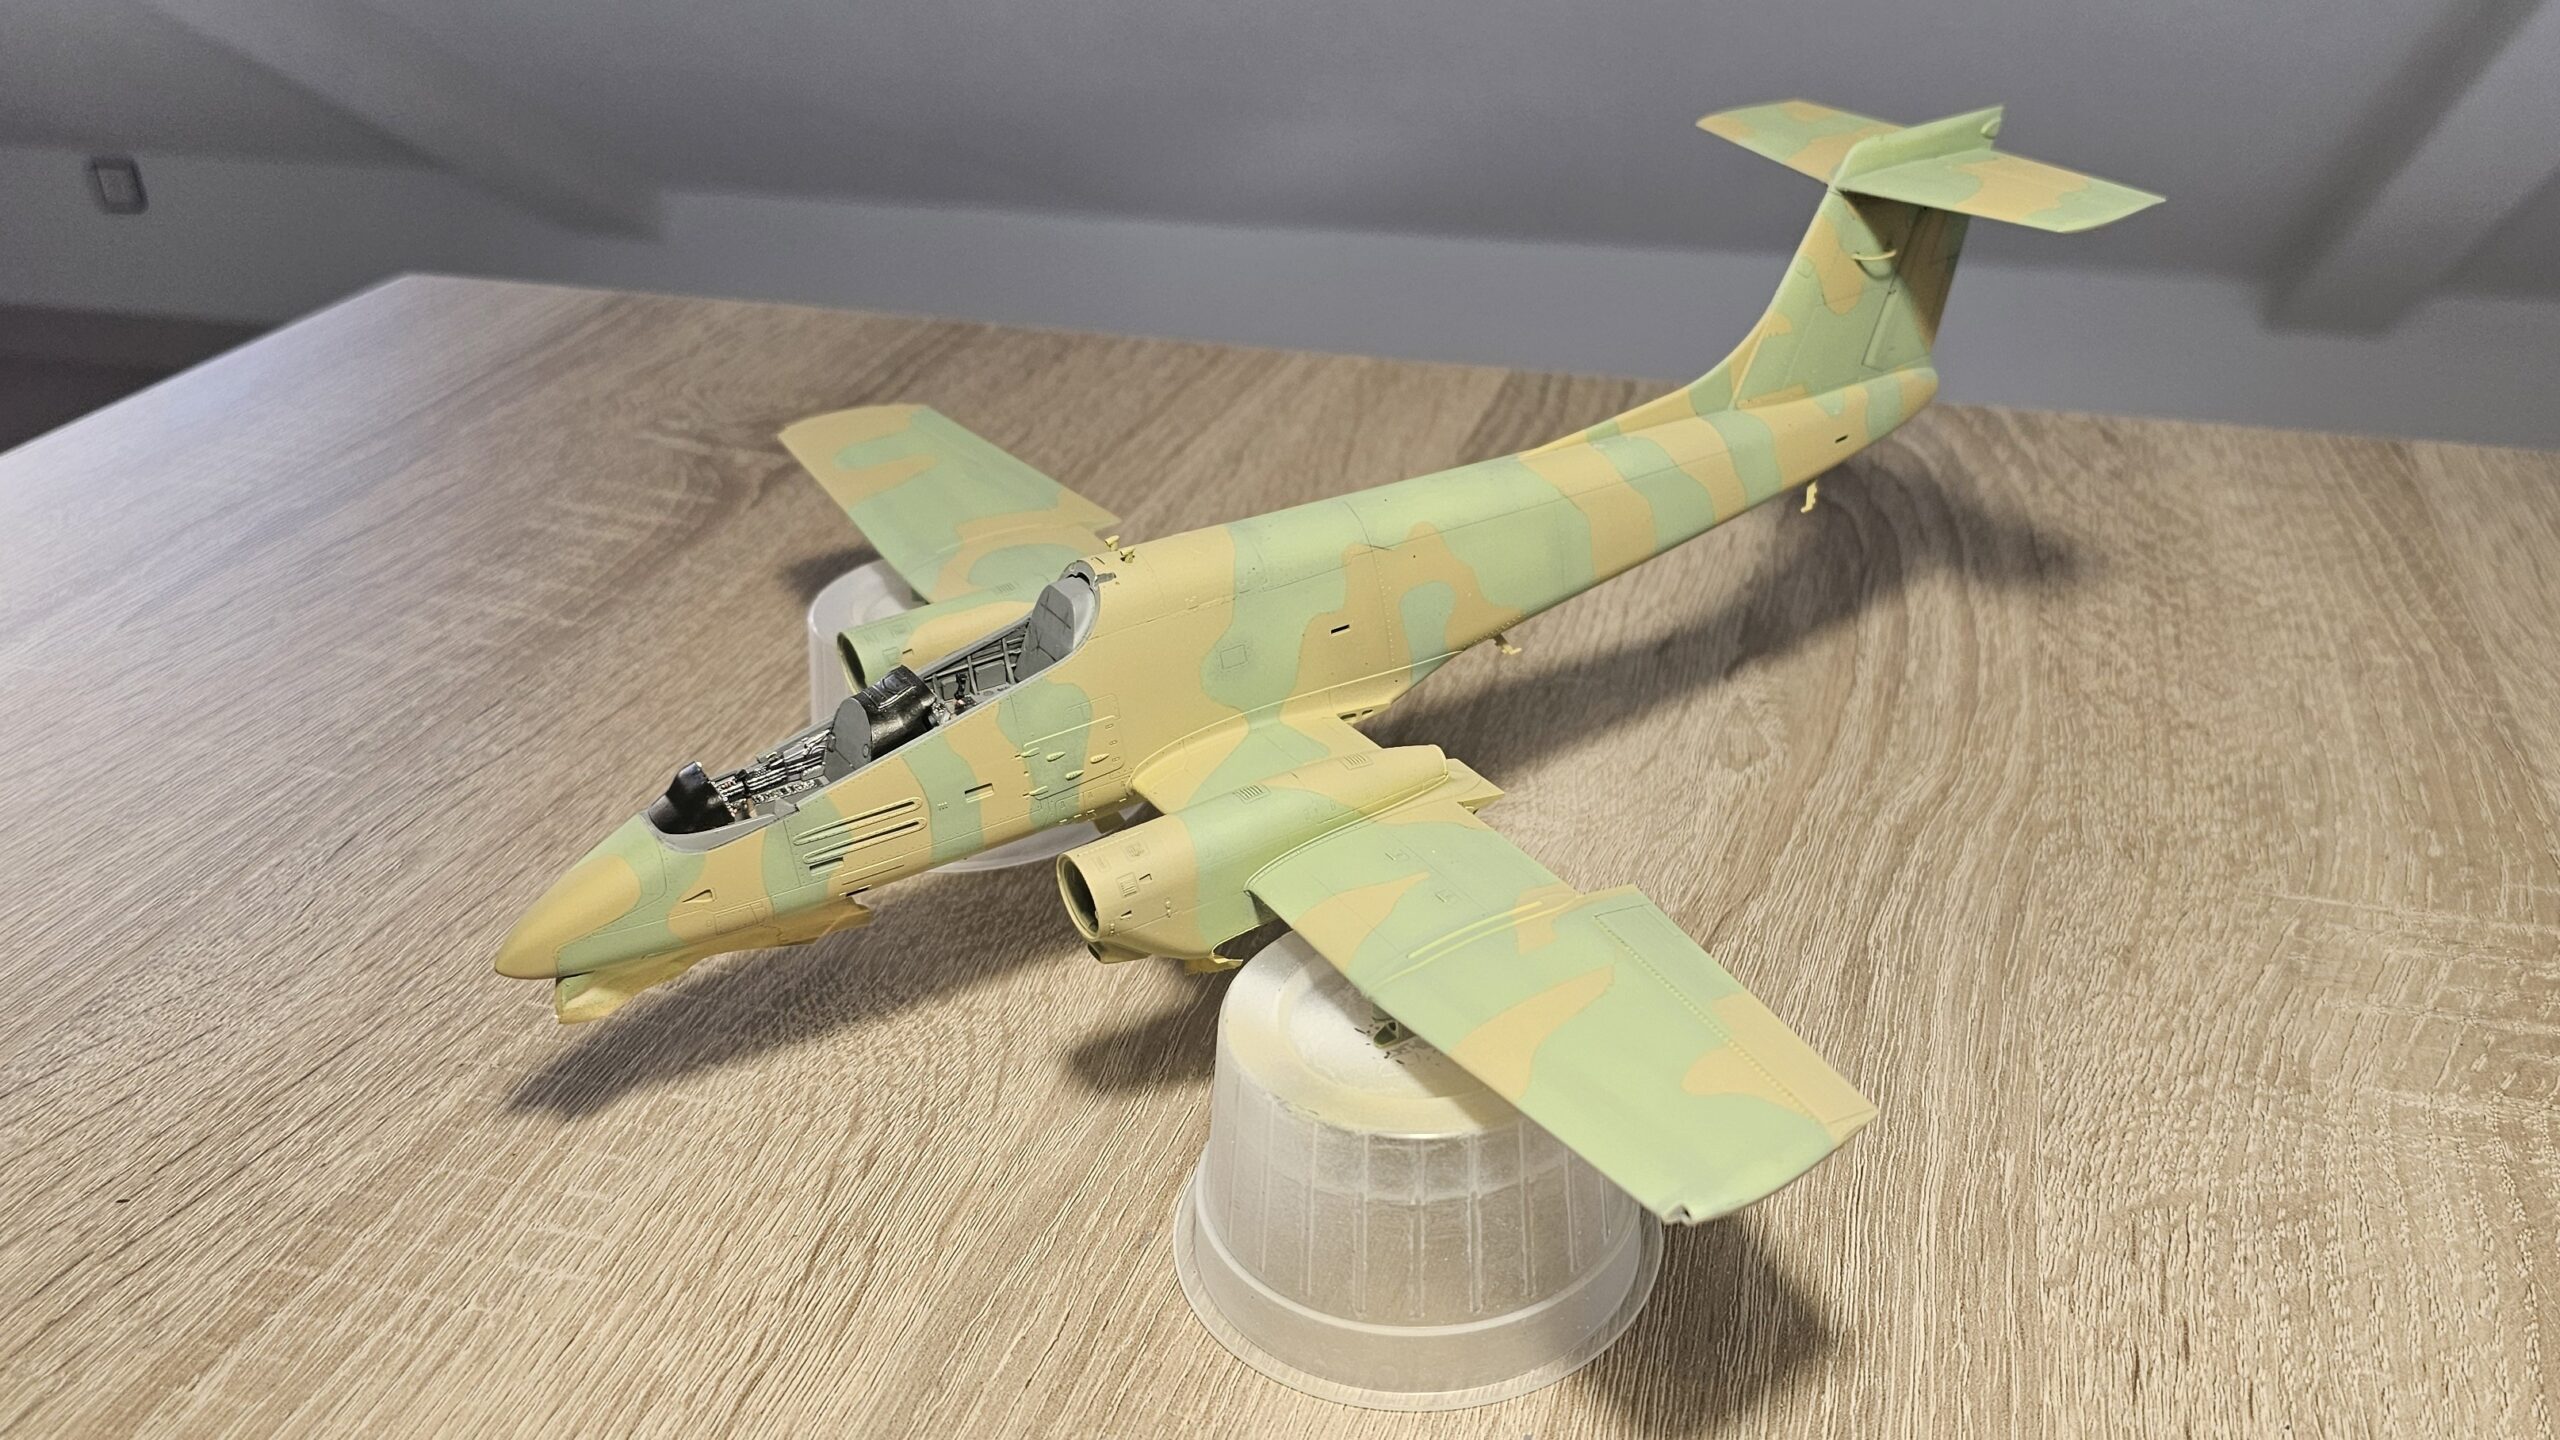
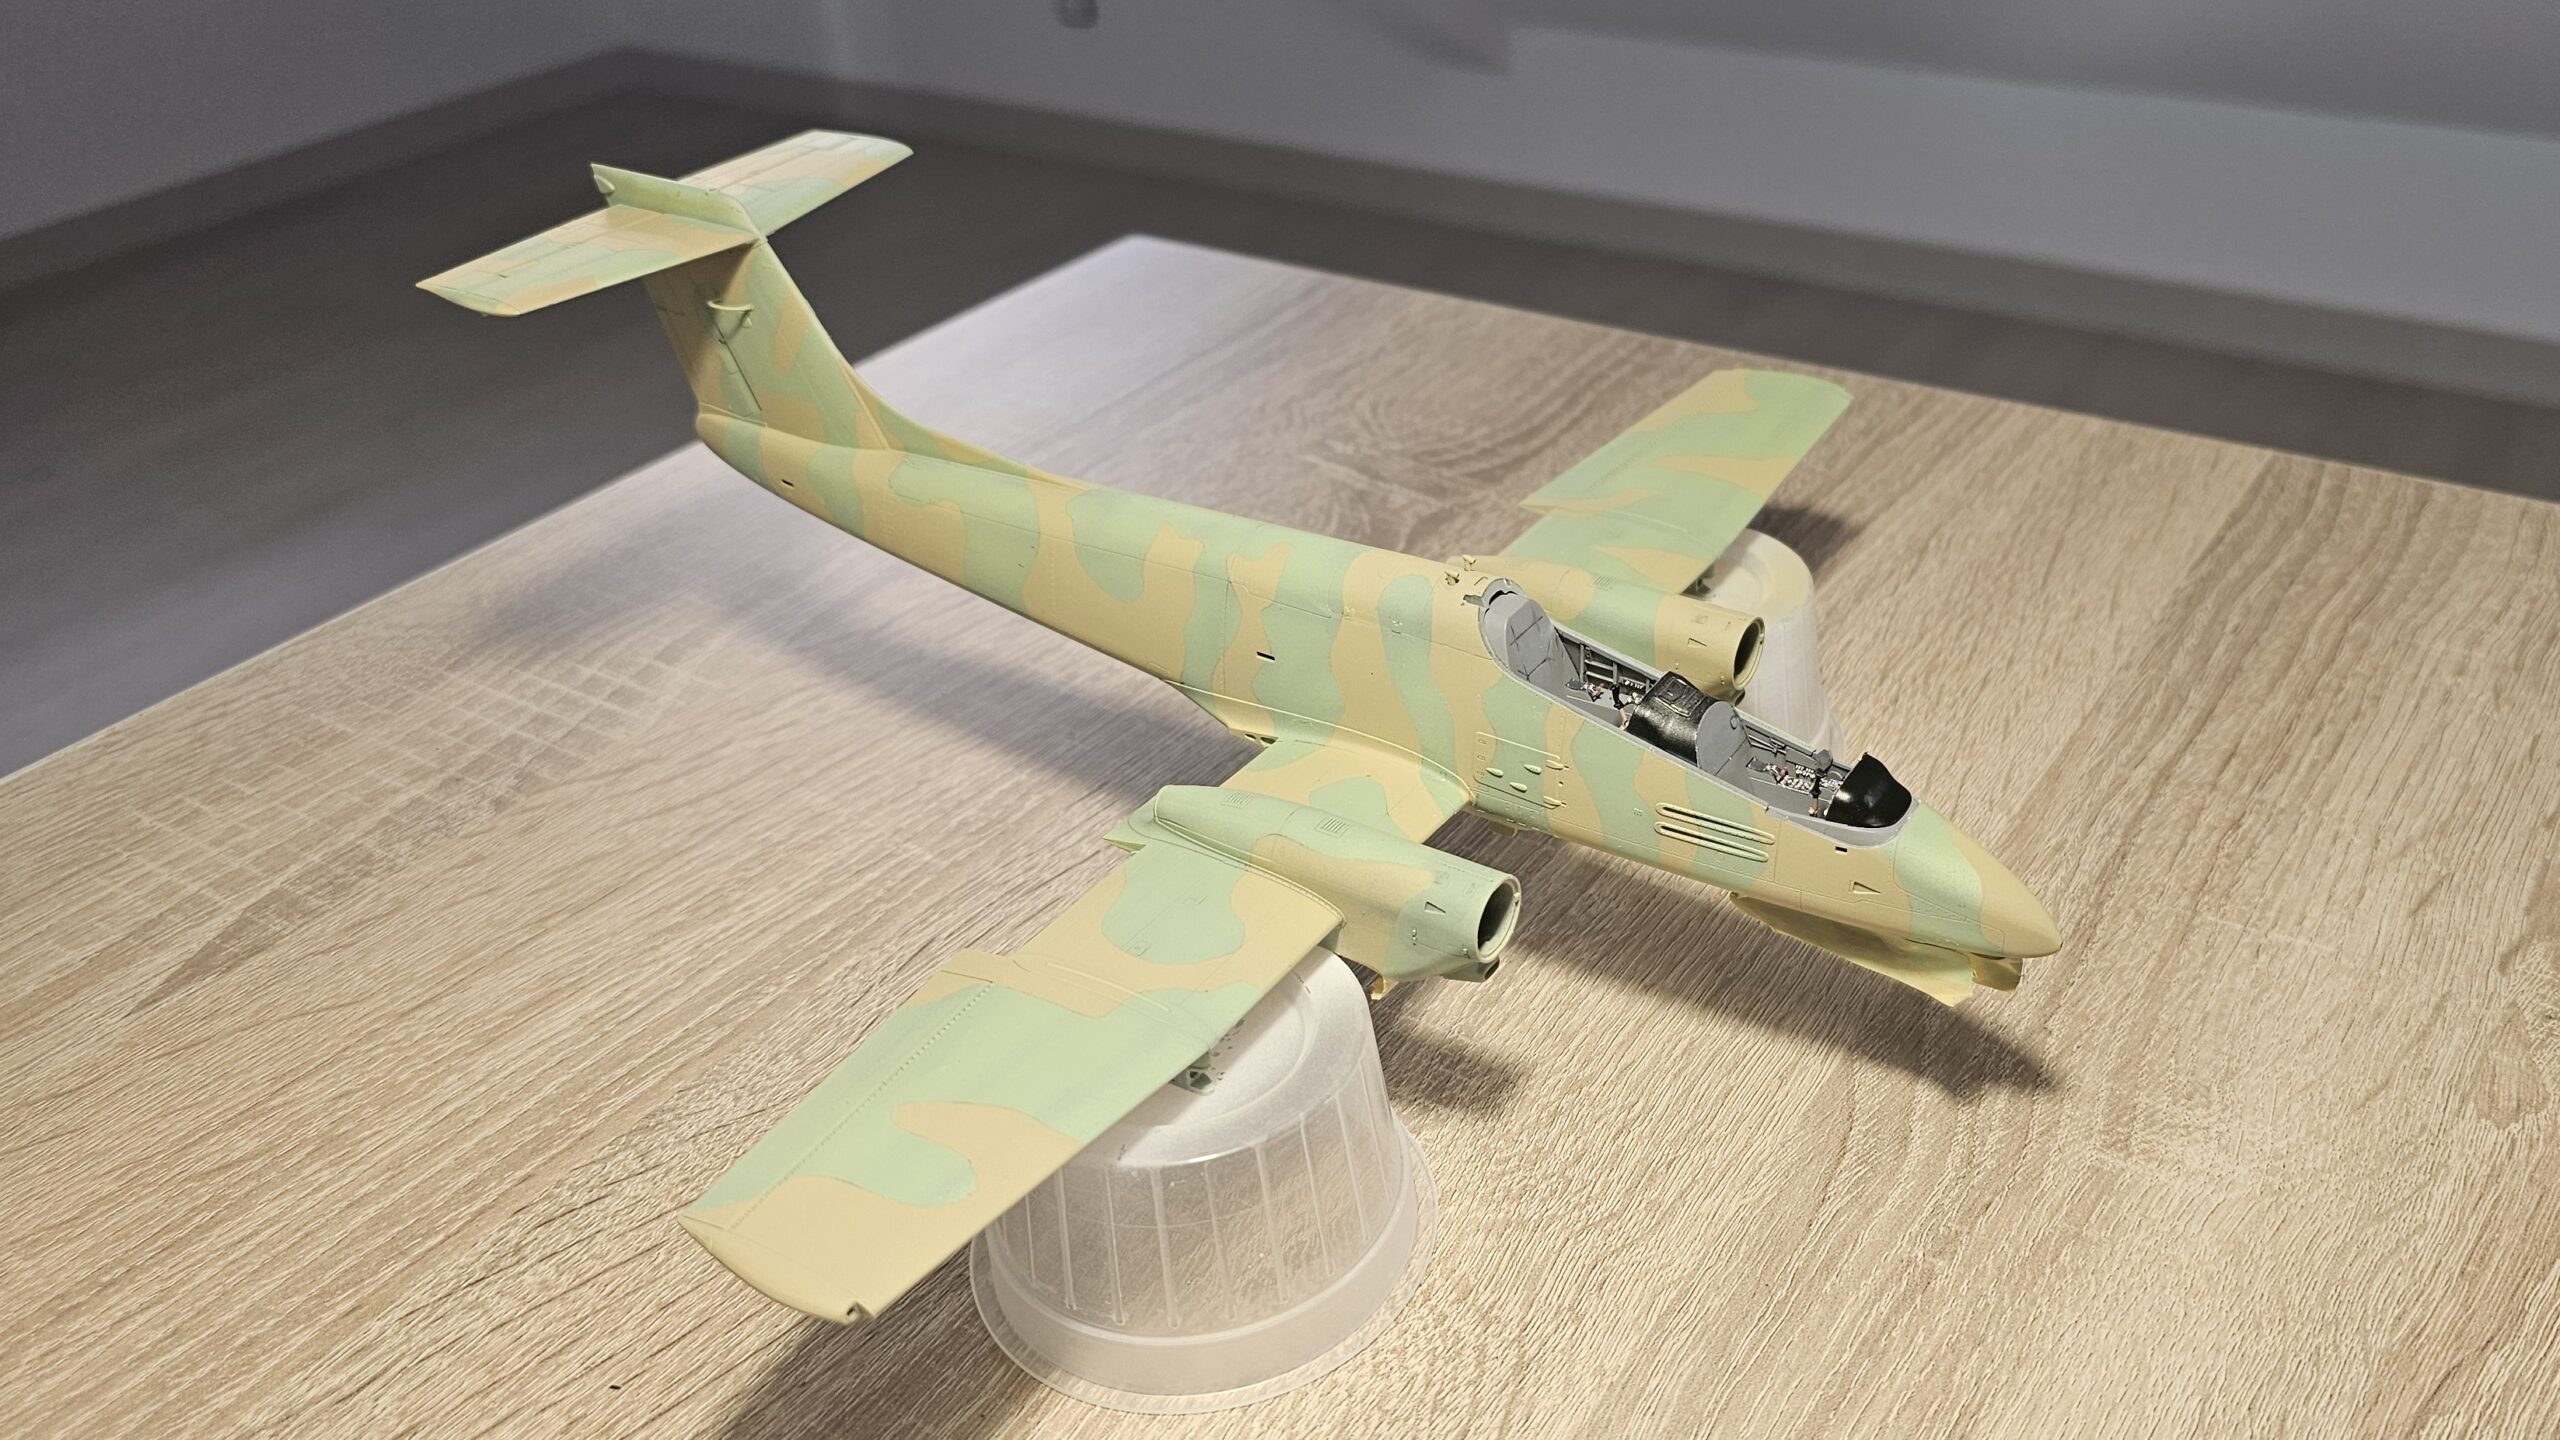
Paint
Painting the model was interesting, but also a bit complicated, because the colors used weren't documented, forcing a process of trial and error. I started with a coat of Vallejo Primer in white, and then a little pre-shading following the panel lines. Over this, I painted a couple of thin coats of "Duck Egg" acrylic paint. Then, using the instruction manual as a guide, I made a series of paper templates for the camouflage. I applied a little more pre-shading and then coats of brown acrylic, in the shade that seemed most appropriate. The final result wasn't bad, but it wasn't exactly what I was looking for, so I ended up using very thin, very diluted coats of yellow and white until I got the exact shade I wanted. In short, it was quite a bit of work, but I managed to get pretty close to the camouflage colors I was looking for. The underside of the fuselage and the wings are a single color, so I used Vallejo acrylics for that without any problems.
Decals and weathering
Once that was done, I took the opportunity to apply all the decals. I didn't use a coat of gloss acrylic, as I don't usually do, and in this case, I didn't really see the need. After applying the decals, I applied a coat of gloss acrylic (AK Intermediate Gauzy Agent) so I could then apply brown and black oil paints and the corresponding solvent. In my experience, decals don't react very well to solvent, which is why I usually seal them with gloss acrylic before starting the weathering process.
Final steps
Once the weathering was finished, the rest of the process was quite simple:
- Cabin details
- Undercarriage
- Flaps
- Propellers
- Other final details
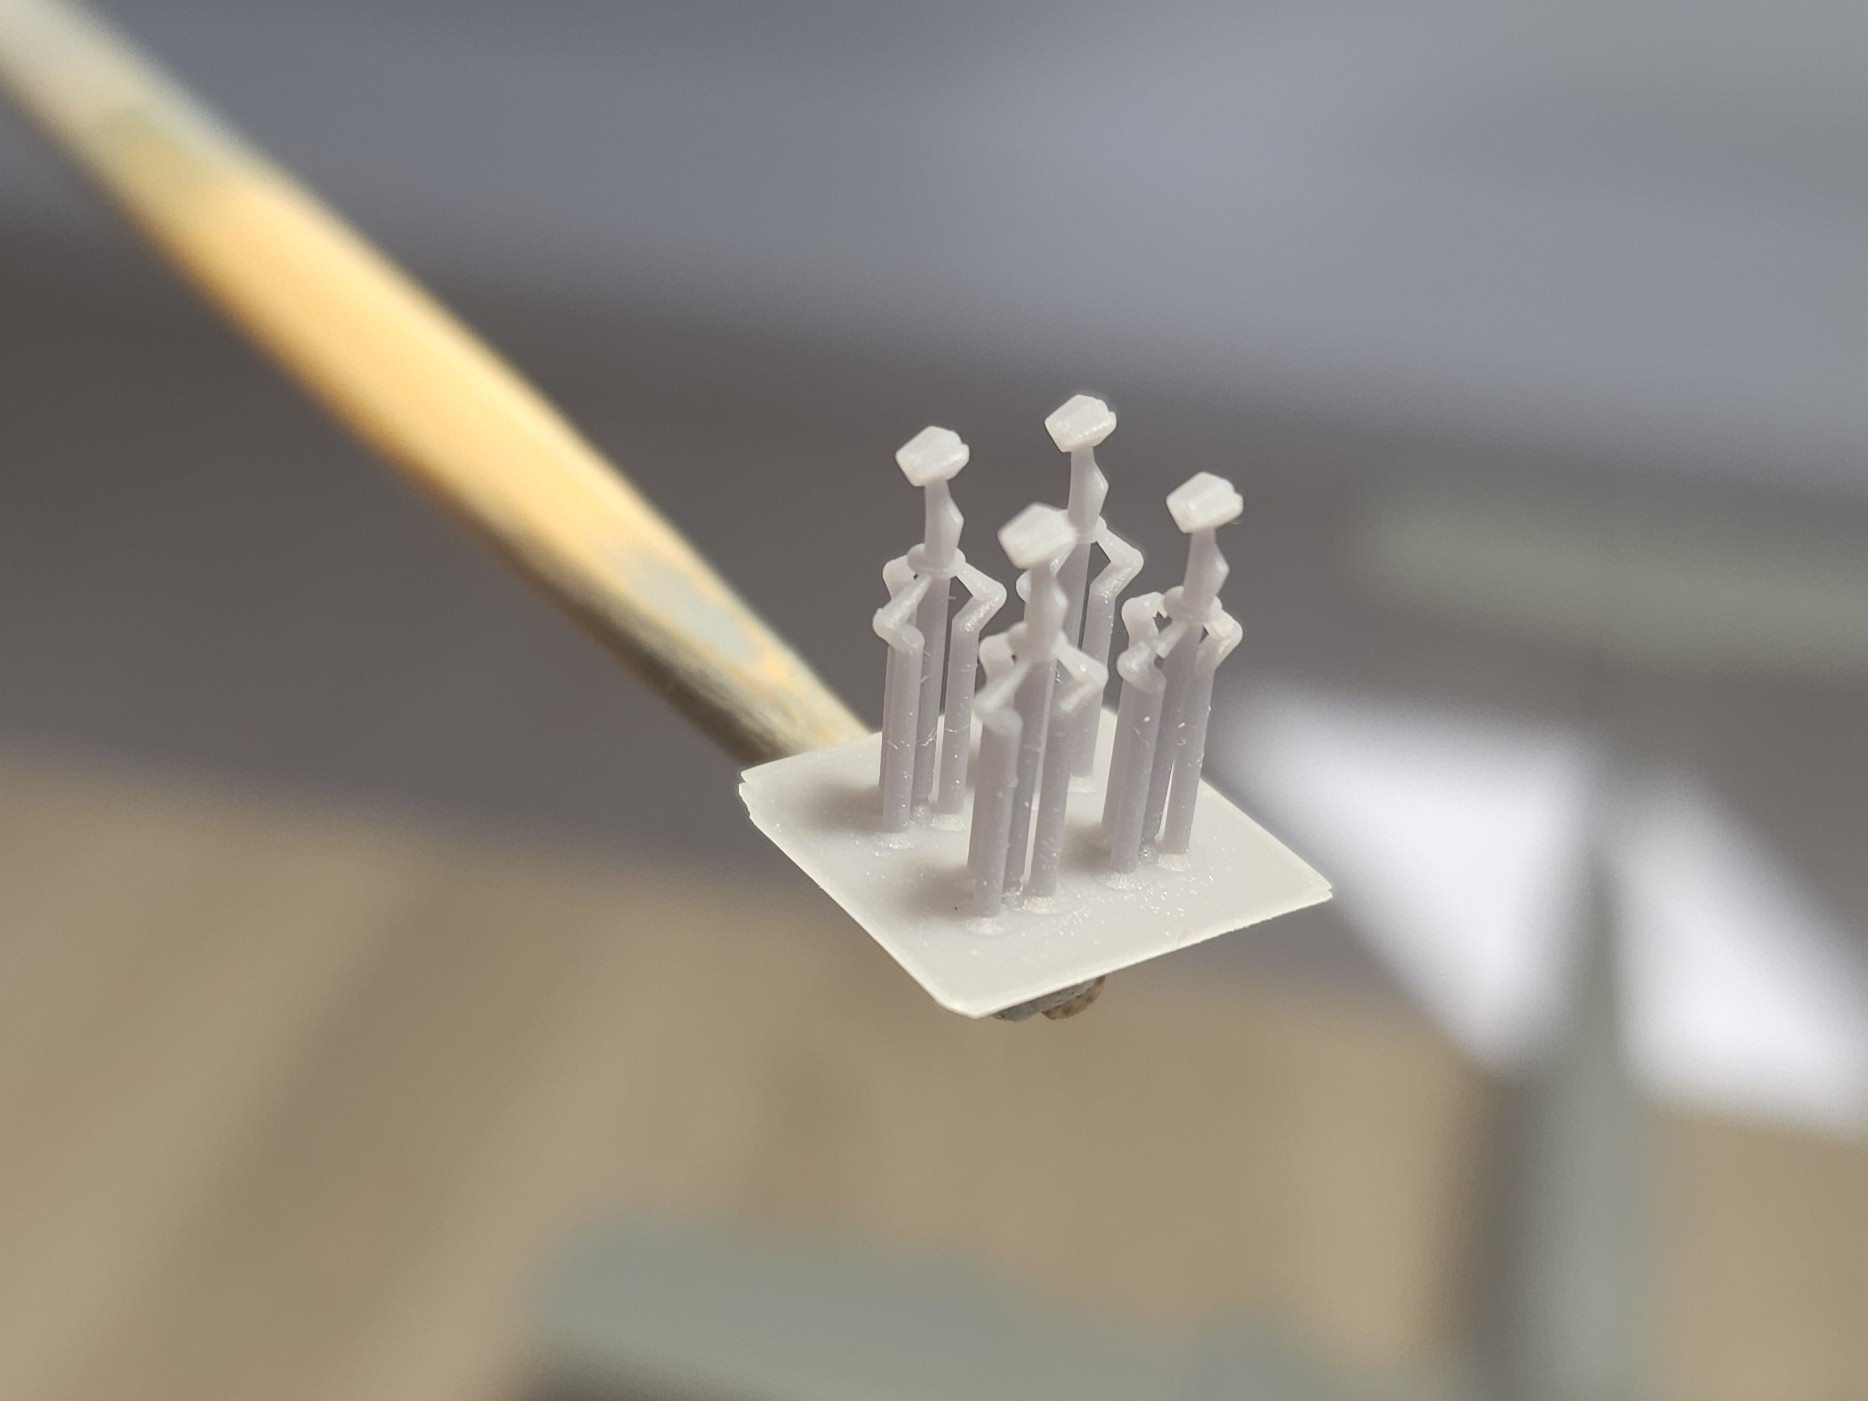
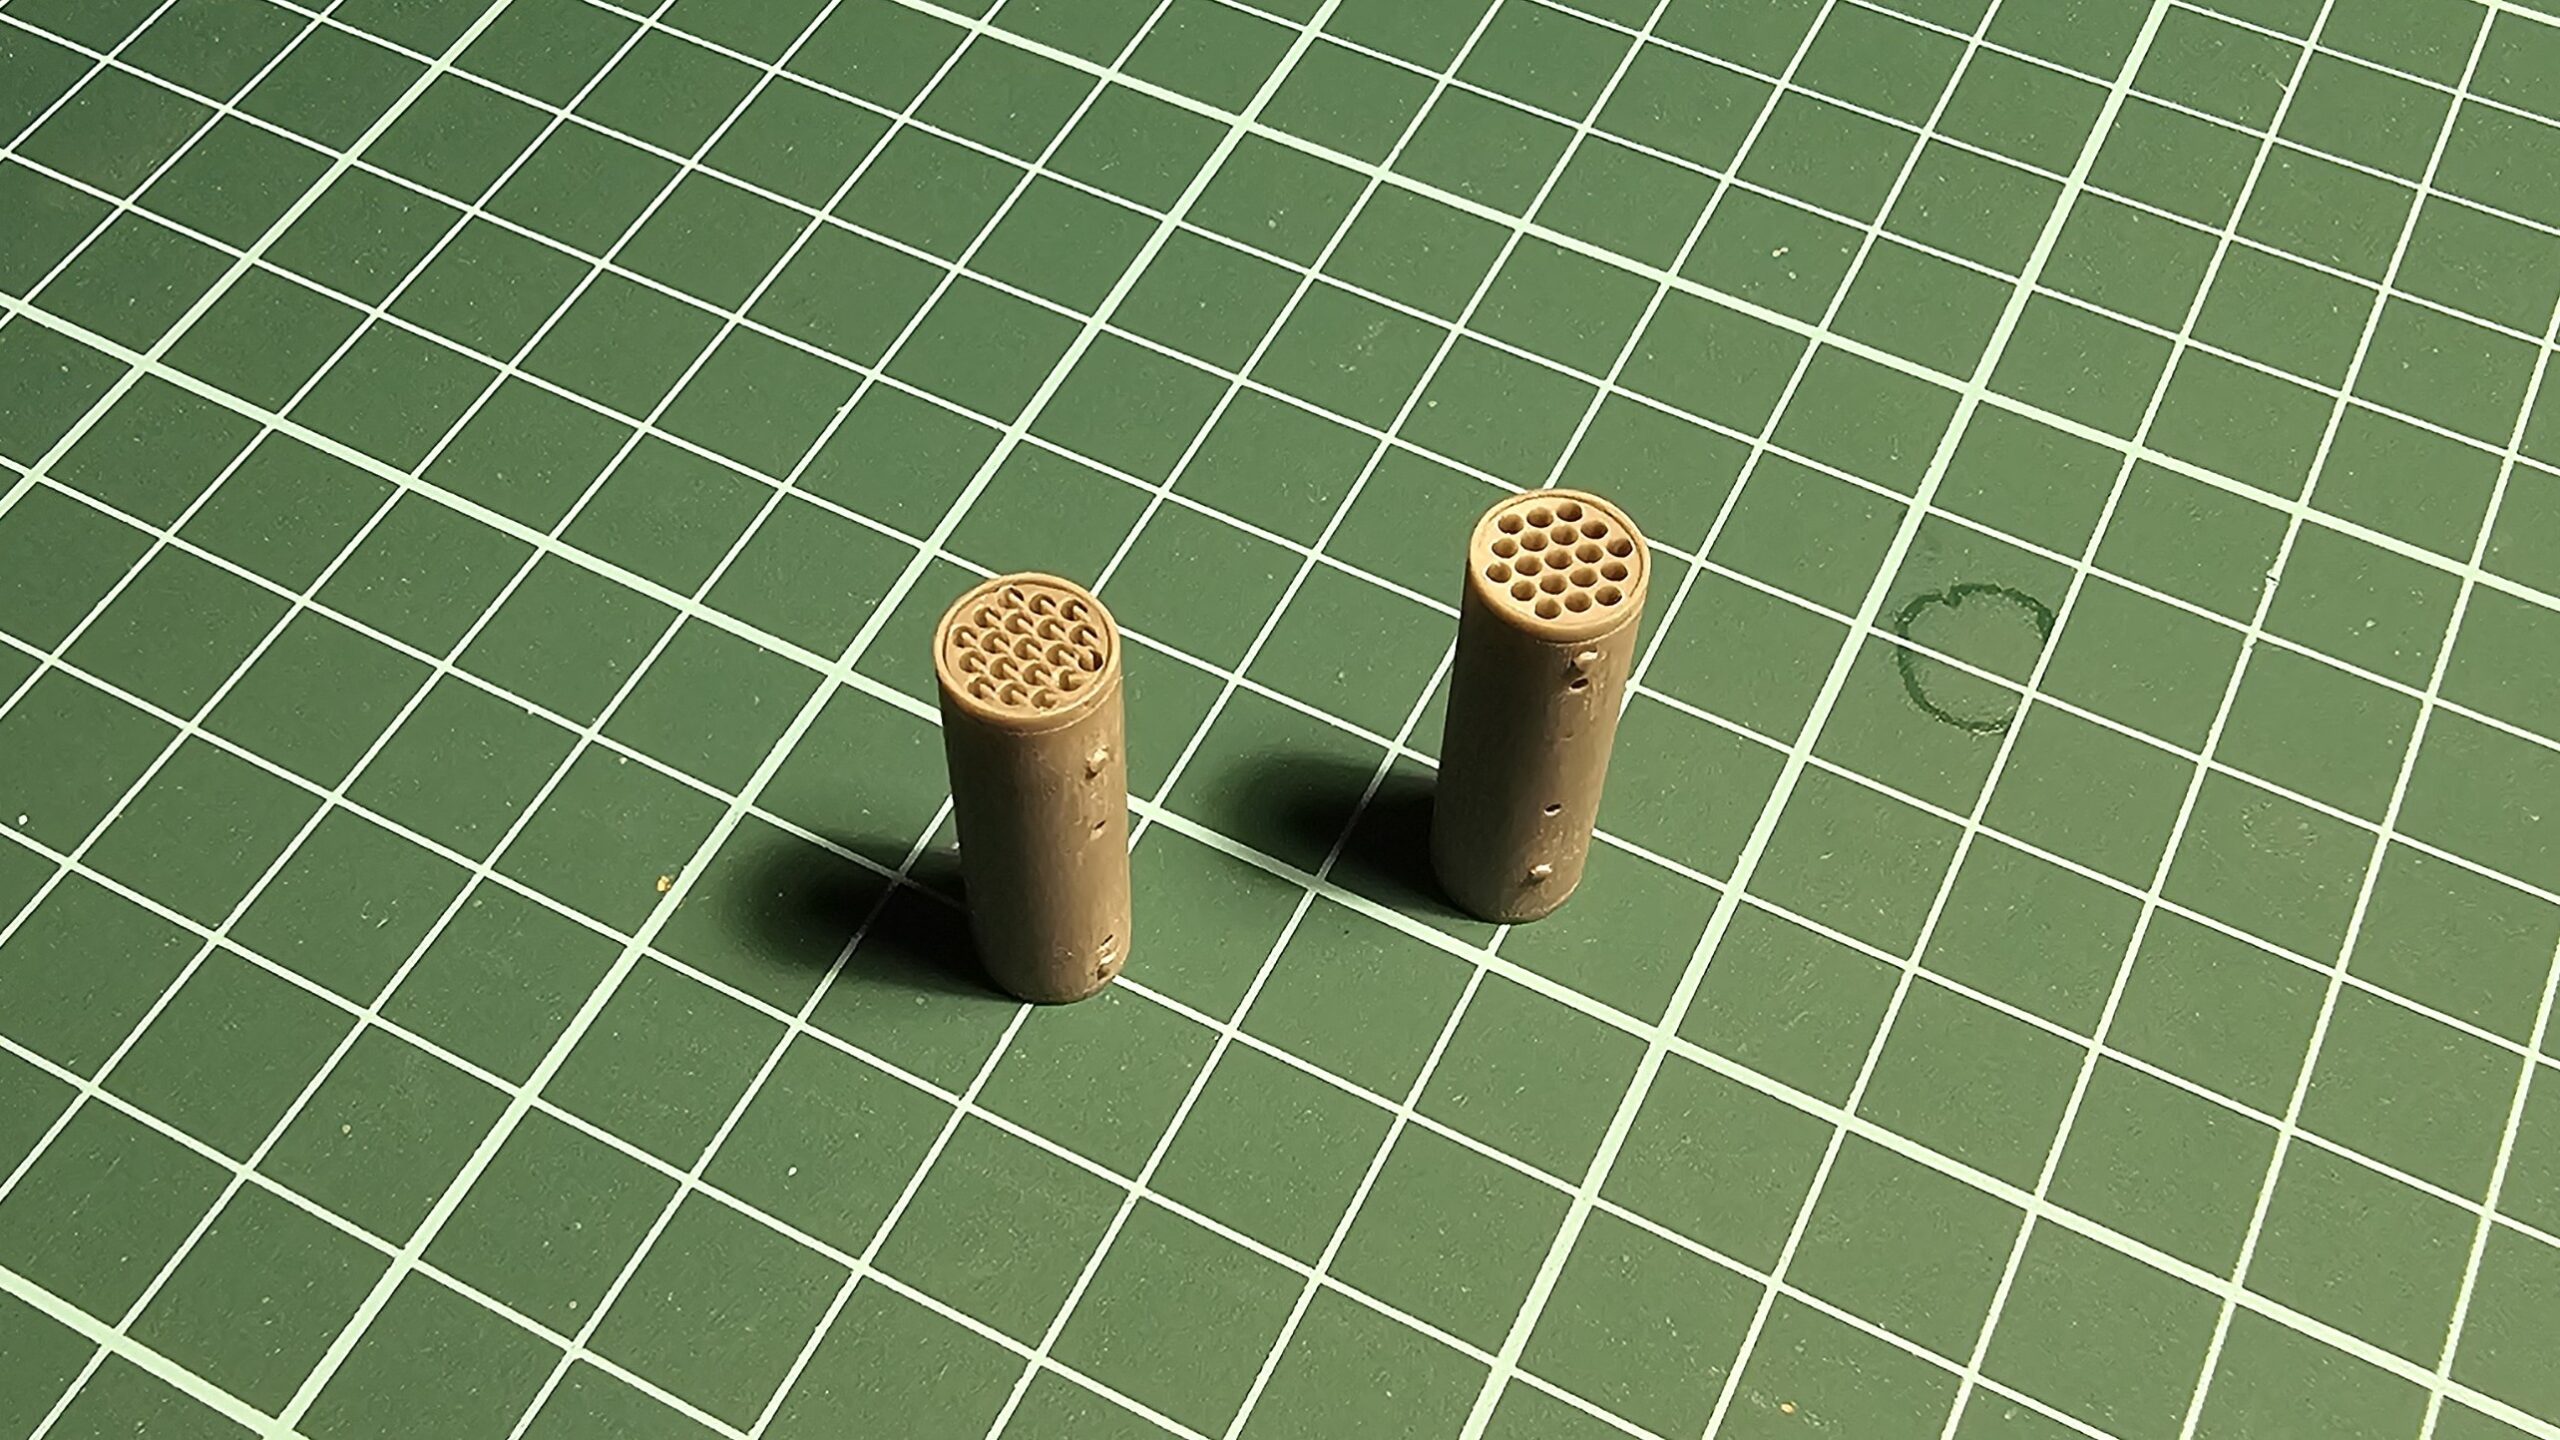
At this point, all that remained was to manufacture the rocket launchers. For this, I used Solidworks and printed a set of eight rocket launchers with considerable detail. Then I painted them and chose the four that I thought looked best to attach to the Pucará's TERs. To finish them, I used some leftover decals from other kits I had previously assembled to simulate the markings that can sometimes be seen on the LAU-61/A.
An important detail: painting the canopy was complicated because I did it after finishing everything else, and as I explained earlier, getting the right shade was quite difficult. So, to paint the canopy, I had to go through the whole process again until I got reasonably similar colors. Something to remember: when using special shades, it's important to save some paint. Alternatively, you can paint all the parts at the same time to avoid making this same mistake.
Conclusions
It was a pleasure to build this Kinetic model of such an iconic aircraft, so closely tied to my country's history. It gave me the opportunity to create interesting 3D parts, and the addition of Quinta Studio decals (which I now use on practically all my builds) completed a project I thoroughly enjoyed.
Model/variant
IA-58 Pucará
Scale
1/48
Air Force
Argentine Air Force
Manufacturer / ID
Kinetic #K48078
Difficulty
4/5
Modeler
Leave a Reply
You must be logged in to post a comment.